1995 GMC SIERRA display
[x] Cancel search: displayPage 81 of 488
NOTICE:
After you’ve used the coolant heater, be sure to store the cord as
it was before to keep
it away from moving engine parts. If you
don’t,
it could be damaged.
How long should you keep the coolant heater plugged in? The answer
depends on the weather, the kind of oil you have. and some other things.
Inste.ad of trying
to list everything here, we ask that you contact your GM
dealer in the area where you‘ll be parking your vehicle. The dealer can give
you the best advice for that particular area.
Automatic Transmission
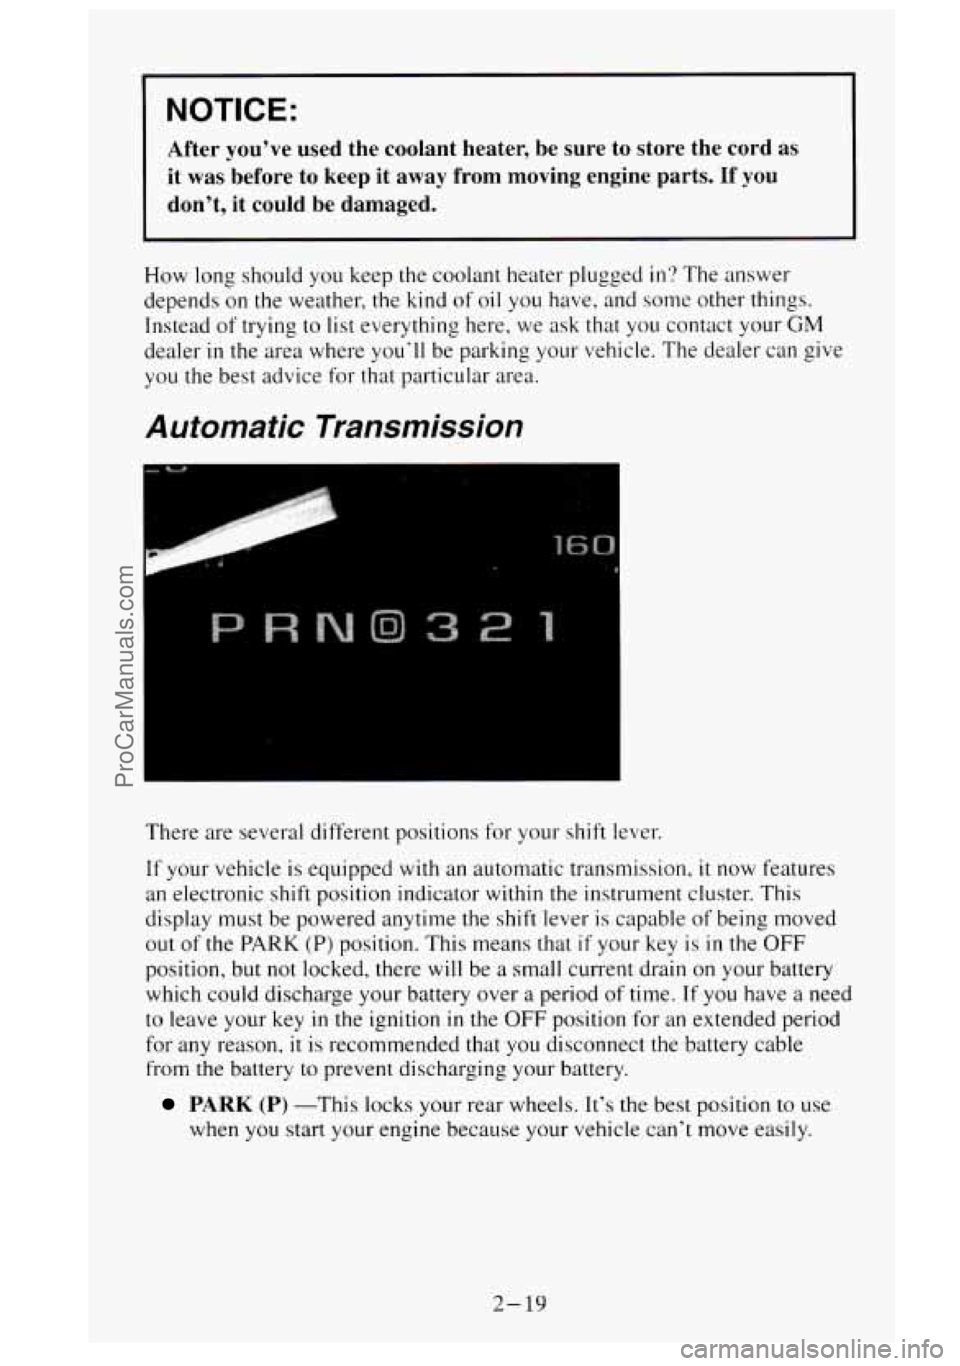
There are several different positions for your shift lever.
If your vehicle is equipped with an automatic transmission, it now features
an electronic shift position indicator
within the instrument cluster. This
display must be powered anytime the shift lever is capable
of being moved
out of the
PARK (P) position. This means that if your key is in the OFF
position, but not locked, there will be a small current drain on your battery
which could discharge your battery over
a period of time. If you have a need
to leave your key
in the ignition in the OFF position for an extended period
for any reason,
it is recommended that you disconnect the battery cable
from the battery to prevent discharging your battery.
PARK (P) -This locks your rear wheels. It’s the best position to use
when you start your engine because your vehicle can’t move easily.
2- 19
ProCarManuals.com
Page 110 of 488
To Erase Speed Memory
When you turn off' the Cruise Control or the ignition. your Cruise Control
set speed memory
is erased.
Headlamps and Vehicle Lighting
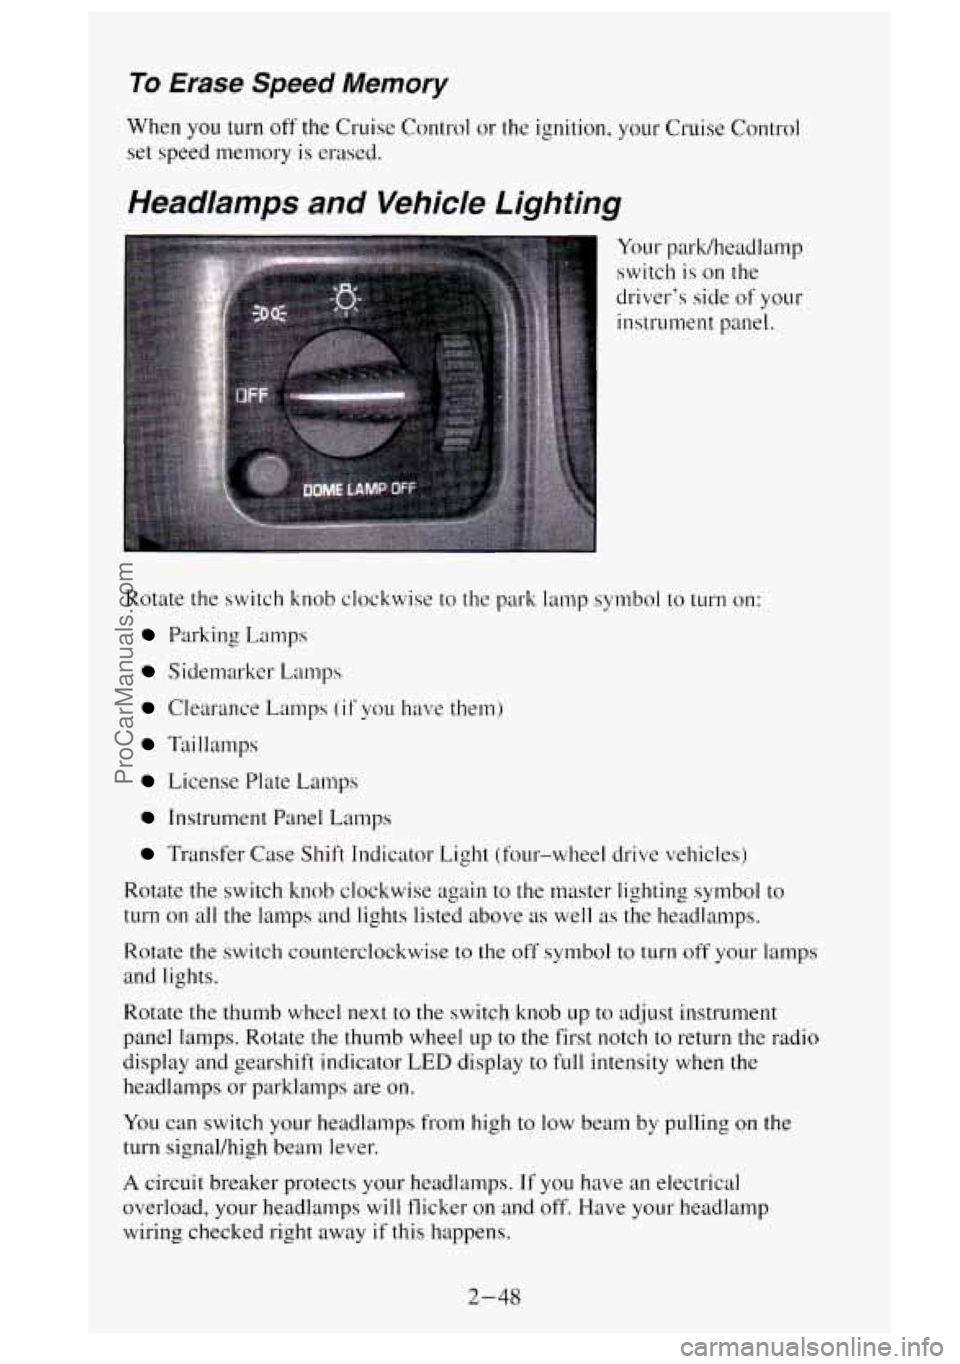
Your park/headlamp
switch is on the
driver's side of your
instrument panel.
Rotate the switch knob clockwise to the park lamp symbol to
turn on:
Parking Lamps
Sidemarker Lamps
Clearance Lamps (if you have them)
Taillamps
License Plate L.amps
Instrument Panel Lamps
Transfer Case Shift Indicator Light (four-wheel drive vehicles)
Rotate the switch knob clockwise again to the master lighting symbol to
turn on all the lamps and lights listed above as well as the headlamps.
Rotate the switch counterclockwise to the off symbol to turn off your lamps
and lights.
Rotate the thumb wheel next to the switch knob up
to adjust instrument
panel lamps. Rotate
the thumb wheel up to the first notch to return the radio
display and gearshift indicator
LED display to full intensity when the
headlamps or parklamps are
on.
You can switch your headlamps from high to low beam by pulling on the
turn signal/high beam lever.
A circuit breaker protects your headlamps. If you have an electrical
overload, your headlamps will flicker on and off. Have your headlamp
wiring checked right away if this happens.
2-48
ProCarManuals.com
Page 116 of 488
Electrochromic Inside Rearview Mirror with Compass (Option)
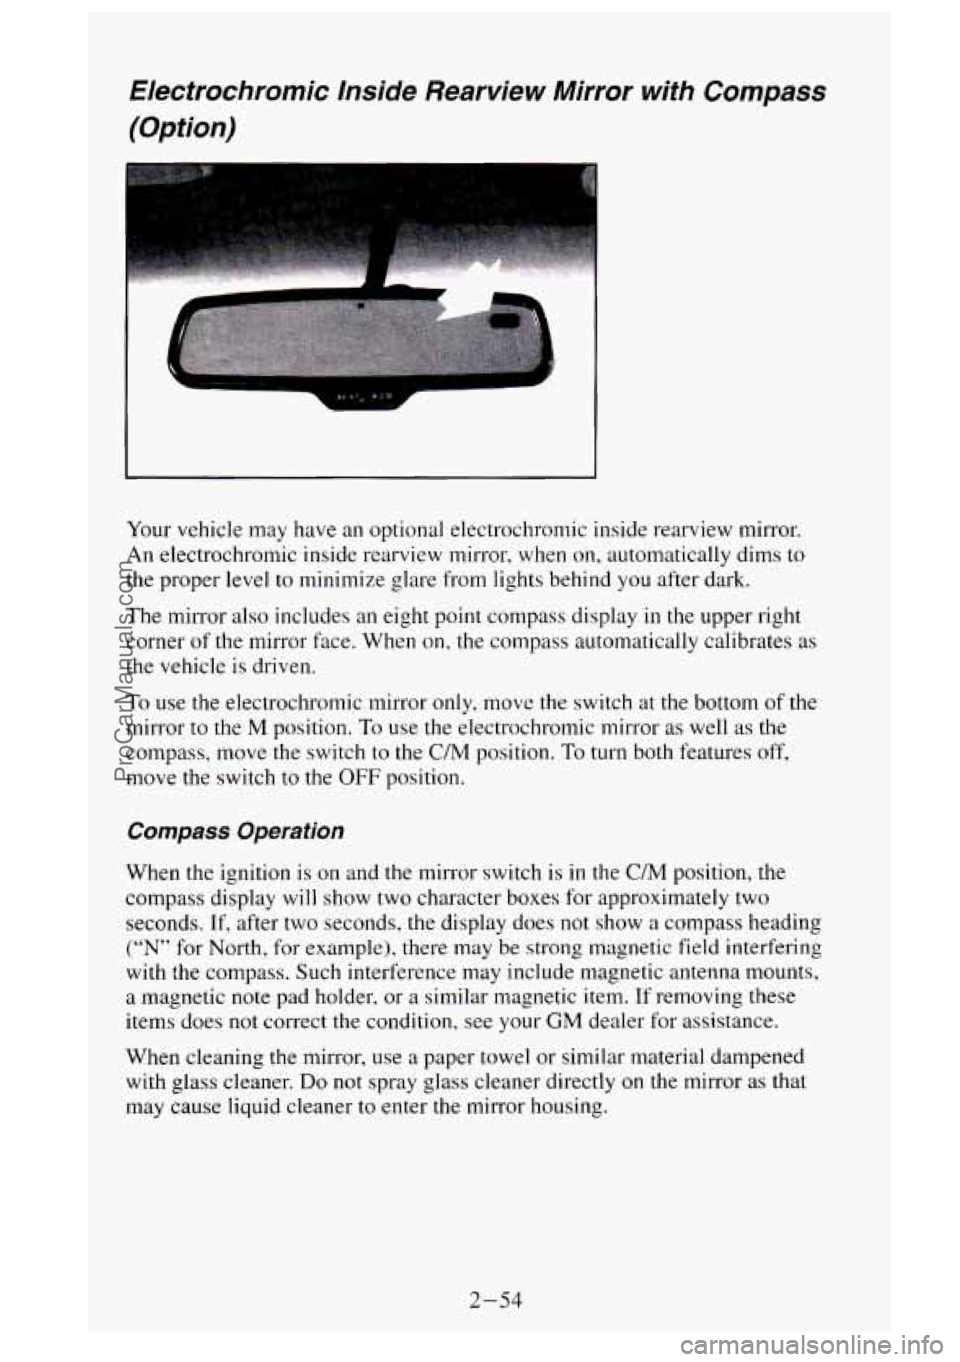
Your vehicle may have an optional electrochromic inside rearview mirror.
An electrochromic inside rearview mirror, when
on, automatically dims to
the proper level to minimize glare from lights behind you after dark.
The mirror also includes an eight point compass display in the upper right
corner
of the mirror face. When on, the compass automatically calibrates as
the vehicle is driven.
To use the electrochromic mirror only, move the switch at the bottom of the
mirror to the
M position. To use the electrochromic mirror as well as the
compass, move the switch to the
C/M position. To turn both features off,
move the switch to the OFF position.
Compass Operation
When the ignition is on and the mirror switch is in the C/M position, the
compass display
will show two character boxes for approximately two
seconds.
If, after two seconds, the display does not show a compass heading
(“N” for North, for example), there may be strong magnetic field interfering
with the compass. Such interference may include magnetic antenna mounts,
a magnetic note pad holder, or a similar magnetic item. If removing these
items does not correct the condition, see your
GM dealer for assistance.
When cleaning
the mirror, use a paper towel or similar material dampened
with glass cleaner.
Do not spray glass cleaner directly on the mirror as that
may cause liquid cleaner to enter the mirror housing.
2-54
ProCarManuals.com
Page 117 of 488
Compass Variance
Under certain circumstances, as during a long distance cross-country trip, it
will be necessary to adjust the compass to compensate for cornpass
variance. Compass variance is the difference between earth’s magnetic
North and true geographic North. If not adjusted to account for compass
variance, your compass could give false readings.
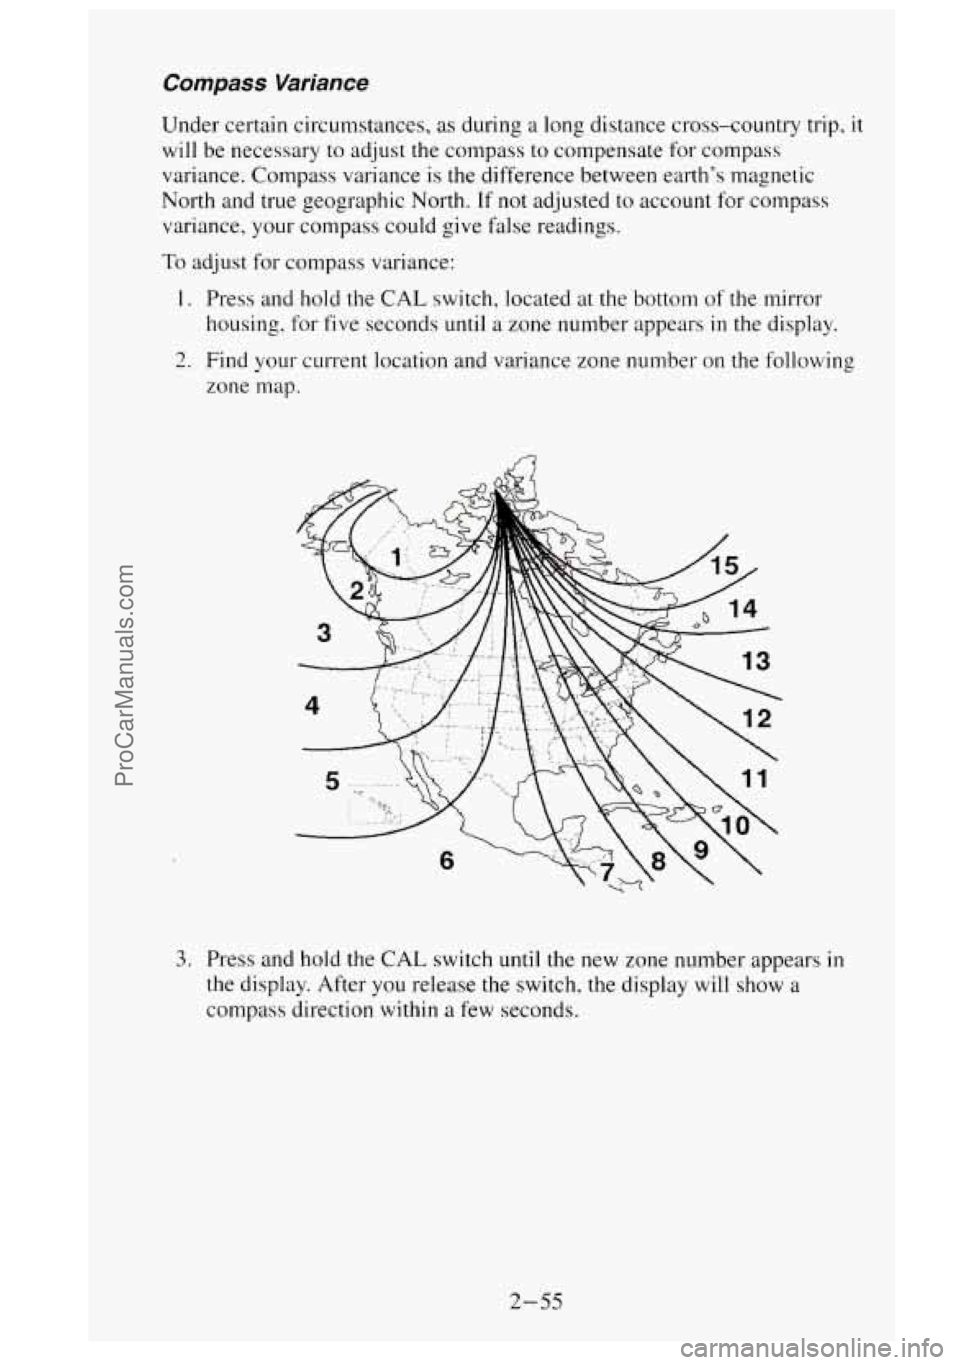
To adjust for compass variance:
1. Press and hold the CAL switch, located at the bottom of the mirror
housing, for five seconds
until a zone number appears in the display.
2. Find your current location and variance zone number on the following
zone map.
3. Press and hold the CAL switch until the new zone number appears in
the display. After you release the switch, the display will show a
compass direction within a few seconds.
2-55
ProCarManuals.com
Page 132 of 488
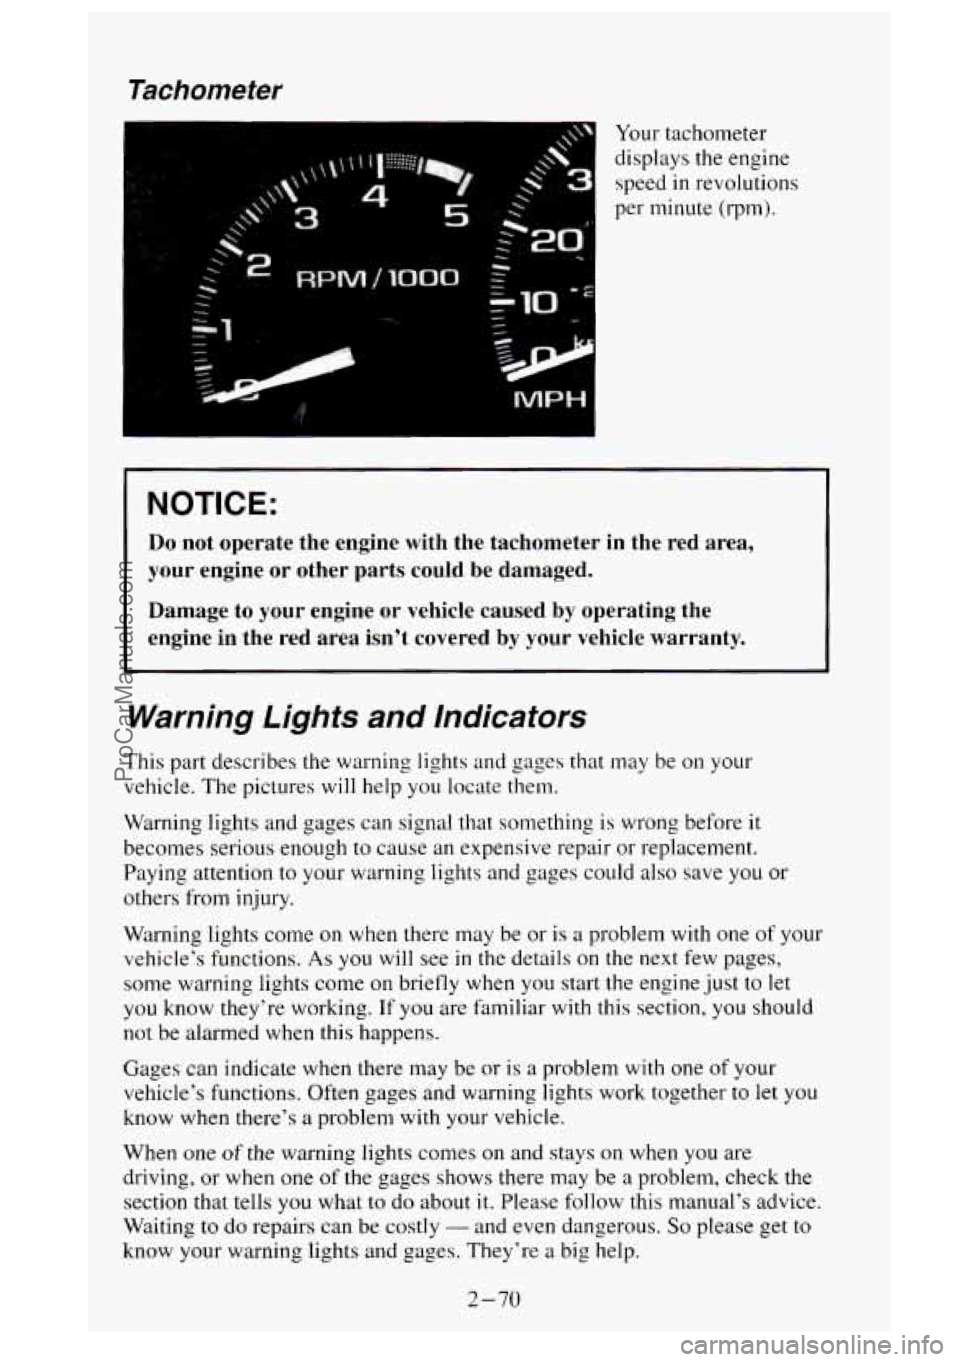
Tachometer
. :i
Your tachometer
displays the engine
speed
in revolutions
per minute (rpm).
1 NOTICE:
Do not operate the engine with the tachometer in the red area\
,
your engine
or other parts could be damaged.
Damage to your engine or vehicle caused
by operating the
engine
in the red area isn’t covered by your vehicle warranty.
Warning Lights and Indicators
This part describes the warning lights and gages that may be on your
vehicle. The pictures will help you locate them.
Warning lights and gages can signal that something is wrong before
it
becomes serious enough to cause an expensive repair or replacement.
Paying attention to your warning lights and gages could also save you or
others from injury.
Warning lights come on when there may be or is a problem
with one of your
vehicle’s functions.
As you will see in the details on the next few pages,
some warning lights come on briefly when you start the engine just
to let
you know they’re working. If you are familiar
with this section, you should
not be alarmed when
this happens.
Gages can indicate when there may be or is a problem with one of your
vehicle’s functions. Often gages and warning lights work together to let you
know when there’s
a problem with your vehicle.
When one
of the warning lights comes on and stays on when you are
driving, or when one
of the gages shows there may be a problem, check the
section that tells you what
to do about it. Please follow this manual‘s advice.
Waiting to
do repairs can be costly - and even dangerous. So please get to
know your warning lights and gages. They’re a big help.
2-70
ProCarManuals.com
Page 152 of 488
When you enter a vehicle in cold weather, turn the blower fan to HI for
a few moments before driving off. This helps clear the intake ducts of
snow and moisture. and reduces the chance of fogging the inside. of
your windows.
Keep the air path under the front seats clear of objects. This helps air to
circulate throughout your vehicle.
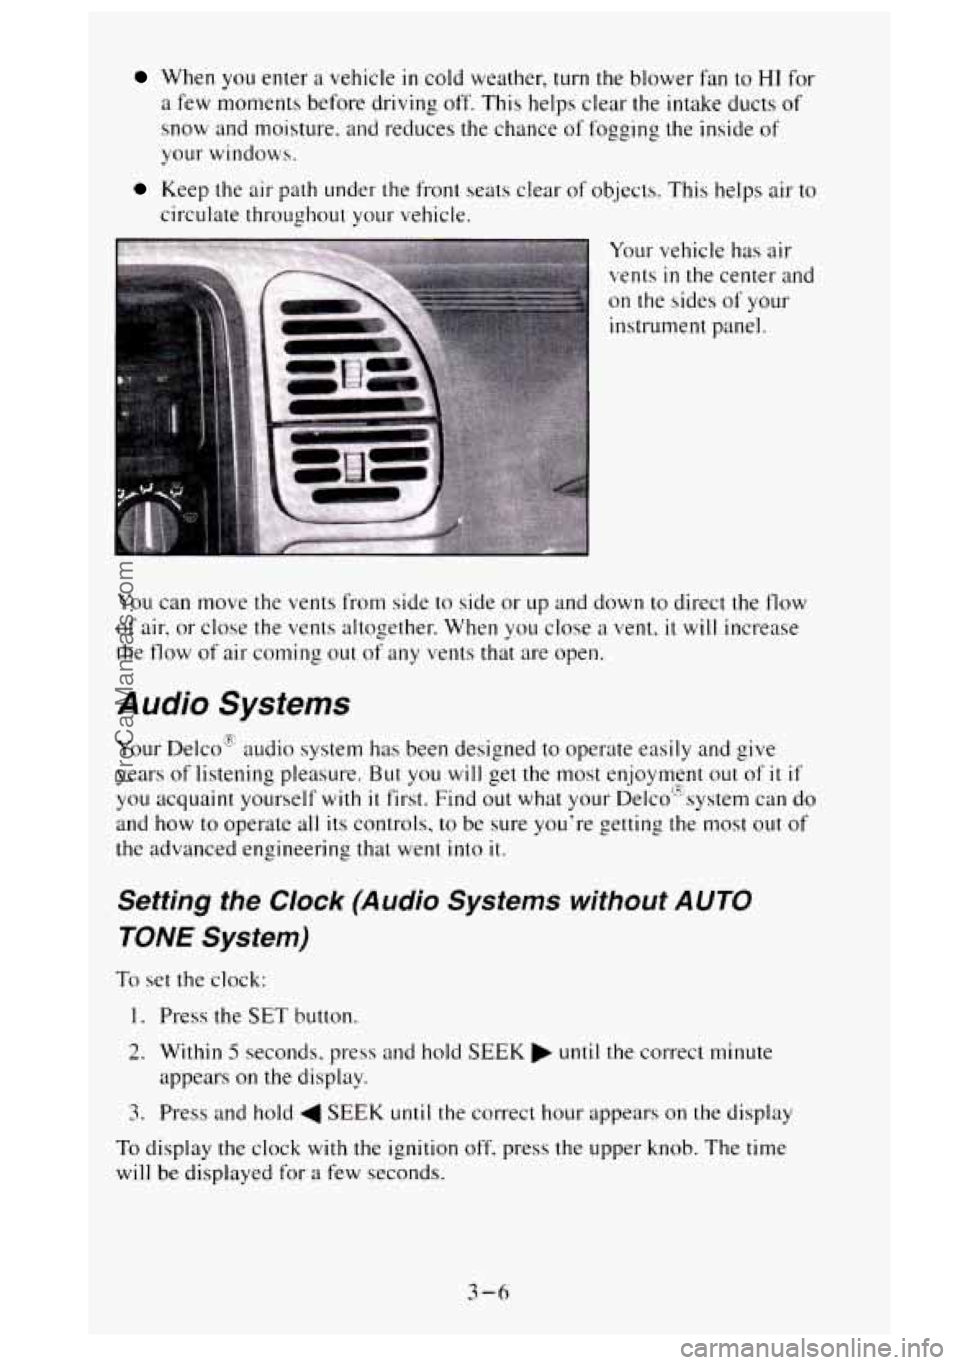
Your vehicle has air
vents
in the center a1
on the sides of your
instrument panel. nd
You can move the vents from side to side or
up and down to direct the flow
of air. or close the vents altogether. When you close a vent, it will increase
the
flow of' air corning out of any vents that are open.
Audio Systems
Your Delco'E audio system has been designed to operate easily and give
years of listening pleasure.
But you will get the most enjoyment out of it if
you acquaint yourself with it first. Find out what your De1co"system can do
and how to operate all its controls, to be sure you're getting the most
out of
the advanced engineering that went into it.
Setting the Clock (Audio Systems without AUTO
TONE System)
To set the clock:
1. Press the SET button.
2. Within 5 seconds, press and hold SEEK until the correct minute
appears
on the display.
3. Press and hold 4 SEEK until the correct hour appears on the display
To display the clock with the ignition off, press the upper knob. The time
will
be displayed for a few seconds.
3-6
ProCarManuals.com
Page 153 of 488
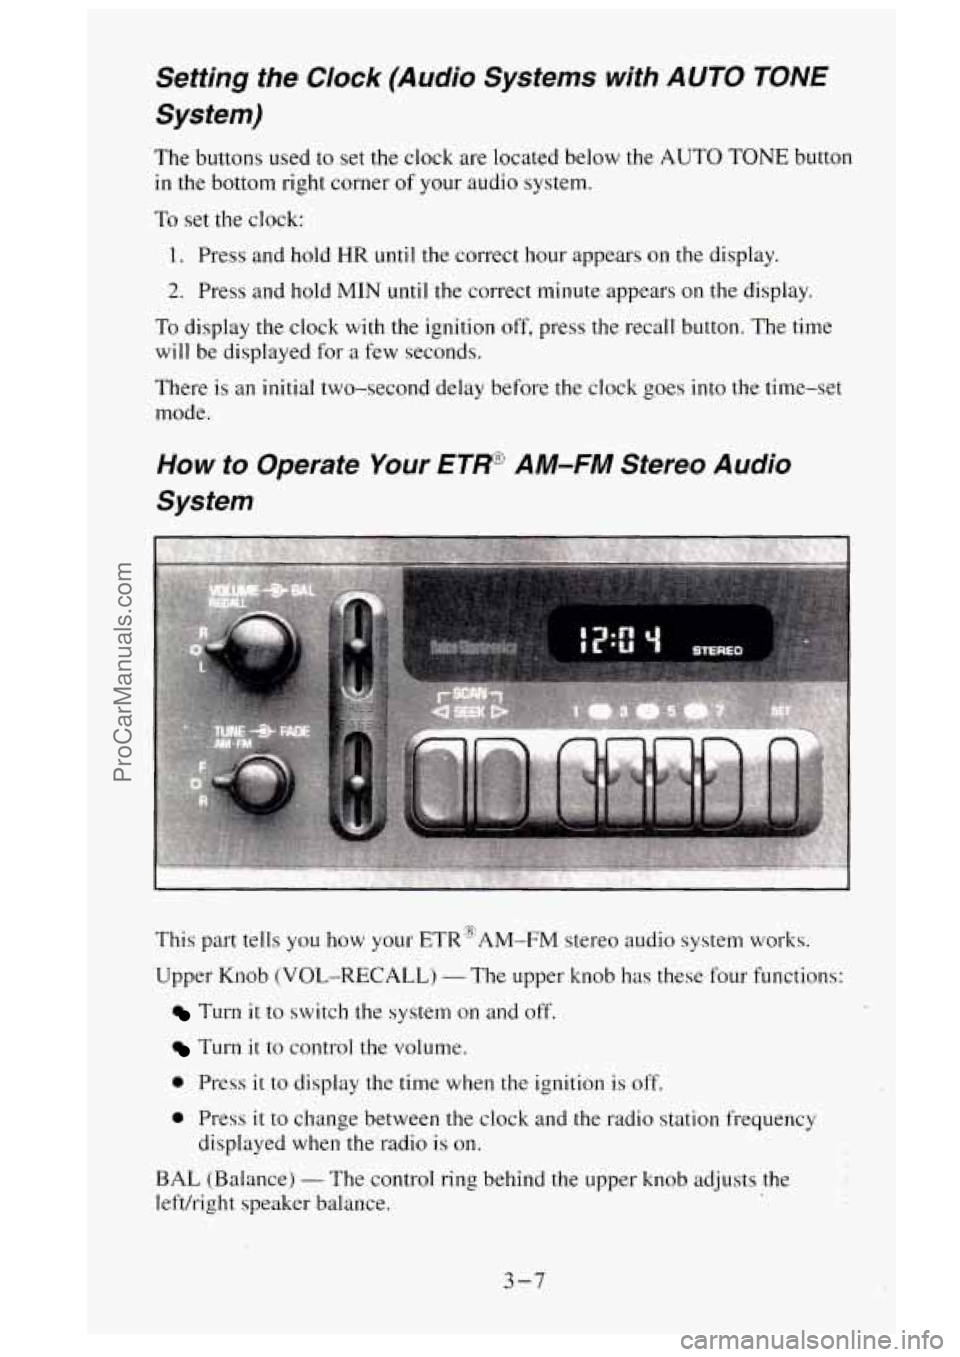
The buttons used to set the clock are located below the AUTO TONE button
in the bottom right corner of your audio system.
To set the clock:
1. Press and hold HR until the correct hour appears on the display.
2. Press and hold MIN until the correct minute appears on the display.
To display the clock with the ignition off, press the recall button. The time
will be displayed for
a few seconds.
There is
an initial two-second delay before the clock goes into the time-set
mode.
This part tells you how your ETR@AM-FM stereo audio system works.
Upper Knob (VOL-RECALL)
- The upper knob has these four functions:
Turn it to switch the system on and off.
Turn it to control the volume.
0 Press it to display the time when the ignition is off.
0 Press it to change between the clock and the radio station frequency
displayed when the radio
is on.
BAL (Balance)
- The control ring behind the upper knob adjusts the
lefvright speaker balance.
3-7
ProCarManuals.com
Page 154 of 488
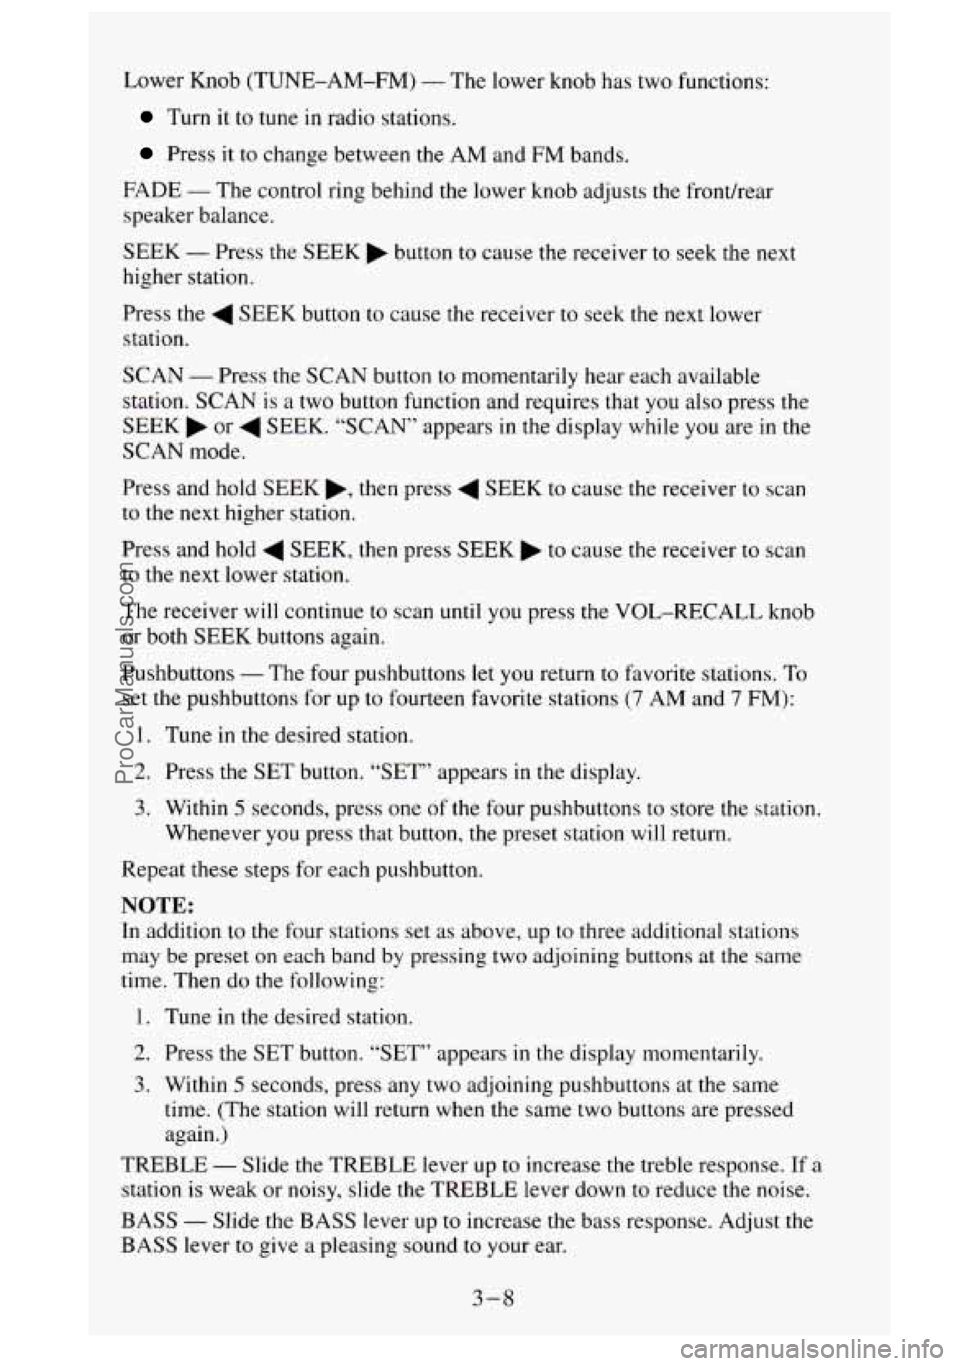
Lower Knob (TUNE-AM-FM) - The lower knob has two functions:
Turn it to tune in radio stations.
Press it to change between the AM and FM bands.
FADE
- The control ring behind the lower knob adjusts the fronthear
speaker balance.
SEEK
- Press the SEEK b button to cause the receiver to seek the next
higher station.
Press the
4 SEEK button to cause the receiver to seek the next lower
station.
SCAN
- Press the SCAN button to momentarily hear each available
station. SCAN is a two button function and requires that you also press the
SEEK
b or 4 SEEK. “SCAN” appears in the display while you are in the
SCAN mode.
Press and hold SEEK
b, then press 4 SEEK to cause the receiver to scan
to the next higher station.
Press and hold
4 SEEK, then press SEEK to cause the receiver to scan
to
the next lower station.
The receiver will continue to scan until
you press the VOL-RECALL knob
or both SEEK buttons again.
Pushbuttons
- The four pushbuttons let you return to favorite stations. To
set the pushbuttons for up to fourteen favorite stations (7 AM and 7 FM):
I. Tune in the desired station.
2. Press the SET button. “SET” appears in the display.
3. Within 5 seconds, press one of the four pushbuttons to store the station.
Whenever you press that button, the preset station will return.
Repeat these steps for each pushbutton.
NOTE:
In addition to the four stations set as above, up to three additional stations
may be preset on each band by pressing two adjoining buttons at the same
time. Then do the following:
1. Tune
in the desired station.
2. Press the SET button. “SET” appears in the display momentarily.
3. Within 5 seconds, press any two adjoining pushbuttons at the same
time. (The station will return when the same two buttons are pressed
again.)
TREBLE
- Slide the TREBLE lever up to increase the treble response. If a
station is weak or noisy, slide the TREBLE lever down to reduce
the noise.
BASS
- Slide the BASS lever up to increase the bass response. Adjust the
BASS lever to give a pleasing sound to your ear.
3-8
ProCarManuals.com