Page 217 of 354
..lecking Things Under the Hood
open the hood, first pull the release handle inside the
we box.
Then go to the front of the vehicle, push down lightly on
the hood, and push the hood release lever to your left.
ProCarManuals.com
Page 236 of 354

Front Axle Engine Coolant
When to Check and Change Lubricant
Refer to the Maintenance Schedule to determine how
often to check the lubricant and when to change it. See
“Periodic Maintenance Inspections” and “Scheduled
Maintenance Services” in the Index.
How to Check Lubricant
If the level is below the bottom of the filler plug hole,
you’ll need to add some lubricant.
If the differential is at operating temperature (warm),
add enough lubricant to raise the level to the bottom of
the filler plug hole.
If the differential is cold, add enough lubricant to raise
the level to 1/2 inch (12 mm) below the filler plug hole.
What to Use
Refer to the Maintenance Schedule to determine what
kind of lubricant to use. See “Recommended Fluids and
Lubricants” in the Index. The following explains
your cooling
system and how to
add coolant when it is low. If you have a problem with
engine overheating, see “Engine Overheating’’ in the
Index.
The proper coolant for your Geo will:
0 Give freezing protection down to -33°F (-36°C).
Give boiling protection up to 258°F (125°C).
Protect against rust and corrosion.
Help keep the proper engine temperature.
Let the warning lights work as they should.
What to Use
Use a mixture of one-half clean water (preferably
distilled) and one-half antifreeze that meets
“GM
Specification 1825M,” which won’t damage aluminum
parts. You can also use a recycled coolant conforming to
GM Specification 1825M with a complete coolant flush
and refill. If you use this mixture, you don’t need to add
anything else.
ProCarManuals.com
Page 244 of 354

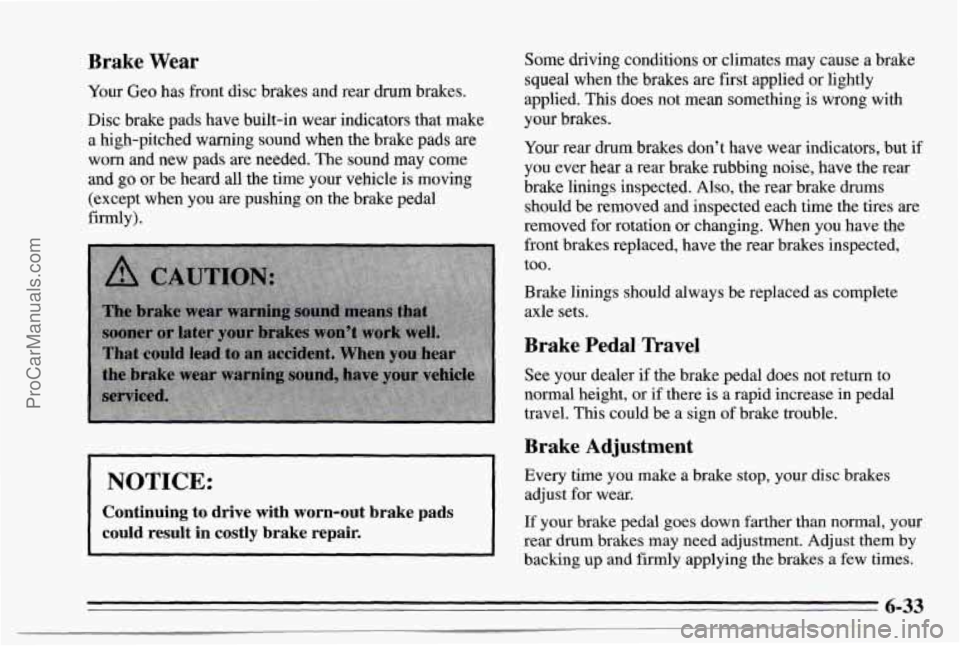
Brake Wear
Your Geo has front disc brakes and rear drum brakes.
Disc brake pads have built-in wear indicators that make
a high-pitched warning sound when the brake pads
are
worn and new pads are needed. The sound may come
and go or be heard all the time your velvcle is moving
(except when you are pushing on the brake pedal
firmly).
NOTICE:
Continuing to drive with worn-out brake pads
could result in costly brake repair.
Some driving conditions or climates rSray C2iQSg si brake
squeal when the brakes are first applied or lightly
applied. This does not mean something is wrong with
your brakes.
Your rear drum brakes don’t have wear indicators, but if
you ever hear a rear brake rubbing noise, have the rear
brake linings inspected. Also, the rear brake drums
should be removed and inspected each time the tires are
removed for rotation or changing. When you have the
front brakes replaced, have the rear brakes inspected,
too.
Brake linings should always be replaced as complete
axle sets.
Brake Pedal Travel
See your dealer if the brake pedal does not return to
normal height, or
if there is a rapid increase in pedal
travel. This could be a sign
of brake trouble.
Brake Adjustment
Every time you make a brake stop, your disc brakes
adjust for wear.
If your brake pedal goes down farther than normal, your
rear drum brakes
may need adjustment. Adjust them by
backing up and firmly applying the brakes a few times.
ProCarManuals.com
Page 261 of 354

Using Foam-Qpe Cleaner on Fabric
0
0
0
0
0
0
Vacuum and brush the area to remove any loose dirt.
Always clean a whole trim panel or section. Mask
surrounding trim along stitch
or welt lines.
Mix multi-purpose powdered cleaner following the
directions
on the container label.
Use suds only and apply with a clean sponge.
Don’t saturate the material.
Don’t rub it roughly.
As soon as you’ve cleaned the section, use a sponge
to remove the suds.
Rinse the section with a clean, wet sponge.
’wipe
off what’s left with a slightly damp paper towel
or cloth.
Then dry it immediately with a blow dryer or a heat
lamp.
I NOTICE:
Be careful. A blow dryer or a heat lamp may
scorch the fabric.
Wipe with a clean cloth.
Using Solvent-Qpe Cleaner on Fabric
First, see if you have to use solvent-type cleaner at all.
Some spots and stains will clean off better with just
water and mild soap.
If you need
to use a solvent:
0 Gently scrape excess soil from the trim material with
a clean, dull knife or scraper. Use very little cleaner,
light pressure and clean cloths (preferably
cheesecloth). Cleaning should start at the outside of
the stain, “feathering” toward the center. Keep
changing
to a clean section of the cloth.
0 When you clean a stain from fabric, immediately dry
the area with a blow dryer or a heat lamp
to help
prevent a cleaning ring. (See the previous NOTICE.)
Fabric Protection
Your Geo has upholstery that has been treated with
Scotchgard
TM Fabric Protector, a 3M product.
Scotchgard’“ protects fabrics by repelling oil and water,
which are the carriers
of most stains. Even with this
protection,
you still need to clean your upholstery often
to keep it looking new.
ProCarManuals.com
Page 262 of 354

Further information on cleaning is available by calling
1-800-433-3296 (in Minnesota, 1-800-642-6167).
Special Cleaning Problems
Greasy or Oily Stains
Stains caused by grease, oil, butter, margarine, shoe
polish, coffee with cream, chewing gum, cosmetic
creams, vegetable oils, wax crayon, tar and asphalt
can
be removed as follows:
Carefully scrape off excess stain.
Follow the solvent-type instructions described
earlier.
Shoe polish, wax crayon, tar and asphalt will stain if
left on a vehicle seat fabric. They should be removed
as soon as possible. Be careful, because the cleaner
will dissolve them and may cause them to spread.
Non-Greasy Stains
Stains caused by catsup, coffee (black), egg, fruit,
fruit juice, milk, soft drinks, wine, vomit, urine and
blood can be removed as follows:
Carefully scrape off excess stain, then sponge the
soiled area
with cool water.
0 If a stain remains, follow the foam-type instructions
described earlier.
0 If an odor lingers after cleaning vomit or urine,
treat the area with
a waterbaking soda solution:
1 teaspoon (5 ml) of baking soda to 1 cup (250 ml)
of lukewarm water.
0 If needed, clean lightly with solvent-type cleaner.
Combination Stains
Stains caused by candy, ice cream, mayonnaise, chili
sauce and unknown stains can be removed as follows:
Carefully scrape off excess stain, then clean with
cool water and allow to dry.
0 If a stain remains, clean it with solvent-type cleaner.
Cleaning Vinyl
Use warm water and a clean cloth.
0 Rub with a clean, damp cloth to remove dirt. You
may have to do it more than once.
Things like tar, asphalt and shoe polish will stain if
you don’t get them off quickly. Use a clean cloth and
a GM Vinylkeather Cleaner or equivalent product.
ProCarManuals.com
Page 266 of 354

Special Care for Canvas Top and
Plastic Windows
To protect the canvas top:
0 After you wash the vehicle, make sure the top is
completely dry before you open
or remove it.
Don’t get any vinyl cleaner on the vehicle’s painted
0 Don’t go through automatic car washes; the canvas
finish; it could
leave streaks.
top could be damaged.
The plastic windows are pliable and can be scratched if
you don’t take these precautions when you clean them:
0 Wipe off dust with a soft cotton cloth moistened with
clean, cool
or lukewarm water. Don’t use a “dry”
cloth. Wipe in one direction only, not back and forth.
To remove frost, snow or ice, use lukewarm water.
Don’t use
a scraper or any de-icing fluids.
Wash the windows with a soft cloth and clean, cool
or lukewarm water. Never use a dry cloth, hot water,
strong soap or detergent, solvents or harsh cleaning
agents. Rinse thoroughly and wipe with a slightly
moist soft, clean cloth.
Don’t put any labels, stickers or tape on windows.
It’s hard to remove adhesives left
on the window
when such items are removed. If a sticker
or label
must be removed, remove any adhesive left
on the
window while the adhesive is still soft and sticky.
Press
on a new sticker or piece of tape and then lift it
off again; keep doing this until all the adhesive lifts
off with the sticker or tape.
ProCarManuals.com
Page 272 of 354
Look at the silver-colored band inside the fuse. If the
band is broken
or melted, replace the fuse. Be sure you
replace a bad fuse with a
new one of the correct size. If
you ever have a problem on the road and don’t have a
spare fuse, you can borrow one. Just pick some feature
of your vehicle that you can get along without -- like the
radio or cigarette lighter
-- and use its fuse, if it is the
size you need. Replace it as soon
as you can.
Before replacing
a fuse, turn every vehicle electrical
switch
off.
ProCarManuals.com
Page 273 of 354
Fuse Usage
I 1
Main Fuse Block
Fuse
1
2
3
4
Usage
Generator to Battery Circuit
Circuits Only Active When
Ignition Switch is
in ACC,
ON or START
Circuits Always Active
Circuits Always Active
Instrument Panel Fuse Block
Fuse
1
2
3
4
5
6
Usage
Right Headlamp
Left Headlamp; High Beam Indicator Light
Taillamps; Interior Lamp; Sidemarker Lamps; Instrument Cluster Lights
Stop Lamps;
Horn
Hazard Lamps
Door Lock (Option)
ProCarManuals.com