Page 283 of 486
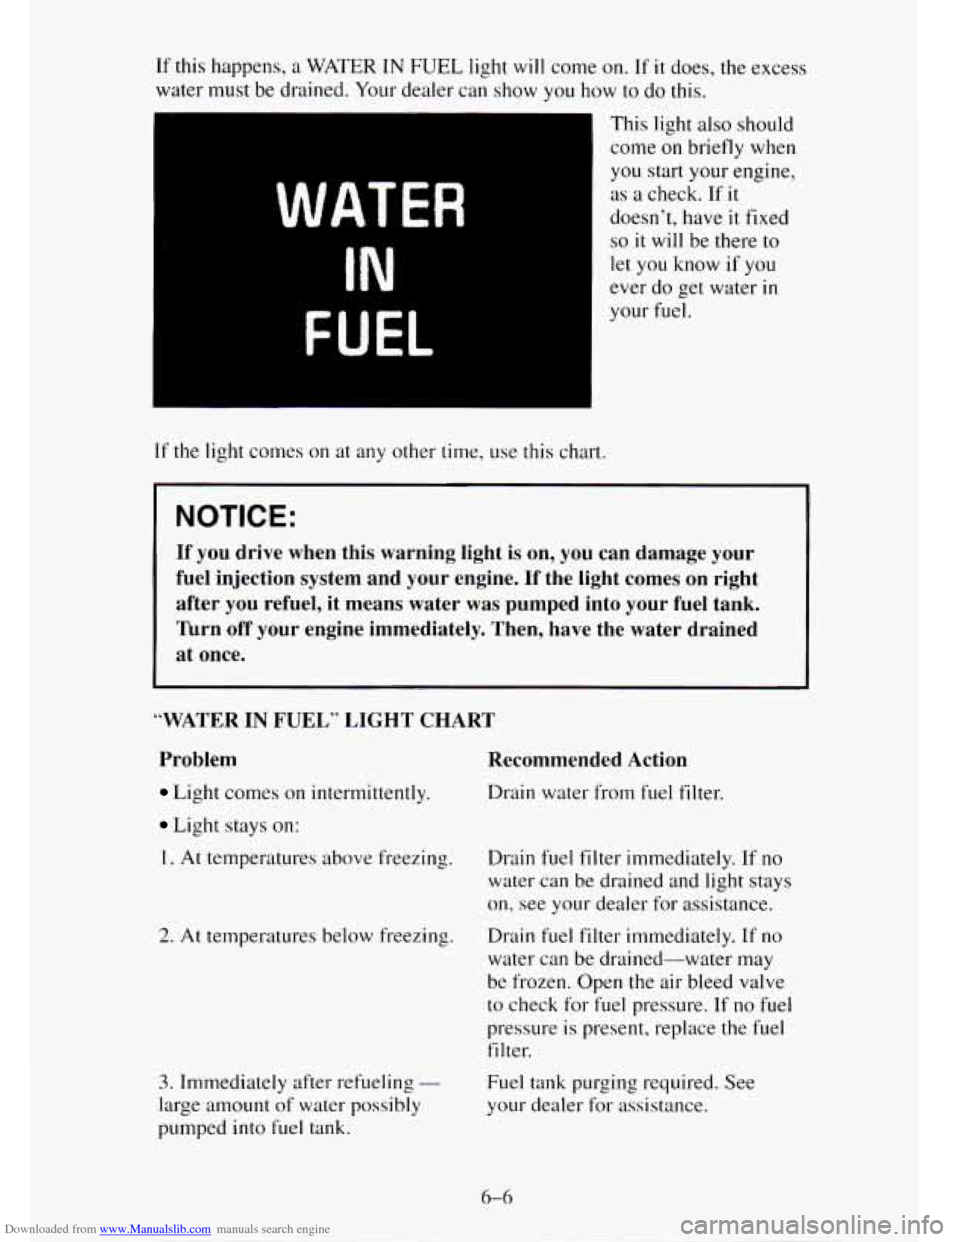
Downloaded from www.Manualslib.com manuals search engine If this happens, a WATER IN FUEL light will come
water must be drained. Your Cfpder can show you
hc
I
WATER
IN
FUEL
If the light comes on at any other time, use this chart.
! on. If it does, the excess
3w to do this.
This light
also should
come
on briefly when
you start your engine,
as a check. If it
doesn’t, have it fixed
so it will be there to
let you know if you
ever do get water
in
your fuel.
NOTICE:
If you drive when this warning light is on, you can damage your \
fuel injection system and your engine. If the light comes on \
right
after you refuel,
it means water was pumped into your fuel tank.
Turn off your engine immediately. Then, have the water drained \
at once.
“WATER IN FUEL” LIGHT CHART Problem
Light comes on intermittently.
Light stays on:
Recommended Action
Drain water from fuel filter.
1. At temperatures above freezing. Drain fuel filter immediately. If no
water can be drained and light stays
on, see your dealer for assistance.
2. At temperatures below freezing. Drain fuel filter immediately. If no
water can be drained-water may
be frozen. Open the air bleed valve
to check for fuel pressure. If
no fuel
pressure is present, replace the fuel
filter.
3. Immediately after refueling -
large amount of water possibly
pumped into fuel tank. Fuel tank
purging required. See
your dealer for assistance.
6-4
Page 284 of 486
Downloaded from www.Manualslib.com manuals search engine Hesitation or “flat” performance at high speed or during hard acceleration
may be an indication of premature fuel filter plugging due
to dirty or
contaminated fuel. The filter element may need to be changed
if this
happens. See your dealer for assistance.
To drain water:
I. Stop and park the vehicle in a safe place. Turn off the engine and apply
the parking brake.
2. Remove the fuel tank cap.
3. Place a fuel-resistant container under the filter drain hose.
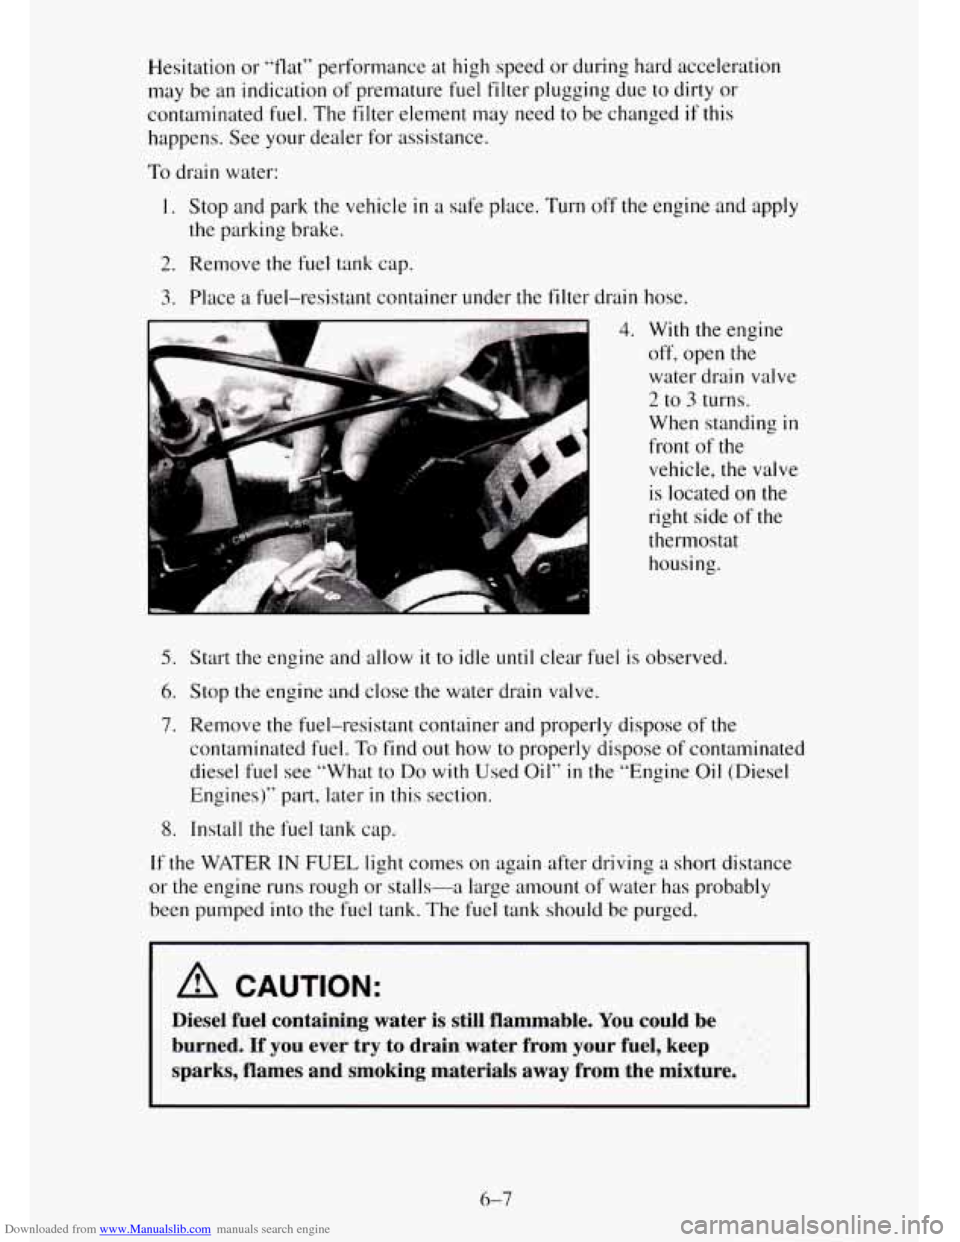
4. With the engine
off? open the
water drain valve
2 to 3 turns.
When standing
in
front of the
vehicle, the valve is located
on the
right side of the
thermostat housing.
5. Start the engine and allow it to idle until clear fuel is observed.
6. Stop the engine and close the water drain valve.
7. Remove the fuel-resistant container and properly dispose of the
contaminated fuel.
To find out how to properly dispose of contaminated
diesel fuel see “What to Do
with Used Oil” in the “Engine Oil (Diesel
Engines)” part, later
in this section.
8. Install the fuel tank cap.
If the WATER IN FUEL light comes on again after driving a short distance
or the engine runs rough or stalls-a large amount of water has probably
been pumped
into the fuel tank. The fuel tank should be purged.
6% CAUTION:
Diesel he1 containing water is still flammable. You could be
burned. If you ever try to drain water from
your fuel, keep
sparks, flames and smoking materials away
from the mixture.
6-7
Page 294 of 486
Downloaded from www.Manualslib.com manuals search engine You should also use the proper viscosity oil for your vehicle, as shown in
the following chart:
LIGHT DUTY EMISSIONS - GASOLINE ENGINES
RECOMMENDED SAE VISCOSITY GRADE ENGINE OILS
FOR BEST FUEL ECONOMY AND COLD STARTING, SELECT THE LOWEST
SAE VISCOSITY GRADE
011 FOR THE EXPECTEO TEMPERATURE RANGE.
HOT
WEATHER
7
'F
t 100
+ 80
+ 60
+ 40
+ 20
0
7
c
+38
- +27
- +16
- +4
--7
--18
WEATHER
-- ....-
SAE 5W-30
PREFERRED
LOOK
FOR THIS
SYMBOL
-
SAE 1OW-30
As shown in the chart, SAE 5W-30 is best for your vehicle. However, you
can use SAE 1 OW-30 if it's going to be 0°F (- 1 SOC) or above. These
numbers on
an oil container show its viscosity, or thickness. Do not use
other viscosity oils, such as SAE 20W-50.
6-1 7
Page 296 of 486
Downloaded from www.Manualslib.com manuals search engine NOTICE:
Use only engine oil with the American Petroleum Institute
Certified For Gasoline Engines “Starburst” symbol. Failure \
to
use the proper oil can result in engine damage not covered by
your warranty.
GM Goodwrench@ oil (in Canada, GM Engine Oil) meets all the
requirements for your vehicle.
Engine Oil Additives
Don’t add anything to your oil. Your GM dealer is ready to advise if you
think something should be added.
When to Change Engine Oil
See if any one of these is true for you:
Most trips are less than 5 to 10 miles (8 to 16 km). This is particularly
important when outside temperatures are below freezing.
0 Most trips include extensive idling (such as frequent driving in stop and
go traffic).
Most trips are through dusty areas.
You operate your vehicle in dusty areas or off-road frequently.
0 You frequently tow a trailer or use a carrier on top of your vehicle.
If any one of these
is true for your vehicle, then you need to change your oil
and filter every 3,000 miles (5 000 km) or 3 months - whichever comes
first.
Light Duty Emissions:
If none of them is true, change the oil and filter every 7,500 miles (1 2 500
km) or 12 months - whichever comes first.
Heavy Duty Emissions:
If none of them is true, change the oil and filter every 6,000 miles (10 000
km) or 12 months - whichever comes first.
Engine Coolant Heater
An engine coolant heater can be a big help if you have to park outside in
very cold weather, 0°F (- 18OC) or colder. If your vehicle has this option,
see “Engine Coolant Heater” in the Index.
Page 307 of 486
Downloaded from www.Manualslib.com manuals search engine Then, follow these steps:
1. Remove the filler plug.
2. Check that the lubricant level is up to the bottom of the filler plug hole.
3. If the fluid level is good, install the plug and be sure it is fully seated. If
the fluid level is low, add more fluid as described
in the next steps.
How to Add Fluid
Here’s how to add fluid. Refer to the Maintenance Schedule to determine
what kind of fluid to use. See “Recommended Fluids and Lubricants”
in the
Index.
1. Remove the filler plug.
2. Add fluid at the filler plug hole. Add only enough fluid to bring the
fluid level up
to the bottom of the filler plug hole.
3. Install the filler plug. Be sure the plug is fully seated.
Hydraulic Clutch
The hydraulic clutch linkage in your vehicle is self-adjusting. A slight
amount of play
(1/4 inch to 1/2 inch) in the pedal is normal.
6-30
Page 310 of 486
Downloaded from www.Manualslib.com manuals search engine How to Check Lubricant
P
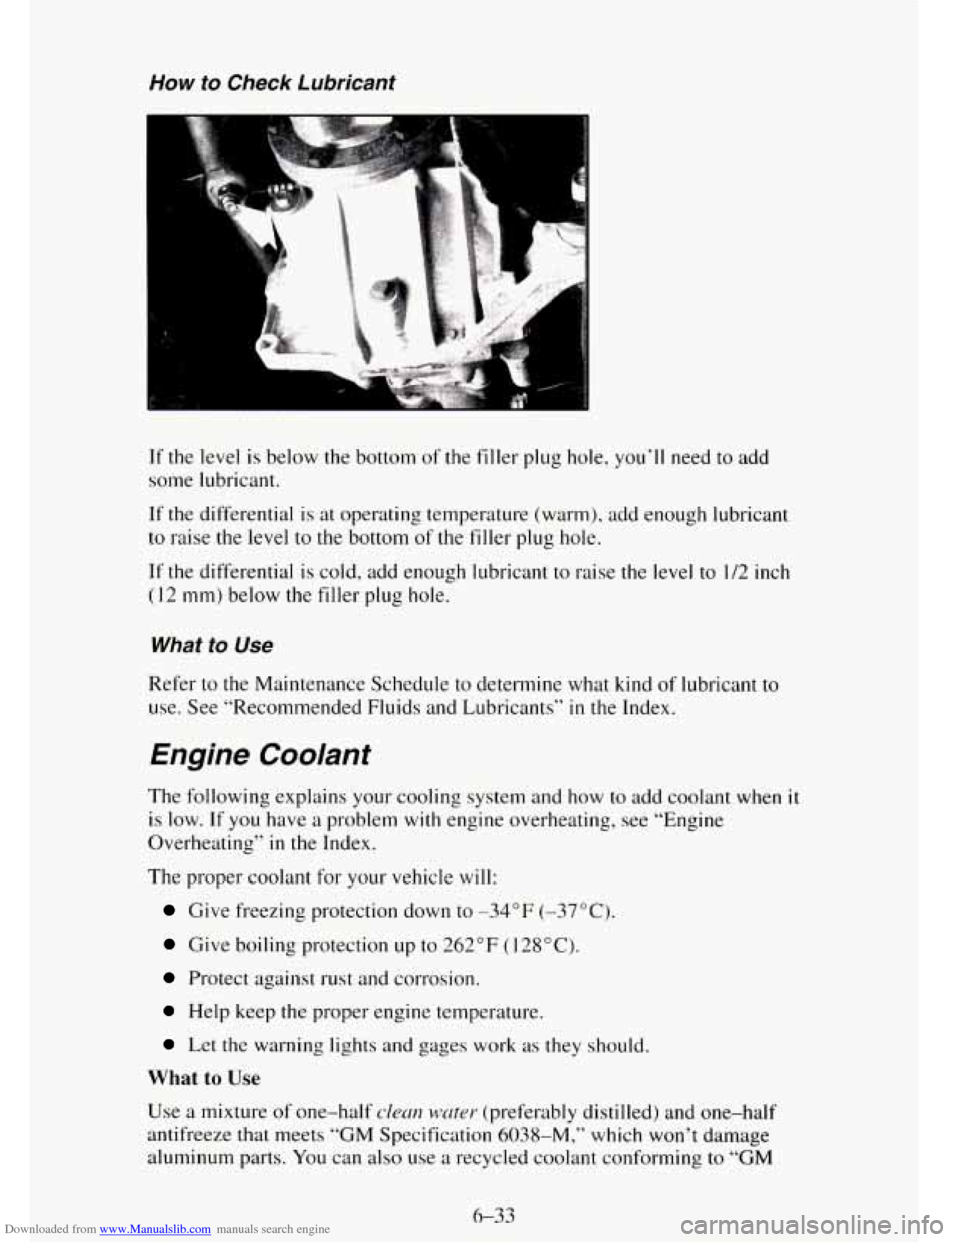
If the level is below the bottom of the filler plug hole, you’ll need to add
some lubricant.
If the differential is at operating temperature (warm), add enough lubricant
to raise the level to the bottom of the filler plug hole.
If the differential is cold, add enough lubricant to raise the level to 1/2 inch
(I 2 mm) below the filler plug hole.
What to Use
Refer to the Maintenance Schedule to determine what kind of lubricant to
use. See “Recommended Fluids and Lubricants” in the Index.
Engine Coolant
The following explains your cooling system and how to add coolant when it
is low. If you have a problem with engine overheating, see “Engine
Overheating”
in the Index.
The proper coolant for your vehicle will:
Give freezing protection down to -34°F (-37°C).
Give boiling protection up to 262°F (128°C).
Protect against rust and corrosion.
Help keep the proper engine temperature.
Let the warning lights and gages work as they should.
What to Use
Use a mixture of one-half chi? wcmr (preferably distilled) and one-half
antifreeze that meets
“GM Specification 6038-M,” which won’t damage
aluminum parts.
You can also use a recycled coolant conforming to “GM
6-33
Page 313 of 486
Downloaded from www.Manualslib.com manuals search engine Adding Coolant - Diesel Engine
x " The coolant surge tank is located on
the
passenger side at the
rear corner of the
engine compartment.
To Check Coolant
A CAUTION:
lbrning the surge tank pressure cap when the engine and
radiator are hot can allow steam and scalding liquids to blow \
out
and burn you badly. Never turn the surge tank pressure
cap -
even a little - when the engine and radiator are hot.
When your engine is cold, the coolant level should be at the COLD mark. or
a little higher.
If this light comes on, it means you're low on engine coolant.
6-36
Page 320 of 486
Downloaded from www.Manualslib.com manuals search engine Brake Wear
Your vehicle has front disc brakes and rear drum brakes.
Disc brake pads
have built-in wear indicators that make a high-pitched
warning sound when the brake pads are worn and new pads are needed. The
sound may come and
go or be heard all the time your vehicle is moving
(except when you are pushing on the brake pedal firmly).
I NOTICE:
Continuing to drive with worn-out brake pads could result in
costly brake repair.
Some driving conditions or climates may cause a brake squeal when the
brakes are first applied or lightly applied. This does not mean something is
wrong with your brakes.
Your rear drum brakes don’t have wear indicators, but
if you ever hear a
rear brake rubbing noise, have the rear brake linings inspected. Also, the
rear brake drums should be removed and inspected each time the tires are
removed for rotation or changing. When
you have the front brakes replaced,
have
the rear brakes inspected, too.
Brake linings should always be replaced as complete axle sets.
Brake Pedal Travel
See your dealer if the brake pedal does not return to normal height, or if
there
is a rapid increase in pedal travel. This could be a sign of brake
trouble.
Brake Adjustment
Every time you make a brake stop, your disc brakes adjust for wear.
If your brake pedal goes down farther than normal, your rear drum brakes
may need adjustment. Adjust them by backing up and firmly applying the
brakes a few times.
6-43