1995 CHEVROLET TAHOE light
[x] Cancel search: lightPage 331 of 486
Downloaded from www.Manualslib.com manuals search engine Engine Control Module System
Gasoline Engines
This system has an oxygen sensor (OS) that helps keep your engine’s
air-fuel mixture at a proper
level. Use only unleaded fuel in your vehicle. If
you use leaded fuel, you could damage your oxygen sensor (OS) and
three-way catalytic converter.
Diesel Vehicles Below 8,500 (3 850 Kg) GVWR
This system monitors engine speed and throttle position. It adjusts exhaust
gas recirculation to limit emissions.
Malfunction Indicator (SERVICE ENGINE SOON)
Light
The Malfunction Indicator (SERVICE ENGINE SOON) Light on your
instrument panel lets you know when your emission system needs service.
The light will come on briefly
when you start your engine to let you know
that the system is working.
If it does not come on when you start your
engine, or if
it comes on and stays on while you’re driving, your system
may need service. Your vehicle should still be driveable, but
you should
have your system serviced right away.
Secondary Air Injection Reaction (AIR) System
(Gasoline Engines)
You may have this system. It has a control valve that will direct air to where
it is needed. If the AIR system needs service, your Malfunction Indicator
(SERVICE ENGINE
SOON) Lamp on your instrument panel will come on.
Tires
We don’t make tires. Your new vehicle comes with high-quality tires made
by
a leading tire manufacturer. These tires are warranted by the tire
manufacturers, and their warranties are delivered with every new vehicle.
If
your spare tire is a different brand than your road tires, you will have a tire
warranty folder from each
of these manufacturers.
6-54
Page 341 of 486
Downloaded from www.Manualslib.com manuals search engine Using Foam-Type Cleaner on Fabric
Vacuum and brush the area to remove any loose dirt.
Always clean a whole trim panel or section. Mask surrounding trim
along stitch or welt lines.
0 Mix Multi-Purpose Powdered Cleaner following the directions on the
Use suds only and apply with a clean sponge.
Don’t saturate the material.
Don’t rub it roughly.
As soon as you’ve cleaned the section, use a sponge to remove the
0 Rinse the section with a clean, wet sponge.
Wipe off what’s left with a slightly damp paper towel or cloth.
Then dry it immediately with a blow dryer or a heat lamp.
container
label.
suds.
NOTICE:
Be careful. A blow dryer may scorch the fabric.
0 Wipe with a clean cloth.
Using Solvent-Type Cleaner on Fabric
First, see if you have to use solvent-type cleaner at all. Some spots and
stains will clean off better with
iust water and mild soap.
If you need to use a solvent:
Gently scrape excess soil from the trim material with a clean, dull knife
or scraper. Use very little cleaner, light pressure and clean cloths
(preferably cheesecloth). Cleaning should start at the outside of the
stain, “feathering” toward the center. Keep changing to
a clean section
of the cloth.
When you clean a stain from fabric, immediately dry the area with a
blow dryer to help prevent a cleaning ring. (See the previous NOTICE.)
6-64
Page 342 of 486
Downloaded from www.Manualslib.com manuals search engine Fabric Protection
Your vehicle has upholstery and carpet that has been treated with
Scotchgard
TM Fabric Protector, a 3M product. Scotchgard TM protects fabrics
by repelling
oil and water, which are the carriers of most stains. Even with
this protection, you still need to clean your upholstery and carpet often to
keep it looking new.
Further information
on cleaning is available by calling 1-800-433-3296 (in
Minnesota, 1-800-642-6 167).
Special Cleaning Problems
Greasy or Oily Stains
Stains caused by grease, oil, butter, margarine, shoe polish, coffee with
cream, chewing gum, cosmetic creams, vegetable oils, wax crayon, tar and
asphalt can be removed
as follows:
0 Carefully scrape off excess stain.
Follow the solvent-type instructions described earlier.
Shoe polish, wax crayon, tar and asphalt will stain if left on a vehicle
seat fabric. They should be removed
as soon as possible. Be careful,
because the cleaner will dissolve them and may cause them to spread.
Non-Greasy Stains
Stains caused by catsup, coffee (black), egg, fruit, fruit juice, milk, soft
drinks, wine, vomit, urine and blood can be removed as follows:
Carefully scrape off excess stain, then sponge the soiled area with cool
water.
0 If a stain remains, follow the foam-type instructions described earlier.
0 If an odor lingers after cleaning vomit or urine, treat the area with a
watedbaking soda solution: 1 teaspoon (5 ml) of baking soda to 1 cup
(250 ml) of lukewarm water.
If needed, clean lightly with solvent-type cleaner.
Combination Stains
Stains caused by candy, ice cream, mayonnaise, chili sauce and unknown
stains can be removed as follows:
Carefully scrape off excess stain, then clean with cool water and allow
to dry.
0 If a stain remains, clean it with solvent-type cleaner.
6-65
Page 353 of 486
Downloaded from www.Manualslib.com manuals search engine Fuse Block
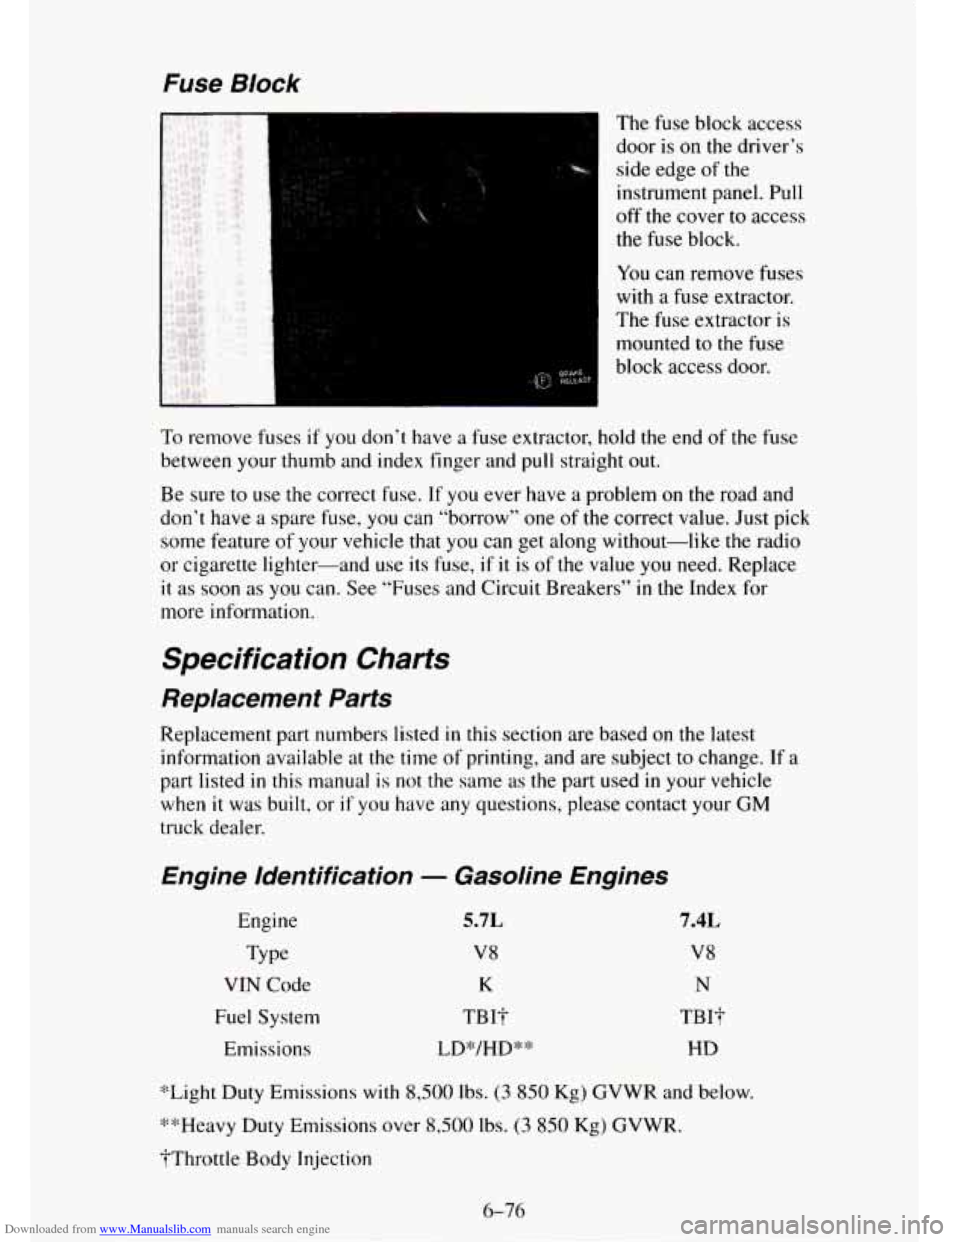
The fuse block access
door is on the driver’s
side edge
of the
instrument panel. Pull
off the cover to access
the fuse block.
You can remove fuses
with a fuse extractor.
The
fuse extractor is
mounted to the fuse
block access door.
To remove fuses if you don’t have a fuse extractor, hold the end of the fuse
between your thumb and index finger and pull straight
out.
Be sure to use the correct fuse. If you ever have a problem on the road and
don’t
have a spare fuse, you can “borrow” one of the correct value. Just pick
some feature of your vehicle that you can get along without-like the radio
or cigarette lighter-and use its fuse,
if it is of the value you need. Replace
it as soon as you can. See “Fuses and Circuit Breakers” in the Index for
more information.
Specification Charts
Replacement Parts
Replacement part numbers listed in this section are based on the latest
information available at the time of printing, and are subject to change.
If a
part listed in this manual is not the same as the part used in your vehicle
when
it was built, or if you have any questions, please contact your GM
truck dealer.
Engine Identification - Gasoline Engines
Engine
Type
VIN Code
Fuel System Emissions
7.4L
V8
N
TBI? HD
*Light Duty Emissions
with 8,500 lbs. (3 850 Kg) GVWR and below.
**Heavy Duty Emissions over
8,500 Ibs. (3 850 Kg) GVWR.
?Throttle Body Injection
6-76
Page 358 of 486
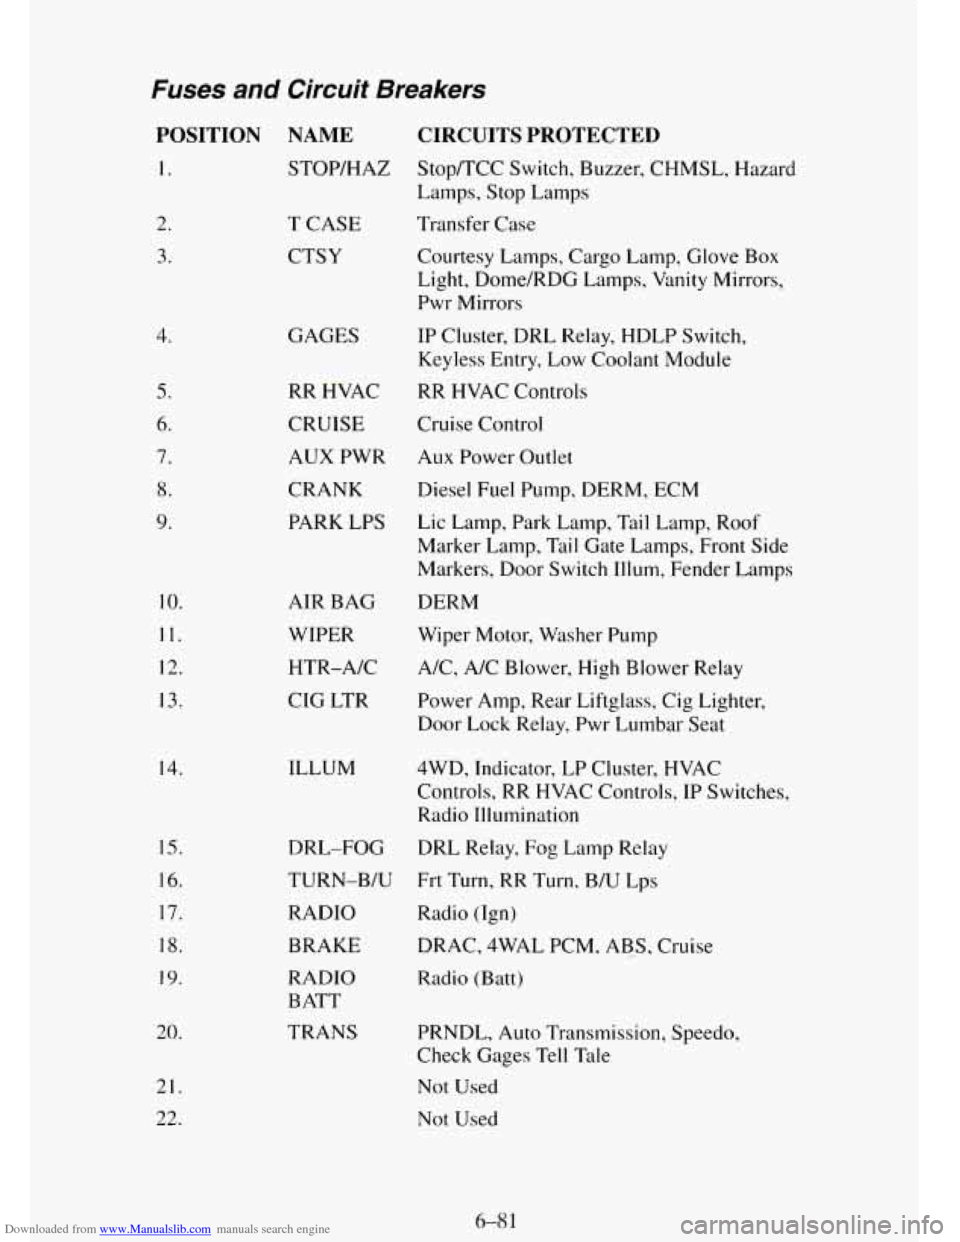
Downloaded from www.Manualslib.com manuals search engine Fuses and Circuit Breakers
POSITION
1.
2.
3.
4.
5.
6.
7.
8.
9.
10.
11.
12.
13. 14.
15.
16.
17.
18.
19.
20.
21.
22.
NAME
STOP/HAZ
T CASE
CTSY
GAGES
RR WAC
CRUISE
AUX PWR CRANK
PARK LPS
AIR BAG
WIPER
HTR-A/C
CIG LTR
ILLUM
DRL-FOG
TURN-B/U
RADIO
BRAKE
RADIO
BATT
TRANS
CIRCUITS PROTECTED
Stop/TCC Switch, Buzzer, CHMSL, Hazard
Lamps, Stop Lamps
Transfer Case
Courtesy Lamps, Cargo Lamp, Glove Box
Light, Dome/RDG Lamps, Vanity Mirrors,
Pwr Mirrors
IP Cluster, DRL Relay, HDLP Switch,
Keyless Entry, Low Coolant Module
RR HVAC Controls
Cruise Control
Aux Power Outlet
Diesel Fuel Pump, DERM, ECM
Lic Lamp, Park Lamp, Tail Lamp, Roof
Marker Lamp, Tdi1 Gate Lamps, Front Side
Markers, Door Switch Illum, Fender Lamps
DERM
Wiper
Motor, Washer Pump
A/C, A/C Blower, High Blower Relay
Power Amp, Rear Liftglass, Cig Lighter,
Door Lock Relay, Pwr Lumbar Seat
4WD, Indicator, LP Cluster, HVAC
Controls,
RR HVAC Controls, IP Switches,
Radio Illumination
DRL Relay,
Fog Lamp Relay
Frt Turn, RR Turn, B/U Lps
Radio (Ign)
DRAC, 4WAL PCM. ABS,
... . Cruise
Radio (Batt)
PRNDL, Auto Transmission, Speedo,
Check Gages Tell Tde
Not Used Not Used
Page 366 of 486
Downloaded from www.Manualslib.com manuals search engine Part A: Scheduled Maintenance Services
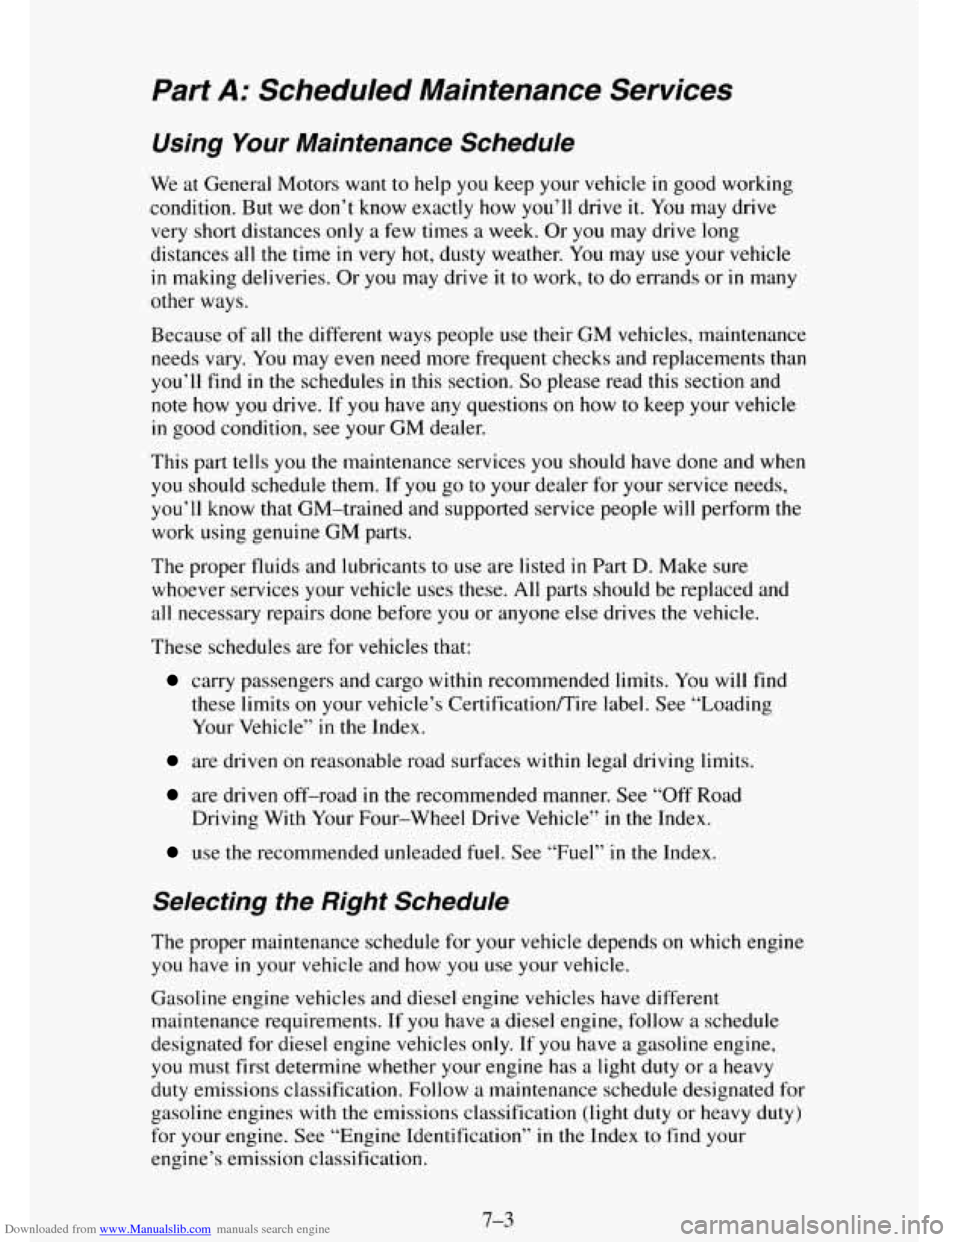
Using Your Maintenance Schedule
We at General Motors want to help you keep your vehicle in good working
condition. But we don’t know exactly how
you’ll drive it. You may drive
very short distances
only a few times a week. Or you may drive long
distances all the time
in very hot, dusty weather. You may use your vehicle
in making deliveries. Or you may drive it to work, to do errands or in many
other ways.
Because of all the different ways people use their GM vehicles, maintenance
needs vary. You may
even need more frequent checks and replacements than
you’ll find
in the schedules in this section. So please read this section and
note how
you drive. If you have any questions on how to keep your vehicle
in good condition, see your GM dealer.
This part tells you the maintenance services
you should have done and when
you should schedule them. If you go to your dealer for your service needs,
you’ll know that GM-trained and supported service people will perform the
work using genuine GM parts.
The proper fluids and lubricants to use are listed in Part D. Make sure
whoever services your vehicle uses these. All parts should be replaced and
all necessary repairs done before you or anyone else drives the vehicle.
These schedules are
for vehicles that:
carry passengers and cargo within recommended limits. You will find
these limits on your vehicle’s CertificatiodTire label. See “Loading
Your Vehicle”
in the Index.
are driven on reasonable road surfaces within legal driving limits.
are driven off-road in the recommended manner. See “Off Road
Driving With Your Four-wheel Drive Vehicle”
in the Index.
use the recommended unleaded fuel. See “Fuel” in the Index.
Selecting the Right Schedule
The proper maintenance schedule for your vehicle depends on which engine
you have in your vehicle and how you use your vehicle.
Gasoline engine vehicles and diesel engine vehicles have different
maintenance requirements. If you have a diesel engine, follow
a schedule
designated for diesel engine vehicles
only. If you have a gasoline engine,
you must first determine whether your engine has a light duty or a heavy
duty emissions classification. Follow a maintenance schedule designated for
gasoline engines with the emissions classification (light duty or heavy duty)
for your engine. See “Engine Identification”
in the Index to find your
engine’s emission classification.
7-3
Page 367 of 486
Downloaded from www.Manualslib.com manuals search engine If your engine has more than one emissions classification, the classification
is determined by the Gross Vehicle Weight Rating (GVWR) of your vehicle
as shown on the Certification Label. See “Loading Your Vehicle” in the
Index.
Once you’ve determined your engine type and,
if necessary, emissions
classification, you’ll need
to decide which of the two schedules is right for
your vehicle. See Definitions for Maintenance Schedule I and Maintenance
Schedule I1 following.
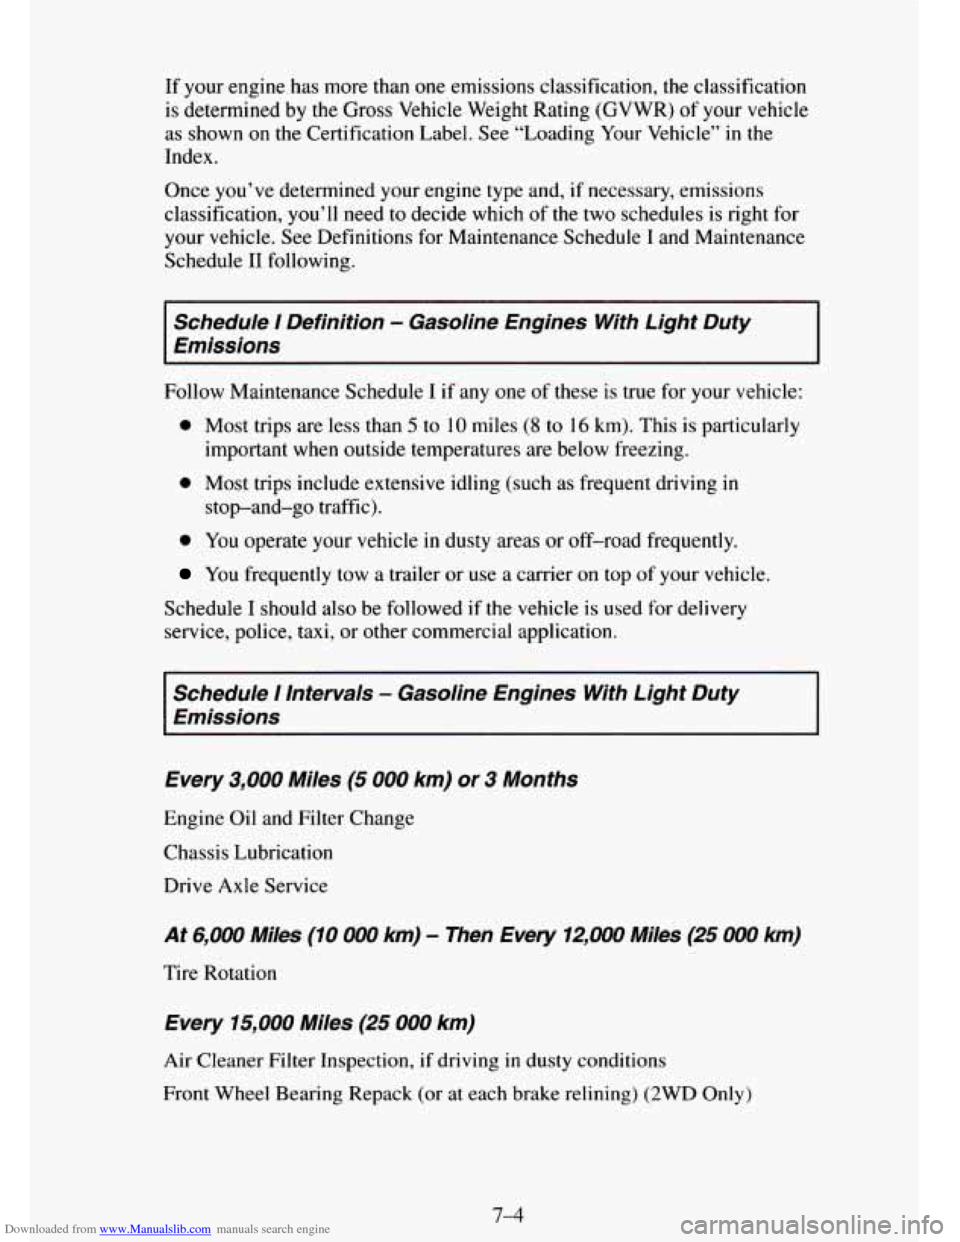
Schedule I Definition - Gasoline Engines With Light Duty
Emissions
Follow Maintenance Schedule I if any one of these is true for your vehicle:
0 Most trips are less than 5 to 10 miles (8 to 16 km). This is particularly
important when outside temperatures are below freezing.
stop-and-go traffic).
0 Most trips include extensive idling (such as frequent driving in
0 You operate your vehicle in dusty areas or off-road frequently.
You frequently tow a trailer or use a carrier on top of your vehicle.
Schedule
I should also be followed if the vehicle is used for delivery
service, police, taxi, or other commercial application.
Schedule I Intervals - Gasoline Engines With Light Duty
Emissions
Every
3,000 Miles (5 000 km) or 3 Months
Engine Oil and Filter Change
Chassis Lubrication
Drive Axle Service
At 6,000 Miles (10 000 km) - Then Every 12,000 Miles (25 000 km)
Tire Rotation
Every 15,000 Miles (25 000 km)
Air Cleaner Filter Inspection, if driving in dusty conditions
Front Wheel Bearing Repack (or at each brake relining)
(2WD Only)
7-4
Page 368 of 486
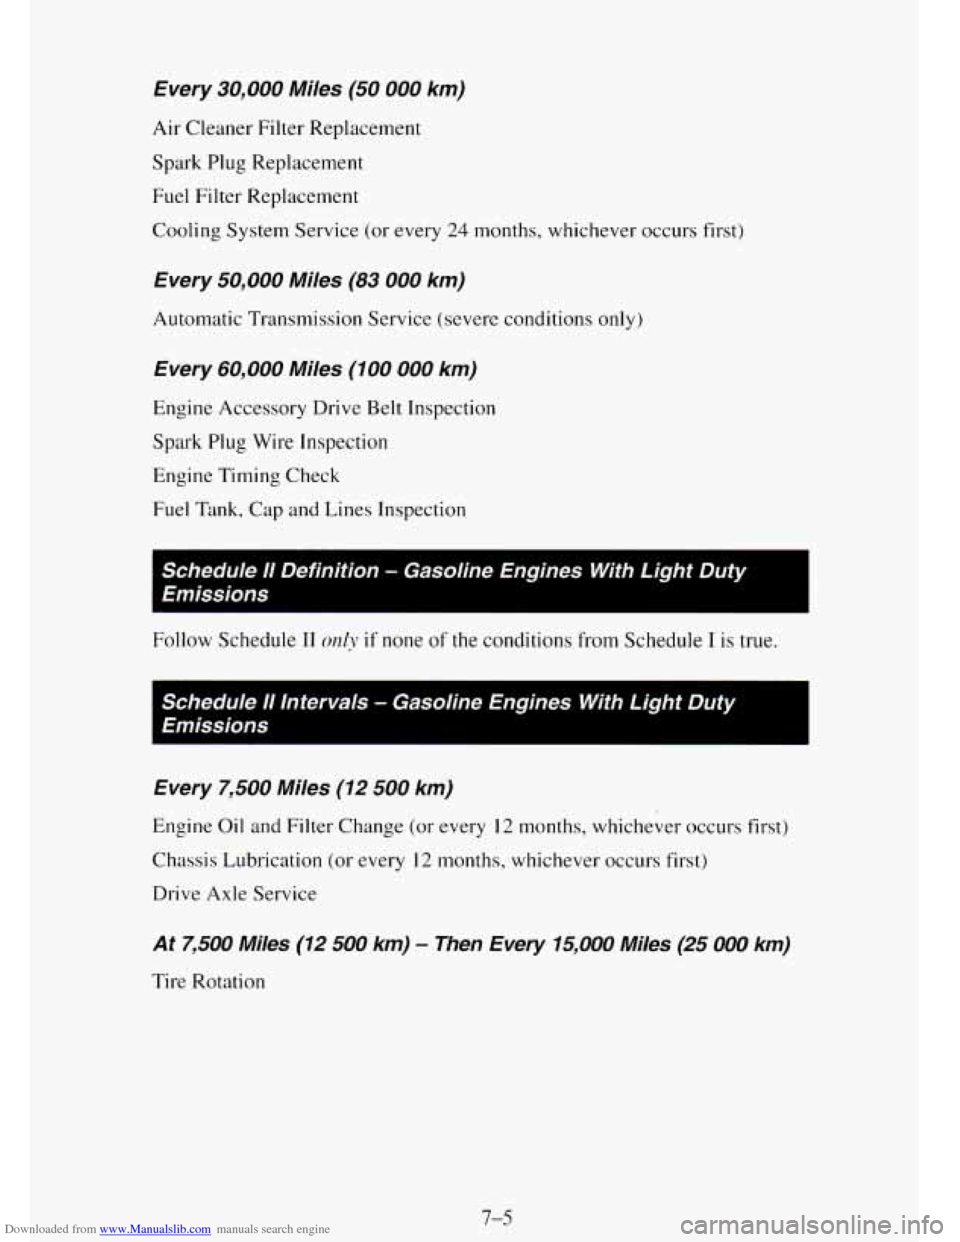
Downloaded from www.Manualslib.com manuals search engine Every 30,000 Miles (50 000 km)
Air Cleaner Filter Replacement
Spark Plug Replacement
Fuel Filter Replacement
Cooling System Service (or every
24 months, whichever occurs first)
Every 50,000 Miles (83 000 km)
Automatic Transmission Service (severe conditions only)
Every 60,000 Miles (100 000 km)
Engine Accessory Drive Belt Inspection
Spark Plug Wire Inspection
Engine Timing Check Fuel Tdnk, Cap and Lines Inspection
I
Schedule lI Definition - Gasoline Engines With Light Duty
Emissions
Follow Schedule 11 orzly if none of the conditions from Schedule I is true.
Every 7,500 Miles (12 500 km)
Engine Oil and Filter Change (or every 12 months, whichever occurs first)
Chassis Lubrication (or every
12 months, whichever occurs first)
Drive
Axle Service
At 7,500 Miles (12 500 km) - Then Every 15,000 Miles (25 000 km)
Tire Rotation
7-S