1995 CHEVROLET TAHOE instrument panel
[x] Cancel search: instrument panelPage 158 of 486

Downloaded from www.Manualslib.com manuals search engine Before using your vehicle’s air conditioning, open the windows to clear the
vehicle of
hot air.
Using the recirculation function can also help. See “Recirculation Button”
in this section for more information.
The knob on the left side of the heating system control panel controls the
fan speed. The knob has four speed positions. To increase the air flow, move
the knob toward HI.
To decrease the air flow, move it toward LO. To turn
the fan off, move the knob to
OFF. If you have the air conditioner on,
moving the fan knob to OFF also turns off the A/C compressor.
The middle knob
on the control panel lets you select the relative
temperature
of the air flowing into the passenger area of your vehicle. This
knob will allow
you to adjust the relative air temperature independently of
the function knob setting. Move the knob right toward the red area for
warmer air. Move the knob left toward the blue area for cooler air.
With
A/C on, move the knob to MAX for maximum cooling. This setting
puts the system in the recirculation mode and helps to maximize your air
conditioner’s performance and your vehicle’s fuel economy. This setting
also cools the air
the fastest. After the vehicle’s interior reaches a
comfortable temperature, move
the knob clockwise to place the air
conditioning system
in the normal mode.
The right knob on the control panel changes the heatedair conditioning
setting.
VENT
- This setting, with the arrow pointing at the figure’s head, directs
air through the instrument panel vents.
VENT/HEAT
- Use this setting, with the arrows pointing at the figure’s
feet and head, to divide airflow between the heater floor vents and
instrument panel vents.
HEAT
- This setting, with the arrow pointing at the figure’s feet, directs air
through the heater floor vents. This setting
is useful for cold weather.
HEAT/DEFROST
- Use this setting, with the arrow pointing at the figure’s
feet and the defroster symbol near
the figure’s head, to divide airflow
between the heater floor
vents and windshield.
DEFROST
- This setting with the defrost symbol directs air through the
windshield defroster vents. This setting is useful when
you have fog or ice
on the windshield.
The control knob can be placed in any position between two heatedair
conditioning settings to blend the flow of air. The closer the knob
is to a
setting symbol, the more
the air flow will represent that symbol’s air flow
arrows.
RECIRCULATION BUTTON
- This button, between the left and middle
knobs, allows the air inside your vehicle to be recirculated. This setting
helps to maximize your air conditioner’s performance and your vehicle’s
3-3
Page 159 of 486
Downloaded from www.Manualslib.com manuals search engine fuel economy. This setting also cools the air the fastest and can be used to
keep “unwanted odors” and/or dust from entering the vehicle. When using
the air conditioner, turn off recirculation after the vehicle reaches
a
comfortable interior temperature.
When the right knob
on the control panel is between HEAT and DEFROST,
the recirculation feature will not function.
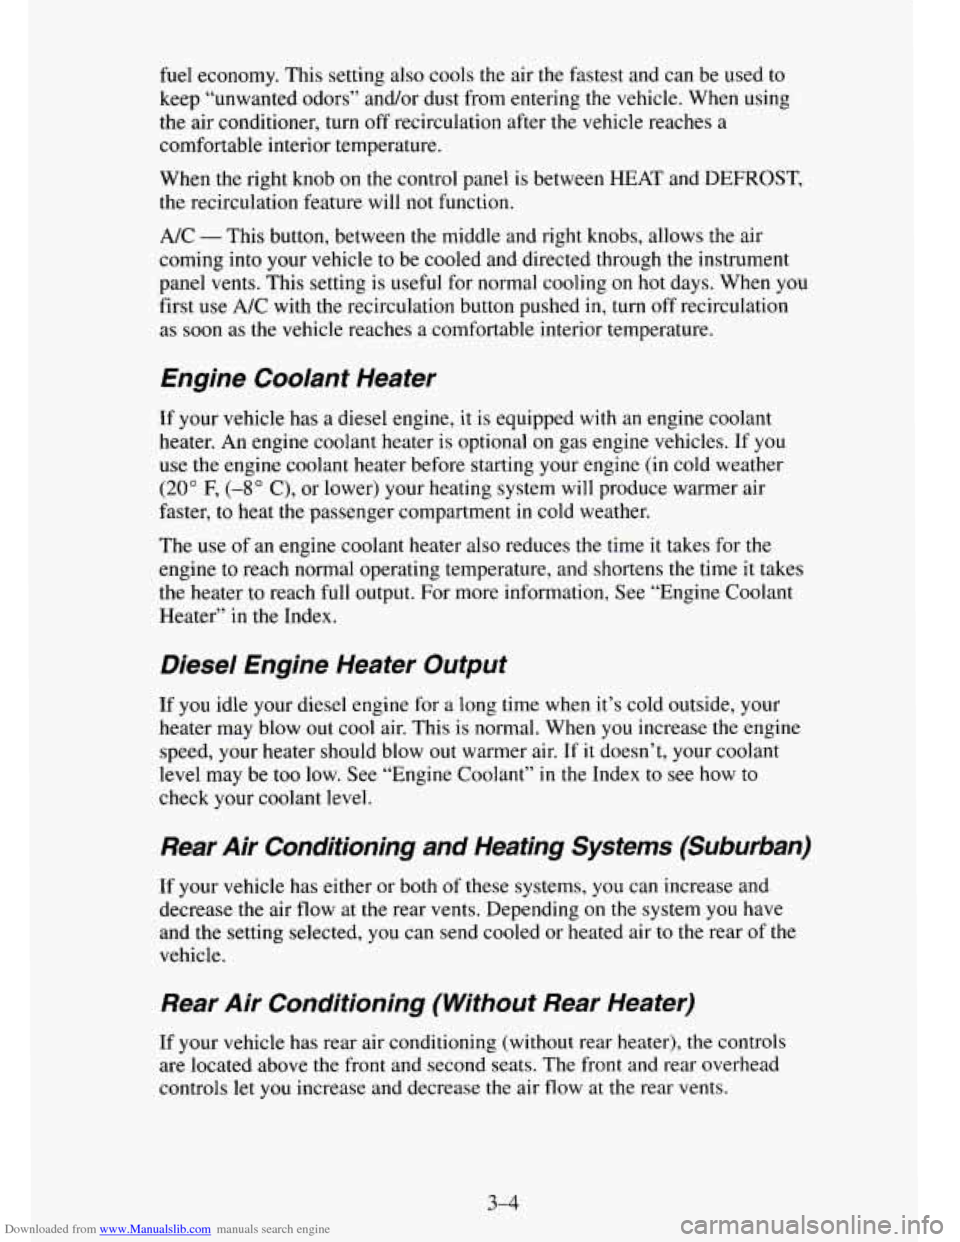
NC - This button, between the middle and right knobs, allows the air
coming into your vehicle
to be cooled and directed through the instrument
panel vents. This setting
is useful for normal cooling on hot days. When you
first
use A/C with the recirculation button pushed in, turn off recirculation
as soon as the vehicle reaches a comfortable interior temperature.
Engine Coolant Heater
If your vehicle has a diesel engine, it is equipped with an engine coolant
heater. An engine coolant heater is optional
on gas engine vehicles. If you
use the engine coolant heater before starting your engine (in cold weather
(20” F, (-8” C), or lower) your heating system will produce warmer air
faster, to heat
the passenger compartment in cold weather.
The use of an engine coolant heater also reduces
the time it takes for the
engine to reach normal operating temperature, and shortens the time it takes
the heater
to reach full output. For more information, See “Engine Coolant
Heater” in the Index.
Diesel Engine Heater Output
If you idle your diesel engine for a long time when it’s cold outside, your
heater may blow out cool air. This is normal. When you increase the engine
speed, your heater should blow
out warmer air. If it doesn’t, your coolant
level may be too low. See “Engine Coolant” in the Index to see how to
check your coolant level.
Rear Air Conditioning and Heating Systems (Suburban)
If your vehicle has either or both of these systems, you can increase and
decrease the air flow at the rear vents. Depending
on the system you have
and the setting selected, you can send cooled or heated air to the rear of the
vehicle.
Rear Air Conditioning (Without Rear Heater)
If your vehicle has rear air conditioning (without rear heater), the controls
are located above the front and second seats. The front and rear overhead
controls let
you increase and decrease the air flow at the rear vents.
3-4
Page 160 of 486
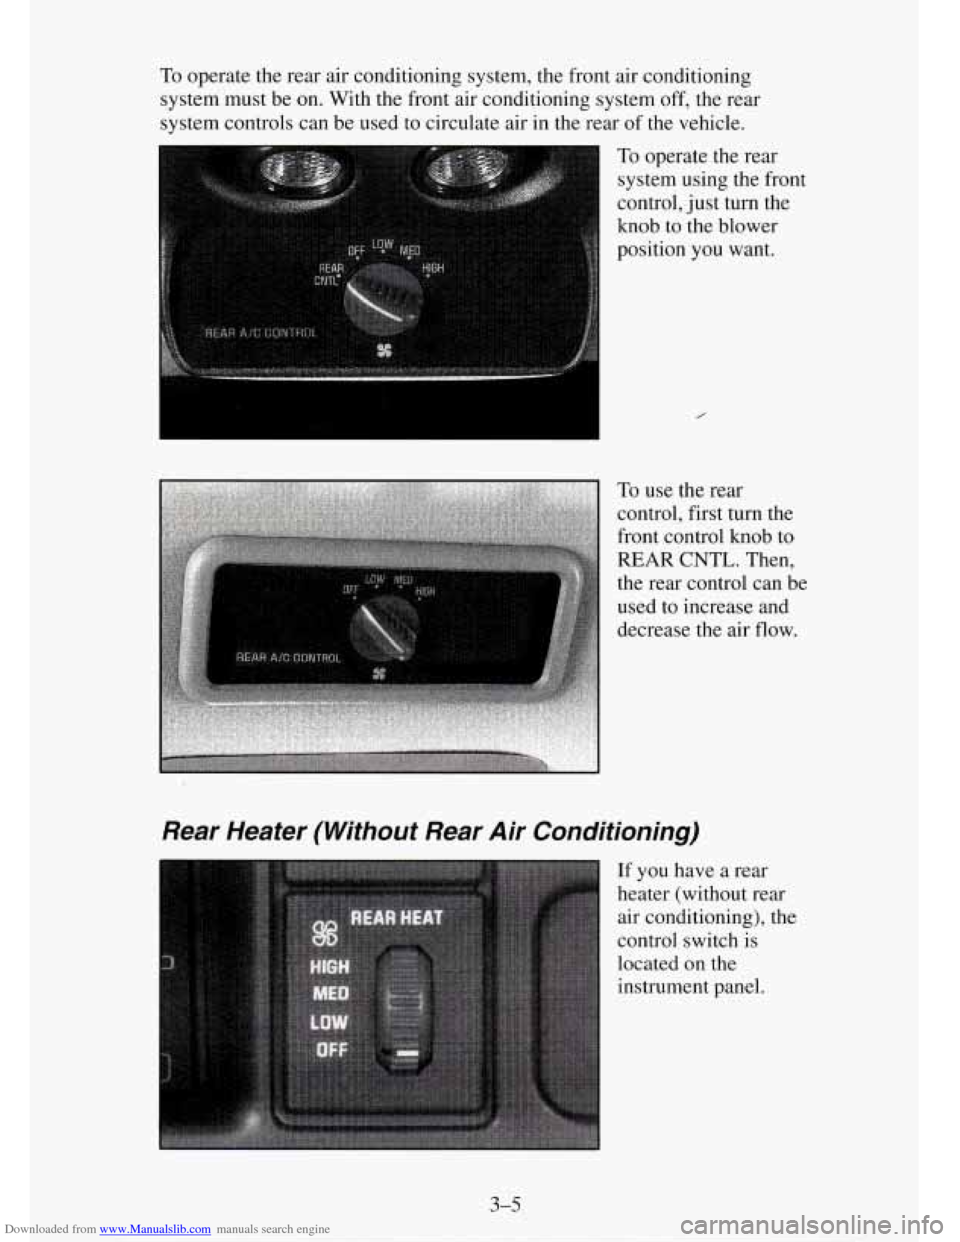
Downloaded from www.Manualslib.com manuals search engine To operate the rear air conditioning system, the front air conditioning
system must be on. With the front air conditioning system
off, the rear
system controls can be used to circulate air in the rear of the vehicle.
0 To operate the rear
system using the front
control, just turn the
knob to the blower
position you want.
Rear Heater (Without Rear Air Conditioning)
If you have a rear
heater (without rear
air conditioning), the
control switch is
located
on the
instrument panel.
3-5
Page 164 of 486

Downloaded from www.Manualslib.com manuals search engine Your vehicle has air
vents in the center and
on the sides of your
instrument panel.
You can move the vents from side to side or up and down to direct the
flow
of air, or close the vents altogether. When you close a vent, it will increase
the flow of air coming out of any vents that are open.
Audio Systems
Your Delco@ audio system has been designed to operate easily and give
years of listening pleasure. But
you will get the most enjoyment out of it if
you acquaint yourself with it first. Find out what your Delco@systern can
do
and how to operate all its controls, to be sure you’re getting the most out of
the advanced engineering that went into it.
Setting the Clock (Audio Systems without AUTO
TONE System)
To set the clock:
1. Press the SET button.
2. Within 5 seconds, press and hold SEEK until the correct minute
3. Press and hold 4 SEEK until the correct hour appears on the display.
appears
on the display.
To display the clock with the ignition off, press the upper knob. The time
will be displayed for a few seconds.
3-9
Page 180 of 486
Downloaded from www.Manualslib.com manuals search engine Remote Cassette Player - €?W AM-FM Stereo Audio
Compact Disc ATC System
..
EJECT
i
1
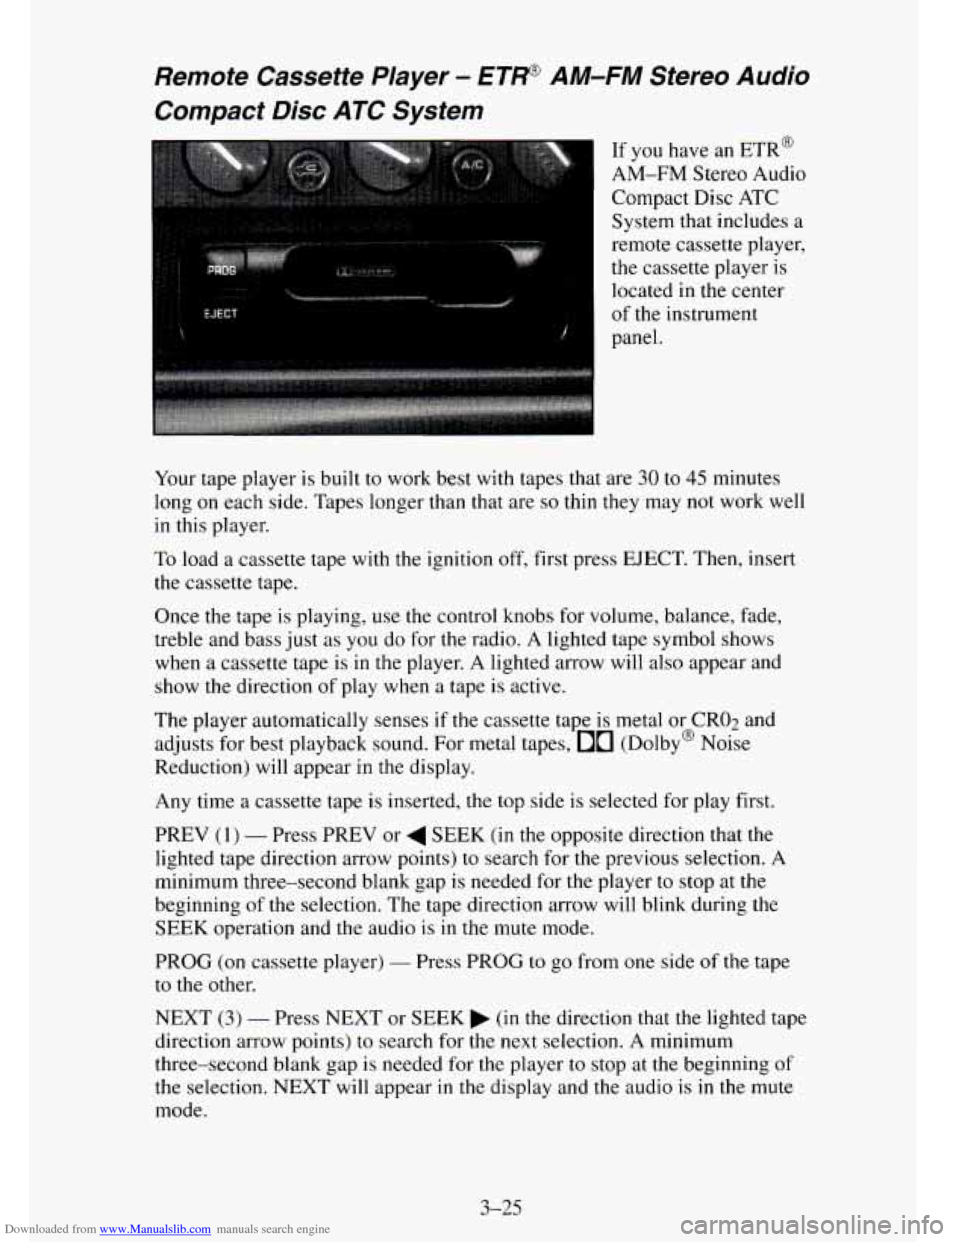
If you have an ETR@
AM-FM Stereo Audio
Compact Disc ATC
System that includes a
remote cassette player,
the cassette player is
located in the center
panel.
, of the instrument
Your tape player is built
to work best with tapes that are 30 to 45 minutes
long
on each side. Tapes longer than that are so thin they may not work well
in this player.
To load a cassette tape with the ignition off, first press EJECT. Then, insert
the cassette tape.
Once
the tape is playing, use the control knobs for volume, balance, fade,
treble and bass just as you do for the radio. A lighted tape symbol shows
when a cassette tape is in the player. A lighted arrow will also appear and
show
the direction of play when a tape is active.
The player automatically senses
if the cassette tape is metal or CRO2 and
adjusts for best playback sound. For metal tapes,
00 (Dolby@ Noise
Reduction) will appear in the display.
Any time a cassette tape is inserted, the top side is selected for play first.
PREV
(1) - Press PREV or 4 SEEK (in the opposite direction that the
lighted tape direction arrow points) to search for the previous selection.
A
minimum three-second blank gap is needed for the player to stop at the
beginning
of the selection. The tape direction arrow will blink during the
SEEK operation and
the audio is in the mute mode.
PROG
(on cassette player) - Press PROG to go from one side of the tape
to the other.
NEXT
(3) - Press NEXT or SEEK (in the direction that the lighted tape
direction arrow points) to search for the next selection. A minimum
three-second blank gap is needed for the player
to stop at the beginning of
the selection. NEXT will appear in the display and the audio is in the mute
mode.
3-25
-
Page 228 of 486

Downloaded from www.Manualslib.com manuals search engine Turn Signals When Towing a Trailer
When you tow a trailer, your vehicle has to have extra wiring (included in
the optional trailering package). The green arrows
on your instrument panel
will flash whenever
you signal a turn or lane change. Properly hooked up,
the trailer lamps will
also flash, telling other drivers you’re about to turn,
change lanes or stop.
When towing a trailer, the green arrows on your instrument panel will flash
for turns even if the bulbs
on the trailer are burned out. Thus, you may think
drivers behind you are seeing your signal when they are not. It’s important
to check occasionally to be sure the trailer bulbs are still working.
Driving On Grades
Reduce speed and shift to a lower gear before you start down a long or steep
downgrade. If
you don’t shift down, you might have to use your brakes so
much that they would get hot and no longer work well.
On
a long uphill grade, shift down and reduce your speed to around 45 mph
(70 kdh) to reduce the possibility of engine and transmission overheating.
If
you have an automatic transmission you should use DRIVE (3) (or, as
you need to, a lower gear) when towing a trailer. Operating your vehicle in
DRIVE (3) when towing a trailer will minimize heat build-up and extend
the life
of your transmission.
If
you have a manual transmission and you are towing a trailer, it’s better
not to use FIFTH (5) gear. Just drive in FOURTH (4) gear (or, as you need
to,
a lower gear).
When towing at high altitude
on steep uphill grades, consider the following:
Engine coolant will boil at a lower temperature than at normal altitudes. If
you turn your engine off immediately after towing at high altitude on steep
uphill grades, your vehicle may show signs similar
to engine overheating.
To avoid this, let the engine run while parked (preferably on level ground)
with the automatic transmission
in PARK (P) (or the manual transmission
out of gear and the parking brake applied) for a few minutes before turning
the engine off.
If you do get the overheat warning, see “Engine
Overheating” in the Index.
Parking on Hills
You really should not park your vehicle, with a trailer attached, on a hill. If
something goes wrong, your rig could start to move. People can be injured,
and both your vehicle and
the trailer can be damaged.
But
if you ever have to park your rig on a hill, here’s how to do it:
1. Apply your regular brakes, but don’t shift into PARK (P) yet, or in gear
for a manual transmission.
Page 331 of 486
Downloaded from www.Manualslib.com manuals search engine Engine Control Module System
Gasoline Engines
This system has an oxygen sensor (OS) that helps keep your engine’s
air-fuel mixture at a proper
level. Use only unleaded fuel in your vehicle. If
you use leaded fuel, you could damage your oxygen sensor (OS) and
three-way catalytic converter.
Diesel Vehicles Below 8,500 (3 850 Kg) GVWR
This system monitors engine speed and throttle position. It adjusts exhaust
gas recirculation to limit emissions.
Malfunction Indicator (SERVICE ENGINE SOON)
Light
The Malfunction Indicator (SERVICE ENGINE SOON) Light on your
instrument panel lets you know when your emission system needs service.
The light will come on briefly
when you start your engine to let you know
that the system is working.
If it does not come on when you start your
engine, or if
it comes on and stays on while you’re driving, your system
may need service. Your vehicle should still be driveable, but
you should
have your system serviced right away.
Secondary Air Injection Reaction (AIR) System
(Gasoline Engines)
You may have this system. It has a control valve that will direct air to where
it is needed. If the AIR system needs service, your Malfunction Indicator
(SERVICE ENGINE
SOON) Lamp on your instrument panel will come on.
Tires
We don’t make tires. Your new vehicle comes with high-quality tires made
by
a leading tire manufacturer. These tires are warranted by the tire
manufacturers, and their warranties are delivered with every new vehicle.
If
your spare tire is a different brand than your road tires, you will have a tire
warranty folder from each
of these manufacturers.
6-54
Page 343 of 486
Downloaded from www.Manualslib.com manuals search engine Cleaning Vinyl
Use warm water and a clean cloth.
Rub with a clean, damp cloth to remove dirt. You may have to do it
more than once.
0 Things like tar, asphalt and shoe polish will stain if you don’t get them
off quickly. Use a clean cloth and
GM vinyl/leather cleaner.
Cleaning Leather
Use a soft cloth with lukewarm water and a mild soap or saddle soap.
For stubborn stains, use GM vinyl/leather cleaner.
Never use oils, varnishes, solvent-based or abrasive cleaners, furniture
polish or shoe polish
on leather.
into finish, it can harm
the leather,
Soiled leather should be cleaned immediately. If dirt is allowed to work
Cleaning the Top of the Instrument Panel
Use only mild soap and water to clean the top surfaces of the instrument
panel. Sprays containing silicones or waxes may cause annoying reflections
in the windshield and even make it difficult to see through the windshield
under certain conditions.
Care of Safety Belts
Keep belts clean and dry.
6-66