1995 CHEVROLET MONTE CARLO parking brake
[x] Cancel search: parking brakePage 74 of 324
Downloaded from www.Manualslib.com manuals search engine Parking Brake
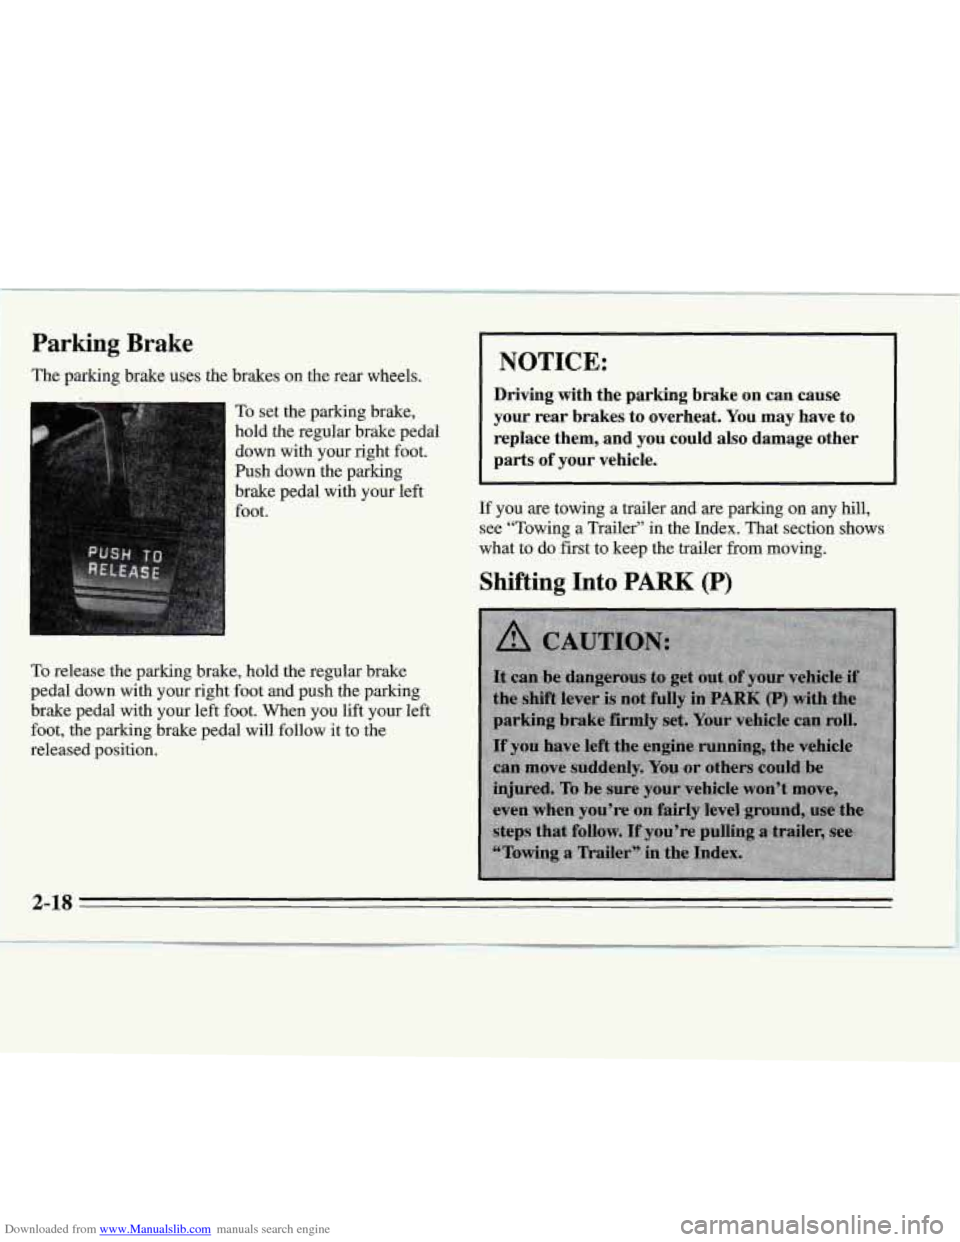
The parking brake uses the brakes on the rear wheels.
To set the parking brake,
hold the regular brake pedal
down with your right foot.
Push down the parking
brake pedal with your left
foot.
To release the parking brake, hold the regular brake
pedal down with your right foot and push the parking
brake pedal with your left foot. When you lift your left
foot, the parking brake pedal will follow it to the
released position. I NOTICE:
Driving with the parking brake on can cause
your rear brakes
to overheat. You may have to
replace them, and you could also damage other
parts
of your vehicle.
~
If you are towing a trailer and are parking on any hill,
see “Towing a Trailer” in the Index. That section shows
what to do first to keep the trailer from moving.
Shifting Into PARK (P)
2-18
Page 75 of 324
Downloaded from www.Manualslib.com manuals search engine Column Shift
1. Hold the brake pedal down with your right foot and
set the parking brake.
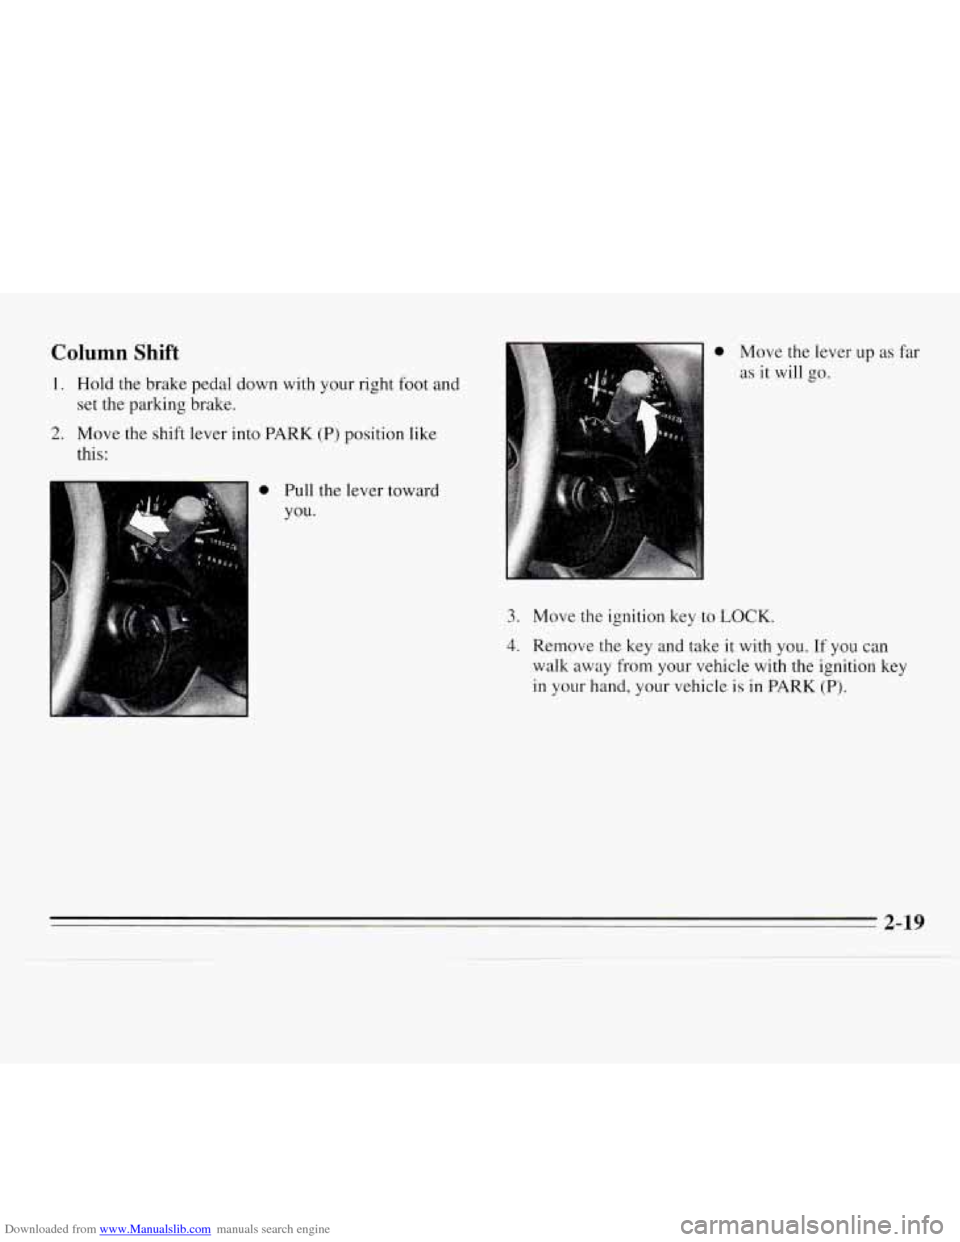
2. Move the shift lever into PARK (P) position like
this:
0 Move the lever up as far
as it will go.
0 Pull the lever toward
you.
3. Move the ignition key to LOCK.
4. Remove the key and take it with you. If you can
walk away from your vehicle with the ignition key
in
your hand, your vehicle is in PARK (P).
2-19
Page 76 of 324
Downloaded from www.Manualslib.com manuals search engine Console Shift
1. Hold the brake pedal down with your right foot and
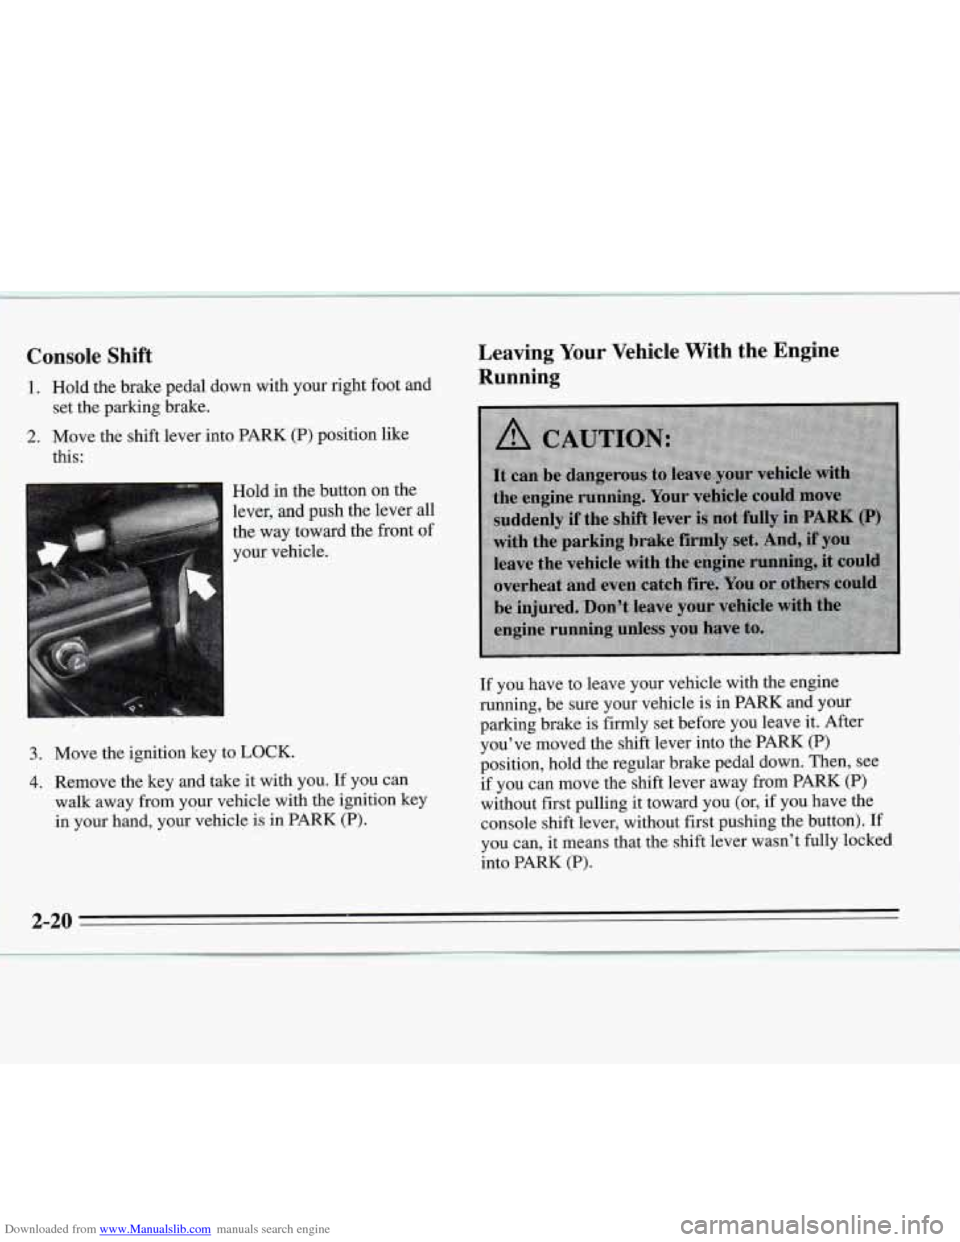
2. Move the shift lever into PARK (P) position like
set
the parking brake.
this:
Hold in the button on the
lever,
and push the lever all
the way toward the front of
your vehicle.
3. Move the ignition key to LOCK.
4. Remove the key and take it with you. If you can
walk away from your vehicle with the ignition key
in your hand, your vehicle is in PARK
(P).
Leaving Your Vehicle With the Engine
Running
If you have to leave your vehicle with the engine
running, be sure your vehicle is in PARK and your
parking brake is firmly set before you leave it. After
you’ve moved the shift lever into the PARK (P)
position, hold
the regular brake pedal down. Then, see
if you can move the shift lever away
from PARK (P)
without first pulling it toward you (or, if you have the
console shift lever, without first pushing the button).
If
you can, it means that the shift lever wasn’t fully locked
into PARK (P).
2-20
___c
Page 77 of 324
Downloaded from www.Manualslib.com manuals search engine Torque Lock
If you are parking on a hill and you don’t shift your
transaxle into PARK (P) properly, the weight of the
vehicle may put too much force on the parking pawl in
the transaxle. You may find it difficult to pull the shift
lever out of PARK
(P). This is called “torque lock.” To
prevent torque lock,
set the parking brake and then shift
into PARK (P) properly before
you leave the driver’s
seat. To find out how, see “Shifting Into PARK (P)” in
the Index.
When you are ready
to drive, move the shift lever out of
PARK
(P) before you release the parking brake.
If “torque lock” does occur, you may need to have
another vehicle push yours a little uphill to take some of
the pressure from the transaxle,
so you can pull the shift
lever out of PARK
(P).
Shifting Out of PARK (P)
Your Chevrolet has a brake-transaxle shift interlock.
You must fully apply your regular brakes before you can
shift from PARK (P) when the ignition is
in RUN. See
“Automatic Transaxle” in the Index.
If you cannot shift
out of PARK (P), ease pressure on
the shift lever by pushing it all
the way into PARK (P)
while keeping the brake pedal pushed down. Release the
shift lever button
if you have a console shift. Then move
the shift lever out of PARK
(P), being sure to press the
shift lever button if you have a console shift.
If you ever hold the brake pedal down but still can’t
shift out
of PARK (P), try this:
1. Turn the key to OFF.
2. Apply and hold the brake until the end of Step 4.
3. Shift to NEUTRAL (N).
4. Start the vehicle and shift to the drive gear you want.
5. Have the vehicle fixed as soon as you can.
2-21
Page 88 of 324

Downloaded from www.Manualslib.com manuals search engine Daytime Running Lamps (Canada Only)
Daytime Running Lamps (DRL) make it easier to see
the front of your vehicle during the day. DRL can be
helpful when it’s raining and in the short periods after
dawn and before sunset. Several countries, including
Canada, require
DRL.
A light sensor on top of the instrument panel makes the
DRL work,
so be sure it isn’t covered.
The DRL system will make your low-beam headlamps
come on at reduced brightness in daylight when:
0 The ignition is on,
0 The headlamp switch is off, and
0 The parking brake is released.
When the
DRL are on, only your low-beam headlamps
will be on. The taillamps, sidemarker and other lamps
won’t be
on. Your instrument panel won’t be lit up
either.
When it’s dark enough outside, your low-beam
headlamps will change to full brightness. The other
lamps that come on with your headlamps will also come
on.
When it’s bright enough outside, the regular lamps will
go off, and your low-beam headlamps change to the
reduced brightness of DRL.
To idle your vehicle with the DRL
off, set the parking
brake while the ignition
is in OFF or LOCK. Then start
your vehicle. The DRL will stay off until you release the
parking brake.
As with any vehicle, you should turn on the regular
headlamp system any time you need it.
Interior Lamps
When any door is opened, several lamps come on. These
lamps are courtesy lamps. They make it easy for you
to
enter and leave your vehicle. You can also turn these
lamps on by moving the dial near the headlamp knob all
the way
up.
Some of the lamps have switches so you can turn them
on, even when the doors are closed. These lamps are
reading lamps. To avoid draining your battery, be sure to
turn off all reading lamps when leaving your vehicle.
2-32
Page 101 of 324
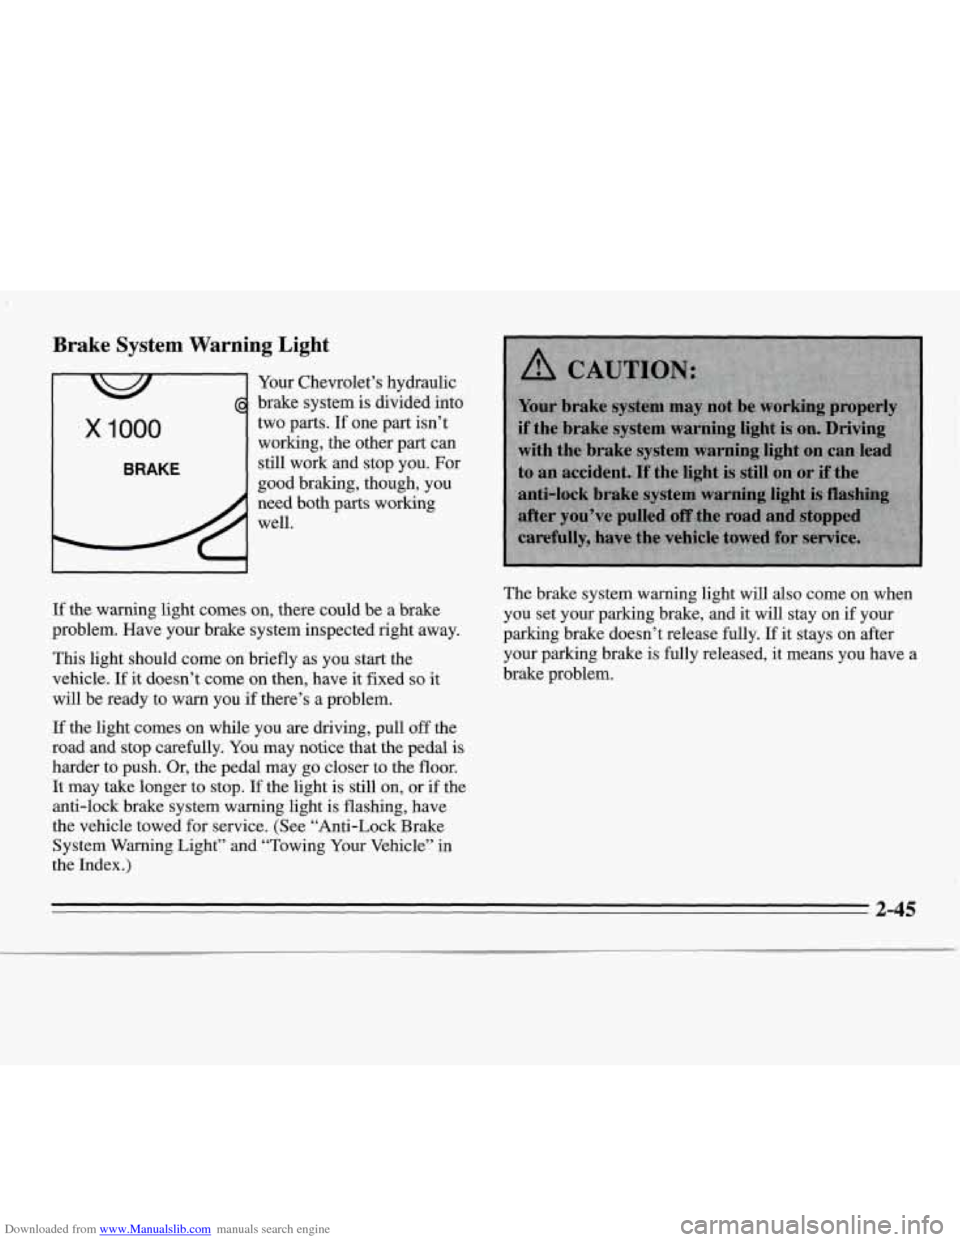
Downloaded from www.Manualslib.com manuals search engine Brake System Warning Light
Your Chevrolet’s hydraulic
brake system is divided into
x 1000
BRAKE
two parts. If one part isn’t
working, the other part can
still work and stop you. For
good braking, though, you
need both parts working
well.
If the warning light comes on, there could be a brake
problem. Have your brake system inspected right away.
This light should come on briefly as you start the
vehicle.
If it doesn’t come on then, have it fixed so it
will be ready to warn you if there’s a problem. The
brake system warning light
will also come on when
you set your parking brake,
and it will stay on if your
parking brake doesn’t release fully.
If it stays on after
your parking brake is fully released, it means you have a
brake problem.
If the light comes on while you are driving, pull off the
road and stop carefully. You may notice that the pedal is
harder to push. Or, the pedal may go closer to the floor.
It may take longer to stop.
If the light is still on, or if the
anti-lock brake system warning light is flashing, have
the vehicle towed
for service. (See “Anti-Lock Brake
System
Warning Light” and “Towing Your Vehicle” in
the Index.)
2-45
Page 144 of 324
Downloaded from www.Manualslib.com manuals search engine Driving too fast through large water puddles or even
going through some car washes can cause problems, too.
The water may affect your brakes. Try to avoid puddles.
But if
you can’t, try to slow down before YOU hit them.
Hydroplaning
Hydroplaning is dangerous. So much water can build up
under your tires that they can actually ride on the water.
This can happen
if the road is wet enough and you’re
going fast enough. When your vehicle is hydroplaning,
it has little or no contact with the road. Hydroplaning
doesn’t happen often. But it
can if your
tires haven’t much tread or if the pressure
in one or
more is low. It can happen
if a lot of water is standing on
the road. If
you can see reflections from trees, telephone
poles, or other vehicles, and raindrops “dimple” the
water’s surface, there could be hydroplaning.
Hydroplaning usually happens at higher speeds. There
just isn’t a hard and fast rule about hydroplaning. The
best advice is to slow down when
it is raining.
Some Other Rainy Weather Tips
Turn on your low-beam headlamps -- not just your
parking lamps
-- to help make you more visible to
others.
Besides slowing down, allow some extra following
distance. And be especially careful when you pass
another vehicle. Allow yourself more clear room
ahead, and be prepared to have your view restricted
by road spray.
Have good tires with proper tread depth. (See
“Tires”
in the Index.)
4-16
Page 161 of 324
Downloaded from www.Manualslib.com manuals search engine Turn Signals When Towing a Trailer
When you tow a trailer, your vehicle has to have a
different
turn signal flasher and extra wiring. The green
arrows on your instrument panel will flash whenever
you signal a turn or lane change. Properly hooked up,
the trailer lamps will also flash, telling other drivers
you’re about to turn, change lanes or stop.
When towing a trailer, the green arrows
on your
instrument panel will flash for turns even if the bulbs on
the trailer are burned out. Thus, you may think drivers
behind
you are seeing your signal when they are not. It’s
important to check occasionally to be sure the trailer
bulbs are still working.
Driving On Grades
Reduce speed and shift to a lower gear before you start
down a long or steep downgrade. If you don’t shift
down, you might have to use your brakes
so much that
they would get hot and no longer work well.
On a long uphill grade, shift down and reduce your
speed
to around 45 mph (70 km/h) to reduce the
possibility of engine and transaxle overheating. If
you are towing a trailer, you may want to drive in
DRIVE (D) instead
of OVERDRIVE (0) (or, as you
need to, a lower gear).
Parking on Hills
You really should not park your vehicle, with a trailer
attached, on
a hill. If something goes wrong, your rig
could start to move. People can be injured, and both
your vehicle and the trailer can be damaged.
But
if you ever have to park your rig on a hill, here’s
how to do it:
1. Apply your regular brakes, but don’t shift into
PARK (P) yet.
2. Have someone place chocks under the trailer wheels.
3. When the wheel chocks are in place, release the
regular brakes until the chocks absorb the load.
4. Reapply the regular brakes. Then apply your parking
brake, and then shift to PARK (P).
5. Release the regular brakes.
4-33