Page 204 of 386
Downloaded from www.Manualslib.com manuals search engine Rear Towing Hook-Ups
Attach T-hook chains in slots forward and just inboard
of rear wheels on both sides.
NOTICE:
Do not tow with sling-type equipment or rear
bumper valance will be damaged.
5-11
Page 205 of 386
Downloaded from www.Manualslib.com manuals search engine NOTICE:
Use wheel-lift or car carrier equipment.
Additional ramping may be required for car carrier equipment.
NOTICE:
Use safety chains and wheel straps.
NOTICE:
Towing a vehicle over rough surfaces could
damage
a vehicle. Damage can occur from
vehicle-to-ground or
vehicle-to-wheel-lift-equipment. To help avoid
damage, install
a towing dolly and raise vehicle
until adequate clearance
is obtained between the
ground and/or wheel-lift equipment.
5-12
Page 219 of 386

Downloaded from www.Manualslib.com manuals search engine 10. Then fill the coolant recovery tank
level. to the proper
For a complete drain, flush and refill, see your Chevrolet
dealer
or a Chevrolet Corvette Service Manual. To
purchase a service manual, see “Service Publications” in
the Index.
If a Tire Goes Flat
It’s unusual for a tire to “blow out” while you’re driving,
especially if you maintain your tires properly. If air goes
out of a tire, it’s much more likely to leak out slowly.
But if you should ever have
a “blowout,” here are a few
tips about what to expect and what
to do:
If a front tire fails, the flat tire will create a drag that
pulls the vehicle toward that side. Take your foot off the
accelerator pedal and grip the steering wheel firmly.
Steer to maintain lane position, then gently brake to a
stop well out of the traffic lane.
A rear blowout, particularly on a curve, acts much like a
skid and may require the same correction you’d use in a
skid. In any rear blowout, remove your foot from the
accelerator pedal. Get the vehicle under control by
steering the way you want the vehicle to
go. It may be
very bumpy and noisy, but you can still steer. Gently
brake to a stop, well off the road if possible.
If a tire goes flat, the next part shows how to use your
jacking equipment to change a flat tire safely. If your
vehicle has Extended Mobility Tires (tires with “EMT”
molded on the sidewalls), see “Extended Mobility Tires”
in the Index.
5-26
Page 220 of 386
Downloaded from www.Manualslib.com manuals search engine Changing a Flat Tire
If a tire goes flat, avoid further tire and wheel damage
by driving slowly to
a level place. Turn on your hazard
warning flashers.
The following steps will tell you how to use the jack and
change
a tire.
Your Corvette wheel lock key has
a unique registration
number. The registration number is printed on
a card
included in your locknut package. Also on this card is
lost key replacement information. This number is
NOT
recorded by GM or your dealer, so be sure not to lose
this card. You will need the information if you ever
lose
your wheel lock key.
5-27
Page 221 of 386

Downloaded from www.Manualslib.com manuals search engine If you have someone else remove your wheels, make
sure you give them the special wheel nut socket and
wheel lock key. They are under the jack in the rear
storage compartment behind the passenger’s seat. The
socket can be used with an air
or torque wrench.
NOTICE:
Your wheels could be damaged if the wheel nut
socket
is not used to remove your Corvette’s
wheels.
Always use the wheel nut socket when you use the
wheel wrench provided with your Corvette.
The equipment you’ll need is behind the driver’s seat
and in the rear storage compartment behind the
passenger’s seat.
Move the driver’s seat all the way forward and fold the
seatback forward. The wheel wrench is on the floor
behind the seat. Loosen the wingnuts and slide the wheel
wrench out
of the clamps.
r
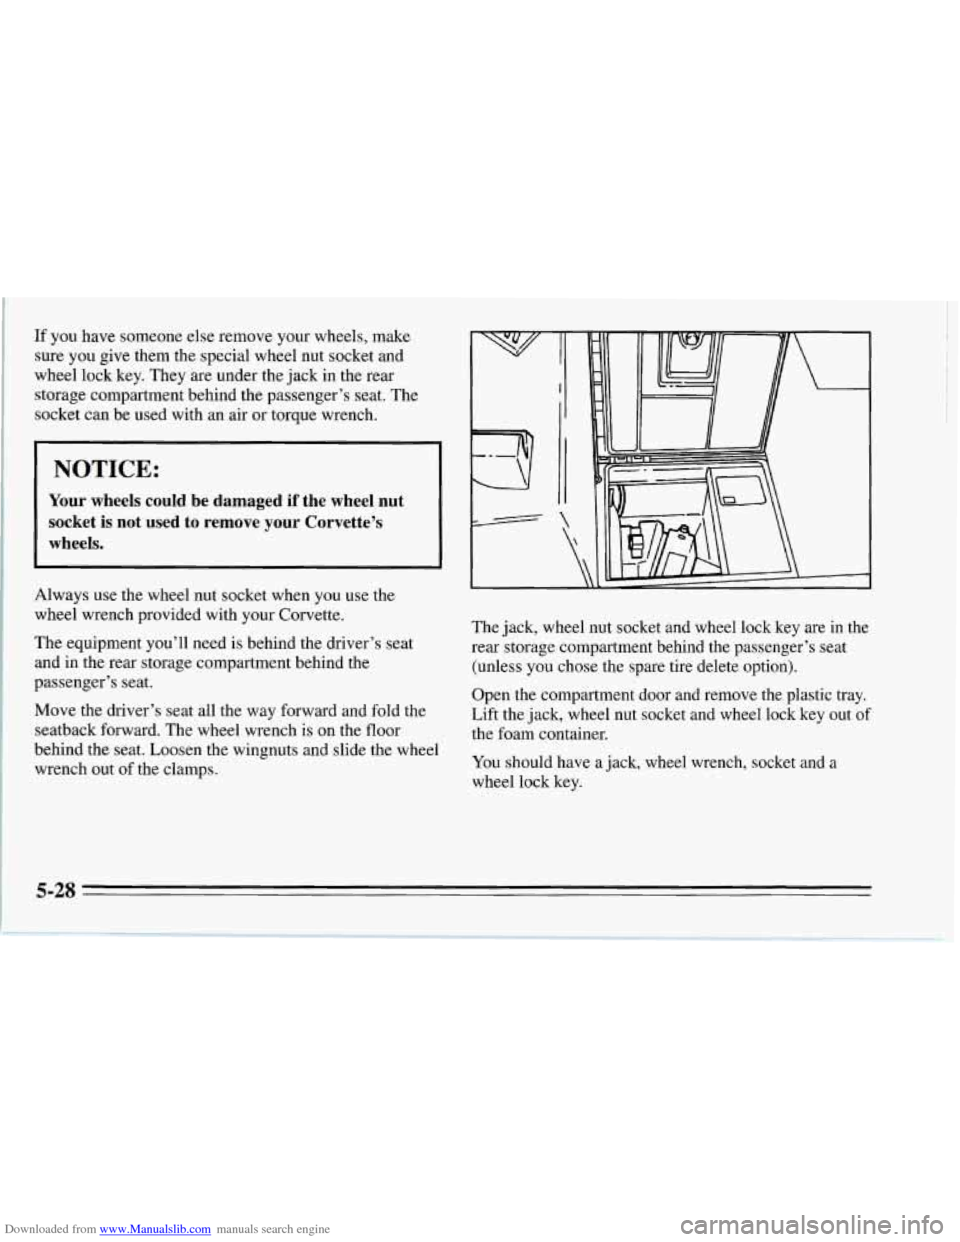
The jack, wheel nut socket and wheel lock key are in the
rear storage compartment behind the passenger’s seat
(unless you chose the spare tire delete option).
Open the compartment door and remove the plastic tray.
Lift the jack, wheel
nut socket and wheel lock key out of
the foam container.
You should have a jack, wheel wrench, socket and a
wheel lock key.
Page 222 of 386
Downloaded from www.Manualslib.com manuals search engine The spare tire is on a tire carrier tray under the rear end
of your vehicle.
To lower the tray position yourself
behind the vehicle facing the front and use the socket
end of the wheel wrench to turn the latch bolt clockwise.
Lower the tray about an inch. Don’t loosen the latch bolt
too much, or the tray could fall. Put
the hooked end
of the wheel wrench into the slot in
the tray. Insert the wheel wrench a little from the side
so
it isn’t over the latch bolt. Pull up on the wheel wrench
to lift the tray.
5-29
Page 223 of 386
Downloaded from www.Manualslib.com manuals search engine While holding the tray up with the wheel wrench, pull
the latch bolt rearward to release it from the tray.
If it
won’t come free, loosen it a little more.
Carefully lower the tray using the wheel wrench and
remove the spare tire.
~
Remove the plastic wheel nut caps using the socket end
of the wheel wrench by turning the wrench in the
direction shown. Store the caps somewhere until you
have the flat tire repaired or replaced.
5-30
Page 224 of 386
Downloaded from www.Manualslib.com manuals search engine P
Each wheel will have one locknut. A special wheel lock
key (removal tool) and instructions are provided. Attach
the wheel lock key to the wheel wrench. Remove the
locking wheel nut by turning counterclockwise. Attach
the wheel nut socket to the wheel wrench and
loosen all the wheel nuts by turning the wrench in the
direction shown. Don’t remove them yet.
5-31