1995 CHEVROLET CORVETTE display
[x] Cancel search: displayPage 128 of 386
Downloaded from www.Manualslib.com manuals search engine It’s normal for the transmission fluid temperature to
vary, depending on the type of driving you do and
weather conditions. If you drive on long grades on a hot
day, the transmission fluid temperature will be higher
than normal driving on a cold day. If you drive your
Corvette at high speeds with a lot of stop-and-go or fast
accelerations, your transmission fluid temperature may
also be higher.
If the transmission fluid exceeds
280°F (138 “C), the
CHECK GAUGES light will come on and HI
AUTO
will be displayed next to the transmission fluid
temperature when you toggle through the GAUGES
button. You should move the shift lever to DRIVE (D)
and continue driving at a slower, constant speed.
Monitor the transmission fluid temperature and allow
it
to cool to 180°F (82°C) to 200°F (93°C). Then, you
should check the transmission fluid level for a low fill or
overfill condition and bring your Corvette in for service
as soon as possible (see “Automatic Transmission Fluid”
in the Index). Also, check the engine coolant
temperature. If it’s too hot, see “Cooling System” in the
Index.
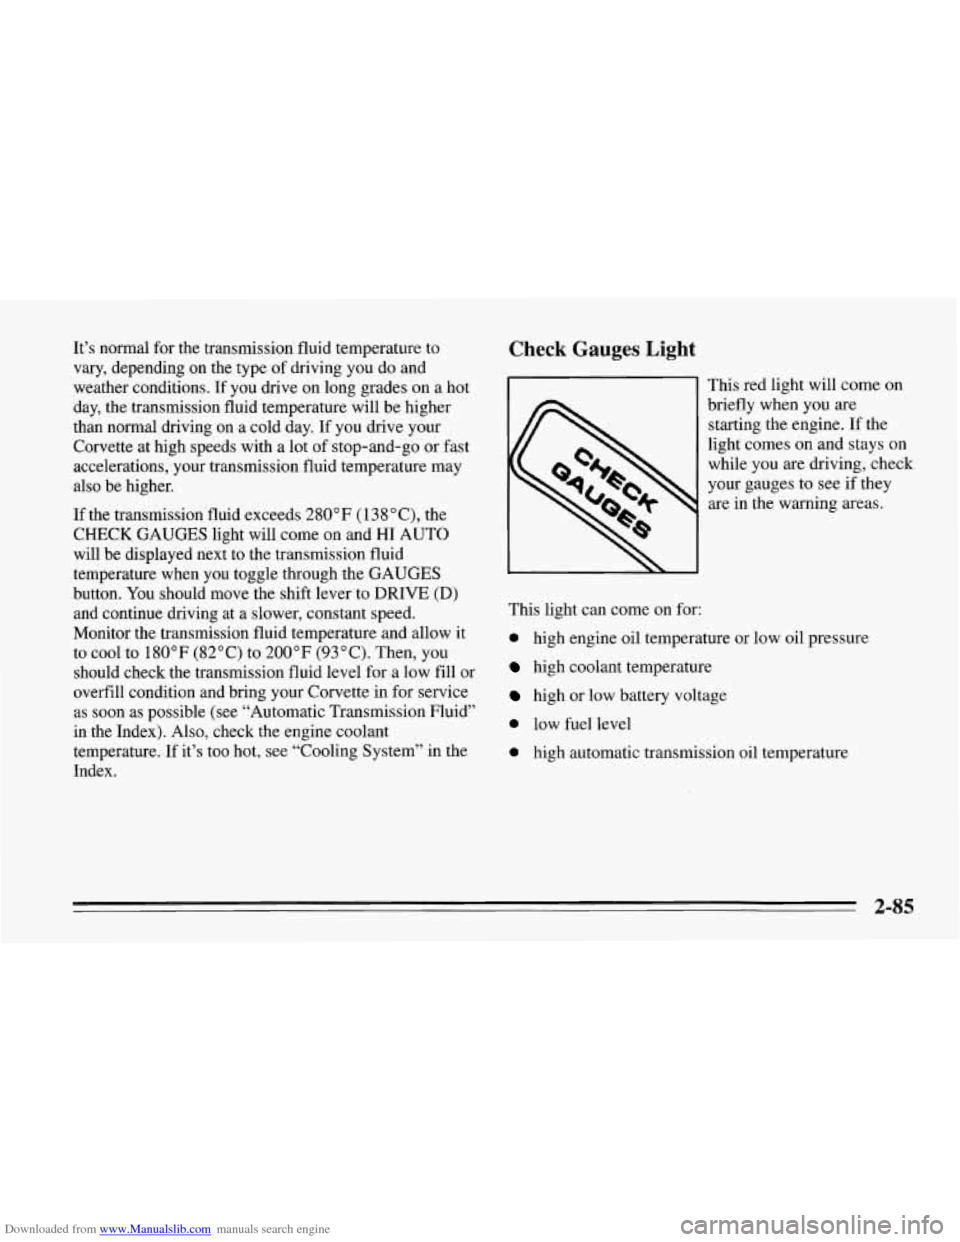
Check Gauges Light
This red light will come on
briefly when you are
starting the engine. If the
light comes on and stays on
while
you are driving, check
your gauges to see if they
are
in the warning areas.
This light can come
on for:
0 high engine oil temperature or low oil pressure
high coolant temperature
high or low battery voltage
0 low fuel level
0 high automatic transmission oil temperature
2-85
Page 132 of 386
Downloaded from www.Manualslib.com manuals search engine Driver Information Center
SERVICE ASR ASR OFF
ASR LOW
ACTIVE COOLANT
PASSIVE
KEYLESS
ENTRY AIR
BAG
SERVICE
115- SOON
SERVICE LTPWS ABS
ACTIVE
SERVICE
(@I
LOWlFLAT TIRE
SERVICE RIDE
CONTROL
LOW OIL
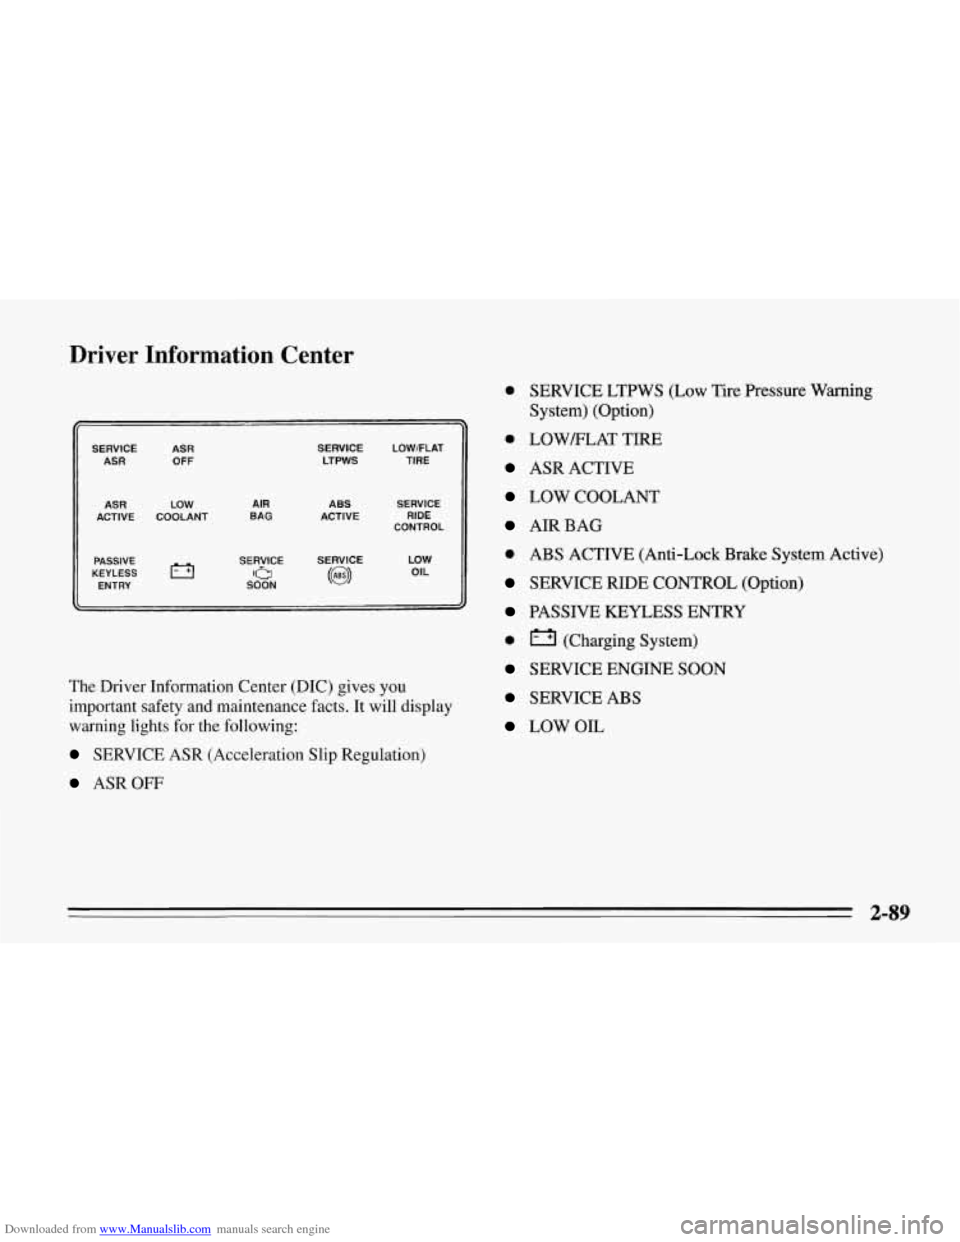
The Driver Information Center (DIC) gives you
important safety and maintenance facts.
It will display
warning lights for the following:
SERVICE ASR (Acceleration Slip Regulation)
ASROFF
0 SERVICE LTPWS (Low Tire Pressure Warning
System) (Option)
0 LOWELAT TIRE
ASR ACTIVE
LOW COOLANT
AIRBAG
0 ABS ACTIVE (Anti-Lock Brake System Active)
SERVICE RIDE CONTROL (Option)
PASSIVE KEYLESS ENTRY
0 (Charging System)
SERVICE ENGINE SOON
SERVICE ABS
LOW OIL
2-89
Page 148 of 386
Downloaded from www.Manualslib.com manuals search engine Temperature Control Switch
Press the arrows on the TEMP SET switch to set the
temperature you want in your vehicle. The temperature
you select will show on the display for a few seconds,
then the outside temperature will show.
Air Control Buttons
OFF: The system is off.
AUTO: The system controls airflow.
RECIRCULATE: Provides maximum cooling or
quick cool-down on very hot days. This setting
recirculates most of the air inside your vehicle. If it is
used for long periods
of time, the air may become dry.
This setting directs air through the upper air vents. It
will not work when the outside temperature is above
freezing.
49 BI-LEVEL: This setting directs outside air
through the instrument panel and side window defogger
vents and the floor ducts.
-A*
do
9 VENT Outside air flows through the instrument
panel vents.
w2 HEATER: This setting directs all of the air
through the floor ducts.
DEFROST This setting directs most of the air
through the windshield defroster and side window
defogger vents and some of
the air through the floor
ducts.
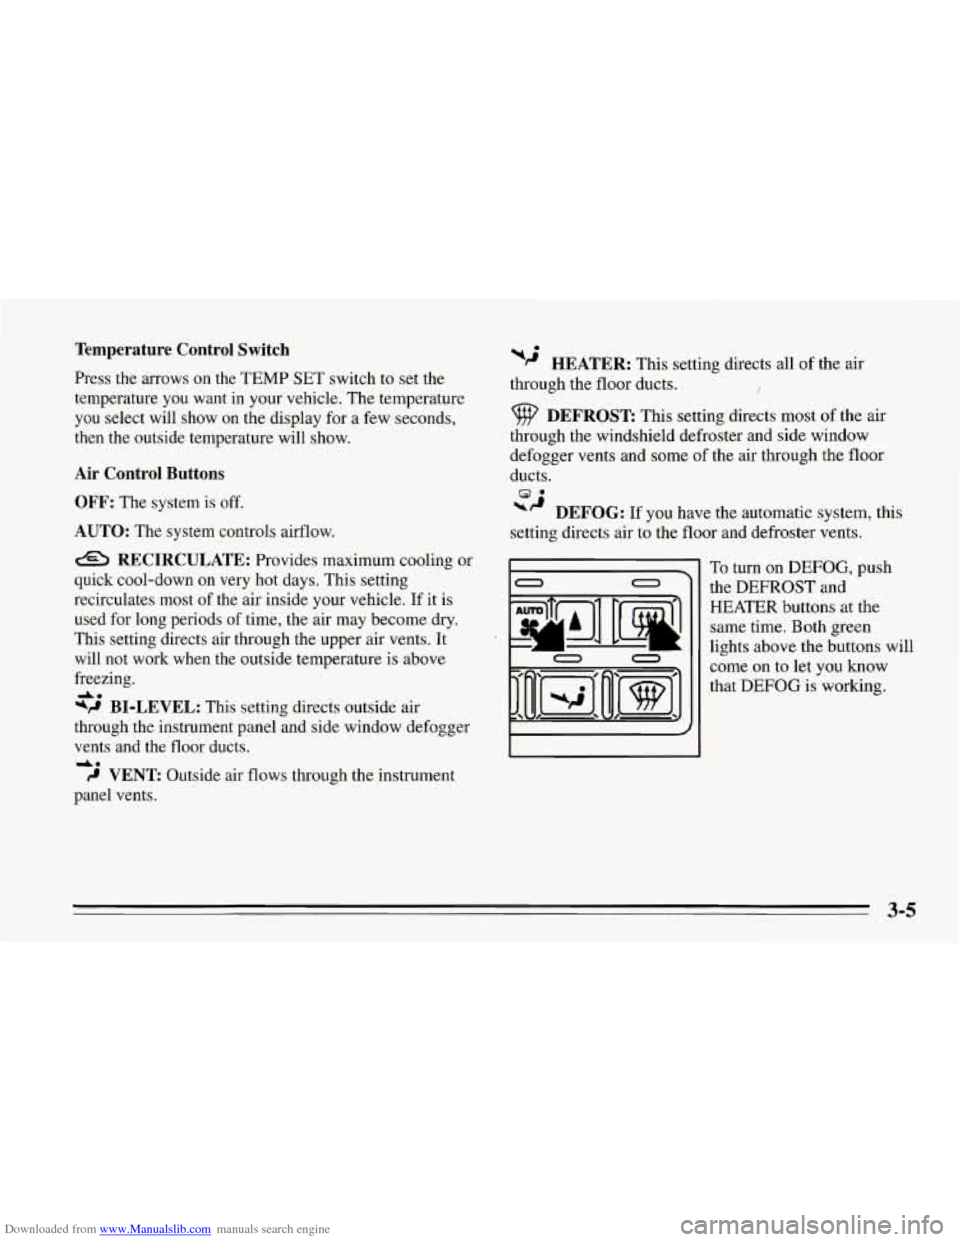
*’ DEFOG: If you have the automatic system, this
setting directs air to the floor and defroster vents.
0 0
E I 0 0
To turn on DEFOG, push
the
DEFROST and
HEATER buttons at the
same time. Both green
lights above the buttons will
come on to let you know
that
DEFOG is working.
3-5
Page 149 of 386

Downloaded from www.Manualslib.com manuals search engine Temperature Sensors
Sunload:
This sensor is on top of the instrument panel.
When the inside temperature
is increased by sunlight,
the system will lower the inside temperature up to
5°F
(3 “C) below the setting on the display.
Outside Temperature: This sensor is on the right side
of the upper radiator support in the grille opening. This
is what you usually see on the display.
If the outside temperature goes up, the displayed
temperature will not change until:
a Vehicle speed is above 25 mph (40 km/h) for at least
0 Vehicle speed is above 45 mph (72 km/h) for
This delay helps prevent a false reading. If vehicle speed
remains above
25 mph (40 km/h) or the temperature
goes down, the display is updated immediately.
If your vehicle has been off for more than three hours,
the current outside temperature will be stored in the
system when you start the vehicle.
Inside temperature: This sensor is in the center air
outlet
on the passenger side.
If you block or cover either interior sensor, the system
will give a false reading.
3 minutes, or
1 1/2 minutes.
Automatic Control
The system will adjust to maintain the temperature you
set. It will select the best fan speed and aifflow setting to
keep you comfortable with the least amount of noise.
Press the arrows on the TEMP SET switch’to set a
comfortable temperature. Then press AUTO
and the fan
speed will adjust automatically unless you press the
arrows on the switch.
Manual Heating
The heater works best if you keep your windows closed
while using it.
Press the arrows on the TEMP SET switch to set a
comfortable temperature. Then press HEATER and, if
you don’t like the automatic setting, press the arrows on
the fan speed switch.
In AUTO FAN on cold days, the
fan will stay off until the coolant warms up enough to
heat your vehicle.
If your vehicle has an engine coolant heater and you use
it in cold weather,
0 OF (- 18 O C) or lower, your heating
system can provide heat more quickly because the
engine coolant is already warmed. See “Engine Coolant
Heater” in the Index.
3-6
Page 154 of 386
Downloaded from www.Manualslib.com manuals search engine AM/FM Stereo with Cassette Tape Player
L/F R/I
0 II 0 0 0
0 OII 0 0 0
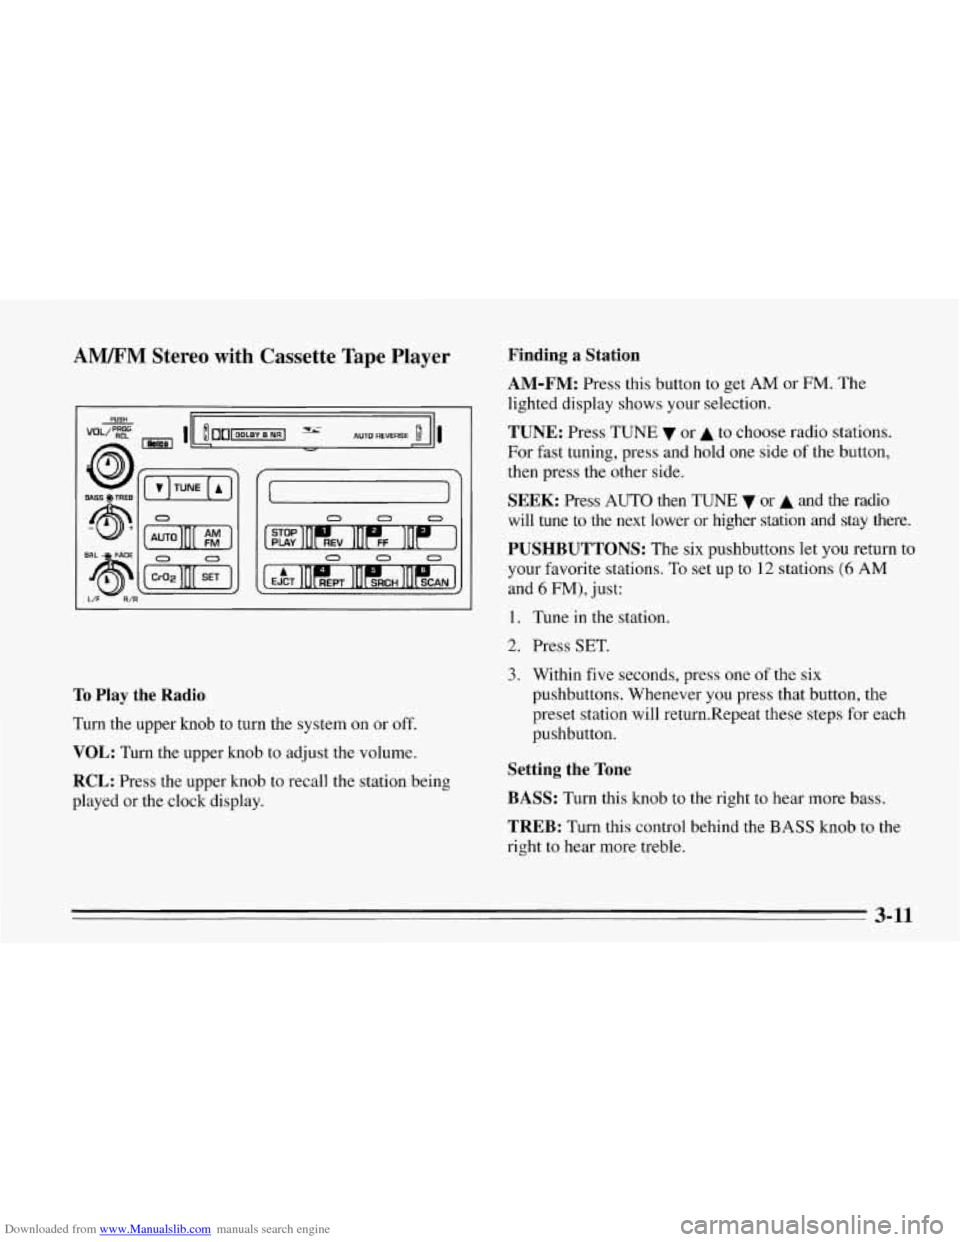
To Play the Radio
Turn the upper knob to turn the system on or off.
VOL: Turn the upper knob to adjust the volume.
RCL: Press the upper knob to recall the station being
played or the clock display.
Finding a Station
AM-FM:
Press this button to get AM or FM. The
lighted display shows your selection.
TUNE: Press TUNE or A to choose radio stations.
For fast tuning, press and hold one side
of the button,
then press the other side.
SEEK: Press AUTO then TUNE 7 or A and the radio
will tune to the next lower or higher station
and stay there.
PUSHBUTTONS: The six pushbuttons let you return to
your favorite stations. To set up to
12 stations (6 AM
and 6 FM), just:
1. Tune in the station.
2. Press SET.
3. Within five seconds, press one of the six
pushbuttons. Whenever you press that button, the
preset station will return.Repeat these steps for each
pushbutton.
Setting the Tone
BASS:
Turn this knob to the right to hear more bass.
TREB: Turn this control behind the BASS knob to the
right to hear more treble.
3-11
Page 157 of 386
Downloaded from www.Manualslib.com manuals search engine H has a higher maximum volume and gets louder faster
than L. Use H when you are driving with the roof panel
off, the convertible top down or the windows open. If
you don’t want to use SCV, turn the control to OFF.
RCL: Press the upper knob to recall the station being
played
or the clock display.
Finding a Station
AM-FM:
Press this button to get AM or FM. The
lighted display shows your selection.
TUNE: Press TUNE v or A to choose radio stations.
For fast tuning, press and hold one side of the button,
then press the other side.
SEEK: Press AUTO then TUNE v or A and the radio
will tune to the next lower or higher station and stay
there.
PUSHBUTTONS: The six pushbuttons let you return to
your favorite stations. To set up to 12 stations (6 AM
and
6 FM), tune in the station and press SET. Within
five seconds, press one of the six pushbuttons.
Whenever you press that button, the preset station will
return. Repeat these steps for each pushbutton.
Setting the Tone
BASS:
Turn this knob to the right to hear more bass.
TREB: Turn this control behind the BASS knob to the
right to hear more treble.
Adjusting the Speakers
BAL: With the DelcoBose system, your speakers are
electronically balanced.
FADE: Turn this knob to move the sound between the
front and rear speakers. Note that
if you turn the knob
all the way to
F or R, you may still get some sound from
the opposite speakers.
3-14
Page 159 of 386
Downloaded from www.Manualslib.com manuals search engine To Play a Compact Disc
Don’t use the mini-discs (three-inch singles). They will
eject, but they won’t play. Use only full-size compact
discs.
With the audio system on, insert a disc into the slot with
the label side up. CD will appear on the display and
track
1 will begin to play. If both a tape and a compact
disc are loaded into the system, press CA/CD to select
the one you want.
If the disc comes back out and
ERR appears on the
display, it could be that:
The disc is upside down.
0 It is dirty, scratched, or wet.
0 There’s too much moisture in the air. (Wait about an
hour and try again.)
0 You are driving on a very rough road.
1 0 The temperature is too hot or too cold.
RCL: Press this button to see what track is playing.
Press it again within five seconds to see how long it has
been playing, the elapsed time
(EL TIME).
REV: Press and hold this button to return to a
previously played passage rapidly. The decreasing
elapsed time will show on the display.
FF: Press and hold this button to fast forward or
advance through passages. The increasing elapsed time
will show on the display.
REPT Press this button to go to the beginning of the
current track after eight seconds or more of play. After
eight seconds or less of play, the player will return to the
beginning of the previous track.
SRCH: Press this button to go to the beginning of the
next track.
SCAN: Press this button to listen to the first eight
seconds of each track. Press it again to stop scanning.
COMP: Press this button to make loud and soft
passages more nearly equal in volume. Press it again for
normal play.