1995 CHEVROLET CORVETTE brake light
[x] Cancel search: brake lightPage 132 of 386
Downloaded from www.Manualslib.com manuals search engine Driver Information Center
SERVICE ASR ASR OFF
ASR LOW
ACTIVE COOLANT
PASSIVE
KEYLESS
ENTRY AIR
BAG
SERVICE
115- SOON
SERVICE LTPWS ABS
ACTIVE
SERVICE
(@I
LOWlFLAT TIRE
SERVICE RIDE
CONTROL
LOW OIL
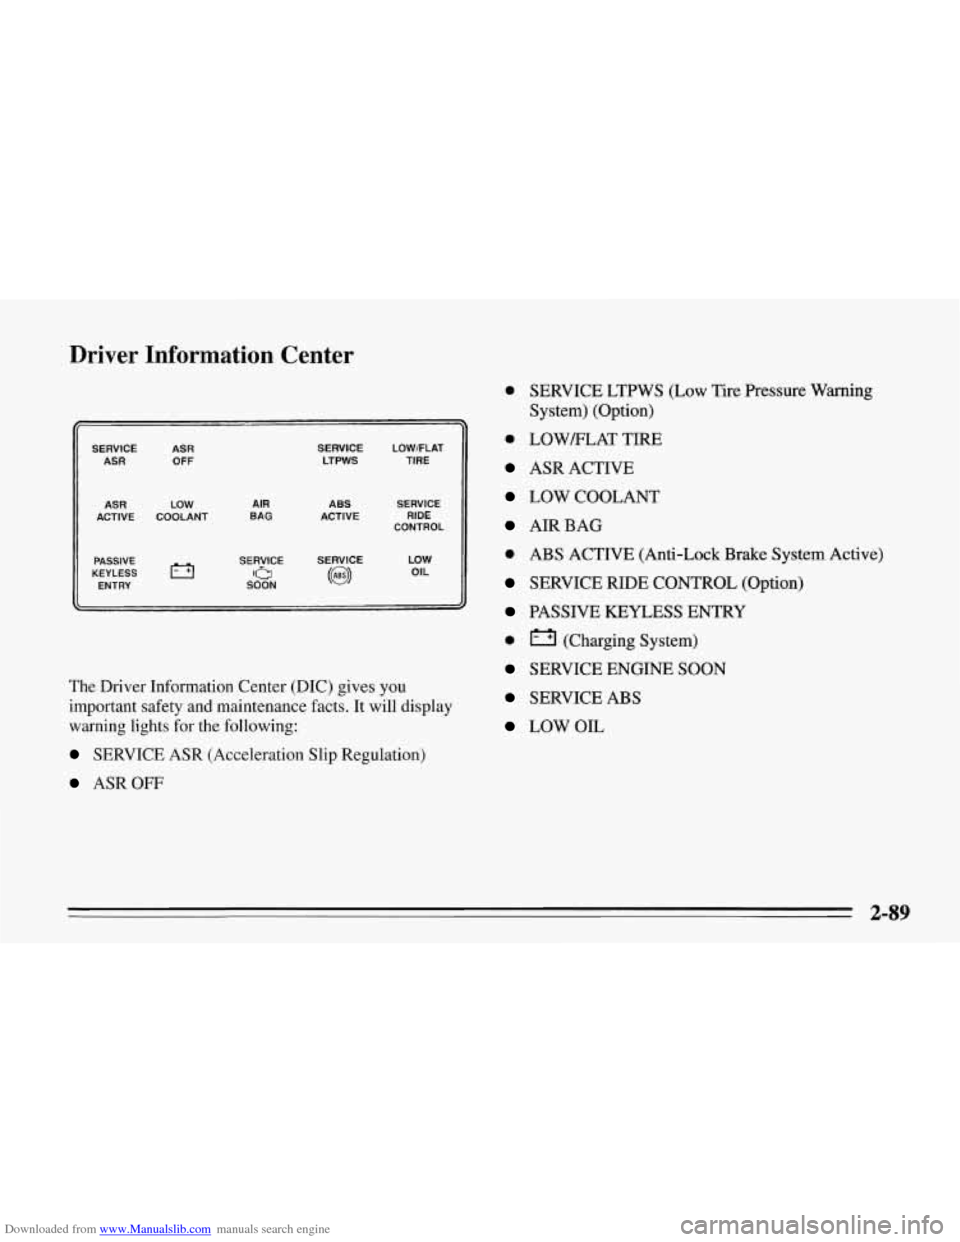
The Driver Information Center (DIC) gives you
important safety and maintenance facts.
It will display
warning lights for the following:
SERVICE ASR (Acceleration Slip Regulation)
ASROFF
0 SERVICE LTPWS (Low Tire Pressure Warning
System) (Option)
0 LOWELAT TIRE
ASR ACTIVE
LOW COOLANT
AIRBAG
0 ABS ACTIVE (Anti-Lock Brake System Active)
SERVICE RIDE CONTROL (Option)
PASSIVE KEYLESS ENTRY
0 (Charging System)
SERVICE ENGINE SOON
SERVICE ABS
LOW OIL
2-89
Page 133 of 386
Downloaded from www.Manualslib.com manuals search engine Convertible Top (Option)
The following procedures explain the proper operation
of your convertible top.
To Lower Your Convertible Top
NOTICE:
Don’t leave your convertible out with the top
down for any long periods of time. The sun and
the rain can damage your seat material and other
things inside your vehicle.
1. Park on a level surface, set the parking brake firmly
and shift an automatic transmission into
PARK (P).
Shift a manual transmission into
REVERSE (R).
Lower both windows and sunshades and turn the
ignition key
to LOCK.
NOTICE:
Before lowering the convertible top into the
storage area, be sure there are no objects in the
way of the folded, stored top. The weight
of a
stored top on items in the storage area may cause
the convertible top back glass to break.
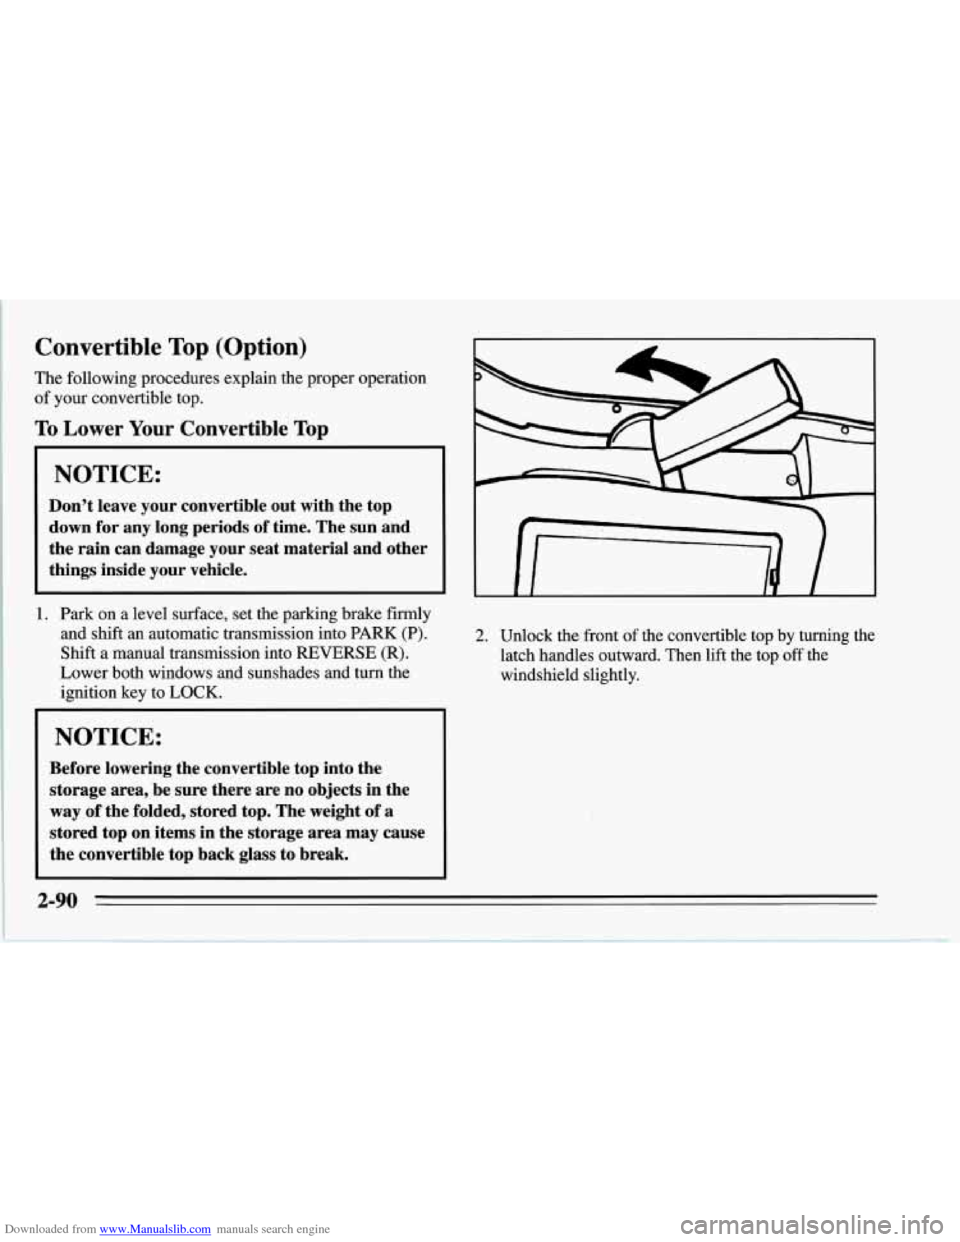
2. Unlock the front of the convertible top by turning the
latch handles outward. Then lift the top
off the
windshield slightly.
2-90
Page 142 of 386
Downloaded from www.Manualslib.com manuals search engine NOTICE:
To help avoid damaging the hardtop when not in
use:
Store the hardtop in its normal position,
0 Store hardware and trim panel with the
resting
on its mounting brackets.
hardtop.
12. Connect the rear window defogger electrical
connectors.
To Install Your Convertible Hardtop
1. Park on a level surface, set the parking brake firmly
and shift an automatic transmission into PARK
(P).
Shift a manual transmission into REVERSE (R).
Lower both windows and sunshades. Turn off the
radio to lower the power antenna and turn the
ignition key to LOCK.
2. Disconnect both rear window defogger electrical
connectors behind the lock pillar.
3. Lower the convertible top. Refer to “Convertible
Top” in the Index.
This procedure will require the use
of the storage
compartment lid release button behind the dnver’s
seat or the center console release switch. The fuse that
enables these releases is not installed at the assembly
plant and should be in your center console. See
“Instrument Panel Fuse Block” in the Index for
location
of the fuse. The fuse is labeled HATCH (45).
4. With one person on each side, carefully position the
hardtop over the vehicle. Lower the hardtop slowly,
aligning the rear bolt spacers onto the bezels, and
front conical nuts into the tapered receivers. Realign
the hardtop, if necessary.
NOTICE:
To help avoid damage, don’t force the rear of the
hardtop down. The hardtop may rest slightly
above the storage compartment lid until the
release lever is pulled. See Step
8 in this
procedure.
2-99
Page 169 of 386
Downloaded from www.Manualslib.com manuals search engine Avoid needless heavy braking. Some people drive
in spurts
-- heavy acceleration followed by heavy
braking
-- rather than keeping pace with traffic. This
is
a mistake. Your brakes may not have time to cool
between hard stops. Your brakes will wear out much
faster if you do a lot of heavy braking. If you keep pace
with the traffic and allow realistic following distances,
you will eliminate a lot of unnecessary braking. That
means better braking and longer brake life.
If your engine ever stops while you’re driving, brake
normally but don’t pump your brakes. If
you do, the
pedal may get harder to push down.
If your engine
stops, you will still have some power brake assist. But
you will use it when you brake. Once the power assist is
used up, it may take longer to stop and the brake pedal
will be harder to push.
Anti-Lock Brakes (ABS)
Your Corvette has an advanced electronic braking
system that will help prevent a braking skid.
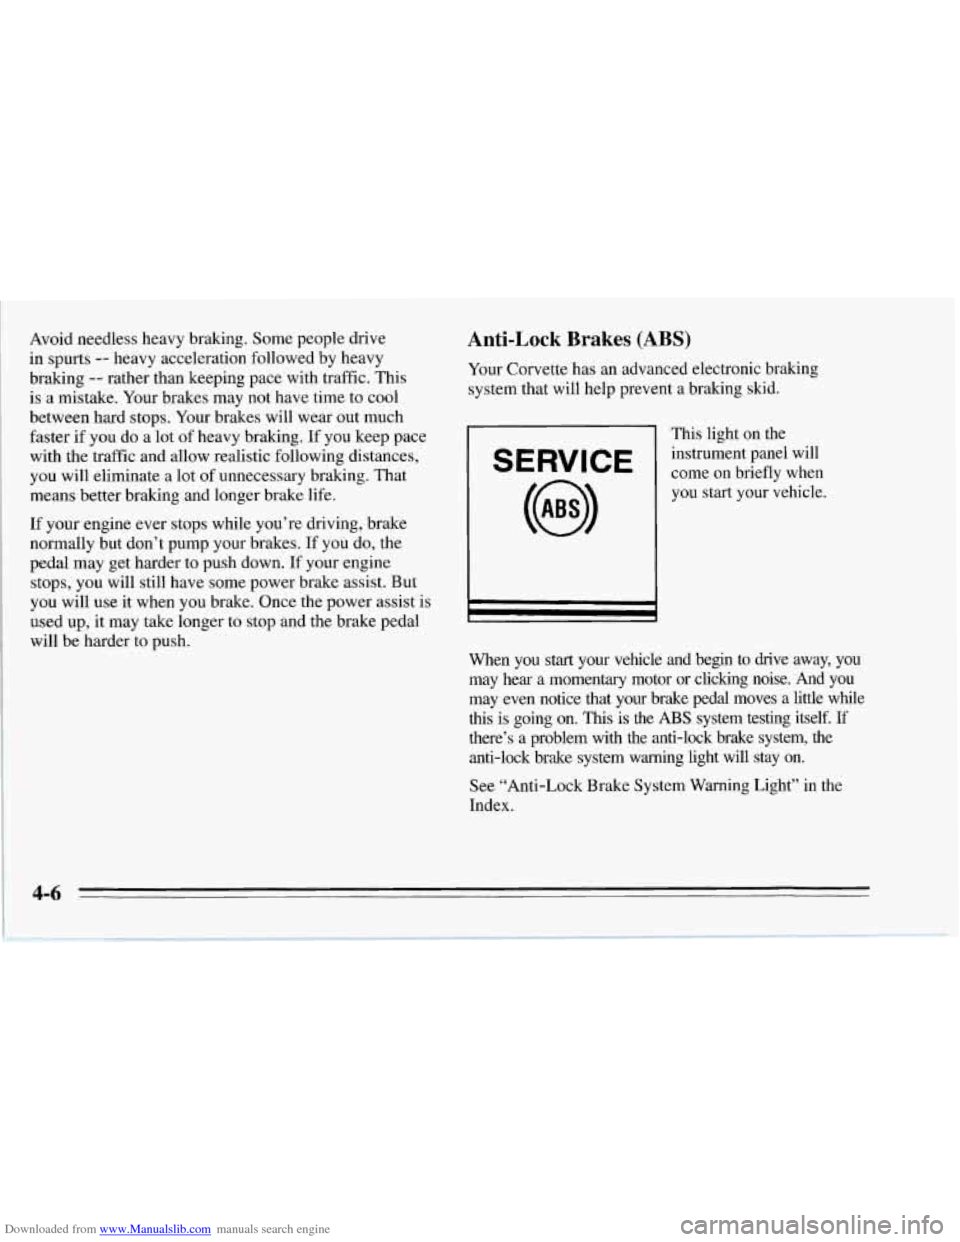
This light on the
E RVI E come on briefly when
instrument
panel will
you start your vehicle.
I r I
When you start your vehicle and begin to drive away, you
may hear a momentary motor or clicking noise. And you
may even notice that your brake pedal moves a little while
this is going on.
This is the ABS system testing itself. If
there’s a problem with the anti-lock brake system, the
anti-lock brake system warning light will stay on.
See “Anti-Lock Brake System Warning Light” in the
Index.
Page 171 of 386
Downloaded from www.Manualslib.com manuals search engine Remember: Anti-lock doesn’t change the time you need
to get your foot up
to the brake pedal. If you get too
close to the vehicle in front of you, you won’t have time
to apply your brakes if that vehicle suddenly slows or
stops. Always leave enough room up ahead to stop, even
though you have anti-lock brakes.
To Use Anti-Lock
Don’t pump the brakes. Just hold the brake pedal down
and let anti-lock work for you. You may hear a motor or
clicking noise and feel the brake pedal move a little
during a hard stop, but this
is normal. When your
anti-lock system is adjusting brake pressure
to help
avoid a braking skid, the ABS ACTIVE light will come
on. See “Anti-Lock Brake System Active Light” in the
Index.
ASR (Acceleration Slip Regulation) System
Your vehicle has a traction control system called ASR
that limits wheel spin. This is especially useful in
slippery road conditions. The system operates only if it
senses that the rear wheels are spinning too much or are
beginning to lose traction. When, this happens, the
system works the rear brakes and reduces engine power
(by closing the throttle and managing engine spark) to
limit wheel spin. ‘The ASR
ACTIVE light will come on when the ASR
system
is limiting wheel spin. See “ASR System Active
Light” in the Index. You may feel the system working,
or you may notice some noise, but this is normal.
If your vehicle is in cruise control when the ASR system
begins to limit wheel spin, the cruise control will
automatically disengage. When road conditions allow
you to safely use it again,
you may re-engage the cruise
control. (See “Cruise Control” in the Index.)
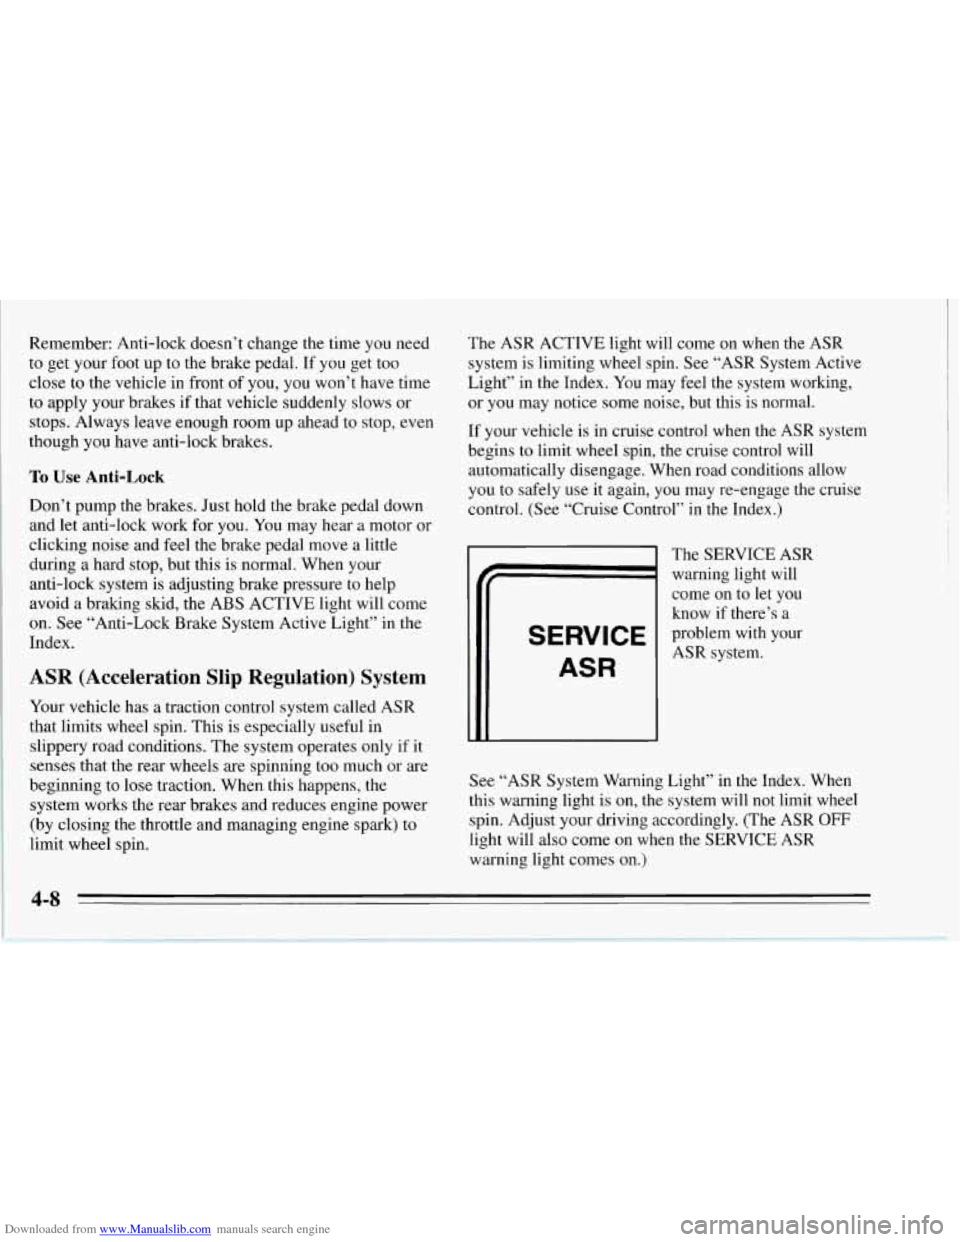
SERVICE
ASR
The SERVICE ASR
warning light will
come on to
let you
know if there’s a
problem with your
ASR system.
See “ASR System Warning Light’’ in the Index. When
this warning light
is on, the system will not limit wheel
spin. Adjust your driving accordingly. (The ASR
OFF
light will also come on when the SERVICE ASR
warning light comes on.)
4-8
Page 172 of 386
Downloaded from www.Manualslib.com manuals search engine The ASR system automatically comes on whenever you
start your vehicle. To limit wheel spin, especially in
slippery road conditions, you should always leave the
system on. But you can turn the ASR system off if you
ever need to. (You should turn the system
off if your
vehicle ever gets stuck in sand, mud, ice or snow. See
“Rocking Your Vehicle” in the Index.)
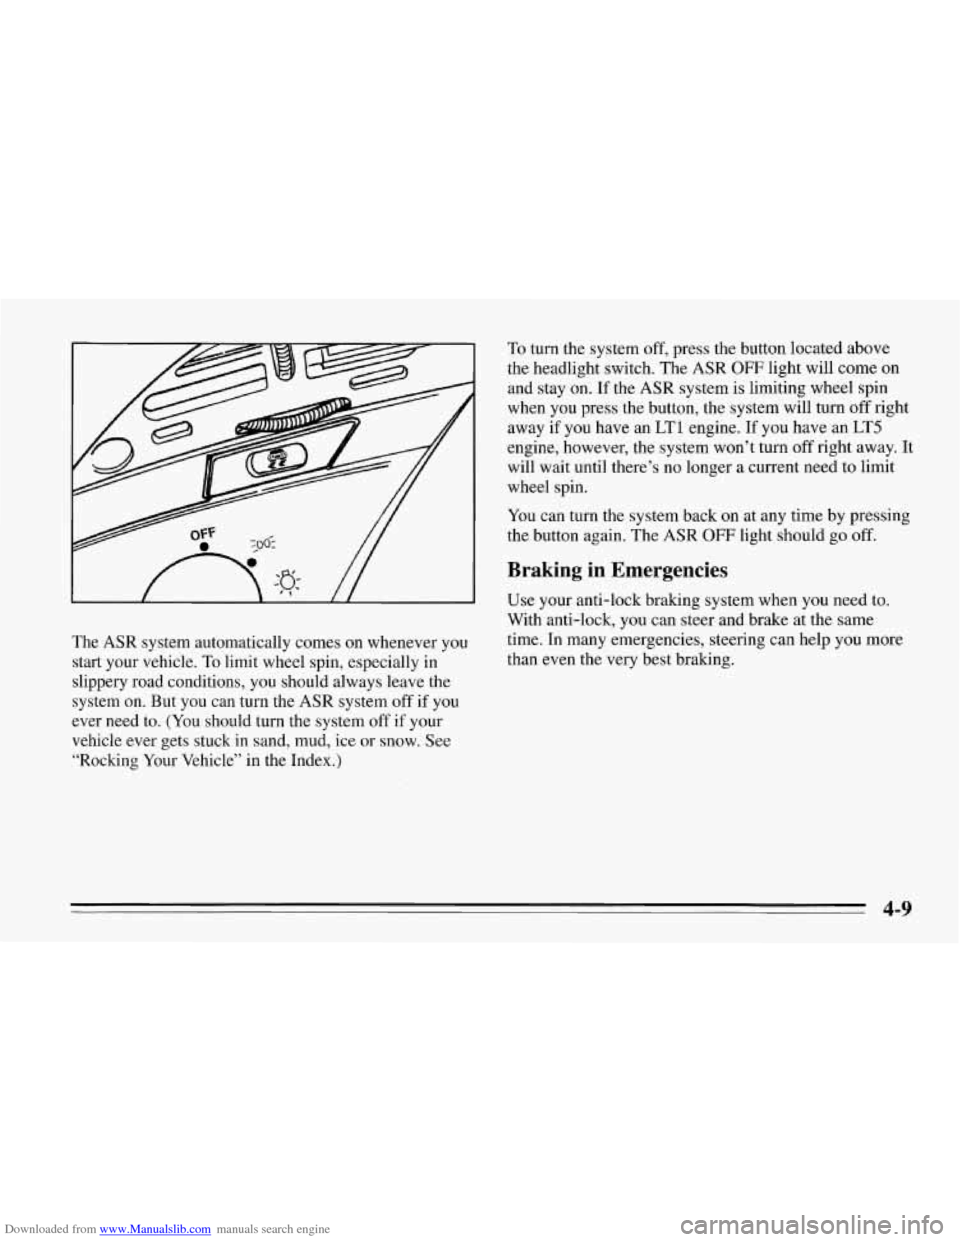
To turn the system off, press the button located above
the headlight switch. The ASR
OFF light will come on
and stay
on. If the ASR system is limiting wheel spin
when you press the button, the system will turn
off right
away if you have an
LT1 engine. If you have an LT5
engine, however, the system won’t turn off right away. It
will wait until there’s no longer a current need to limit
wheel spin.
You can turn the system back on at any time by pressing
the button again. The ASR
OFF light should go off.
Braking in Emergencies
Use your anti-lock braking system when you need to.
With anti-lock, you can steer and brake at the same
time. In many emergencies, steering can help you more
than even the very best braking.
4-9
Page 176 of 386
Downloaded from www.Manualslib.com manuals search engine 0
0
0
Do not get too close to the vehicle you want to pass
while you’re awaiting an opportunity. For one thing,
following too closely reduces your area of vision,
especially if you’re following a larger vehicle. Also,
you won’t have adequate space if the vehicle ahead
suddenly slows or stops. Keep back a reasonable
distance.
When it looks like a chance to pass is coming up,
start to accelerate but stay in the right lane and don’t
get too close. Time your move
so you will be
increasing speed as the time comes to move into the
other lane.
If the way is clear to pass, you will have a
“running start” that more than makes up for the
distance you would lose by dropping back. And if
something happens to cause you to cancel your pass,
you need only slow down and drop back again and
wait for another opportunity.
If other cars are lined up to pass a slow vehicle, wait
your turn. But take care that someone isn’t trying to
pass you as you pull out to pass the slow vehicle.
Remember to glance over your shoulder and check
the blind spot.
Check your mirrors, glance over your shoulder, and
start your left lane change signal before moving out
of the right lane to pass. When you are far enough
ahead of the passed vehicle to see its front in your
inside mirror, activate your right lane change signal
and move back into the right lane. (Remember that
your right outside mirror
is convex. The vehicle you
just passed may seem to be farther away from you
than it really
is.)
two-lane roads. Reconsider before passing the next
vehicle.
0 Try not to pass more than one vehicle at a time on
0 Don’t overtake a slowly moving vehicle too rapidly.
Even though the brake lights are not flashing, it may
be slowing down or starting to turn.
0 If you’re being passed, make it easy for the
following driver to get ahead of you. Perhaps you
can ease a little to the right.
4-13
Page 268 of 386
Downloaded from www.Manualslib.com manuals search engine your brake fluid. Adding brake fluid won’t correct a
leak. If you add fluid when your linings
are worn, then
you’ll have too much fluid when
you get new brake
linings. You should add (or remove) brake fluid, as
necessary, only when work is done on the brake
hydraulic system. On
vehicles equipped with the
LT5 (Code J) engine, the
brake warning light will come on when your brake fluid
falls to a low level. See “Brake System Warning Light”
in the Index.
For vehicles equipped with the
LT1 (Code P) engine,
refer to the Maintenance Schedule to determine when to
check your brake fluid. See “Periodic Maintenance
Inspections” in the Index.
To Check Brake Fluid
You can check the brake fluid without taking off the cap.
Just look at the brake fluid reservoir.
The fluid level
should be above the MIN mark on the reservoir. If it
isn’t, have your brake system checked to see
if there is
a leak.
After work is done on the brake hydraulic system, make
sure the level is between the MIN and MAX
marks.
6-33