1995 CHEVROLET CAMARO reset
[x] Cancel search: resetPage 96 of 388
Downloaded from www.Manualslib.com manuals search engine To Resume a Set Speed
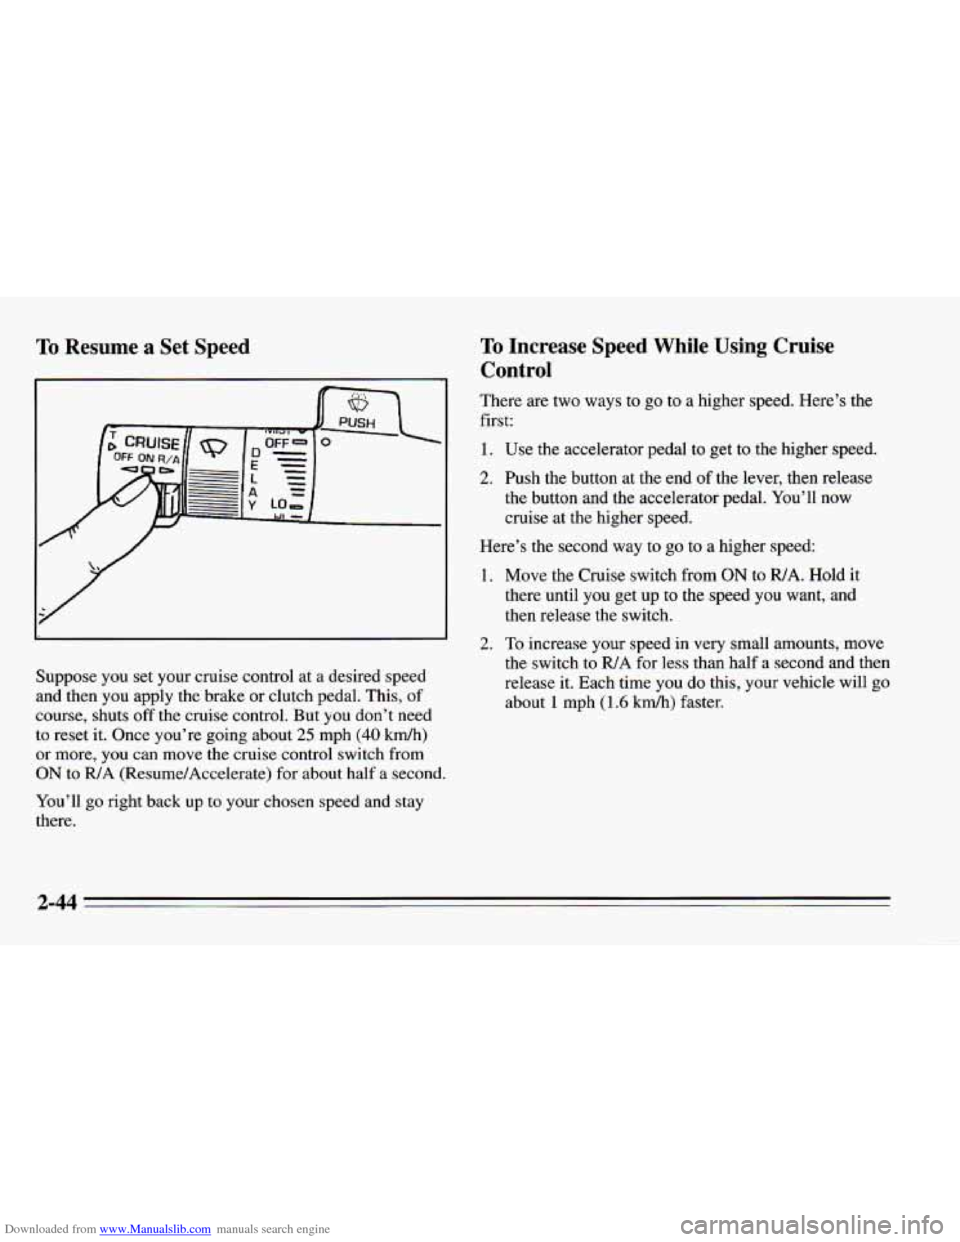
Suppose you set your cruise control at a desired speed
and then you apply the brake or clutch pedal. This, of
course, shuts off the cruise control. But
you don’t need
to reset it. Once you’re going about 25 mph (40 km/h)
or more, you can move the cruise control switch from
ON to R/A (Resume/Accelerate) for about half a second.
You’ll
go right back up to your chosen speed and stay
there.
To Increase Speed While Using Cruise
Control
There are two ways to go to a higher speed. Here’s the
first:
1. Use the accelerator pedal to get to the higher speed.
2. Push the button at the end of the lever, then release
the button and the accelerator pedal. You’ll now
cruise at the higher speed.
Here’s the second way to go to a higher speed:
1. Move the Cruise switch from ON to WA. Hold it
there until you get up to the speed you want,
and
then release the switch.
2. To increase your speed in very small amounts, move
the switch to
R/A for less than half a second and then
release it. Each time you do this, your vehicle will
go
about 1 mph (1.6 kmh) faster.
2-44
Page 123 of 388
Downloaded from www.Manualslib.com manuals search engine If the anti-lock brake system warning light stays on
longer than normal after you’ve started your engine, turn
the ignition off. Or, if the light comes
on and stays on
when you’re driving, stop as soon as possible and turn
the ignition off. Then start the engine again to reset the
system.
If the light still stays on, or comes on again
while you’re driving, your Chevrolet needs service. If
the light is on but
not flashing and the regular brake
system warning light isn’t on, you still have brakes, but
you don’t have anti-lock brakes.
ASR (Acceleration Slip Regulation) System
Warning Light (Option)
ASR
OFF
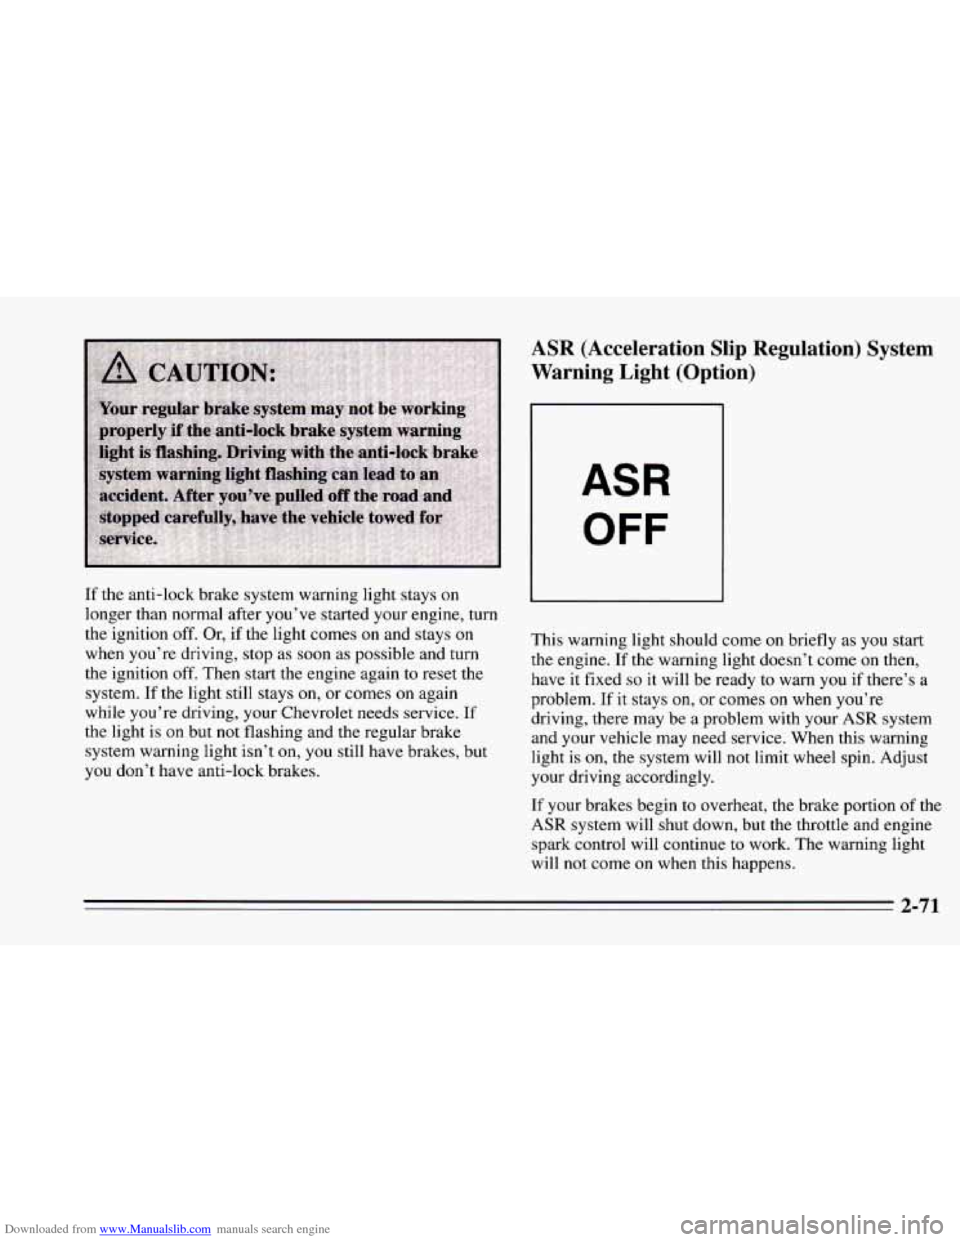
This warning light should come on briefly as you start
the engine.
If the warning light doesn’t come on then,
have it fixed
so it will be ready to warn you if there’s a
problem. If it stays on, or comes
on when you’re
driving, there may be a problem with your
ASR system
and your vehicle may need service. When this warning
light is on, the system will not limit wheel spin. Adjust
your driving accordingly.
If your brakes begin
to overheat, the brake portion of the
ASR system will shut down, but the throttle and engine
spark control will continue to work. The warning light
will not come on when this happens.
2-71
Page 145 of 388
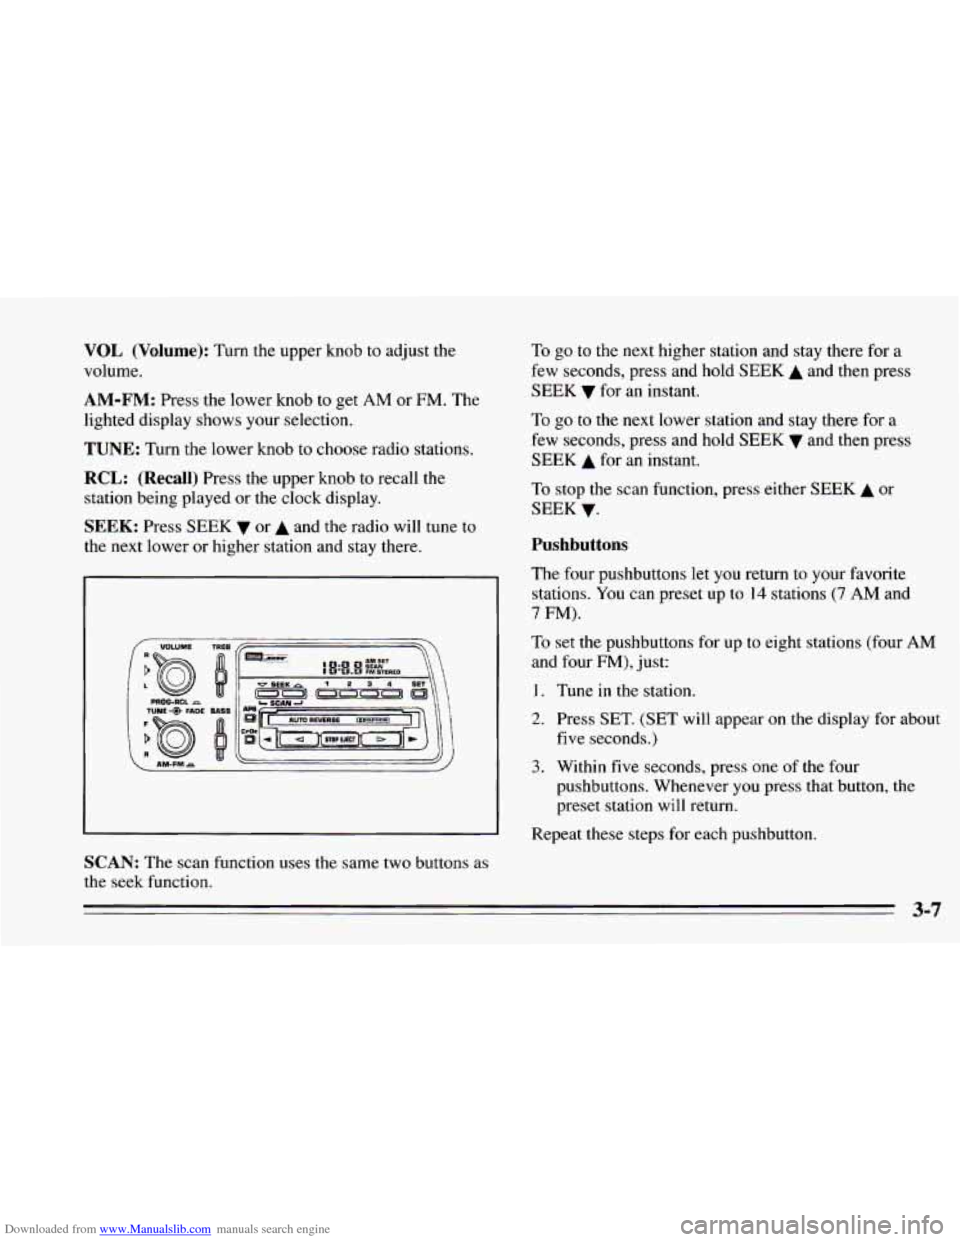
Downloaded from www.Manualslib.com manuals search engine VOL (Volume): Turn the upper knob to adjust the
volume.
AM-FM: Press the lower knob to get AM or FM. The
lighted display shows your selection.
TUNE: Turn the lower knob to choose radio stations.
RCL: (Recall) Press the upper knob to recall the
station being played or the clock display.
SEEK: Press SEEK v or A and the radio will tune to
the next lower or higher station and stay there.
I TUNE FADE EAS~
SCAN: The scan function uses the same two buttons as
the seek function. To
go to the next higher station and stay there for a
few seconds, press and hold
SEEK A and then press
SEEK
v for an instant.
To go to the next lower station and stay there for
a
few seconds, press and hold SEEK v and then press
SEEK A for an instant.
To stop
the scan function, press either SEEK A or
SEEK
v.
Pushbuttons
The four pushbuttons let you return to your favorite
stations. You can preset up to
14 stations (7 AM and
7 FM).
To set the pushbuttons for up to eight stations (four AM
and four FM), just:
1. Tune in the station.
2. Press SET. (SET will appear on the display for about
3. Within five seconds, press one of the four
five
seconds.)
pushbuttons. Whenever you press that button, the
preset station will return.
Repeat these steps for each pushbutton.
3-7
Page 146 of 388
Downloaded from www.Manualslib.com manuals search engine You can preset three more stations on each band by
pressing
a pair of buttons next to each other at the same
time. Just:
1. Tune in the station.
2. Press SET (SET will appear on the display for about
five seconds.)
3. Within five seconds, press two pushbuttons next to
each other at the same time. Whenever
you press that
pair
of buttons, the preset station will return.
Repeat these steps for each pair of pushbuttons.
Setting the Tone
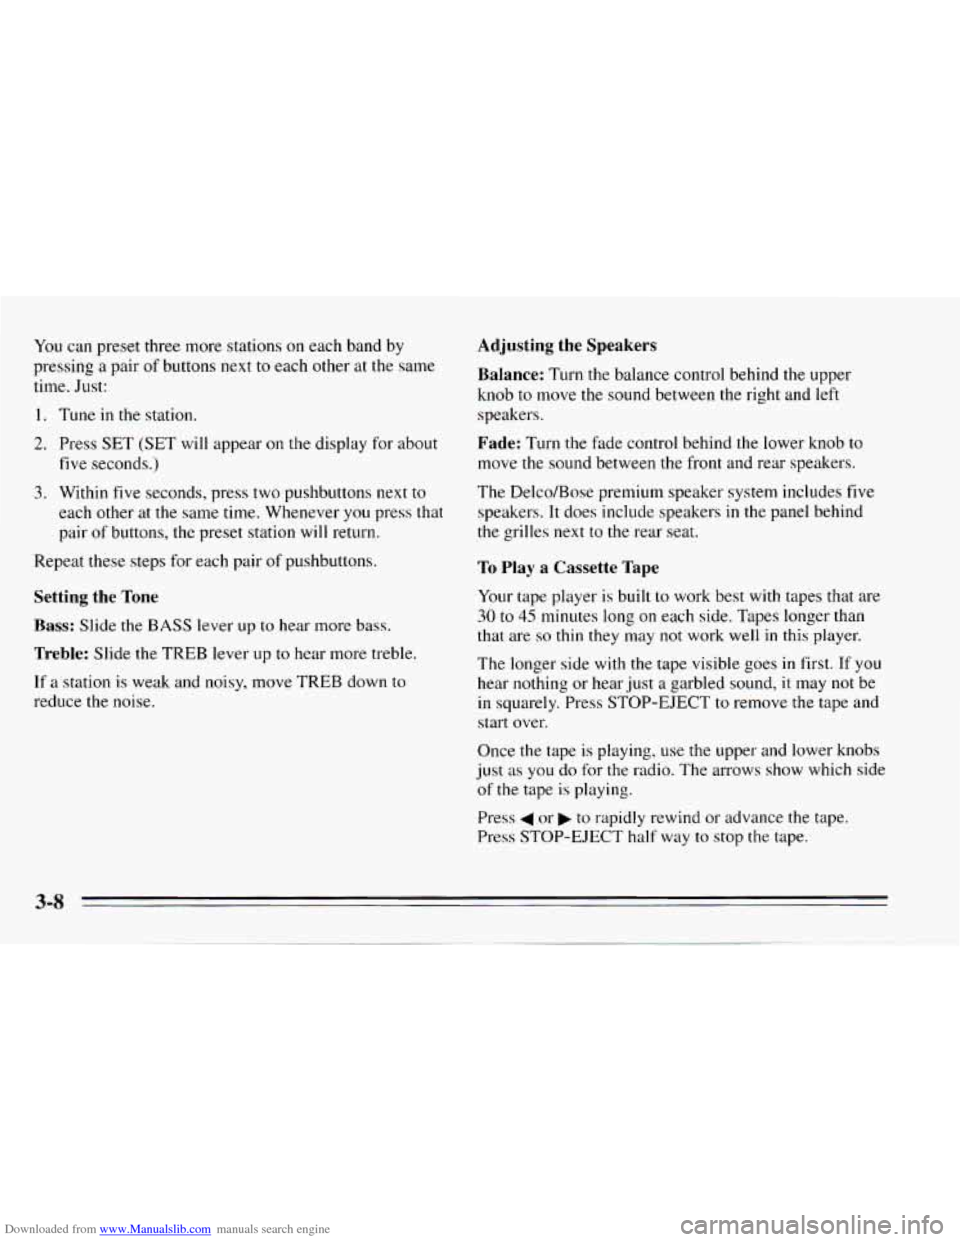
Bass: Slide the BASS lever up to hear more bass.
Treble: Slide the TREB lever up to hear more treble.
If a station is weak and noisy, move TREB down to
reduce the noise.
Adjusting the Speakers
Balance:
Turn the balance control behind the upper
knob
to move the sound between the right and left
speakers.
Fade: Turn the fade control behind the lower knob to
move the sound between the front and rear speakers.
The Delco/Bose premium speaker system includes
five
speakers. It does include speakers in the panel behind
the grilles next
to the rear seat.
To Play a Cassette Tape
Your tape player is built to work best with tapes that are
30 to 45 minutes long on each side. Tapes longer than
that are
so thin they may not work well in this player.
The longer side with the tape visible goes
in first. If you
hear nothing or hear just a garbled sound, it may not be
in squarely. Press STOP-EJECT to remove the tape and
start over.
Once the tape is playing, use the upper and lower knobs
just
as you do for the radio. The arrows show which side
of the tape is playing.
Press
4 or to rapidly rewind or advance the tape.
Press STOP-EJECT half way to stop the tape.
3-8
Page 149 of 388
Downloaded from www.Manualslib.com manuals search engine Pushbuttons
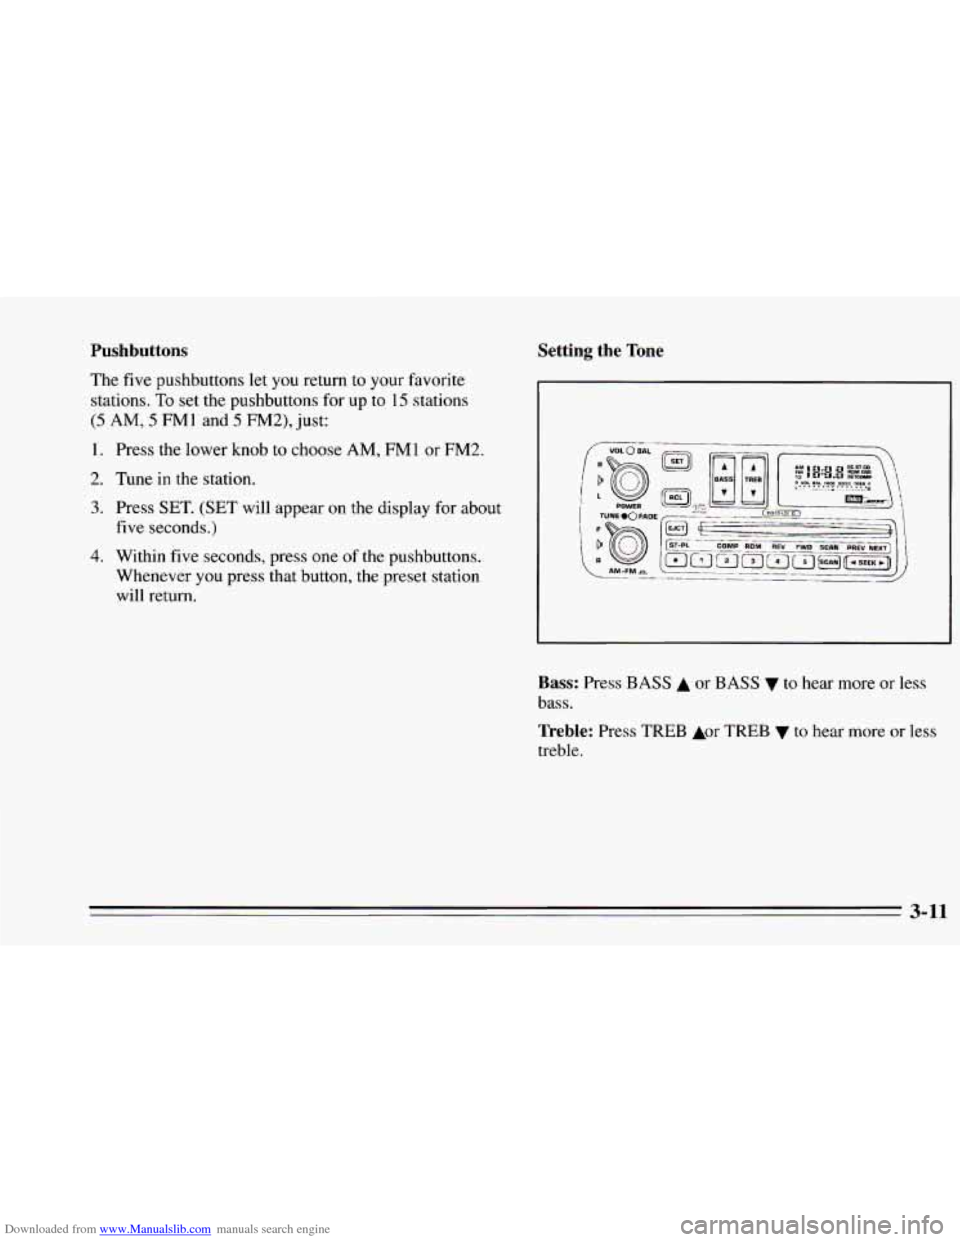
The five pushbuttons let you return to your favorite
stations.
To set the pushbuttons for up to 15 stations
(5 AM, 5 FMl and 5 FM2), just:
Setting the Tone
1.
2.
3.
4.
Press the lower knob to choose AM, FMl or FM2.
Tune
in the station.
Press SET. (SET will appear on the display for about
five seconds.)
Within five seconds, press one
of the pushbuttons.
Whenever you press that button, the preset station
will return.
Bass: Press BASS A or BASS v to hear more or less
bass.
Treble: Press TREB Aor TREB v to hear more or less
treble.
3-11
Page 262 of 388
Downloaded from www.Manualslib.com manuals search engine I
I
1 Add coolant mix at the recovery tank, but be careful not
, to spill it.
Radiator Pressure Cap (All Engines)
NOTICE:
Your radiator cap is a 18 psi (124 kPa)
pressure-type cap and must be tightly installed to
prevent coolant loss and possible engine damage from overheating. Be sure the arrows on the cap
line
up with the overflow tube on the radiator
filler neck.
When you replace your radiator pressure cap, an AC@
cap is recommended.
Thermostat
Engine coolant temperature is controlled by a thermostat
in the engine coolant system. The thermostat stops the
flow of coolant through the radiator until the coolant
reaches
a preset temperature.
When you replace your thermostat, an
AC@ thermostat
is recommended.
6-30
Page 287 of 388
Downloaded from www.Manualslib.com manuals search engine Temperature - A, B, C
The temperature grades are A (the highest), B, and C,
representing the tire’s resistance to the generation of
heat and its ability to dissipate heat when tested under
controlled conditions on a specified indoor laboratory
test wheel. Sustained high temperature can cause the
material of the tire to degenerate and reduce tire
life, and
excessive temperature can lead to sudden tire failure.
The grade
C corresponds to a level of performance
which all passenger car tires must meet under the
Federal Motor Vehicle Safety Standard
No. 109. Grades
B and A represent higher levels of performance on the
laboratory test wheel than the minimum required by law.
Warning: The temperature grade for this tire
is
established for a tire that is properly inflated and not
overloaded. Excessive speed, underinflation, or
excessive loading, either separately or in combination,
can cause heat buildup and possible tire failure.
These grades are molded
on the sidewalls of passenger
car tires. While
the tires available as standard or optional
equipment on General Motors vehicles may vary with
respect to these grades, all such tires meet General
Motors performance standards and have been approved
for use
on General Motors vehicles. All passenger type
(P Metric) tires must conform to Federal safety
requirements in addition to these grades.
Wheel Alignment and Tire Balance
The wheels on your vehicle were aligned and balanced
carefully at the factory to give you the longest tire life
and best overall performance.
In most cases, you will not
need to have your wheels
aligned again. However,
if you notice unusual tire wear
or your vehicle pulling one way or the other, the
alignment may need to be reset. If you notice your
vehicle vibrating when driving
on a smooth road, your
wheels may need to be rebalanced.
6-55