1995 CHEVROLET CAMARO audio
[x] Cancel search: audioPage 3 of 388
Downloaded from www.Manualslib.com manuals search engine 0 The 1995 Chevrolet Carnaro Owner’s Manual
How to Use This Manual .................................................................. vi
Seats and Restraint Systems .............................................................. 1-1
This section tells you how to use your manual and includes safety and vehicle damage warnings and symbols.
This section tells you how to use your seats and safety belts properly.
It also explains the “SIR”
(Air Bag) System.
This section explains how to start and operate your Chevrolet.
This section tells you how to adjust the ventilation and comfort controls and how to operate your
sound system.
Here you’ll find helpful information and tips about the road and how to drive under different conditions.
This section tells you what
to do if you have a problem while driving, such as a flat tire or engine
overheating, etc.
Here the manual tells you how to keep your Chevrolet running properly and looking good.
This section tells
you when to perform vehicle maintenance and what fluids and lubricants to use.
This section tells you how to contact Chevrolet for assistance and how to get service publications. It
also
gives you information on “Reporting Safety Defects” on page 8-4.
Here’s an alphabetical listing of almost every subject in this manual. You can use it to quickly find
something you want
to read.
Features and Controls .................................................................. 2-1
Comfort Controls and Audio Systems ..................................................... 3-1
YourDrivingandtheRoad .............................................................. 4-1
ProblemsontheRoad .................................................................. 5-1
ServiceandAppearanceCare ............................................................ 6-1
Maintenanceschedule.............. .................................................... 7-1
Customer Assistance Information ........................................................ 8-1
Index ........................................................................\
......... 9-1
i
Page 68 of 388
Downloaded from www.Manualslib.com manuals search engine Retained Accessory Power (RAP)
NOTICE:
If your key seems stuck in LOCK and you can’t
turn
it, be sure it is all the way in. If it is, then
turn the steering wheel left and right while you
turn the key hard. But turn the key
only with
your hand. Using a tool to force
it could break
the key or the ignition switch.
If none of this
works, then your vehicle needs service. If you have
power door locks, your vehicle has a feature
called Retained Accessory Power (RAP). With RAP
your power door locks, electric mirrors, power
windows, audio system and remote hatch release will
continue to work up to
10 minutes after the ignition key
is turned to
OFF and neither door is opened.
If a door is opened, the audio system and power
windows will shut
off. The power door locks, electric
mirrors and remote hatch release will work until you
shut the door. Once you have shut the door, these
accessories will continue to work for approximately
35 seconds. After this time you will not be able to use
these accessories until the next time you open a door or
turn on the ignition.
2-16
Page 111 of 388
Downloaded from www.Manualslib.com manuals search engine Accessory Plug
This plug is located inside the front section ahead of the
shift lever of
the console. The plug can be used to
connect electrical equipment such
as a cellular phone or
CB radio. Be sure to follow the installation instructions
included with the equipment.
The plug has three separate wires:
The orange wire connects to the battery.
The pink wire connects to the ignition. Power is only
The black wire connects to the ground.
available
in
RUN.
NOTICE:
When using the accessory plug:
The maximum load of any electrical
Be sure to turn off any electrical equipment
equipment should not exceed
3 amps.
when not in use. Leaving electrical equipment
on
for extended periods can drain your battery.
We recommend that you see a qualified technician or
your dealer for the proper installation of your equipment.
Cassette Storage
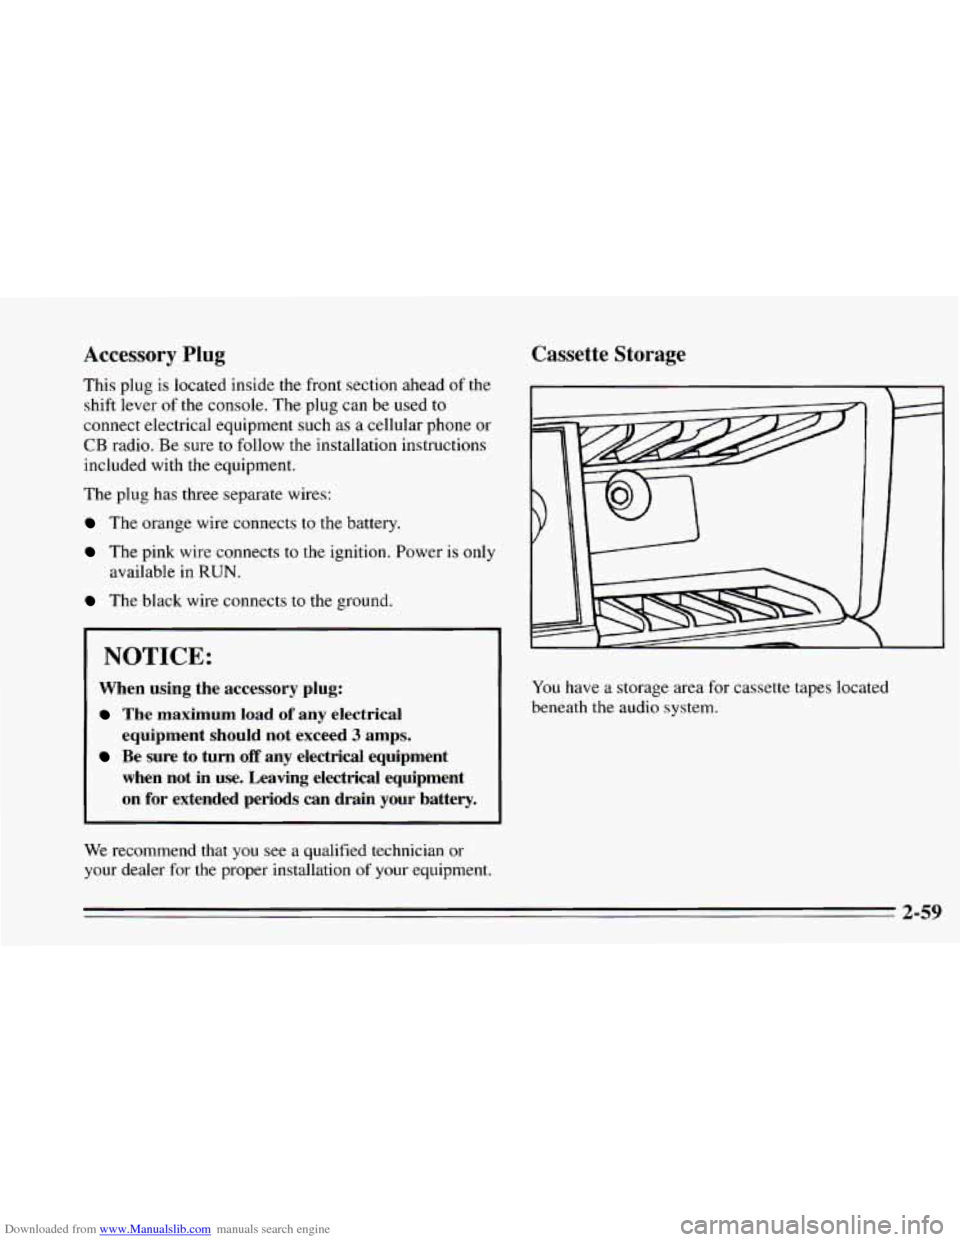
You have a storage area for cassette tapes located
beneath the audio system.
Page 117 of 388
Downloaded from www.Manualslib.com manuals search engine 1. Upper Air Vent
2. Main Light Control
3. Side Upper Air Vent
4. Instrument Cluster
5. Comfort Controls
6. Audio System
7. Side Window Defogger Vent
8. Glove
Box
9. Remote Hatch Release
10. Cassette Tape Storage
11. Shift Lever
12. Parking Brake Lever 13.
Cupholder
14. Storage Console and Compact Disc Storage (if
equipped)
15. Acceleration Slip Regulation Switch (if equipped)
16. Ashtray (Automatic Transmission)
17. Cigarette Lighter
18.
Horn
19. Rear Window Defogger Switch
20. Fog Lamp Switch (if equipped)
2 1. Convertible Top Switch (if equipped)
22. Ashtray (Manual Transmission)
2-65
Page 130 of 388
Downloaded from www.Manualslib.com manuals search engine Voltmeter
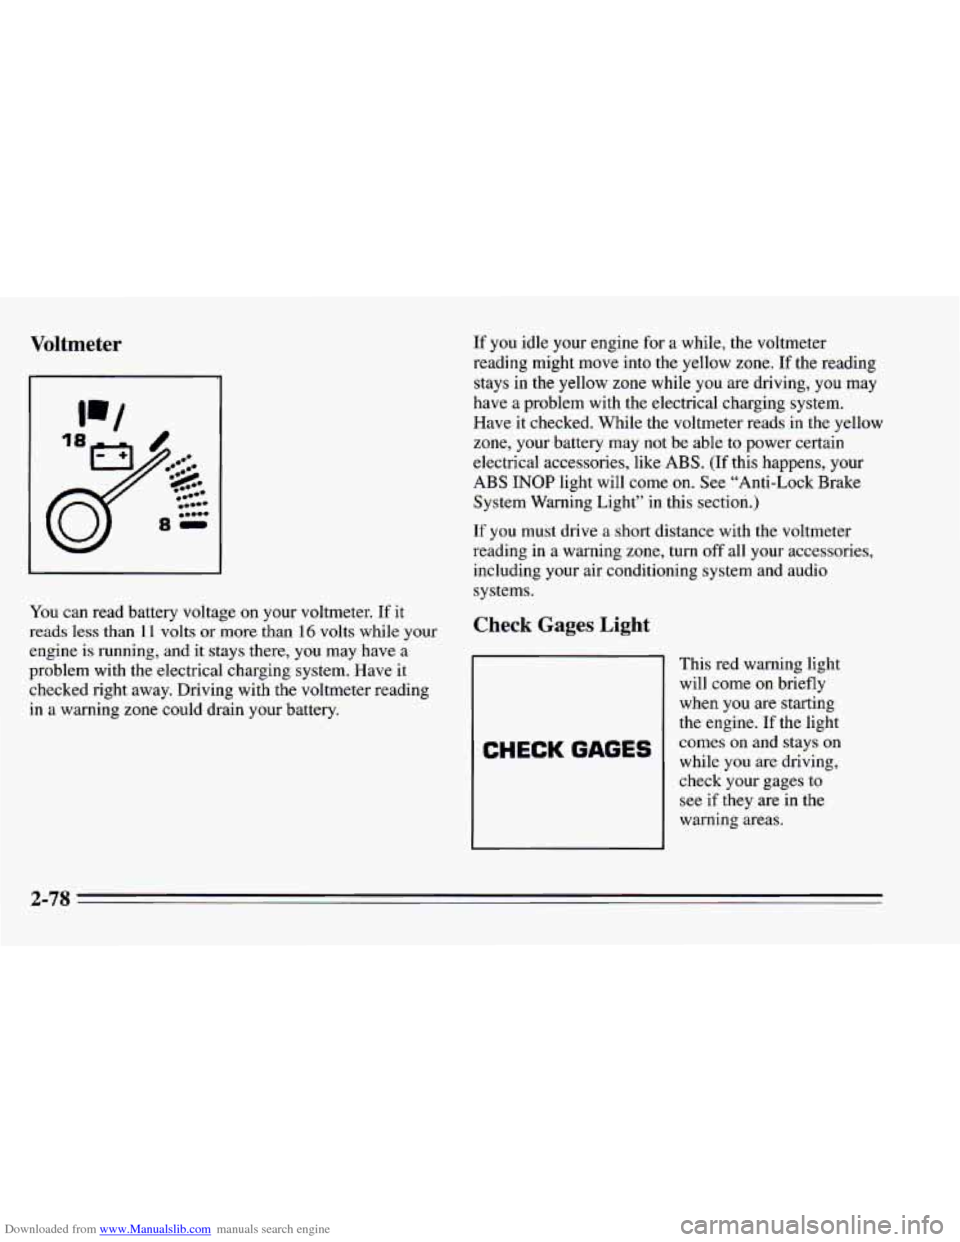
You can read battery voltage on your voltmeter. If it
reads less than
11 volts or more than 16 volts while your
engine is running, and
it stays there, you may have a
problem with the electrical charging system. Have it
checked right away. Driving with the voltmeter reading
in a warning zone could drain your battery.
If you idle your engine for a while, the voltmeter
reading might move into the yellow zone.
If the reading
stays in the yellow zone while you are driving, you may
have a problem with the electrical charging system.
Have it checked. While the voltmeter reads in the yellow
zone, your battery may
not be able to power certain
electrical accessories, like ABS.
(If this happens, your
ABS INOP light will come on. See “Anti-Lock Brake
System Warning Light” in this section.)
If you must drive a short distance with the voltmeter
reading in a warning zone, turn
off all your accessories,
including your air conditioning system and audio
systems.
Check Gages Light
CHECK GAGES
This red warning light
will come
on briefly
when you are starting
the engine.
If the light
comes on and stays on
while you are driving,
check your gages to
see if they are in the
warning areas.
2-78
Page 139 of 388
Downloaded from www.Manualslib.com manuals search engine 0 Section 3 Comfort Controls and Audio Systems
In this section you'll find out how to operate the comfort
control systems and audio systems offered with your
Chevrolet. Be sure to read about the particular system
supplied with your vehicle.
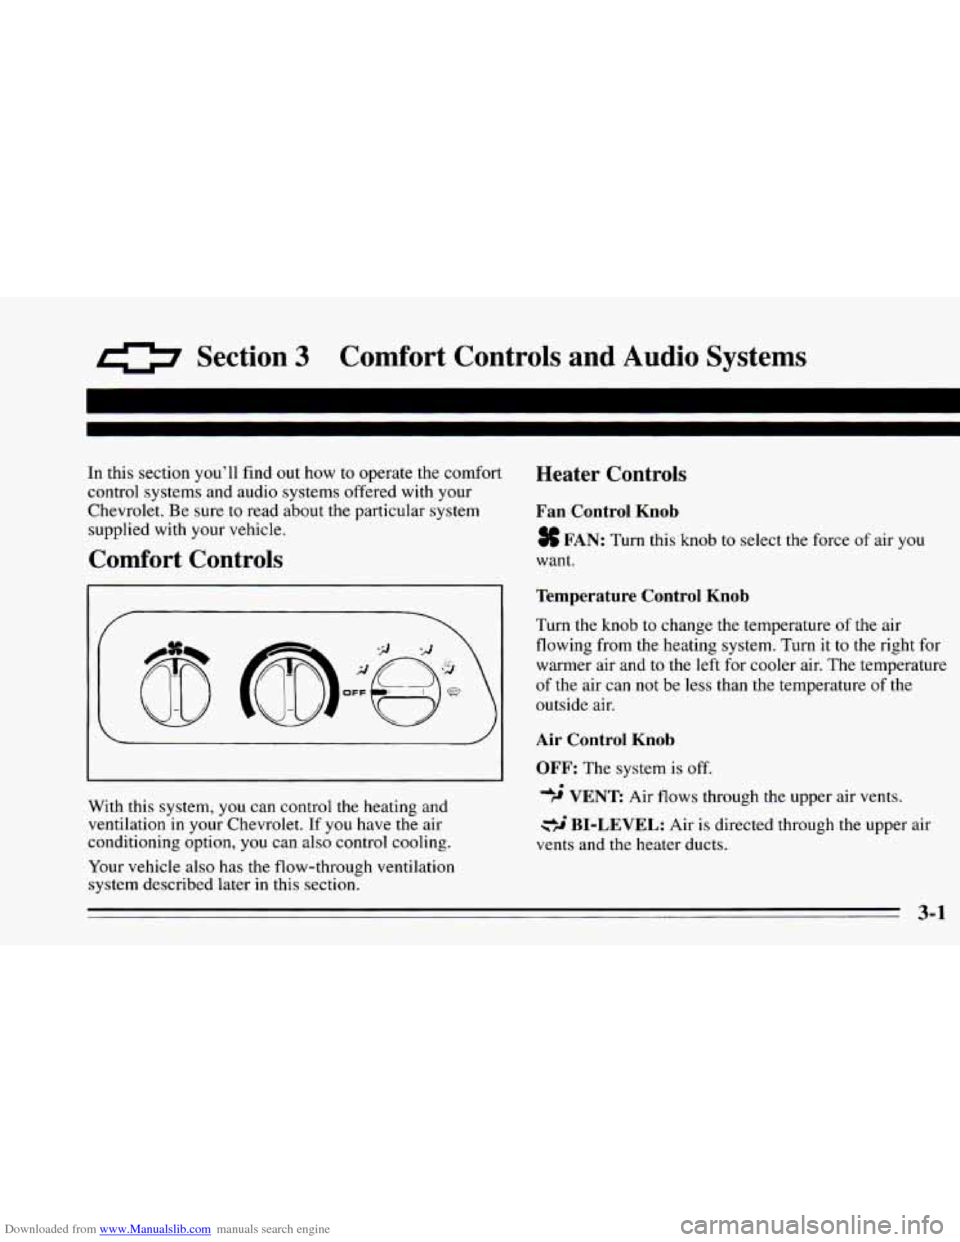
Comfort Controls
Heater Controls
Fan Control Knob
$$ FAN: Turn this knob to select the force of air you
want.
With this system,
you can control the heating and
ventilation
in your Chevrolet. If you have the air
conditioning option, you can also control cooling.
Your vehicle also has the flow-through ventilation
system described later
in this section.
Temperature Control Knob
Turn the knob to change the temperature of the air
flowing from the heating system. Turn it
to the right for
warmer air and to the left for cooler air. The temperature
of the air can not be less than the temperature of the
outside air.
Air Control Knob
OFF:
The system is off.
4' # VENT: Air flows through the upper air vents.
BI-LEVEL: Air is directed through the upper air
vents and the heater ducts.
3-1
Page 143 of 388
Downloaded from www.Manualslib.com manuals search engine I NOTICE:
Don’t use a razor blade or something else sharp
on the inside
of the rear window. If you do, you
could cut or damage the warming grid, and the
repairs wouldn’t be covered by your warranty.
Flow-Through Ventilation System
Your Chevrolet’s flow-through ventilation system
supplies outside air into the vehicle when it is moving.
Outside air will also enter the vehicle when the blower
fan is running.
When you enter a vehicle in cold weather, turn the
fan control knob
to the right for a few moments
before driving
off. This helps clear the intake ducts
of snow and moisture, and reduces the chance
of
fogging the inside of your windows.
objects. This helps air to circulate throughout your
vehicle.
Keep the air path under the front seats clear of
Audio Systems
Your Delco@ audio system has been designed to operate
easily and give years of listening pleasure. But you will
get the most enjoyment out of
it if you acquaint yourself
with
it first. Find out what your DelcoB system can do
Ventilation Tips and how to operate all its controls, to be sure you’re
0 Keep the hood and front air inlet free of ice, snow, or went into it.
getting the most out of the advanced engineering that
any other obstruction (such
as leaves). The heater
and defroster will work far better, reducing the If you have power door locks,
your vehicle has a feature
chance of fogging the inside of your windows. called Retained Accessory Power (RAP). With RAP you
can play your audio system even after the ignition is off.
See the Index under “Retained Accessory Power.”
Page 150 of 388
Downloaded from www.Manualslib.com manuals search engine For the clearest sound, keep both of these adjusted all
the way up. If a station is weak and noisy, press
TREB to reduce the noise.
Adjusting the Speakers
Balance:
Turn the balance control behind the upper
knob to move the sound between the right and left
speakers.
Fade: Turn the fade control behind the lower knob to
move the sound between the front and rear speakers.
The Delco/Bose premium speaker system includes five
speakers.
It does include speakers in the panel behind
the grilles next
to the rear seat.
To Play a Compact Disc
Before you begin, please note: don't use the mini-discs
that are called "singles." They won't eject. Use full-size
compact discs.
With the audio system
on, insert a disc into the slot with
the label side up. CD will appear on the display and
track
I will begin to play.
If the disc comes back out and ERR appears on the
display,
it could be that:
0 The disc is upside down.
0 It is dirty, scratched, or wet.
0 There's too much moisture in the air.
You are driving on a very rough road.
The temperature is too hot or too cold.
Recall
Press RCL to see what track is playing. Press it again
within five seconds to see how long it has been playing.
The track number also appears when the disc is inserted.
To Play the Next Selection
Press NEXT to hear the next track now (instead of
waiting until the present track is finished).
If you press and hold this button or press it more than
once, the disc will advance further.
3-12