Page 3 of 380
Downloaded from www.Manualslib.com manuals search engine Table of Contents
Inrroauction - How to Use this Manual
This section tells you how to use your manual and includes safety
and vehicle damage warnings and symbols.
Section 1 - Seats and Restraint Systems
This section tells you how to use your seats and safety belts
properly. It also explains the air bag system.
Section 2 - Features & Controls
This section explains how to start and operate your vehicle.
Section 3 - Comfort Controls & Audio Systems
This section tells you how to adjust the ventilation and comfort
controls and how to operate your audio system.
Section 4 - Your Driving and the Road
Here you’ll find helpful information and tips about the road and \
how
to drive under different conditions.
Section 5 - Problems on the Road
This section tells you what to do if you have a problem while
driving, such as a flat tire or engine overheating, etc.
Section 6- Service & Appearance Care
Here the manual tells you how to keep your vehicle running
properly and looking good.
Section 7 - Maintenance Schedule
This section tells you when to perform vehicle maintenance and
what fluids and lubricants to use.
Section 8 - Customer Assistance Information
This section tells you how to contact GM for assistance and how to
get service publications. It also gives you information on
“Reporting Safety Defects” on page
8-4.
Index
Here’s an alphabetical listing of almost every subject in this
manual. You
can use it to quickly find something you want to read.
1
Page 117 of 380
Downloaded from www.Manualslib.com manuals search engine Instrument Panel
1. Vents
2. Instrument Cluster
3. Air ConditionedHeater
4. Glove Box
5. Audio system
6. Cigarette Lighter
6. Power Auxiliary (Option)
7. Parking Brake Release
8. Light Switches
9. Electronic Transfer Case
(Option)
10. Rear Defogger (Option)
11. Ashtray
12. Shelf
13. Fog Lamps (Option)
14. Rear Wipermasher (Option)
15. Rear Hatch (Option)
Instrument Cluster
Your instrument cluster is designed to let you know at a glance how your
vehicle
is running. You’ll know how fast you’re going, about how much
fuel you’ve used, and many other things you’ll need to know to drive safely
and economically.
2- 65
Page 135 of 380
Downloaded from www.Manualslib.com manuals search engine Comfort Controls & Audio Systems
Section
U
In this section you'll find out how to operate the comfort control systems
and audio systems offered with your vehicle. Be sure to read about the
particular system supplied with your vehicle.
Comfort Controls
Heater/Air Conditioning Controls
, ..,.. Your heatedair
conditioning controls
will look like this.
Before using your vehicle's air conditioning, open the windows to clear the
vehicle of
hot air.
The switch with the fan symbol changes the fan speed, To increase the fan
speed, push the switch upward toward HI. To decrease the fan speed, push
the switch downward toward
LO.
3-1
Page 139 of 380
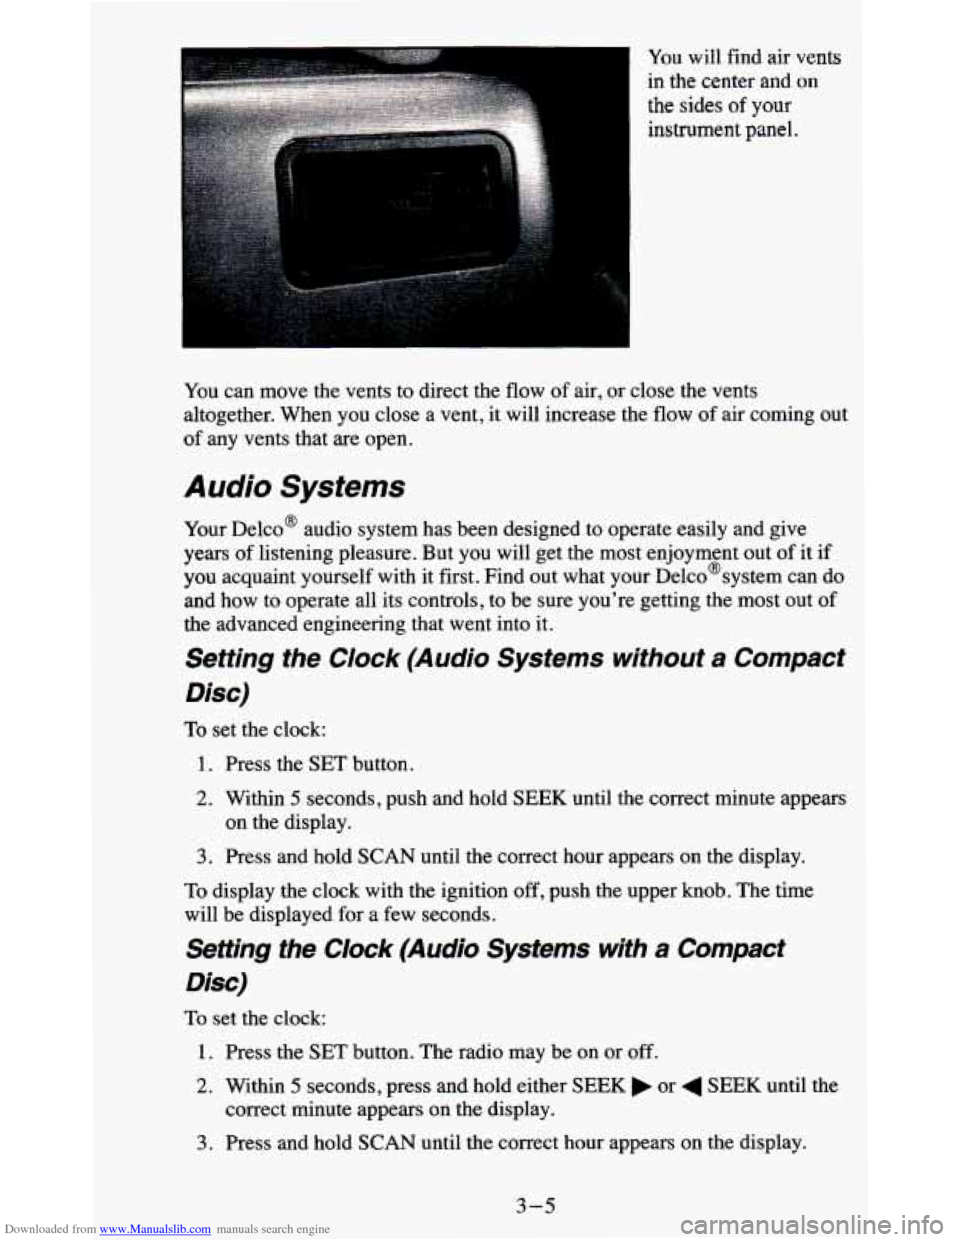
Downloaded from www.Manualslib.com manuals search engine You will find air vents
in the center and
on
the sides of your
instrument panel.
You can move the vents to direct the
flow of air, or close the vents
altogether. When you close a vent, it will increase the flow of air coming out
of any vents that are open.
Audio Systems
Your Delco@ audio system has been designed to operate easily and give
years of listening pleasure. But you will get the most enjoyment out of it if
you acquaint yourself with it first. Find out what your Delco@system can do
and how to operate all its controls, to be sure you're getting the most out of
the advanced engineering that went into it.
Setting the Clock (Audio Systems without a Compact
Disc)
To set the clock:
1. Press the SET button.
2. Within 5 seconds, push and hold SEEK until the correct minute appears
3. Press and hold SCAN until the correct hour appears on the display.
on the display.
To display the clock with the ignition off, push the upper knob. The time
will be displayed for a few seconds.
Setting the Clock (Audio Systems with a Compact
Disc)
To set the clock:
1. Press the SET button. The radio may be on or off.
2. Within 5 seconds, press and hold either SEEK or 4 SEEK until the
correct minute appears
on the display.
3. Press and hold SCAN until the correct hour appears on the display.
3-5
Page 140 of 380
Downloaded from www.Manualslib.com manuals search engine How to Operate Your ETP AM-FM Stereo Audio
System
I
.. ..
Q
This part tells you how your ETR@AM-FM stereo audio system works.
Upper Knob (PWR-VOL-RECALL)
- The upper knob has these four
functions:
Turn it to turn the system on and off.
0 Turn it to control the volume.
Press it to display the time when the ignition is off.
Press it to change between the clock and the radio station frequency
displayed when the radio is on.
BAL (Balance) - The control ring behind the upper knob adjusts the
lefuright speaker balance.
Lower Knob (TUNE-AM-FM)
- The lower knob has two functions:
0 Turn it to tune in radio stations.
0 Press it to change between the AM and €34 bands.
3-6
Page 142 of 380
Downloaded from www.Manualslib.com manuals search engine How to Operate Your ETP AM-FM Stereo Audio
Cassette System
- __ - __
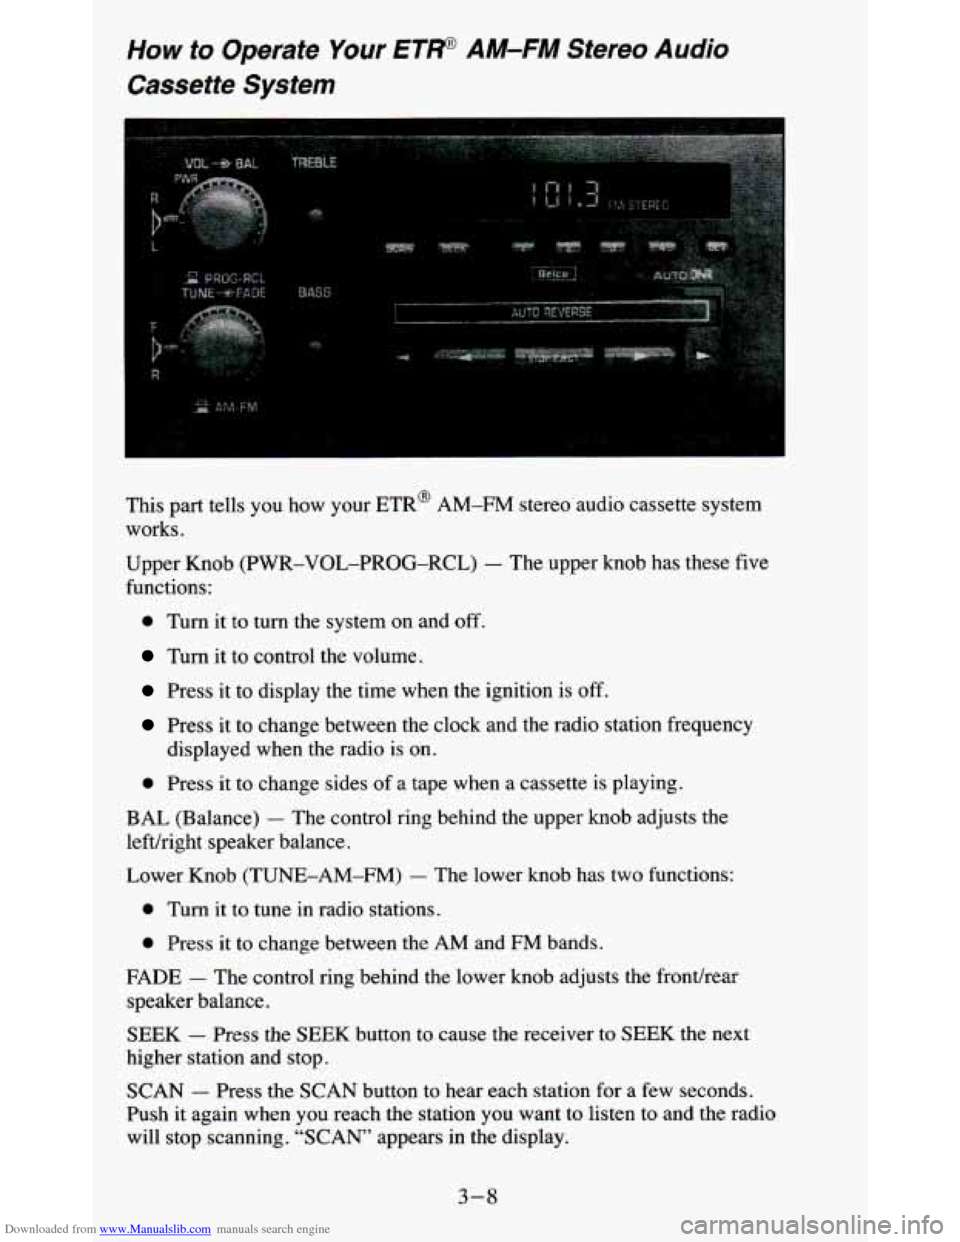
This part tells you how your ETR@ AM-FM stereo audio cassette system
works.
Upper Knob (PWR-VOL-PROG-RCL)
- The upper knob has these five
functions:
0 Turn it to turn the system on and off.
Turn it to control the volume.
Press it to display the time when the ignition is off.
Press it to change between the clock and the radio station fr\
equency
displayed when the radio is
on.
0 Press it to change sides of a tape when a cassette is playing.
BAL (Balance) - The control ring behind the upper knob adjusts the
lefthight speaker balance.
Lower Knob
(TUNE-AM-FM) - The lower knob has two functions:
0 Turn it to tune in radio stations.
0 Press it to change between the AM and FM bands.
FADE - The control ring behind the lower knob adjusts the fronthear
speaker balance.
SEEK - Press the SEEK button to cause the receiver to SEEK the next
higher station and stop.
SCAN - Press the SCAN button to hear each station for a few seconds.
Push it again when
you reach the station you want to listen to and the radio
will stop scanning.
“SCAN” appears in the display.
3-8
Page 144 of 380
Downloaded from www.Manualslib.com manuals search engine PROGRAM - To go from one side of the tape to the other, press the
PWR-VOL-PROCi-RCL knob.
STOP-EJECT
- To remove the tape or stop the tape and switch to radio,
press the STOP-EJECT button.
If “Cln” (Clean) appears on the display when you insert
your cassette tape,
your cassette player needs to be cleaned. It
will still play cassette tapes but it
should be cleaned to prevent damage to your cassette tapes and\
the cassette
tape player. See “Care
of Your Cassette Tape Player’’ later in this section.
After you have cleaned the cassette tape player, press and hol\
d EJECT for
5
seconds to reset the the “Cln” indicator. The radio will display “- - -” to
show the clean feature has been reset.
How to Operate Your ET* AM-FM Stereo Audio
Cassette System wifh Equalizer
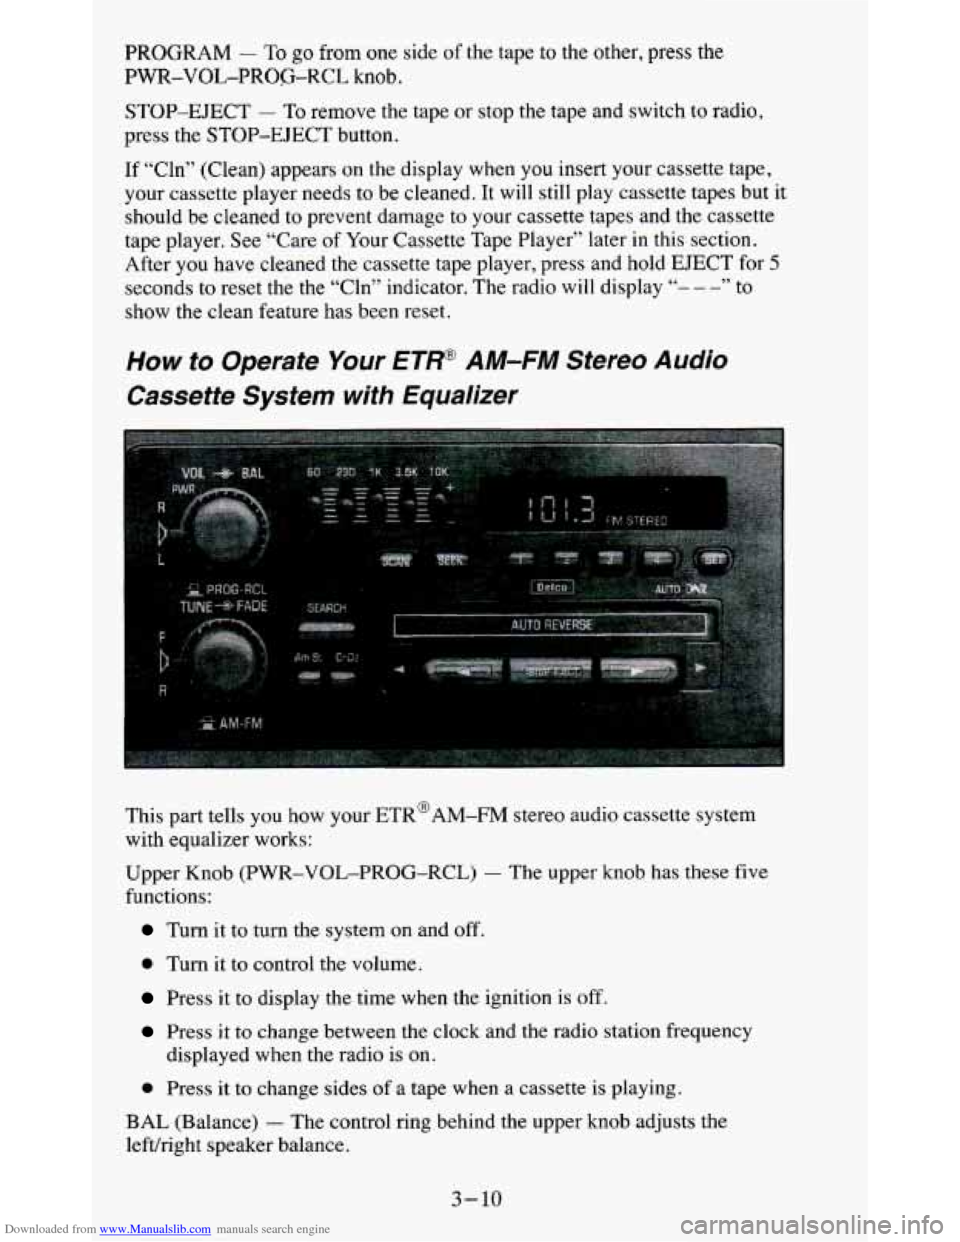
This part tells you how your ETR@AM-FM stereo audio cassette system
with equalizer works:
Upper Knob
(PWR-VOL-PROG-RCL) - The upper knob has these five
functions:
Turn it to turn the system on and off.
0 Turn it to control the volume.
Press it to display the time when the ignition is off.
Press it to change between the clock and the radio station frequency
0 Press it to change sides of a tape when a cassette is playing.
displayed when the radio
is on.
BAL (Balance)
- The control ring behind the upper knob adjusts the
lefvright speaker balance.
3-10
Page 147 of 380
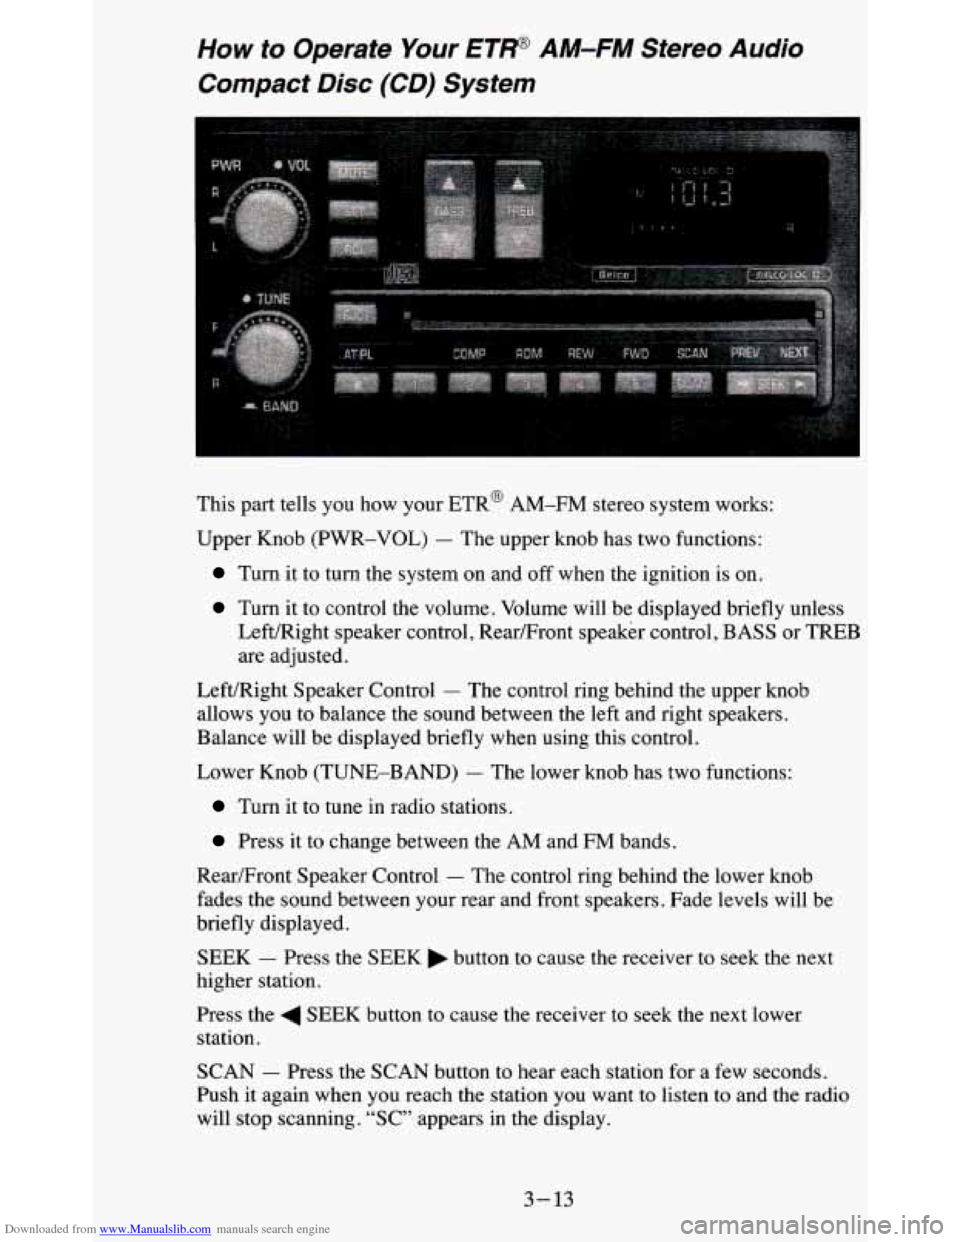
Downloaded from www.Manualslib.com manuals search engine How to Operate Your ETP AM-FM Stereo Audio
Compact Disc (CD)
System
This part tells you how your ETR@ AM-FM stereo system works:
Upper Knob (PWR-VOL)
- The upper knob has two functions:
Turn it to turn the system on and off when the ignition is on.
Turn it to control the volume. Volume will be displayed briefly unless
Left/Right speaker control, Rear/Front speaker Control, BASS
01: TFREB
are adjusted.
Left/Right Speaker Control
- The control ring behind the upper knob
allows you to balance the sound between the left and right speakers.
Balance will be displayed briefly when using this control.
Lower Knob (TUNE-BAND)
- The lower knob has two functions:
Turn it to tune in radio stations.
Press it to change between the AM and FM bands.
RearFront Speaker Control
- The control ring behind the lower knob
fades the sound between your rear and front speakers. Fade lev\
els will be
briefly displayed.
SEEK - Press the SEEK button to cause the receiver to seek the next
higher station.
Press the
4 SEEK button to cause the receiver to seek the next lower
station.
SCAN
- Press the SCAN button to hear each station for a few seconds.
Push it again when
you reach the station you want to listen to and the radio
will stop scanning. “SC” appears in the display.
3-13