1995 CHEVROLET ASTRO CARGO VAN service
[x] Cancel search: servicePage 5 of 342
Downloaded from www.Manualslib.com manuals search engine Table of Contents
Introduction - How to Use this Manual
This section tells you how to use your manual and includes safety
and vehicle damage warnings and symbols.
Section 1 - Seats and Restraint Systems
This section tells you how to use your seats and safety belts
properly. It also explains the air bag system.
Section 2 - Features & Controls
This section explains how to start and operate your vehicle.
Section 3 - Comfort Controls & Audio Systems
This section tells you how to adjust the ventilation and comfort
controls and how
to operate your audio system.
Section 4 - Your Driving and the Road
Here you’ll find helpful information and tips about the road and
how
to drive under different conditions.
Section 5 - Problems on the Road
This section tells you what to do if you have a problem while
driving, such as a flat tire or engine overheating, etc.
Section 6- Service & Appearance Care
Here the manual tells you how to keep your vehicle running
properly and looking good.
Section 7 - Maintenance Schedule
This section. tells you when to perform vehicle maintenance and
what fluids and lubricants to use.
Section 8 - Customer Assistance Information
This section tells you how to contact GM for assistance and how to
get service publications. It also gives you information on
“Reporting Safety Defects” on page
8-4.
Index
Here’s an alphabetical listing of almost every subject in this
manual. You can use
it to quickly find something you want to read.
1
Page 6 of 342
Downloaded from www.Manualslib.com manuals search engine Introduction
1995 Chevrolet Astro Owner’s Manual
Welcome
This manual was prepared to acquaint you with the operation and
maintenance of your
1995 Chevrolet Astro and to provide important safety
information. There is also
a Chevrolet Truck Warranty and Owner
Assistance Information booklet. In some vehicles, there can be information
manuals from other manufacturers like body builders or special equipment
companies. We urge you
to review all these publications carefully. This will
help
you enjoy safe and trouble-free operation of your vehicle.
When
it comes to service, keep in mind that your Chevrolet dealer knows
your vehicle best and
is interested in your complete satisfaction. Your dealer
invites you to return for all of your service needs both during and after the
warranty period.
Remember, if
you have a concern and need help handling it to your
satisfaction, see the procedure
in the Chevrolet Truck Warranty and Owner
Assistance Information booklet.
Thanks for choosing
a Chevrolet product. We value you as a member of the
Chevrolet family. We want
to assure you of our continuing interest in your
pleasure and satisfaction with your vehicle.
Chevrolet Motor Division
General Motors Corporation
30007 Van Dyke Ave.
Warren, Michigan
@Copyright
1994 General Motors Corporation, Chevrolet Motor Division
All Rights Reserved
Second Edition
11 ..
Printed in U.S.A.
Page 7 of 342

Downloaded from www.Manualslib.com manuals search engine Important Notes to Owners and Drivers
Abouf This Manual
Please keep this manual in your vehicle so it will be there if you ever need it
when you’re on the road. If you sell the vehicle, please leave this manual in
it so the new owner can use it.
This manual includes the latest information at the time it was printed. We
reserve
the right to make changes in the product after that time without
further notice. For vehicles first sold
in Canada, substitute the name
“General Motors
of Canada Limited” for Chevrolet Motor Division
whenever
it appears in this manual.
WE SUPPORT
VOLUNTARY TECHNICIAN
CERTIFICATION THROUGH
National Institute for
AUTOMOTIVE
SERVICE
EXCELLENCE
For Canadian Qwners Who Prefer a French Language
Manual:
Aux proprietaires canadiens: Vous pouvez vous procurer un exemplaire de
ce guide
en francais chez votre concessionaire ou au DGN Marketing
Services Ltd., 1500 Bonhill Rd., Mississauga, Ontario L5T
1 C7.
General Motors, GM and the GM Emblem, Chevrolet and the Chevrolet
Emblem, and ASTRO are registered trademarks
of General Motors
Corporation.
... 111
Page 36 of 342
Downloaded from www.Manualslib.com manuals search engine What will you see after an air bag inflates?
After the air bag inflates, it quickly deflates. This occurs so quickly that
some people
may not even realize the air bag inflated. Some components of
the air bag module in the steering wheel hub will be hot for a short time, but
the part of the bag that comes into contact with
you will not be hot to the
touch. There will be some smoke coming from vents in the deflated air bag.
Air bag inflation will not prevent the driver from seeing or from being able
to steer the vehicle, nor will
it stop people from leaving the vehicle.
A CAUTION:
When an air bag inflates, there is dust in the air. This dust could
cause breathing problems for people with
a history of asthma or
other breathing trouble. To avoid this, everyone in the vehicle
should get out
as soon as it is safe to do so. If you have breathing
problems but can’t get out
of the vehicle after an air bag inflates,
then get fresh
air by opening a window or door.
The air bag is designed to inflate only once. After it inflates, you’ll
need some new parts for your air bag system. If you don’t get them, the
air bag system won’t be there
to help protect you in another crash. A
new system will include the air bag module and possibly other parts.
The service manual for your vehicle covers the need to replace other
parts
.
Your vehicle is equipped with a diagnostic module, which records
information about the air bag system. The module records information
about the readiness of the system, when the sensors are activated and
driver’s safety belt usage at deployment.
Let only qualified technicians work on your air bag system. Improper
service can mean that your air bag system won’t work properly. See
your dealer
for service.
NOTICE:
If you damage the cover of the driver’s facial air bag, it may not
work properly. You may have to replace the air bag module.
Do
not open or break the air bag cover.
1-24
Page 37 of 342
Downloaded from www.Manualslib.com manuals search engine Servicing Your Facial Air Bag-Equipped Vehicle
The facial air bag affects how your vehicle should be serviced. There are
parts of the air bag system in several places around your vehicle. You don’t
want the system to inflate while someone is working
on your vehicle. Your
GM dealer and
the 1995 GM Service Manual have information about
servicing your vehicle and the air bag system.
To purchase a service manual,
see “Service Publications”
in the Index. The air bag system does not need
regular maintenance.
Adding Equipment to Your Facial Air Bag-Equipped
Vehicle
0: If I add a push bumper or a bicycle rack to the front of my vehicle,
will it keep the air bag
from working properly?
A: As long as the push bumper or bicycle rack is attached to your vehicle
so that the vehicle’s basic structure isn’t changed, it’s not likely to keep
the air bags from working properly in a crash.
Q: Is there anything I might add to the front of the vehicle that could
keep the air bag from working properly?
A: Yes. If you add things that change your vehicle’s frame, bumper
system, front end sheet metal or height, they may keep the air bag
system from working properly. Also, the air bag system may not work
properly if
you relocate any of the air bag sensors. If you have any
question about this,
you should contact Customer Assistance before
you modify your vehicle. (The phone numbers and addresses for
Customer Assistance are
in Step Two of the Customer Satisfaction
Procedure in this manual. See “Customer Satisfaction Procedure” in
the Index
.)
1-25
Page 65 of 342
Downloaded from www.Manualslib.com manuals search engine This device complies with Part 15 of the FCC Rules. Operation is subject to
the following two conditions:
(1) This device may not cause harmful
interference, and
(2) This device must accept any interference received,
including interference that may cause undesired operation.
Should interference to this system occur, try this:
0 Check to determine if battery replacement is necessary. See the
instructions on battery replacement.
has a maximum range.
Check the distance. You may be too far from your vehicle. This product
Check the location. Other vehicles or objects may be blocking the
See your GM dealer or a qualified technician Tor service.
signal.
Changes or modifications to this system by other than an authorized service
facility could void authorization to use this equipment.
Operation
When you press UNLOCK, the driver’s door will unlock automatically. If
you press
UNLOCK again within five seconds, all doors will unlock. All
doors will lock when
DOOR is pressed. Pressing REAR will unlock the
hatch.
Matching Transmitter(s) To Your Vehicle
Each key chain transmitter is coded to prevent another transmitter from
unlocking your vehicle. If a transmitter is lost or stolen, a replacement can
be purchased through your dealer. Remember to bring any remaining
transmitters with you when you go to your dealer. When the dealer matches
the replacement transmitter to your vehicle, the remaining transmitters must
also be matched. Once the new transmitter is coded, the lost transmitter will
not unlock your vehicle.
You can match a transmitter to as many different vehicles as
you own,
provided they are equipped with
exactly the same model system. (General
Motors offers several different models
of these systems on their vehicles.)
Each vehicle can have only two transmitters matched
to it.
aee your dealer to match transmitters to another vehicle.
2-11
Page 69 of 342
Downloaded from www.Manualslib.com manuals search engine NOTICE:
If your key seems stuck in LOCK and you can’t turn it, be sure
it is
all the way in. If it is, then turn the steering wheel left and
right while you turn the key hard. But turn the key only with
your hand. Using
a tool to force it could break the key or the
ignition switch.
If none of this works, then your vehicle needs
service.
Starting Your Engine
Move your shift lever to PARK (P) or NEUTRAL (N). Your engine won’t
start
in any other position - that’s a safety feature. To restart when you’re
already moving, use
NEUTRAL (N) only.
NOTICE:
Don’t try to shift to PARK (P) if your vehicle is moving. If you
do, you could damage the transmission. Shift to PARK
(P) only
when your vehicle is stopped.
1. Without pushing the accelerator pedal, turn your ignition key to
START. When the engine starts, let go of the key. The idle speed will
go down
as your engine gets warm.
NOTICE:
Holding your key in START for longer than 15 seconds at a time
will cause your battery
to be drained much sooner. And the
excessive heat can damage your starter motor.
2. If it doesn’t start right away, hold your key in START. If it doesn’t start
in ten seconds, push the accelerator pedal about one-quarter of the way
down
for five more seconds, or until it starts.
2-15
Page 107 of 342
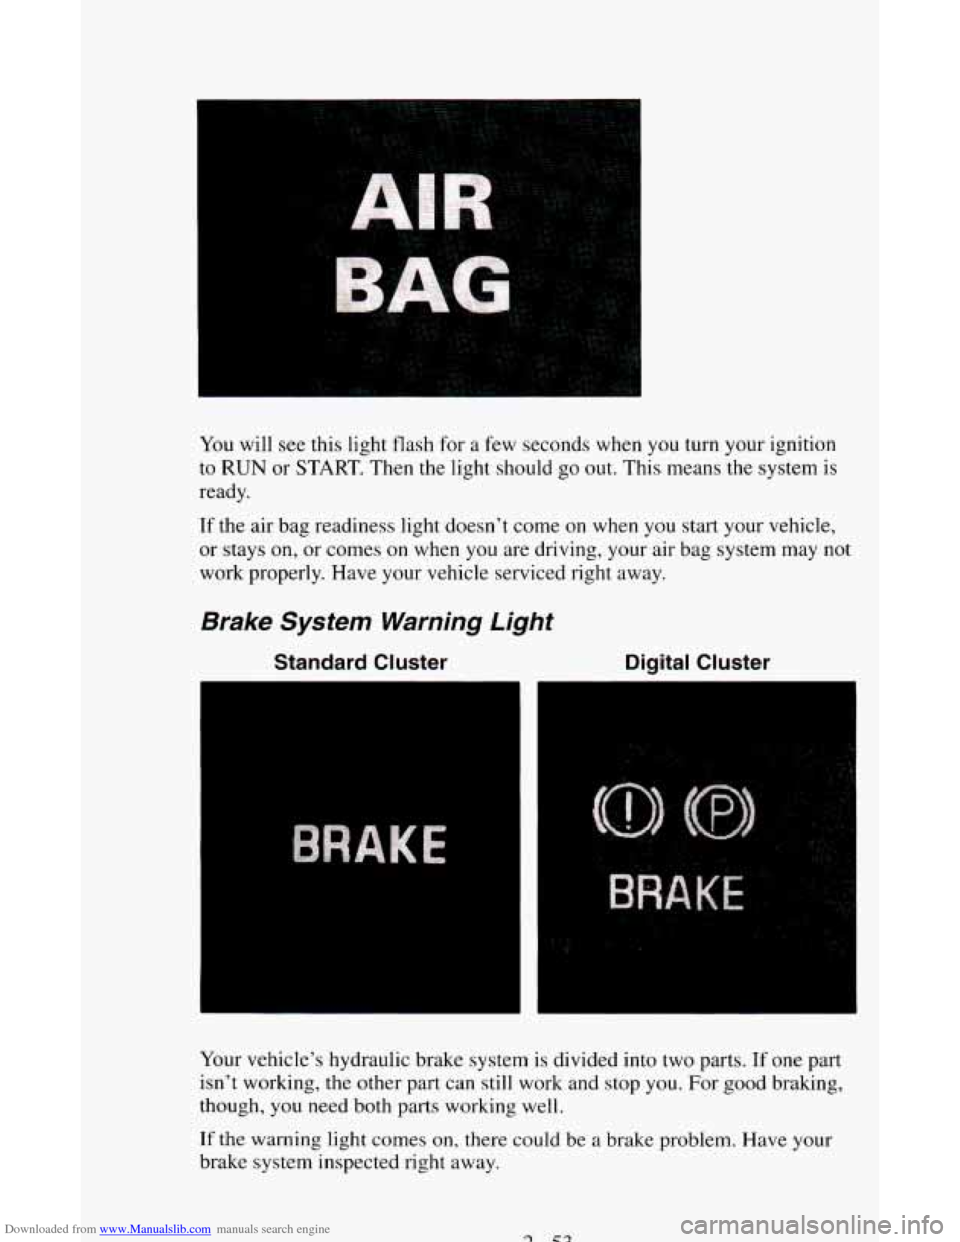
Downloaded from www.Manualslib.com manuals search engine You will see this light flash for a few seconds when you turn your ignition
to
RUN or START. Then the light should go out. This means the system is
ready.
If the air bag readiness light doesn’t come on when you start your vehicle,
or stays on, or comes
on when you are driving, your air bag system may not
work properly. Have your vehicle serviced right away.
Brake System Warning Light
Standard Cluster Digital Cluster
Your vehicle’s hydraulic brake system is divided into two parts. If one part
isn’t working, the other
part can still work and stop you. For good braking,
though, you need both
parts working well.
If the warning light comes on, there could be a brake problem. Have your
brake system inspected right away.