1995 CHEVROLET ASTRO CARGO VAN check engine light
[x] Cancel search: check engine lightPage 23 of 342
Downloaded from www.Manualslib.com manuals search engine A CAUTION:
Don’t let anyone ride where he or she can’t wear a safety belt
properly.
If you are in a crash and you’re not wearing a safety
belt, your injuries
can be much worse. You can hit things inside
the vehicle or be ejected from it. You
can be seriously injured or
killed. In the same crash, you might not be if you are buckled
up. Always fasten your safety belt, and check that your
passengers’ belts are fastened properly too.
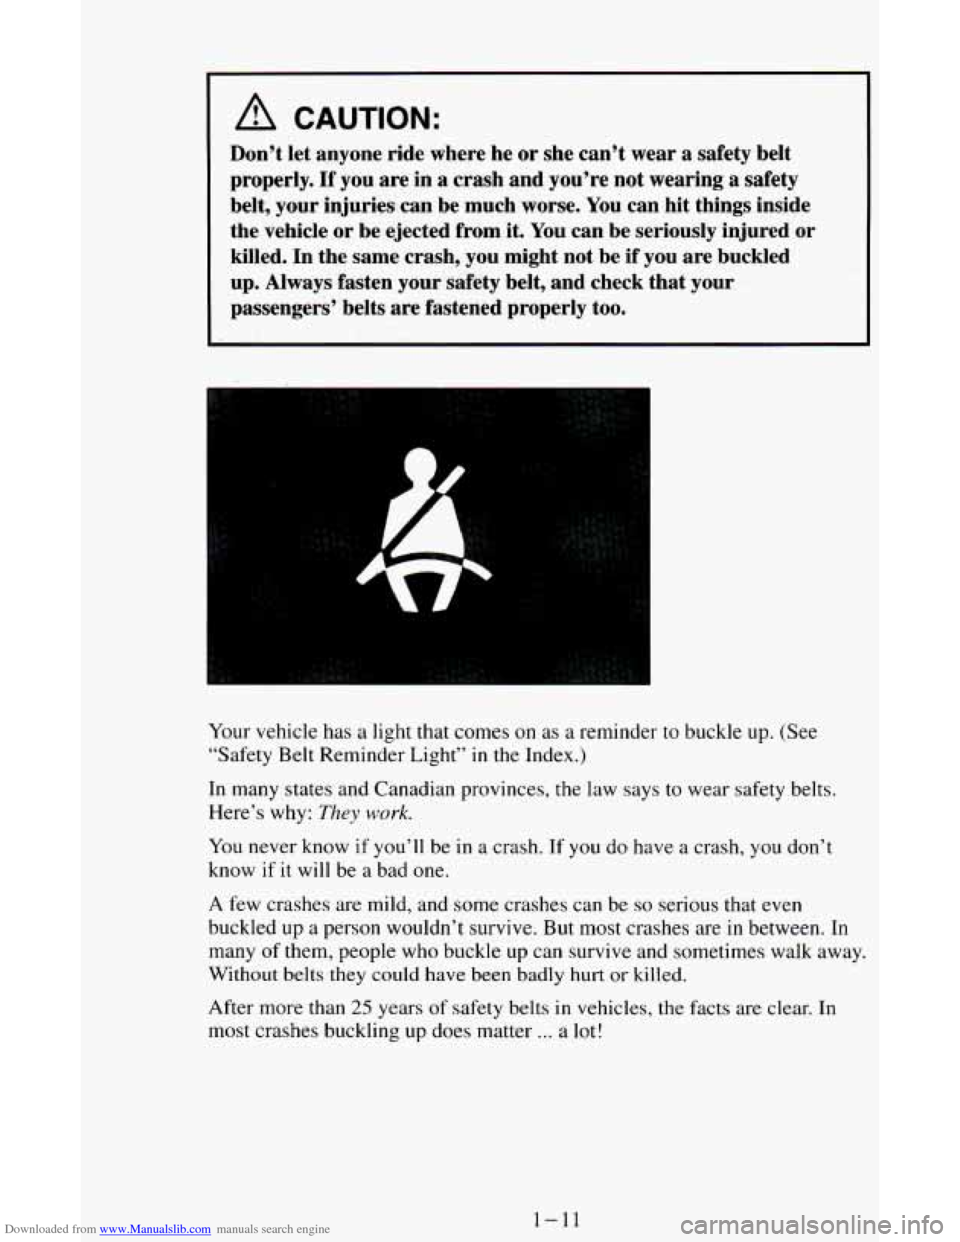
Your vehicle has a light that comes on as a reminder to buckle up. (See
“Safety Belt Reminder Light”
in the Index.)
In many states and Canadian provinces, the law says to wear safety belts.
Here’s why:
They work.
You never know if you’ll be in a crash. If you do have a crash, you don’t
know
if it will be a bad one.
A few crashes are mild, and some crashes can be so serious that even
buckled up a person wouldn’t survive. But most crashes are in between. In
many of them, people who buckle up can survive and sometimes walk away.
Without belts
they could have been badly hurt or killed.
After more than
25 years of safety belts in vehicles, the facts are clear. In
most crashes buckling up does matter ... a lot!
1-11
Page 34 of 342
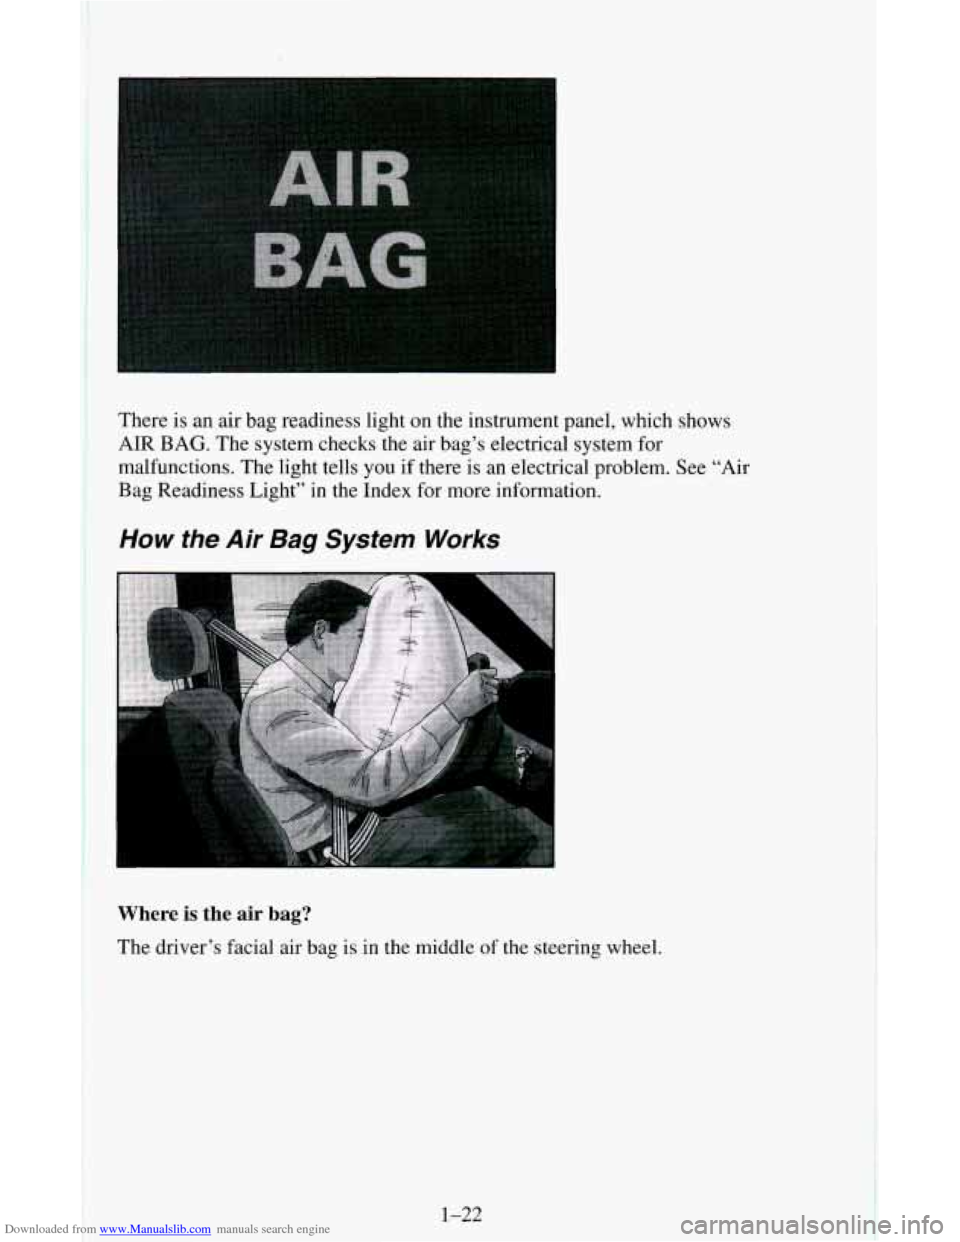
Downloaded from www.Manualslib.com manuals search engine There is an air bag readiness light on the instrument panel, which shows
AIR
BAG. The system checks the air bag’s electrical system for
malfunctions. The light tells you if there is an electrical problem. See
“Air
Bag Readiness Light” in the Index for more information.
How the Air Bag System Works
Where is the air bag?
The driver’s facial air bag is in the middle of the steering wheel.
1-22
Page 70 of 342
Downloaded from www.Manualslib.com manuals search engine 3. If your engine still won’t start, wait 15 seconds to let the starter motor
cool down and do it all again.
When the engine starts,
let go of the key and the accelerator pedal.
NOTICE:
Your engine is designed to work with the electronics in your
vehicle.
If you add electrical parts or accessories, you could
change the
way the fuel injection system operates. Before adding
electrical equipment, check with your dealer. If you don’t, your
engine might not perform properly.
If you ever have to have your vehicle towed, see the part of this
manual that tells how to do it without damaging your vehicle.
See “Towing Your Vehicle” in the Index.
Fuel Regulator
You have a fuel regulator that shuts the fuel off when the engine reaches
5,600 rpm.
Driving Through Deep Standing Water
NOTICE:
If you drive too quickly through deep puddles or standing water,
water can come in through your engine’s air intake and badly
damage your engine. Never drive through water that is slightly \
lower than the underbody
of your vehicle. If you can’t avoid
deep puddles or standing water, drive through them very slowly.
2-16
Page 85 of 342
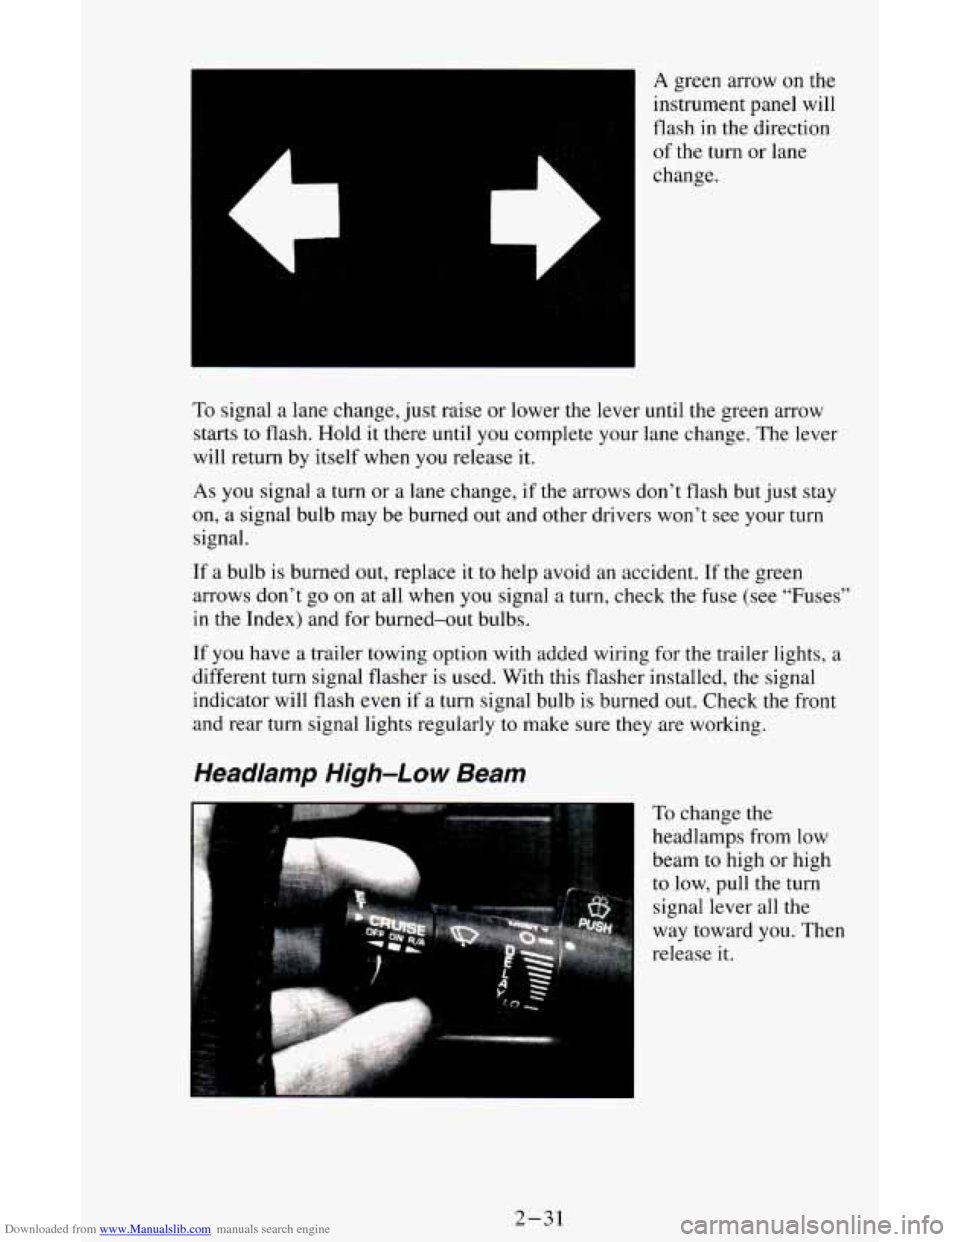
Downloaded from www.Manualslib.com manuals search engine A green arrow on the
instrument panel will
flash
in the direction
of the turn or lane
change.
To signal a lane change, just raise or lower the lever until the green arrow
starts to flash. Hold it there until
you complete your lane change. The lever
will return by itself when
you release it.
As you signal a turn or a lane change, if the arrows don’t flash but just stay
on, a signal bulb may be burned out and other drivers won’t see your turn
signal.
If a bulb is burned out, replace it to help avoid an accident. If the green
arrows don’t go
on at all when you signal a turn, check the fuse (see “Fuses”
in the Index) and for burned-out bulbs.
If you have a trailer towing option with added wiring for the trailer lights, a
different turn signal flasher is used. With this flasher installed, the signal
indicator will flash even if a turn signal bulb
is burned out. Check the front
and rear turn signal lights regularly
to make sure they are working.
Headlamp High-Low Beam
f ,.
To change the
headlamps from low
beam to high or high
to low, pull the turn
signal lever all the
way toward you. Then
release it.
2-31
Page 106 of 342
Downloaded from www.Manualslib.com manuals search engine you know they’re working. If you are familiar with this section, you should
not be alarmed when this happens.
Gages can indicate when there may be or
is a problem with one of your
vehicle’s functions. Often gages and warning lights work together
to let you
know when there’s a problem with your vehicle.
When one of the warning lights comes
on and stays on when you are
driving, or when
one of the gages shows there may be a problem, check the
section that tells you what to do about
it. Please follow this manual’s advice.
Waiting
to do repairs can be costly - and even dangerous. So please get to
know your warning lights and gages. They’re
a big help.
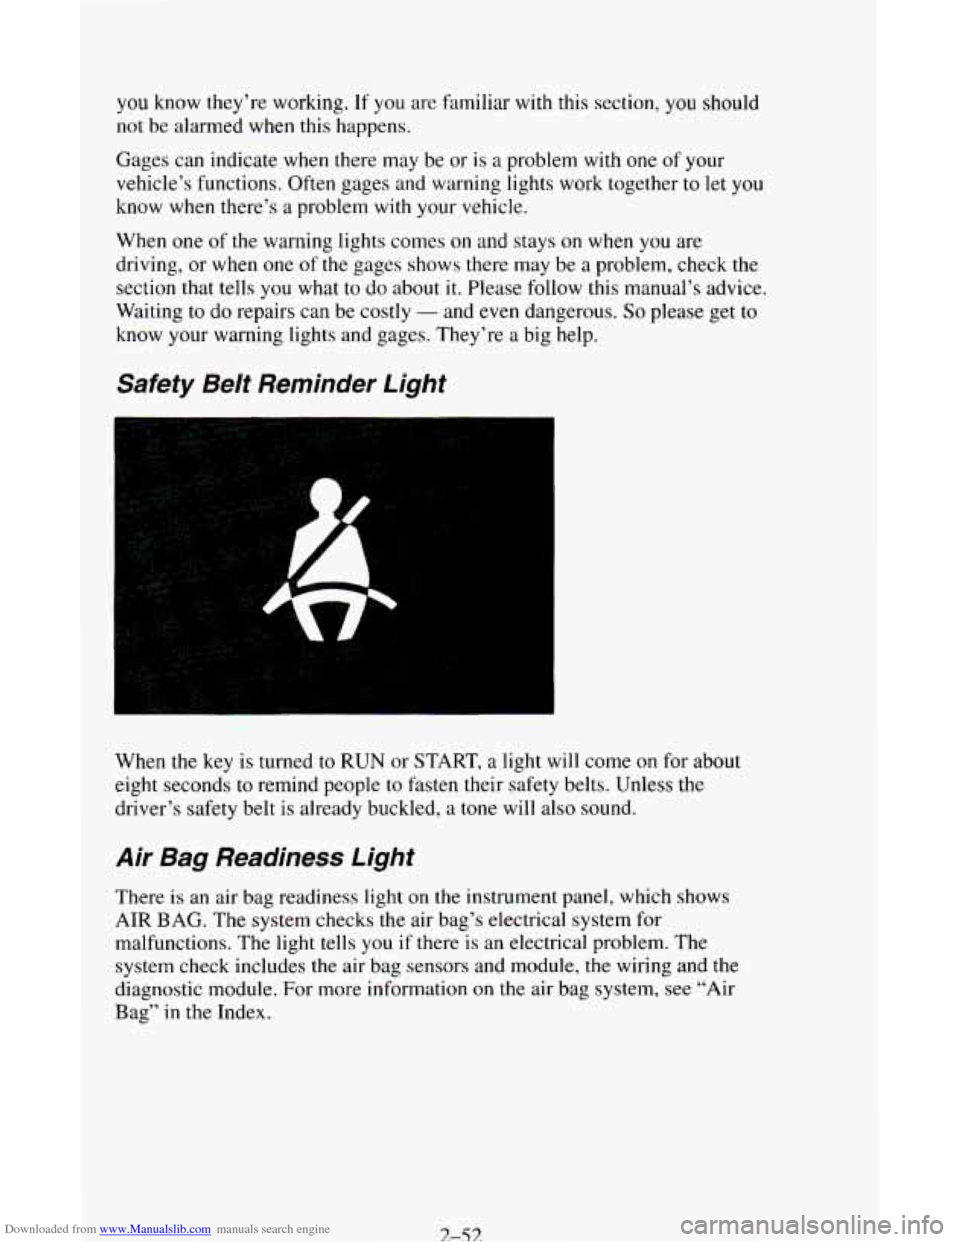
Safety Beit Reminder Light
When the key is turned to RUN or START, a light will come on for about
eight seconds to remind people
to fasten their safety belts. Unless the
driver’s safety belt is already buckled,
a tone will also sound.
Air Bag Readiness Light
There is an air bag readiness light on the instrument panel, which shows
AIR BAG. The system checks the air bag’s electrical system for
malfunctions. The light tells
you if there is an electrical problem. The
system check includes the air bag sensors and module, the wiring and the
diagnostic module. For more information on the air bag system,
see “Air
Bag”
in the Index.
3-53
Page 109 of 342
Downloaded from www.Manualslib.com manuals search engine If the light stays on, or comes on when you’re driving, your vehicle needs
service.
If the regular brake system warning light isn’t on, you still have
brakes, but you don’t have anti-lock brakes. If the regular brake system
warning light
is also on, you don’t have anti-lock brakes and there’s a
problem with your regular brakes. See “Brake System Warning Light”
earlier in this part.
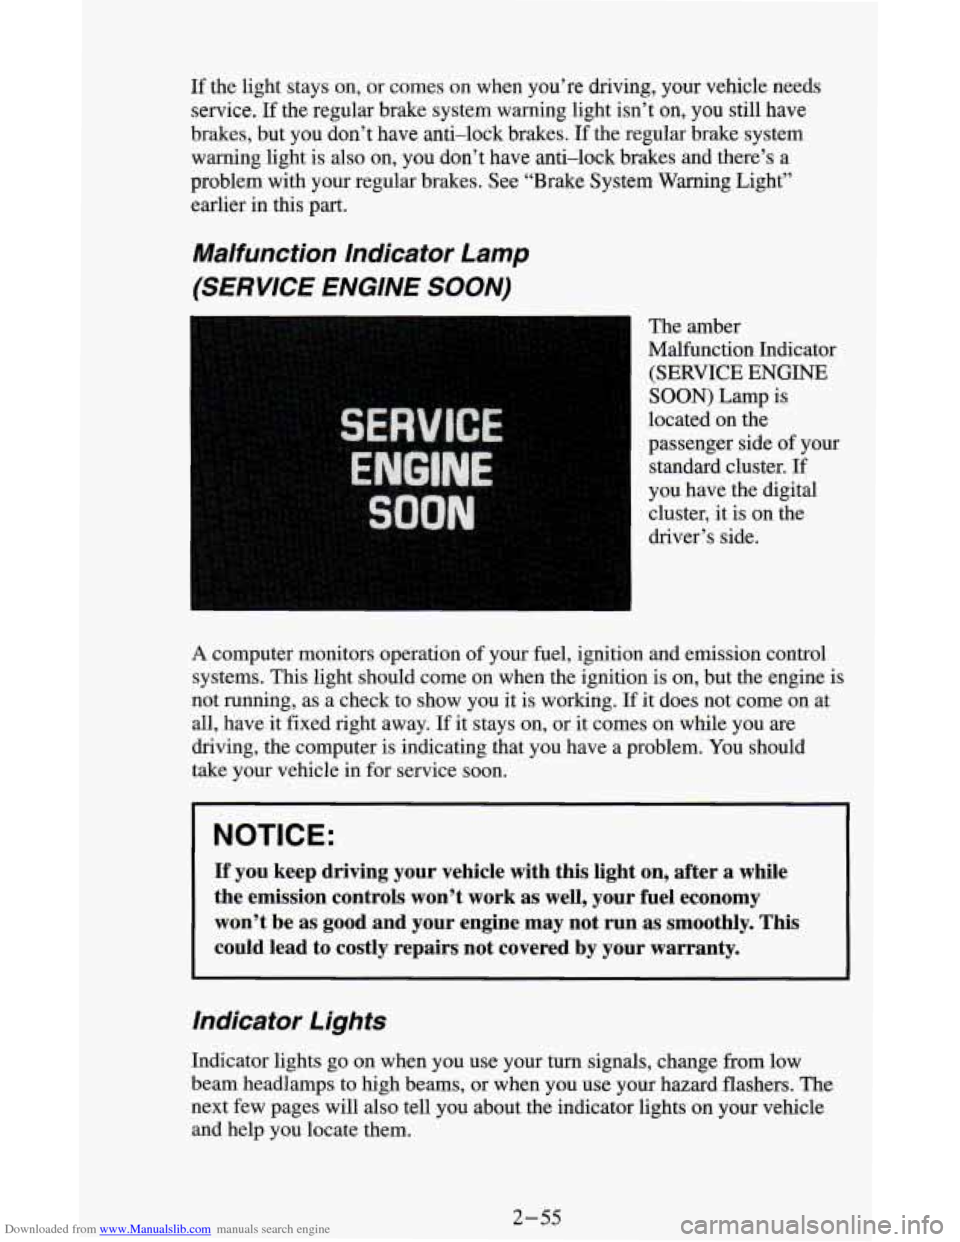
Malfunction Indicator Lamp
(SERVICE ENGINE
SOON)
The amber
Malfunction Indicator
(SERVICE
ENGINE
SOON) Lamp is
located on the
passenger side of your
standard cluster. If
you have the digital
cluster, it is
on the
driver’s side.
A computer monitors operation of your fuel, ignition and emission control
systems. This light should come on when the ignition is
on, but the engine is
not running, as a check to show you it is working.
If it does not come on at
all, have it fixed right away.
If it stays on, or it comes on while you are
driving, the computer is indicating that you have a problem. You should
take your vehicle in for service soon.
NOTICE:
If you keep driving your vehicle with this light on, after a whi\
le
the emission controls won’t work as well, your fuel economy \
won’t be as good and your engine may not run as smoothly. \
This
could lead to costly repairs not covered by your warranty.
Indicator Lights
Indicator lights go on when you use your turn signals, change from low
beam headlamps to high beams, or when you use your hazard flashers.
The
next few pages will also tell you about the indicator lights on your vehicle
and help you locate them.
2-55
Page 110 of 342
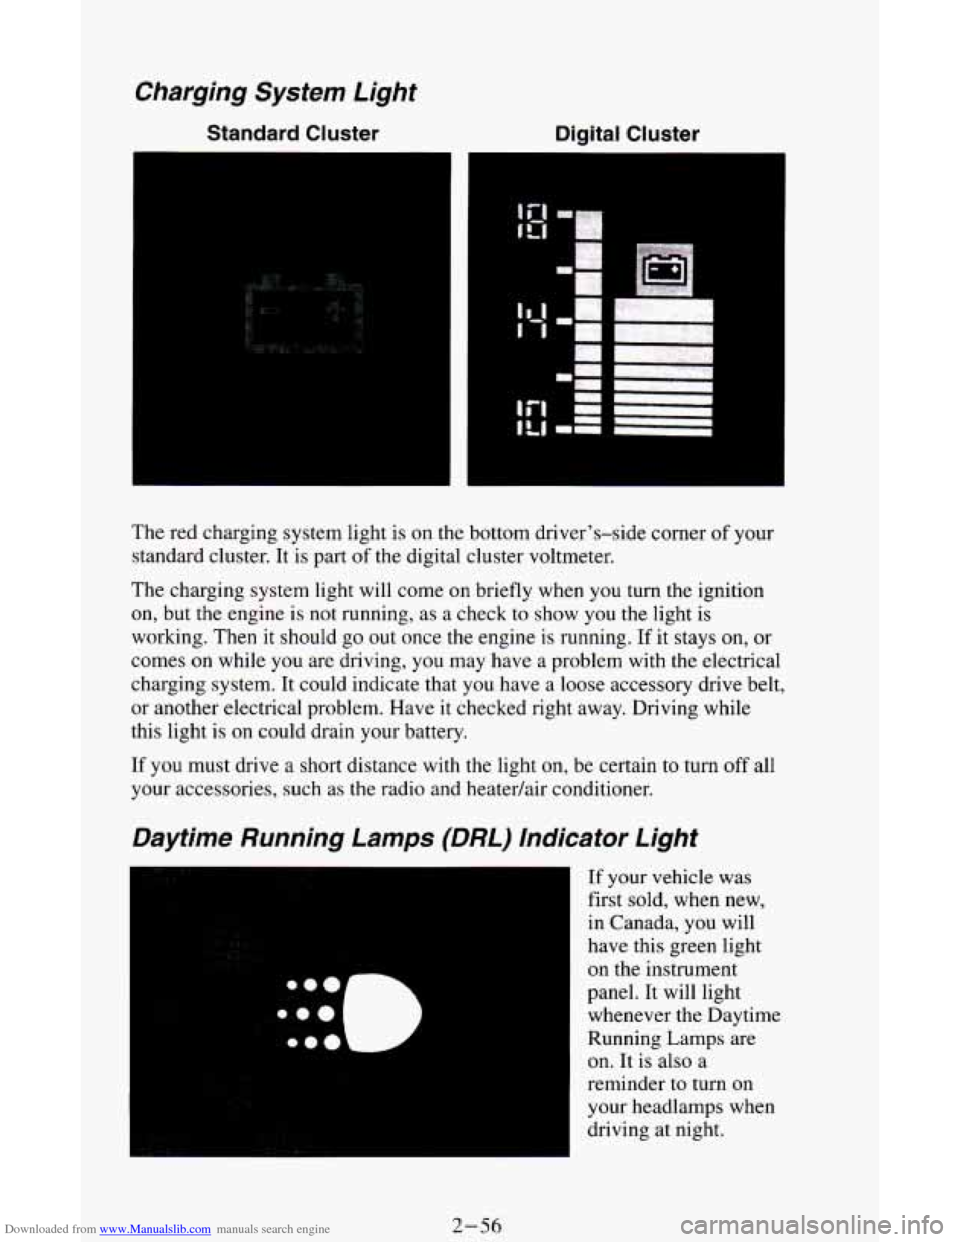
Downloaded from www.Manualslib.com manuals search engine Charging System Light
Standard Cluster
m
Digital Cluster
1
I
The red charging system light is on the bottom driver's-side corner of your
standard cluster. It is part
of the digital cluster voltmeter.
The charging system light will come on briefly when you
turn the ignition
on, but the engine is not running, as a check
to show you the light is
working.
Then it should go out once the engine is running. If it stays on, or
comes
on while you are driving, you may have a problem with the electrical
charging system. It could indicate that you have a loose accessory drive belt,
or another electrical problem. Have it checked right away. Driving while
this light is
on could drain your battery.
If you must drive
a short distance with the light on, be certain to turn off all
your accessories, such as the radio and heatedair conditioner.
Daytime Running Lamps (DRL) Indicator Light
If your vehicle was
first sold, when new,
in Canada, you will
have this green light
on the instrument
panel. It will light
whenever the Daytime
Running Lamps are
on.
It is also a
reminder to turn on
your headlamps when
driving at night.
2-56
Page 137 of 342
Downloaded from www.Manualslib.com manuals search engine To help avoid hearing loss or damage:
1. Adjust the volume control to the lowest setting.
2. Increase volume slowly until you hear comfortably and clearly.
NOTICE:
Before you add any sound equipment to your vehicle - like a
tape player, CB radio, mobile telephone or two-way radio - be
sure you can add what you want.
If you can, it’s very important
to do it properly. Added sound equipment may interfere with the
operation
of your vehicle’s engine, Delco@ radio or other
systems, and even damage them. And, your vehicle’s systems
may interfere with the operation
of sound equipment that has
been added improperly.
So, before adding sound equipment, check with your dealer and
be sure to check Federal rules covering mobile radio and
telephone units.
Care of Your Cassette Player and Tape
A tape player that is not cleaned regularly is subject to reduced sound
quality, ruining
the cassette, or damaging the mechanism. Tape cassettes that
are not properly stored
in their plastic cases away from contaminants, direct
sunlight, and extreme heat, may not operate properly and could cause
premature failure
of the tape player.
Your tape player should be cleaned with every
50 hours of use to provide
optimum performance. Your radio may display “Cln” (Clean)
to indicate
that you have used your tape player for
50 hours without re-setting the tape
clean timer. If you notice a reduction
in sound quality, regardless of when
the tape player was last cleaned, try playing
a different cassette to see if the
tape or tape player is at fault. If
the second cassette results in no
improvement
in sound quality, try cleaning the tape player.
Proper tape player cleaning should be done with a scrubbing action,
non-abrasive cleaning cassette. This is a wet-type cleaning system that uses
a cleaning cassette with pads which scrub the tape head as the hubs of the
cleaner cassette turn. To properly clean your tape player, follow instructions
with the cleaning cassette. If
you use this type of cleaner, the radio may
display an error and eject the cartridge. This is normal and is the result of an
added feature
in the tape player that detects broken tapes. If an error occurs,
you will need to insert the cleaning cassette at least
3 times to thoroughly
clean the tape player.
3-19