Page 205 of 306

Downloaded from www.Manualslib.com manuals search engine If a Tire Goes Flat
It’s unusual for a tire to “blow out” while you’re driving,
especially if you maintain your tires properly. If air goes
out of a
tire, it’s much more likely to leak out slowly.
But if you should ever have a “blowout,” here are
a few
tips about what to expect and what to do:
If a front tire fails, the flat tire will create a drag that
pulls the vehicle toward that side. Take your foot
off the
accelerator pedal and grip the steering wheel firmly.
Steer to maintain lane position, and then gently brake to
a stop well out of the traffic lane.
A rear blowout, particularly on a curve, acts much like a
skid and may require the same correction you’d use in a
skid.
In any rear blowout, remove your foot from the
accelerator pedal. Get the vehicle under control by
steering the way you want the vehicle
to go. It may be
very bumpy and noisy, but you can still steer. Gently
brake to a stop
-- well off the road if possible.
If a tire goes flat, the next part shows how to use your
jacking equipment to change a flat tire safely.
Changing a Flat Tire
If a tire goes flat, avoid further tire and wheel damage
by driving slowly to
a level place. Turn on your hazard
warning flashers.
I
Changing a tire can cause an injury. The vehicle
can slip off the jack and roll over you or other
people. You and they could be badly injured.
Find a level place to change your tire. To help
prevent the vehicle from moving:
1. Put the shift lever in PARK (P).
2. Set the parking brake firmly.
3. Turn off the engine.
To be even more certain the vehicle won’t move,
you can put blocks at the front and rear of the
tire farthest away from the one being changed.
That would be the tire on the other side
of the
vehicle,
at the opposite end.
5-20
Page 207 of 306
Downloaded from www.Manualslib.com manuals search engine I I
The tools you'll be using include the jack (A) and jack
handle
(B).
To unlock the fender skirt, locate the handles inside the
fender skirt. Push the handles up and inward, and then
pull them down. Gently remove the skirt by pulling
it
toward you. Place it to one side.
5-22
Page 209 of 306
Downloaded from www.Manualslib.com manuals search engine 2. Attach the wheel wrench
to the jack bolt and
rotate it clockwise.
The lift head will be
slightly raised.
3. Position the jack under the vehicle, near the flat tire.
There
are two holes in the frame near each of the
wheels. Raise the jack
so the lift head fits into the
large circular hole.
5-24
Page 210 of 306
Downloaded from www.Manualslib.com manuals search engine Getting under a vehicle when it is jacked up is
dangerous.
If the vehicle slips off the jack, you
could be badly injured or killed. Never get under
a vehicle when it is supported only by a jack.
NOTICE:
Raising your vehicle with the jack improperly
positioned
will damage the vehicle or may allow
the vehicle to
fall off the jack. Be sure to €it the
jack lift head
into the proper location before
raising
your vehicle.
4. Raise the vehicle by-rotating the wheel wrench
clockwise. Raise the vehicle far enough
off the
ground
for the spare tire to fit under the vehicle.
5. Remove the wheel nuts and take off the flat tire.
5-25
Page 212 of 306
Downloaded from www.Manualslib.com manuals search engine 3. Lower the vehicle by rotating the wheel wrench
counterclockwise. Lower the vehicle completely.
9. Tighten the wheel
nuts firmly
in a
criss-cross
sequence as shown.
A CAUTION:
Incorrect wheel nuts or improperly tightened
wheel nuts can cause the wheel
to become loose
and even come
off. This could lead to an accident.
Be sure to use the correct wheel nuts.
If you have
to replace them, be sure to get new
GM original
equipment wheel nuts.
Stop somewhere as soon as you can and have
the nuts tightened with a torque wrench to
100 lb-ft (140 Nom).
1 NOTICE:
Improperly tightened wheel nuts can lead to
brake pulsation and rotor damage.
To avoid
expensive brake repairs, evenly tighten the wheel
nuts in the proper sequence and to the proper
torque specification.
Page 215 of 306

Downloaded from www.Manualslib.com manuals search engine 1 Compact Spare Tire (If So Equipped)
Although the compact spare tire was fully inflated when
your vehcle was new, it can lose air after a time. Check
the inflation pressure regularly. It should be
60 psi
(420 Wa).
After installing the compact spare on your vehicle, you
should stop as soon as possible and make sure your
spare tire is correctly inflated. The compact spare is
made to perform well at posted speed limits for
distances up to
3,000 miles (5 000 km), so you can
finish your trip and have your full-size tire repaired
or
replaced where you want. Of course, it’s best to replace
your spare with a full-size tire as soon as you can. Your
spare will last longer and be in good shape in case you
Your anti-lock brake system warning light may come
on
“Anti-Lock Brake System Warning Light” in the Index.
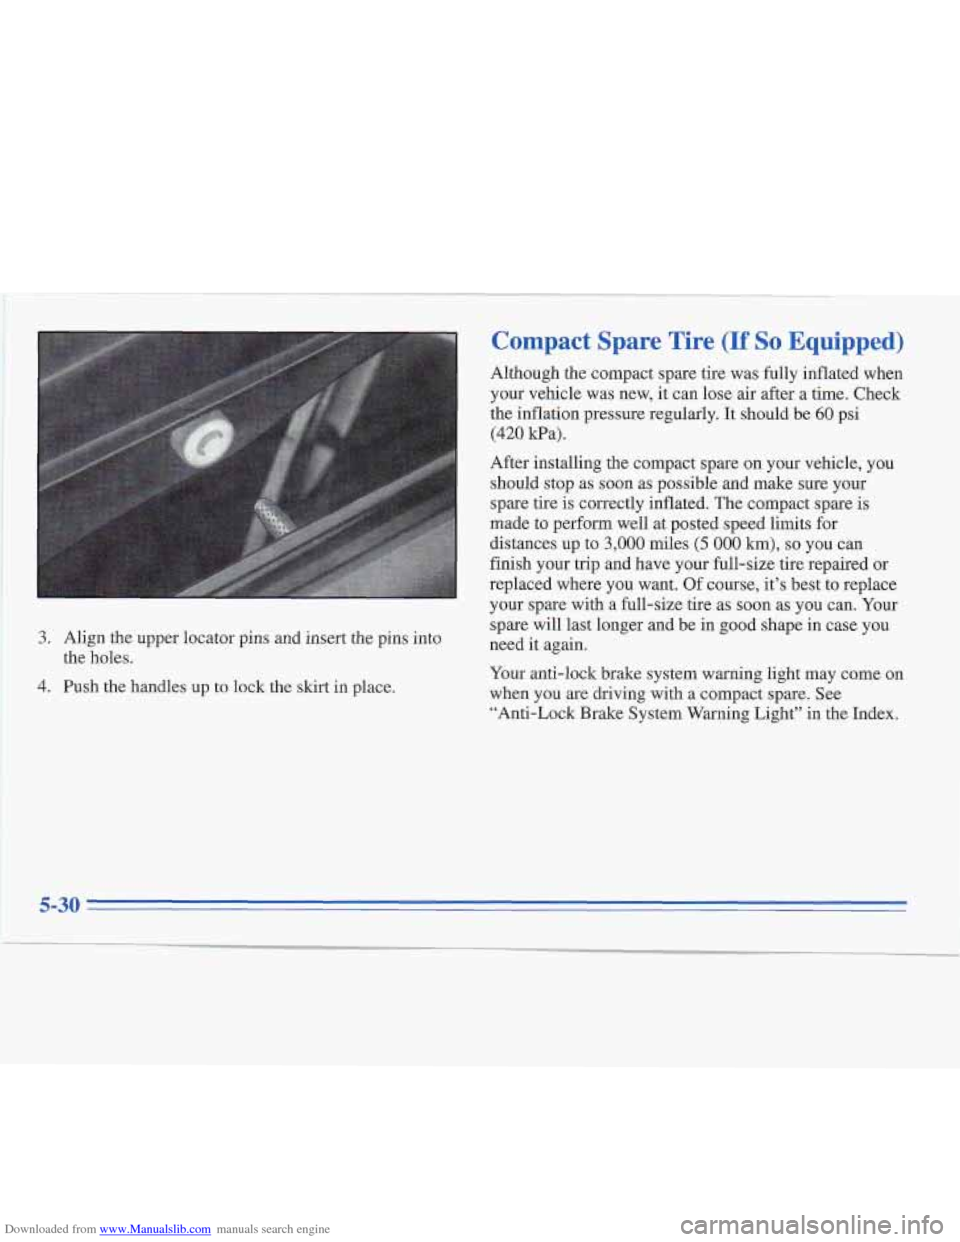
3. Align the upper locator pins and insert the pins into
need it again.
4. Push the handles up to lock the skirt in place.
when you are driving with a compact spare. See
the holes.
5-30
Page 221 of 306

Downloaded from www.Manualslib.com manuals search engine Fuels in Foreign Countries
If you plan on dnviqg in another country outside the
United States or Canada, the proper fuel may be hard to
find. Never use leaded gasoline or any other fuel not
recommended in the previous text on fuel. Costly repairs
caused by use of improper fuel wouldn’t be covered by
your warranty.
To check on fuel availability, ask an auto club, or
contact a major oil company that does business in the
country where you’ll be driving.
You can also write us at the following address for
advice. Just tell
us where you’re going and give your
Vehicle Identification Number (VIN).
General Motors Overseas Distribution Corporation
North American Export Sales (NAES)
1908 Colonel Sam Drive
Oshawa, Ontario
L1H 8P7
Filling Your Tank
Gasoline vapor is highly flammable. It burns
violently, and that can cause very bad injuries.
Don’t smoke if you’re near gasoline or refueling
your vehicle. Keep sparks, flames, and smoking
materials away from gasoline.
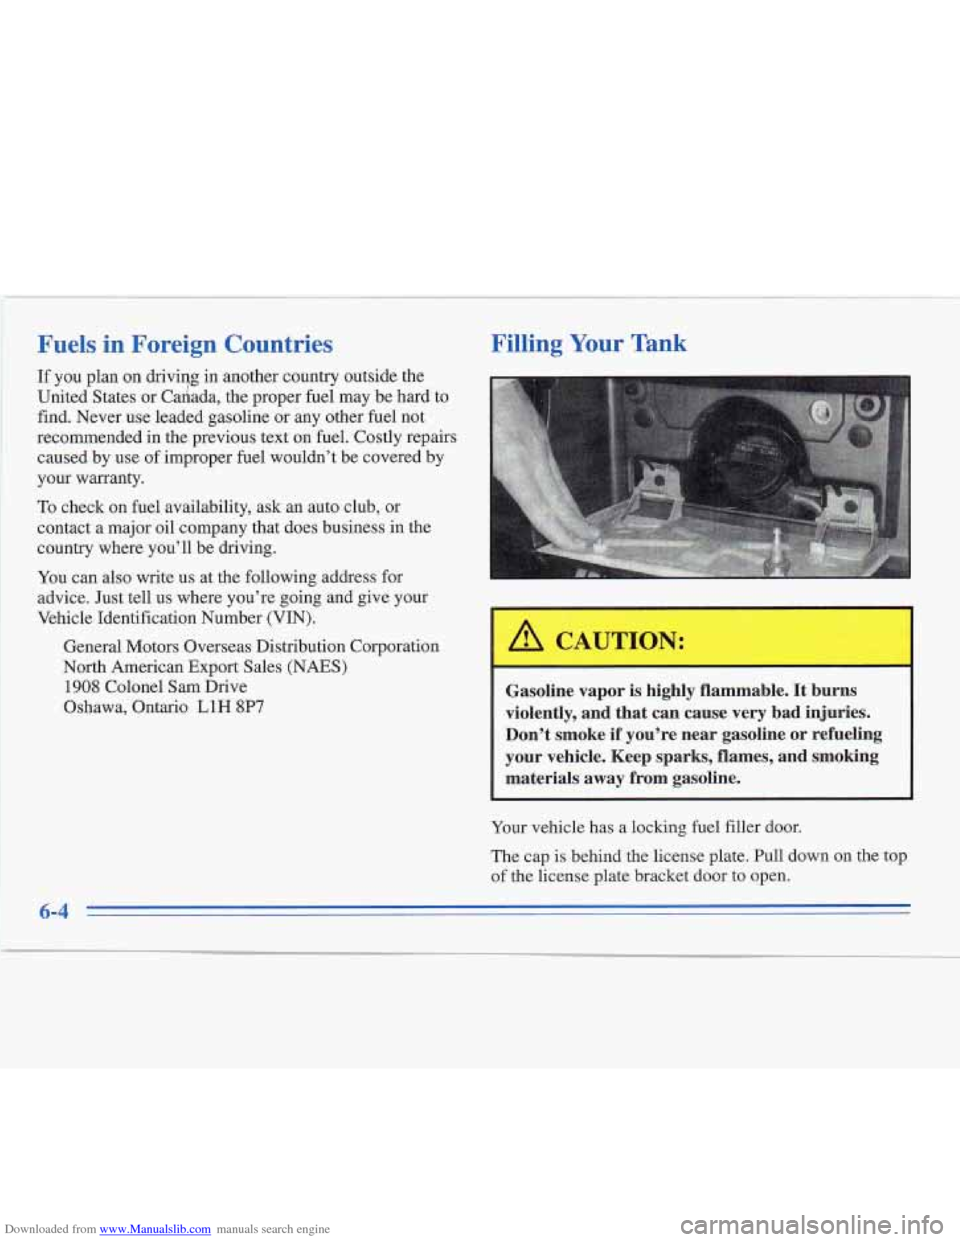
Your vehicle has a locking fuel filler door.
The cap is behind the license plate. Pull down on the top
of the license plate bracket door
to open.
6-4
Page 222 of 306
Downloaded from www.Manualslib.com manuals search engine The filler door is locked and unlocked every time you
use the power door locks.
If pressing the power lock
control doesn’t unlock or lock the fuel filler door, you
can use the manual lock release lever in
the trunk, if
your vehicle is
so equipped. Move the lever to the left to
unlock the fuel filler door.
To take
off the cap, turn it slowly to the left
(counterclockwise).
A CAUTION:
If you get gasoline on yourself and then
something ignites
it, you could be badly burned.
Gasoline can spray out on you
if you open the
fuel filler cap too quickly.
This spray can happen
if your tank is nearly full, and is more likely in
hot weather. Open the fuel filler cap slowly and
wait for any “hiss” noise to stop. Then unscrew
the cap all the way.
Be careful not to spill gasoline. Clean gasoline from
painted surfaces as soon as possible. See “Cleaning the
Outside of Your Cadillac” in the Index.