1995 CADILLAC FLEETWOOD lock
[x] Cancel search: lockPage 140 of 306
Downloaded from www.Manualslib.com manuals search engine TAPE-CD: Press this button to change to the tape or
disc function when the radio is on.
If both a tape and a
disc are installed, the system will first go to tape play; a
box will appear around TP on the display. If TAPE-CD
is pressed again, the system will go to disc play; a box
will appear around CD on the display.
RCL: Press this button to see which track is playing.
Press it again within five seconds to see how long it has
been playing (elapsed time). To change what is normally
shown on the display (track or elapsed time), press the
button until you see the display you want. Then, hold
the button until the display flashes.
TONE: You can select a TONE setting while playing
a compact disc and it will be used whenever you play
a disc.
EJECT Press this button to remove the disc or tape.
The item (TPKD) with a box around it on the display
will eject and the radio will play.
Theft-Deterrent Feature
THEFTLOCK” is designed to discourage theft of your
radio. It works by using a secret code to disable all radio
functions whenever battery power
is removed. The
THEFTLOCK feature for the radio may be used
or
ignored. If ignored, the system plays normally and the
radio is not protected by the feature. If THEFTLOCK is
activated, your radio will not operate if stolen.
When THEFTLOCK is activated, the radio will display LOC to indicate a locked condition anytime battery
power is removed. If your battery loses power for any
reason, you must unlock the radio with the secret code
before it will operate.
Activating the Theft-Deterrent Feature
The instructions which follow explain how to enter your
secret code to activate the THEFTLOCK system. It
is
recommended that you read through all nine steps
before starting the procedure.
NOTE: If you allow more than
15 seconds to elapse
between any steps, the radio automatically reverts to
time and you must start the procedure over at Step
4.
1. Write down any three or four-digit number from
000 to 1999 and keep it in a safe place separate from
the vehicle.
2. Turn the ignition to the ACCESSORY or RUN
position.
3. Turn the radio off.
3-13
Page 141 of 306
Downloaded from www.Manualslib.com manuals search engine 4. Press the 1 and 4 buttons together. Hold them down
until
--- shows on the display. Next you will use the
secret code number which you have written down.
5. Press MN and
000 will appear on the display.
6. Press MN again to make the last two digits agree
with your code.
7. Press HR to make the first one or two digits agree
8. Press AM-FM after you have confirmed that the
with your
code.
code matches the secret code you have written down.
The display will show REP to let you know that you
need to repeat Steps
5 through 7 to confirm your
secret code.
9. Press AM-FM and this time the display will show
SEC to let you know that your radio is secure. The
indicator by the volume control will begin flashing
when the ignition is turned
off.
Unlocking the Theft-Deterrent Feature After a
Power Loss
Enter your secret code as follows; pause no more than
15 seconds between steps:
1.
LOC appears when the ignition is on.
2. Press MN and 000 will appear on the display.
3. Press MN again to make the last two digits agree
with your code.
4. Press HR to make the first one or two digits agree
5. Press AM-FM after you have confirmed that the
with your
code.
code matches the secret code you have written down.
The display will show
SEC, indicating the radio is
now operable and secure.
If you enter the wrong code eight times, INOP will
appear on the display.
You will have to wait an hour
with the ignition
on before you can try again. When you
try again, you will only have three chances to enter the
correct code before
INOP appears.
If you lose or forget your code, contact your dealer.
3-14
Page 151 of 306
Downloaded from www.Manualslib.com manuals search engine Avoid needless heavy braking. Some people drive in
spurts
-- heavy acceleration followed by heavy
braking
-- rather than keeping pace with traffic. This is a
mistake. Your brakes may not have time to cool between
hard stops. Your brakes will wear out much faster if you
do a lot of heavy braking. If you keep pace with the
traffic and allow realistic following distances, you will
eliminate a lot of unnecessary braking. That means
better braking and longer brake life.
If your engine ever stops while you’re driving, brake
normally but don’t pump your brakes. If you do, the
pedal may get harder to push down.
If your engine
stops, you will still have some power brake assist. But
you will use it when you brake. Once the power assist is
used up,
it may take longer to stop and the brake pedal
will be harder to push.
Anti-Lock Brakes
Your vehicle has anti-lock brakes (ABS). ABS is an
advanced electronic braking system that will help
prevent a braking skid.
When you start your engine and begin to drive away,
your anti-lock brake system will check itself. You may
hear a momentary motor or clicking noise while this test
is going on, and you may even notice that your brake
pedal moves a little. This is normal.
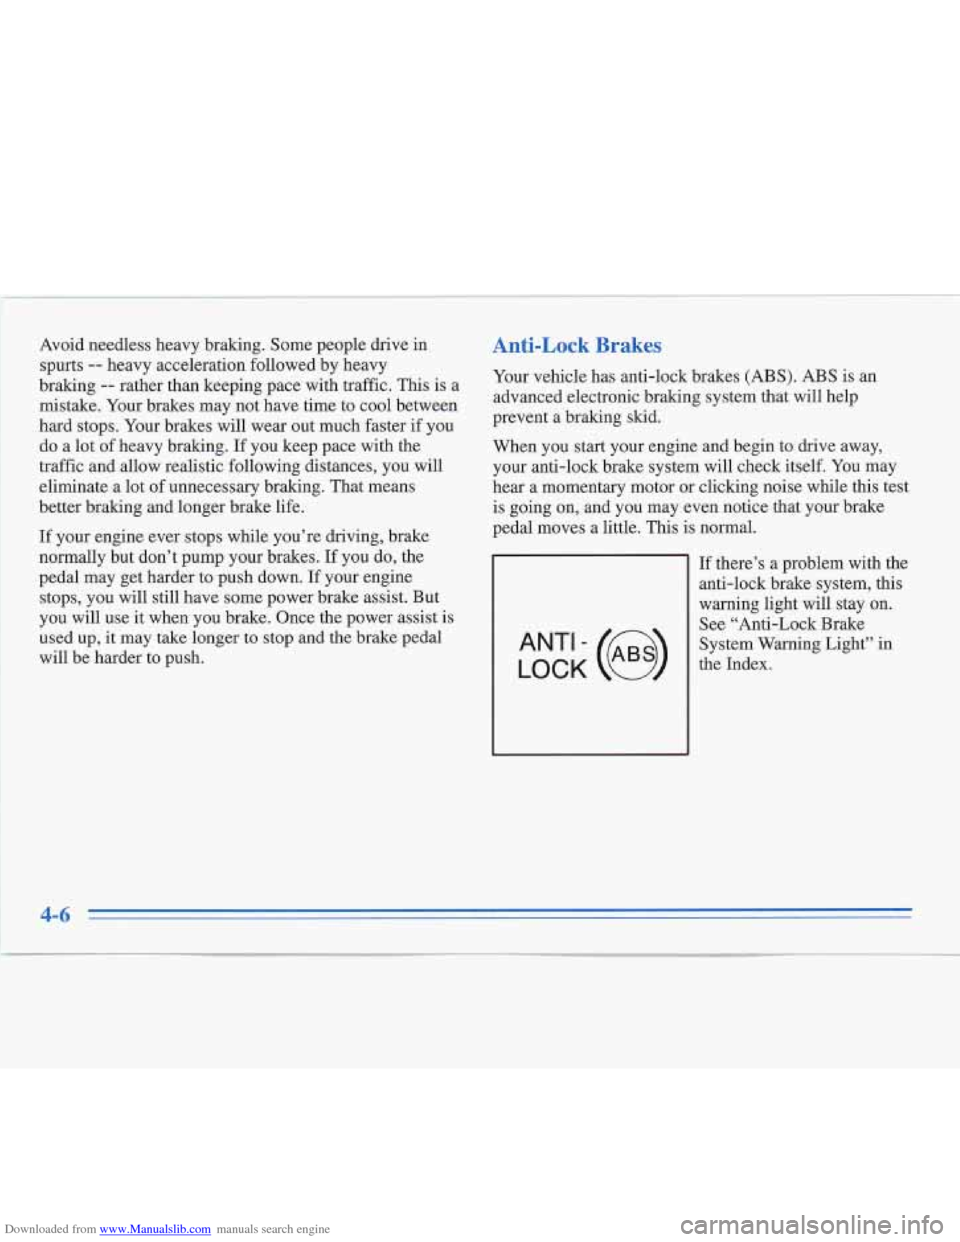
LOCK
ANT‘- (e)
If there’s a problem with the
anti-lock brake system, this
warning light will stay on. See “Anti-Lock Brake
System Warning Light’’ in
the Index.
4-6
Page 152 of 306
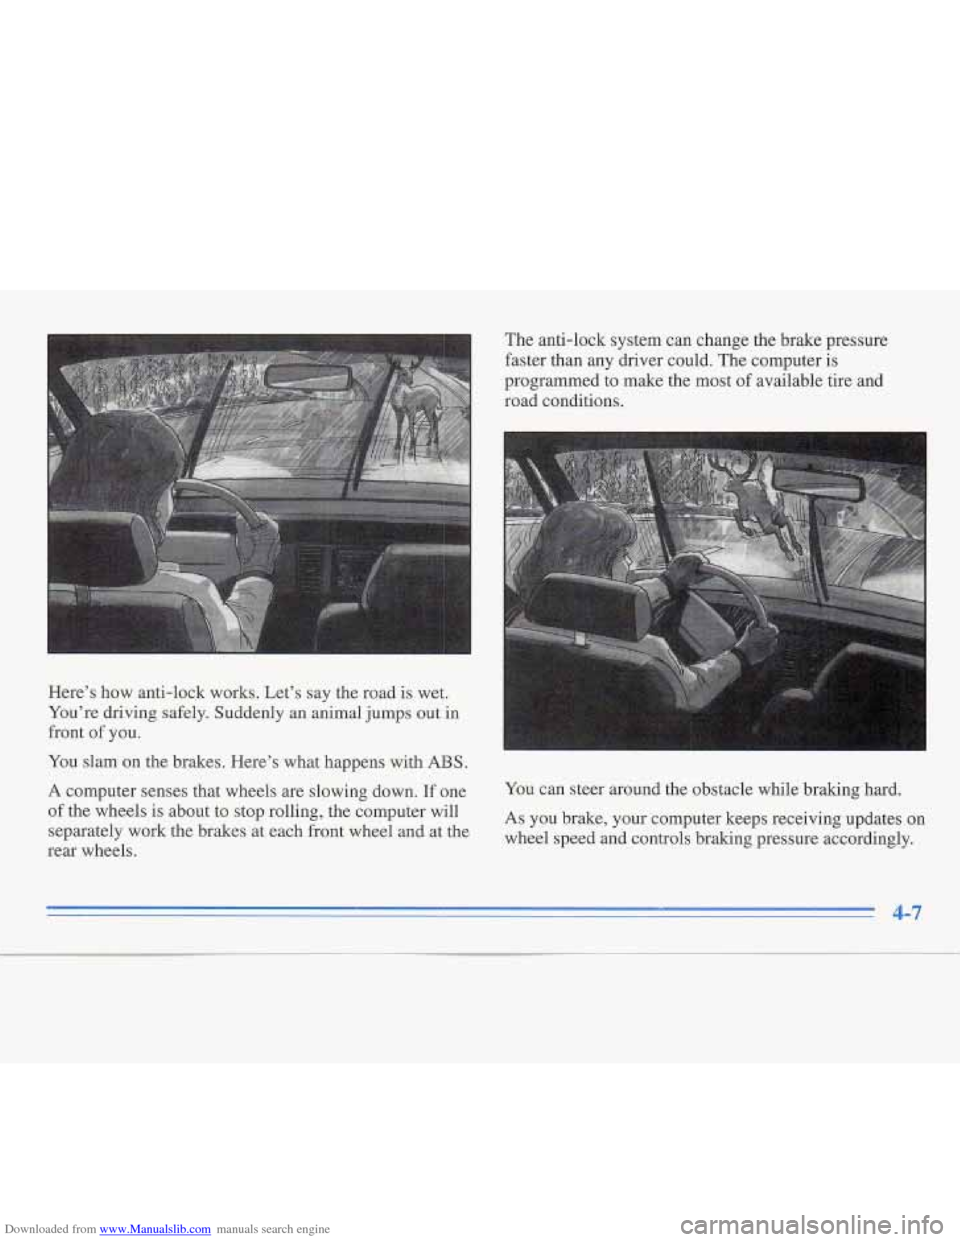
Downloaded from www.Manualslib.com manuals search engine The anti-lock system can change the brake pressure
faster than anv driver could. The commter is
.’ I
programmed to make the most of available tire and
road conditions.
1
Here’s how anti-lock works. Let’s say the road is wet.
You’re driving safely. Suddenly an animal jumps out in
front
of you.
You slam
on the brakes. Here’s what happens with ABS.
Page 153 of 306
Downloaded from www.Manualslib.com manuals search engine Remember: Anti-lock doesn’t change the time you need
to get your foot up to the brake pedal or always decrease
stopping distance. If you get too close to the vehicle
in
front of you, you won’t have time to apply your brakes
if that vehicle suddenly slows or stops. Always leave
enough room up ahead to stop, even though you have
anti-lock brakes.
Using Anti-Lock
Don’t pump the brakes. Just hold the brake pedal down and let anti-lock work for you. You may hear the
anti-lock pump or motor operate, and feel the brake
pedal pulsate, but this is normal.
Traction Control System
Your vehicle has a traction control system that limits
wheel spin. This is especially useful in slippery road
conditions. The system operates only if it senses that the
rear wheels
are spinning or beginning to lose traction.
When this happens, the system works the rear brakes
and reduces engine power (by closing the throttle and
managing engine spark)
to limit wheel spin.
1
This light will come on
when the traction control
TRACTION
ENGAGED
system is limiting wheel
spin. See “Traction Control
System Active Light” in the
Index. You may feel or hear
the system working, but this
is normal.
If your vehicle is in cruise control when the traction
control system begins to limit wheel spin, the cruise
control will automatically disengage. When road
conditions allow you to safely
use it again, you may
re-engage the cruise control. (See “Cruise Control” in
,,,*
the l[nrSa.x.)
4-8
Page 155 of 306
Downloaded from www.Manualslib.com manuals search engine Braking in Emergencies
Use your anti-lock braking system when you need to.
With anti-lock, you can steer and brake at the same
time.
In many emergencies, steering can help you more
than even the very best braking.
Steering
Power Steering
If you lose power steering assist because the engine
stops
or the system is not functioning, you can steer but
it will take much more effort.
Steering Tips
Driving on Curves
It’s important to take curves at a reasonable speed.
A lot of the “driver lost control” accidents~mentioned on
the news happen on curves. Here’s why:
Experienced driver or beginner, each of us is subject to
the same laws
of physics when driving on curves. The
traction of the tires against the road surface makes it
possible for the vehicle
to change its path when you turn
the front wheels.
If there’s no traction, inertia will keep
the vehicle going in the same direction.
If you’ve ever
tried to steer a vehicle on wet
ice, you’ll understand this.
4-10
Page 182 of 306
Downloaded from www.Manualslib.com manuals search engine Safety Chains Trailer Wiring Harness
You
should always attach chains between your vehicle
and your
trailer. Cross the safety chains under the tongue
of the trailer
so that the tongue will not drop to the road
if it becomes separated from the hitch. Instructions
about safety chains may be provided by the hitch
manufacturer or by the trailer manufacturer. Follow the
manufacturer’s recommendation for attaching safety
chains and do not attach them to the bumper. Always
leave just enough slack
so you can turn with your rig.
And, never allow safety chains to drag on the ground.
Trailer Brakes
If your trailer weighs more than 1,000 lbs. (450 kg)
when loaded,
it needs to be equipped with adequate
brakes. Be sure to read and follow the instructions
for
the trailer brakes so you’ll be able to maintain
them properly.
Because you have anti-lock brakes, do not
try to tap into
your vehicle hydraulic brake system.
If you do, both
brake systems won’t work well, or at all.
If your Fleetwood is equipped with the heavy duty
trailering option, a five-wire trailering harness is
located in the trunk. You may have to have it wired
to your vehicle.
These trailer harness color codes should be followed
when connecting to your trailer:
0 White: Direct Trailer Ground for Trailer Lamps
0 Brown: Parking Lamps
Yellow: Left Turn and Stoplamps
Dark Green: Right Turn and Stoplamps
Dark Blue: Auxiliary Circuit
Driving with a Trailer
Towing a trailer requires a certain amount of experience.
Before setting out for
the open road, you’ll want to get
to know your rig. Acquaint yourself with the feel of
handling and braking with the added weight of the
trailer. And always keep
in mind that the vehicle you are
driving is now a good deal longer and not nearly as
responsive as your vehicle is by itself.
Page 193 of 306
Downloaded from www.Manualslib.com manuals search engine A CAUTION:
A vehicle can fall from a car carrier if it isn’t
adequately secured. This can cause a collision,
serious personal injury and vehicle damage. The
vehicle should be tightly secured with chains
or
steel cables before it is transported.
Don’t use substitutes (ropes, leather straps,
canvas webbing, etc.) that can be cut
by sharp
edges underneath the towed vehicle. Always use
T-hooks inserted in the T-hook slots. Never use
J-hooks. They will damage drivetrain and
suspension components.
When your vehicle is being towed, have the ignition key
OFF. The steering wheel should be clamped in a
straight-ahead position, with a clamping device
designed
for towing service. Do not use the vehicle’s
steering column
lock for,this. The transmission should
be in
NEUTRAL (N) and the parking brake released.