1995 CADILLAC ELDORADO wipers
[x] Cancel search: wipersPage 90 of 395
Downloaded from www.Manualslib.com manuals search engine IGNITION KEY POSITIONS
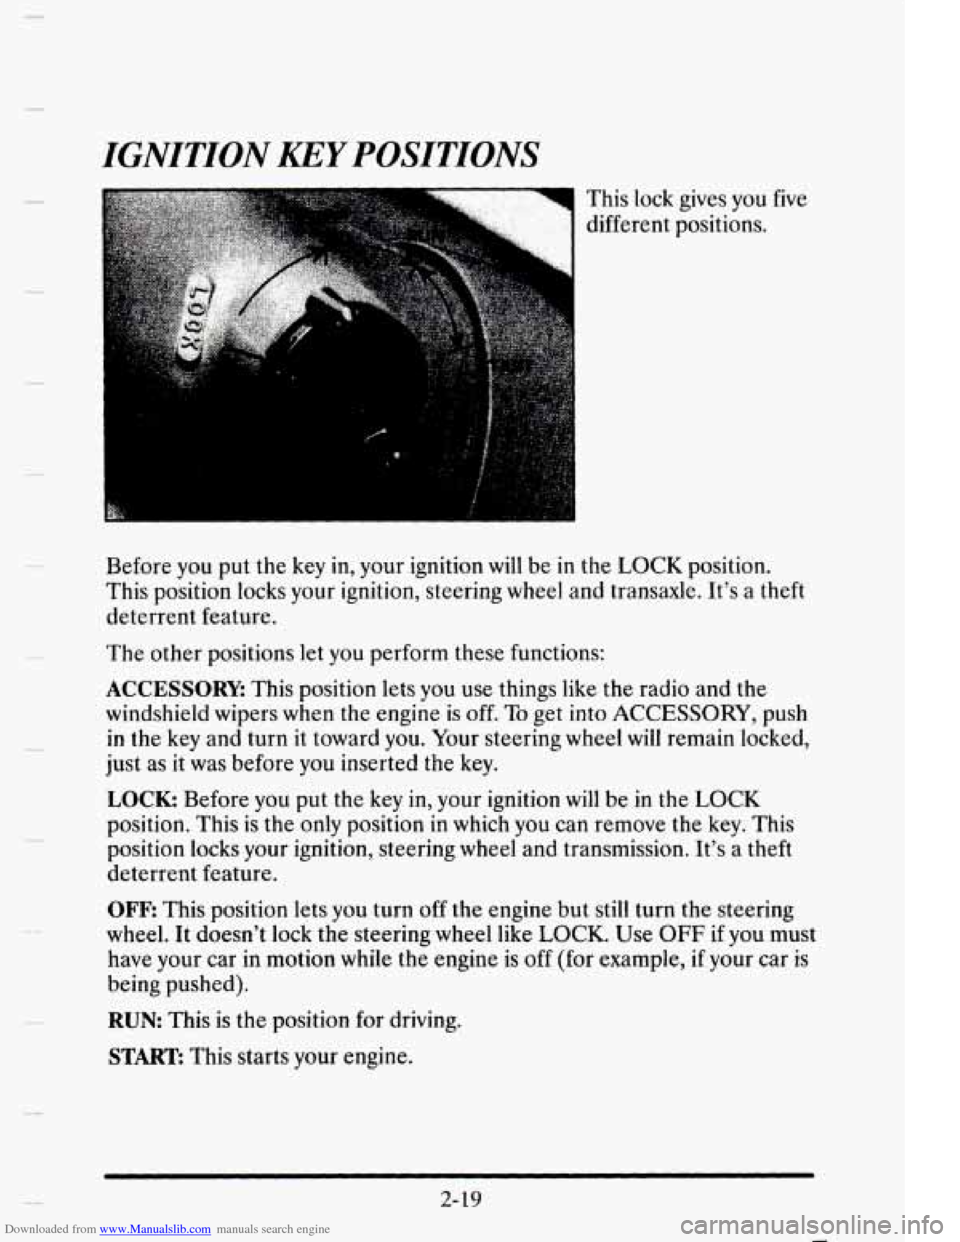
This lock gives you five
different positions.
Before you
put the key in, your ignition will be in the LOCK position.
This position locks your ignition, steering wheel and transaxle. It’s a theft
deterrent feature.
The other positions let you perform these functions:
ACCESSORY: This position lets you use things like the radio and the
windshield wipers when
the engine is off. To get into ACCESSORY, push
in the key and turn it toward you. Your steering wheel will remain locked,
just
as it was before you inserted the key.
LOCK: Before you put the key in, your ignition will be in the LOCK
position. This is the only position in which you can remove the key. This
position locks your ignition, steering wheel and transmission. It’s a theft
deterrent feature.
OFF
This position lets you turn off the engine but still turn the steering
wheel. It doesn’t lock the steering wheel like LOCK. Use OFF if you must
have your car in motion while the engine
is off (for example, if your car is
being pushed).
RUN: This is the position for driving.
START: This starts your engine.
2-19
Page 109 of 395
Downloaded from www.Manualslib.com manuals search engine TURN SIGNLIMULTIFUNCTION LEVER
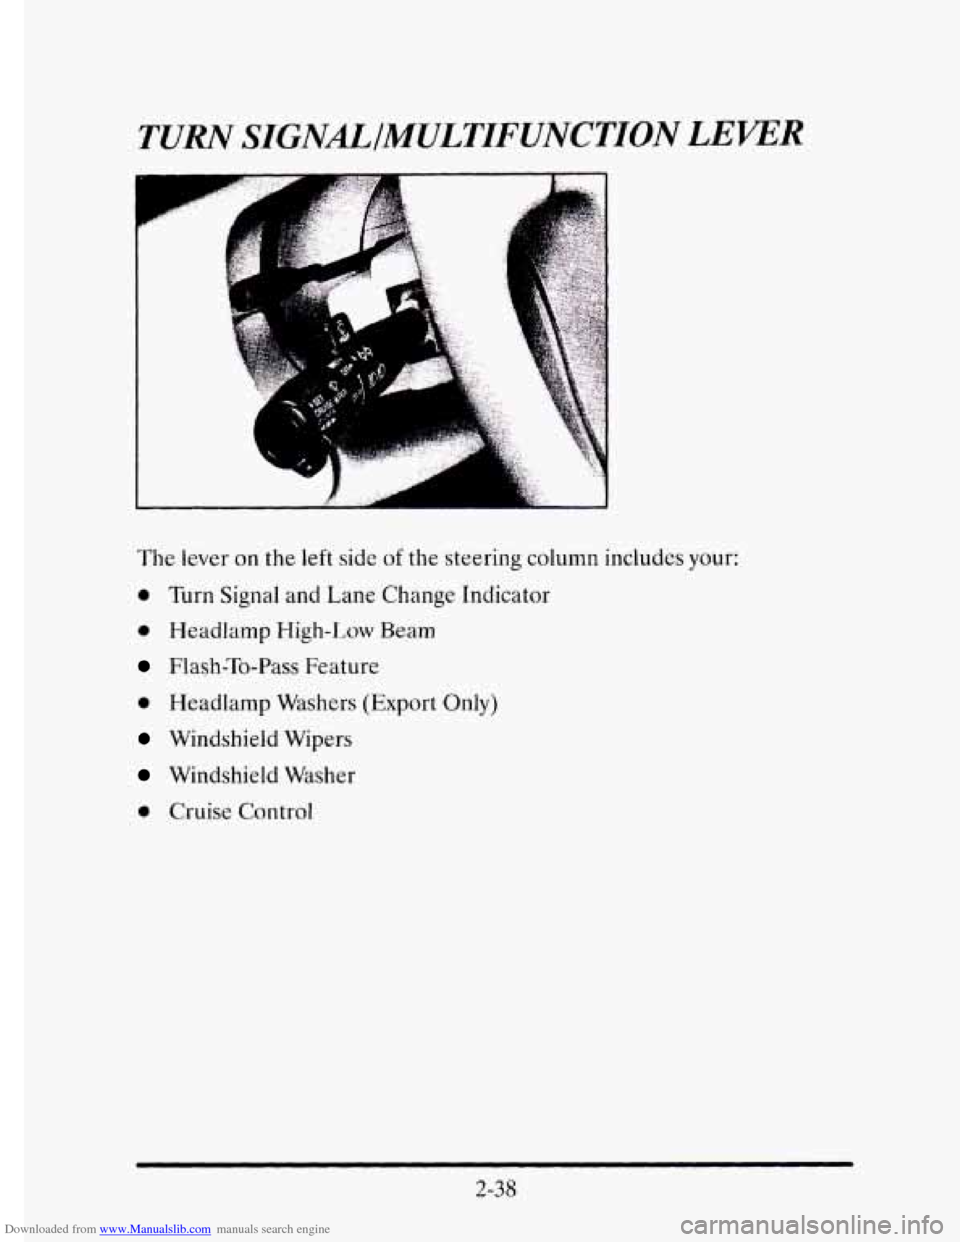
The lever on the left side of the steering column includes your:
0 Turn Signal and Lane Change Indicator
0 Headlamp High-Low Beam
Flash-To-Pass Feature
0 Headlamp Washers (Export Only)
Windshield Wipers
Windshield Washer
0 Cruise Control
2-38
Page 111 of 395
Downloaded from www.Manualslib.com manuals search engine As you signal a turn or a lane change, if the arrows don’t flash but just stay on
a signal bulb may be burned
out and other drivers won’t see your turn signal.
If
a bulb is burned out, rcplacc it to help avoid an accident. If the green
arrows don’t go on at all when you signal
a turn, check the fuse (see
“Fuses’’ in
the Index) and for burned-out bulbs.
Wiper Activated Headlumps
This feature activates the headlamps and parking lamps after the
windshield wipers have been in use
for approximately 23 seconds.
In order
to operate the wiper activated headlamps, the twilight sentinel
must
be in the ON position. This feature lights the way in poor weather
and
it also makes your vehicle more visible to other drivers. If the wiper
activated headlamps are
on, and the ignition switch is turned off, the
wiper activated headlamps
will immediately turn off.
The wiper activated headlamps will deactivate if you turn off the twilight
sentinel
or if the windshield wipers have been turned off for a period of
one or two seconds.
Headlamp High-Low Beam
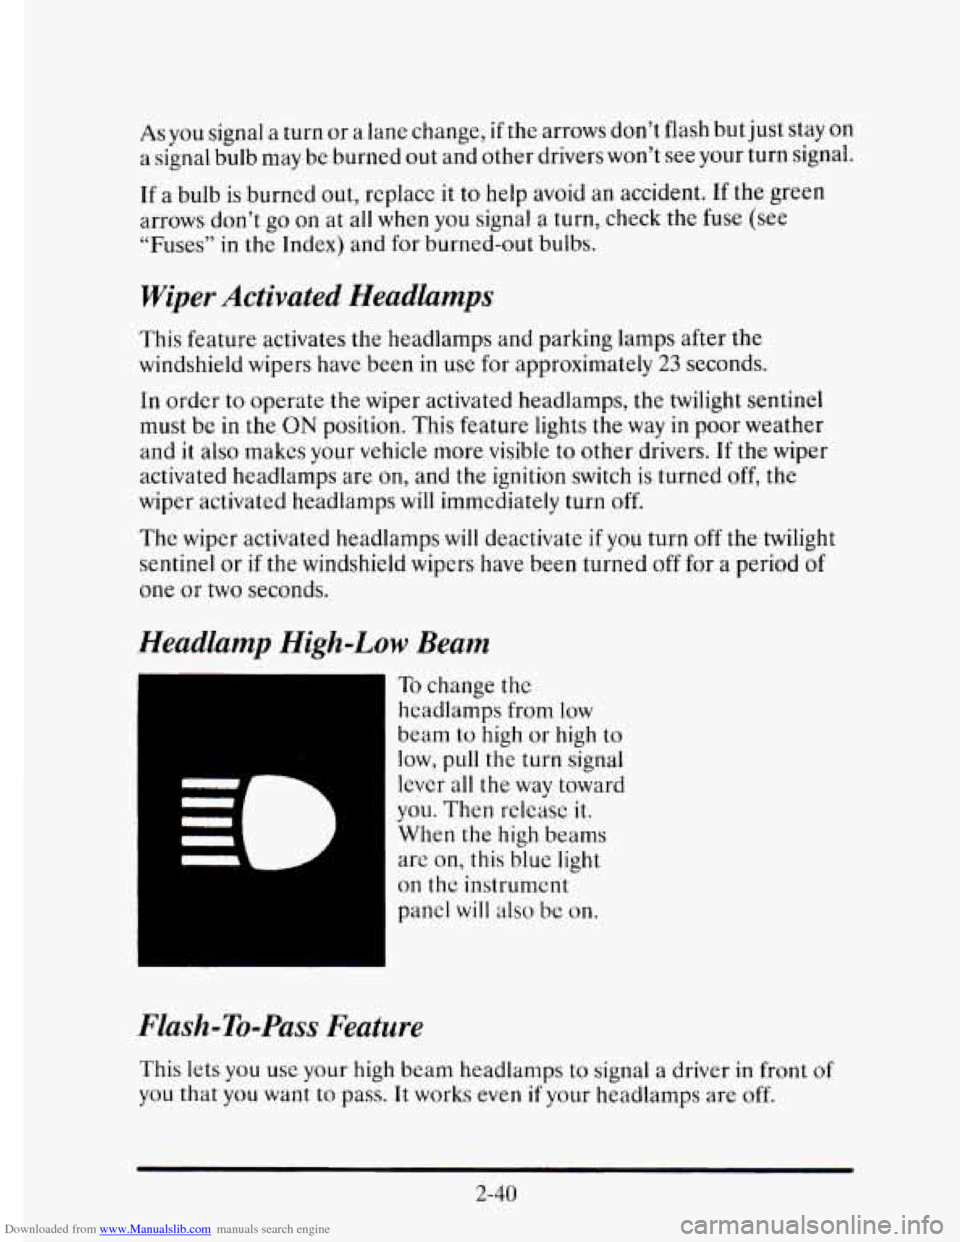
To change the
headlamps from low
beam
to high or high to
low, pull the turn signal
lever all
the way toward
you. Then releasc it.
When the high beams
are on, this blue
light
on thc instrument
panel
will also be on.
Flash-To-Pass Feature
This lets you use your high beam headlamps to signal a driver in front of
you that you want to pass. It works even if your headlamps are off.
2-40
Page 112 of 395
Downloaded from www.Manualslib.com manuals search engine To use it, pull the multifunction lever toward you. When you do:
0 If your headlamps are off your high beam headlamps will turn on.
They'll stay on as long as
you hold the lever there. Release the lever to
turn them
off.
0 If your headlamps are already on low beam, the system works
normally. Just pull the lever. Your headlamps
will shift to high beam
and stay there.
To return to low beam just pull the lever toward you.
If your headlamps are already on high beam, your headlamps will
switch to low beam. To get back to high beam pull the lever toward
you.
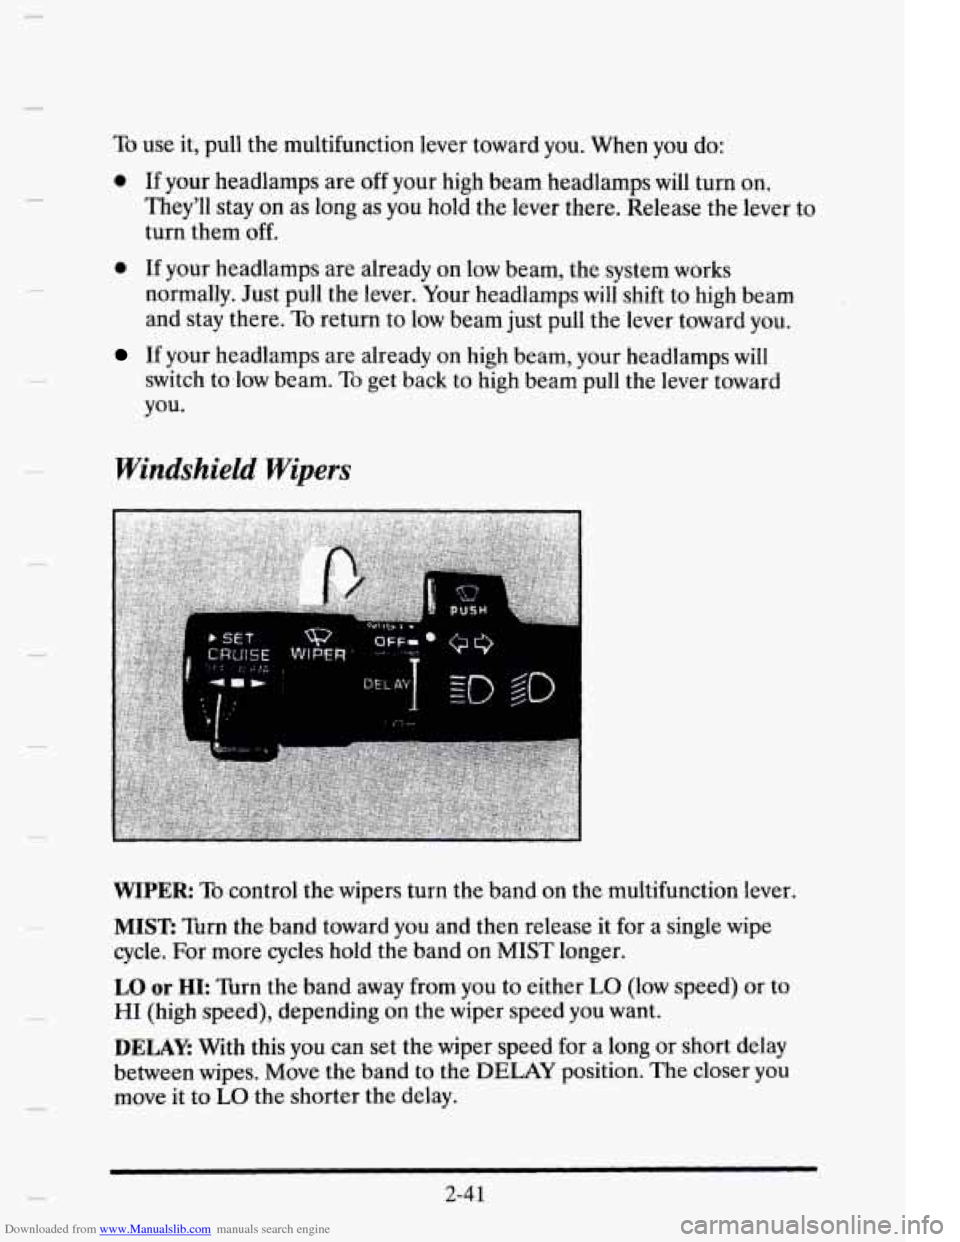
Windshield Wipers
WIPER: To control the wipers turn the band on the multifunction lever.
MIST: Turn the band toward you and then release it for a single wipe
cycle. For more cycles hold the band on
MIST longer.
LO or HI: Turn the band away from you to either LO (low speed) or to
HI (high speed), depending on the wiper speed you want.
DELAY: With this you can set the wiper speed for a long or short delay
between wipes. Move the band to the
DELAY position. The closer you
move it to
LO the shorter the delay.
2-4 1
Page 113 of 395
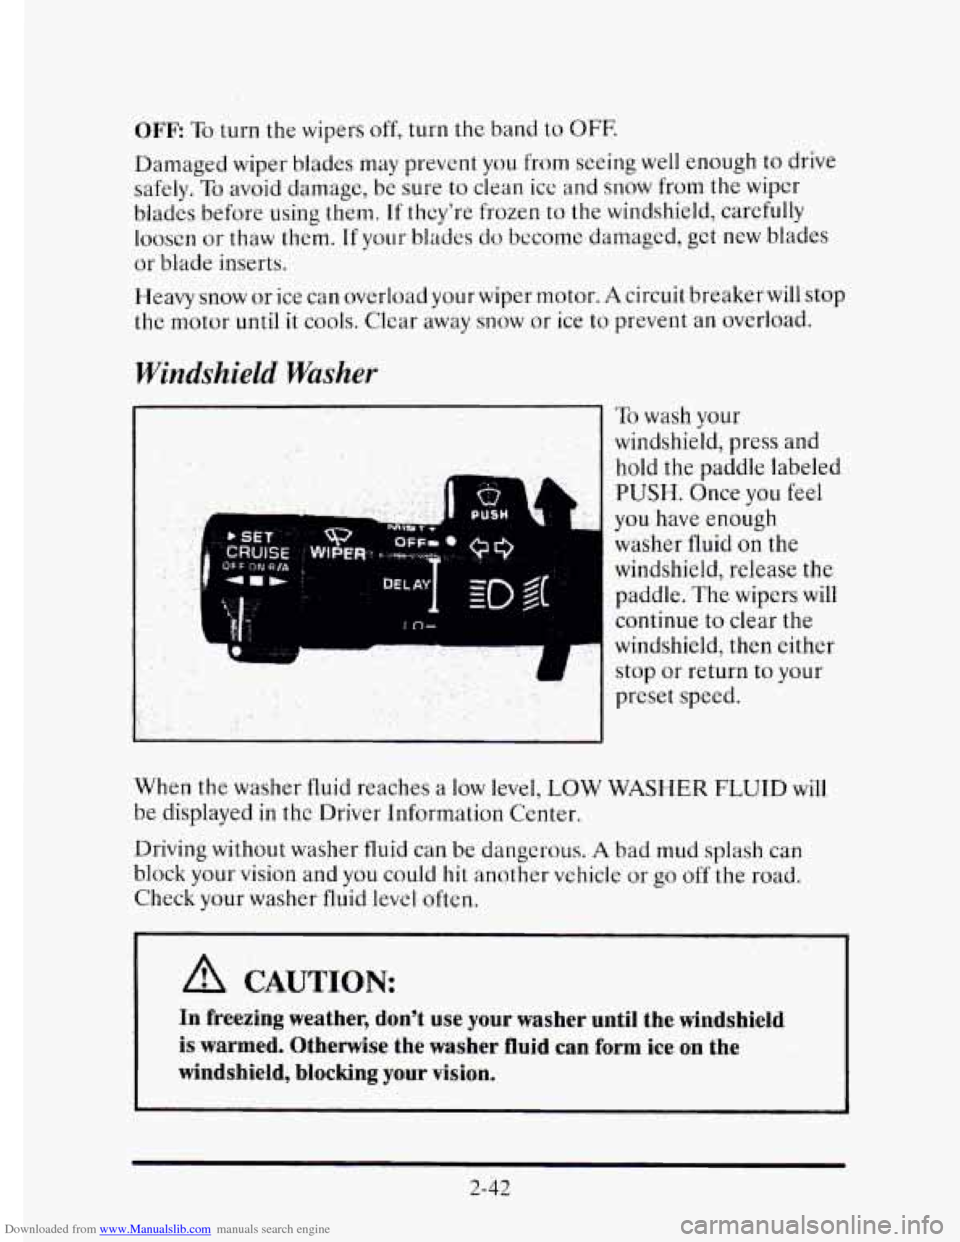
Downloaded from www.Manualslib.com manuals search engine OFF To turn the wipers off, turn the band to OFF.
Damaged wiper blades may prevent you from seeing well enough to drive
safely.
To avoid damage, be sure to clean ice and snow from the wiper
blades before
using them. If they're frozen to the windshield, carefully
loosen or thaw them.
If your blades do become damaged, get new blades
or blade inserts.
Heavy snow or ice can overload
your wiper motor. A circuit breaker will stop
the motor until it cools. Clear away snow or ice to prevent an overload.
Windshield Washer
I A d
To wash your
windshield, press
and
hold the paddle labeled
PUSH. Once you feel
you have enough
washer fluid on the
windshield, release the
paddle. The wipers will
continue to clear the
windshield, then either
stop or return to your
preset speed.
When the washer fluid reaches a low level, LOW WASHER
FLUID will
be displayed in the Driver Information Center.
Driving without washer
fluid can be dangerous. A bad mud splash can
block your vision and you could hit another vehicle or
go off the road.
Check your washer fluid level often.
A CAUTION:
In freezing weather, don't use your washer until the windshield
is warmed. Otherwise the washer fluid can form ice on the
windshield, blocking your vision.
2-42
Page 300 of 395
Downloaded from www.Manualslib.com manuals search engine WIPER BLADE REPLACEMENT
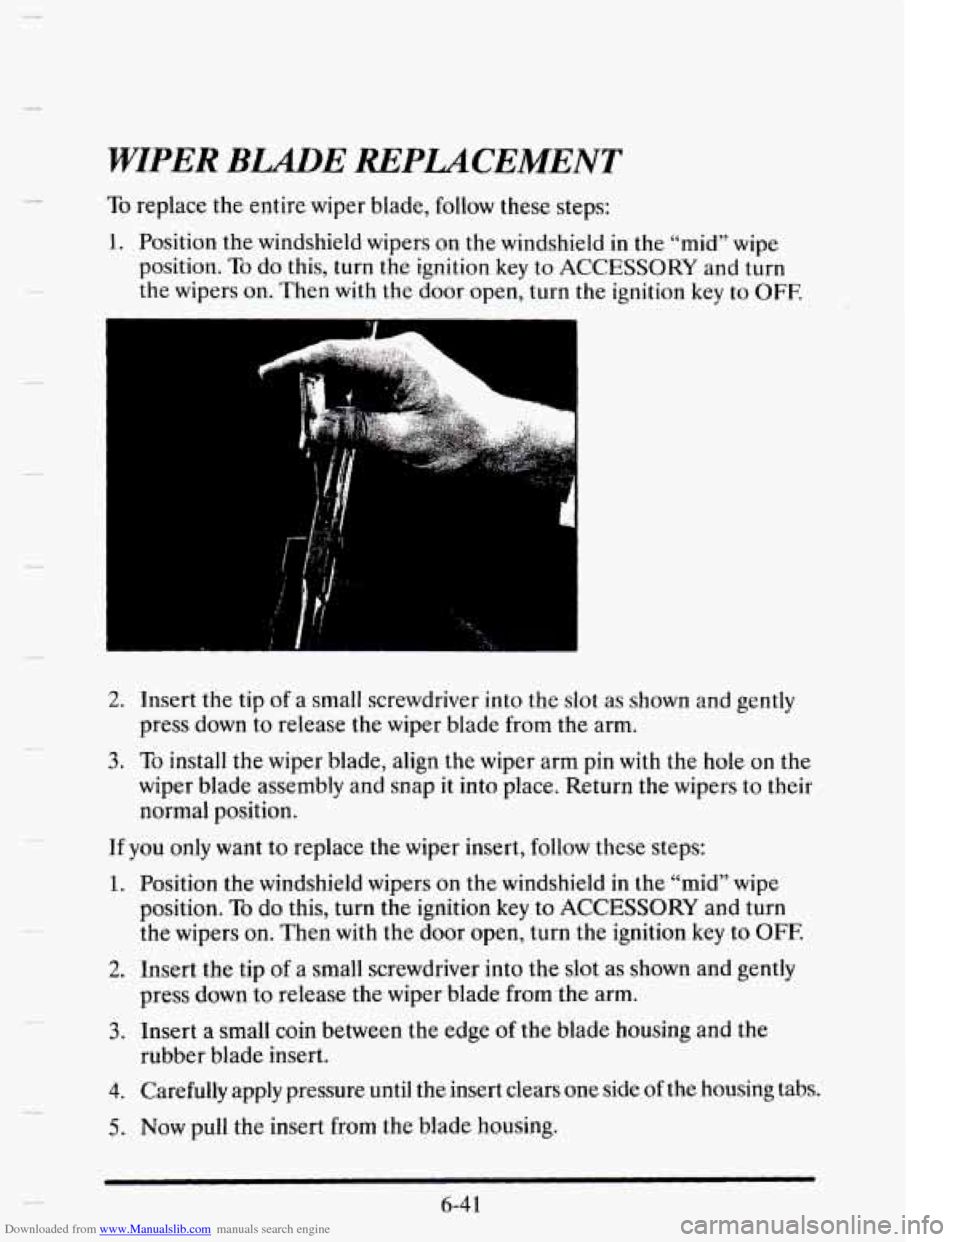
To replace the entire wiper blade, follow these steps:
1. Position the windshield wipers on the windshield in the “mid” wipe
position.
To do this, turn the ignition key to ACCESSORY and turn
the wipers
on. Then with the door open, turn the ignition key to OFE
“I I
1
2. Insert the tip of a small screwdriver into the slot as shown and gently
press down
to release the wiper blade from the arm.
3. To install the wiper blade, align the wiper arm pin with the hole on the
wiper blade assembly and snap
it into place. Return the wipers to their
normal position.
If you only want to replace the wiper insert, follow these steps:
1. Position the windshield wipers on the windshield in the “mid” wipe
position.
To do this, turn the ignition key to ACCESSORY and turn
the wipers on. Then with the door open, turn the ignition key to OFF.
2. Insert the tip of a small screwdriver into the slot as shown and gently
3. Insert a small coin between the edge of the blade housing and the
press down
to release the wiper blade from the arm.
rubber blade insert.
4. Carefully apply pressure until the insert clears one side of the housing tabs.
5. Now pull the insert from the blade housing.
6-4 1
Page 301 of 395
Downloaded from www.Manualslib.com manuals search engine 6. Reinstall the new insert by aligning the bladc housing tabs and the
edge
of the insert, starting with the second set from the outer edge.
Make sure that the insert is connected to all of the housing tabs and
that it moves freely back and forth.
7. To install the wiper blade, align the wiper arm pin with the hole on the
wiper blade assembly and snap
it into place. Return thc wipers to their
normal position.
TIRES
We don’t make tires. Your Cadillac comes with high-quality tires made by
a leading tire manufacturer. If you ever have questions about your tire
warranty
and where to obtain service, see your Cadillac Warranty booklet
for details.
~~ -~
A CAUTION:
Poorly maintained and improperly used tires are dangerous.
0
0 Overloading your tires can cause overheating as a result of
too much friction. You could have an air-out and a serious
accident. See “Loading Your Vehicle”
in the Index.
Underinflated tires pose the same danger as overloaded tires.
The resulting accident could cause serious
injury. Check all
tires frequently
to maintain the recommended pressure. Tire
pressure should be checked when your tires are
cold.
Overinflated tires are more likely to be cut, punctured, or
broken by a sudden impact, such as when you hit a pothole.
Keep tires
at the recommended pressure.
Worn, old tires can cause accidents. If your tread is badly
worn, or if your tires have been damaged, replace them. . .
See (‘Inflation - Tire Pressure” in this section for inflation
pressure adjustment for higher speed
driving.
6-42
Page 321 of 395
Downloaded from www.Manualslib.com manuals search engine SERWCE PARTS IDENTIFICATION LABEL
You’ll find this label on the spare tire cover. It’s very helpful if you ever
need
to order parts. On this label is:
0 your VTN,
the model designation,
paint information, and
a list of all production options and special equipment.
Be sure that this label
is not removed from the vehicle.
ADD=ON ELECTMCL EQUIPMENT
NOTICE:
Don’t add anything electrical to your Cadillac unless you check
with your dealer first. Some electrical equipment can damage
your vehicle and the damage wouldn’t be covered by your
warranty. Some add-on electrical equipment can keep other
components
from working as they should.
Your vehicle has an air bag system. Before attempting to add anything electrical
to your Cadillac, see “Servicing You Air Bag-Equipped Cadillac” in the Index.
Retained Accessory Power
When you stop your Cadillac and turn the key to OFF, you can use these
accessorics
for 10 more minutes:
Radio
0 Power Windows
0 Astroroof
0 Windshield Wipers
0 Fuel Door Release
Trunk Release
Everything will
go off after 10 minutes or if you open a door.
6-62
If you want power for another 10 minutes, just turn the key to RUN and
then back to OW.