Page 133 of 385
You can only drive for a short time with the reading in either warning zone.
If you must drive, turn off all unnecessary accessories, and have the vehicle
serviced as soon as possible.
Center High Mount Stop Lamp (CHMSL)
If items are loaded on the roof of the vehicle, as in a luggage carrier, care
should be taken not to block or damage the CHMSL unit.
Convenience Net
If you have a convenience net, it is stored in a pouch attached to the spare
tire.
2-78
ProCarManuals.com
Page 134 of 385

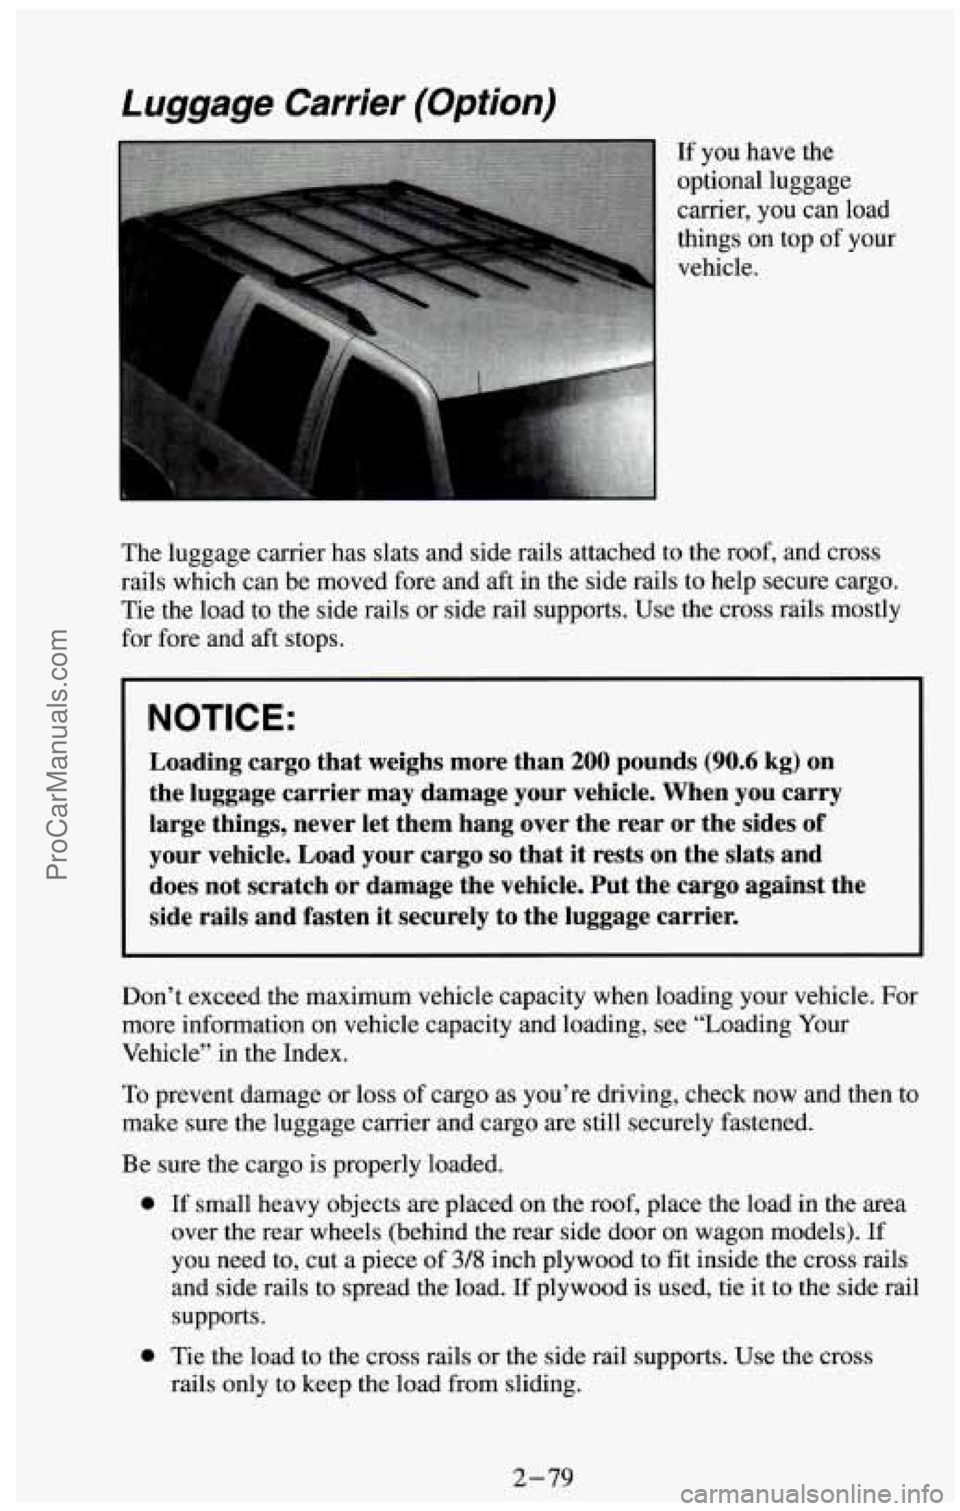
Luggage Carrier (Option)
The luggage carrier has slats and side rails attached to the roof, and cross
rails which can be moved fore and aft in the side rails to help secure cargo.
Tie the load
to the side rails or side rail supports. Use the cross rails mostly
for fore and aft stops.
NOTICE:
Loading cargo that weighs more than 200 pounds (90.6 kg) on
the luggage carrier may damage your vehicle. When you carry
large things, never let them hang over the rear or the sides of
your vehicle. Load your cargo
so that it rests on the slats and
does not scratch or damage the vehicle. Put the cargo against the
side rails and fasten
it securely to the luggage carrier.
Don’t exceed the maximum vehicle capacity when loading your vehicle. For
more information on vehicle capacity and loading, see “Loading Your
Vehicle” in the Index.
To prevent damage or loss of cargo as you’re driving, check now and then to
make sure the luggage carrier and cargo are still securely fastened.
Be sure the cargo is properly loaded.
0 If small heavy objects are placed on the roof, place the load in the area
over the rear wheels (behind the rear side door
on wagon models). If
you need to, cut a piece of 3/8 inch plywood to fit inside the cross rails
and side rails to spread the load.
If plywood is used, tie it to the side rail
supports.
0 Tie the load to the cross rails or the side rail supports. Use the cross
rails only
to keep the load from sliding.
2-79
ProCarManuals.com
Page 299 of 385
3. Pull the bulb straight out
of the
socket.
4. Put a new bulb
into the socket
and push it in
until it is tight.
5. Put the socket back into the side marker assembly and turn it to the
right to tighten it.
6. Replace the parking/turn signal light assembly and tighten the screws.
Roof Marker Lights
1. Remove the
screws and lift
off
the lens.
2. Pull the bulb
straight out
of the
socket.
3. Put a new bulb into the socket and push it in until it is tight.
4. Replace the lens and tighten the screws.
6-54
ProCarManuals.com
Page 331 of 385
Lamp and Bulb Data
LAMP OR BULB TRADE NO.
HEADLAMPS
2 Headlamp
System
Halogen
(Opt.)
4 Headlamp
System
Composite
LAMP OR BULB
EXTERIOR
Front Marker Lamp
Front Park
and Turn Lamp
Rear Parking Lamp
Rear Stop and Turn Lamp
Backup Lamp
Roof Marker Lamp"
License Plate Lamp
Underhood Lamp
Reel Lamp
*Suburban Only 6052
H6054 6052
9005
INTERIOR
Dome Lamps
Reading Lamps
Roof Console Lamps
Courtesy Lamp
Heater
or A/C Control Lamp
Four Wheel Drive Indicator
Four Wheel Drive Shift Lever
Instrument Panel Compartment Lamp
Ashtray Lamp
Sunshade
Vanity Mirror
POWER
RATING AT
12.8V, WATTS
55/65
35/65 55/65
65
TRADE NO.
194
2357NA
3057 3057
3156
194 194
232 232
211-2
21 1-2
I68
1003
194
161
194
194
194
74
i
2
2
2
2
4
2
2
2
5
2
1
1
2
4 2
2
1
1
1
1
1
4
6-86
ProCarManuals.com