Page 48 of 340

Downloaded from www.Manualslib.com manuals search engine ...
.
Four-wheel Drive ......................................... 2-27
Manual Transfer Case
.................................... 2-27
Electronic Transfer Case
.................................. 2-29
Windows
................................................ 2-31
Horn
.................................................... 2-33
TiltWheel
............................................... 2-33
Turn SignaYMultifunction Lever
.............................. 2-34
Turn Signal and Lane Change Indicator
...................... 2-34
Headlight High-Low Beam
............................... 2-36
Windshield Wipers
...................................... 2-36
Windshield Washer
...................................... 2-37
Cruise Control
.......................................... 2-39
Lights
................................................... 2-45
Mirrors
.................................................. 2-48
Accessory Power Outlets
.................................... 2-51
Cigarette LightedAshtray ................................... 2-52
Storage Compartments ...................................... 2-53
Instrument Cluster
......................................... 2-55
Wamrng Lights, Gages and Indicators
....................... 2-58
Center High Mounted Stop Lamp (CHMSL) Feed Wire
............ 2-67
Trailer Wiring Harness
...................................... 2-68
2-2
Page 80 of 340
Downloaded from www.Manualslib.com manuals search engine Turn SignaUMultifunction Lever
The lever on the left side of the steering column includes your:
0 Turn Signal and Lane Change Indicator
0 Headlight High-Low Beam
0 Windshield Wipers
Windshield Washer
Cruise Control (Option)
Turn Signal and Lane Change Indicator
The turn signal has
two upward (for
Right) and two downward (for Left)
positions. These
positions allow you to
signal a turn
or a lane
change.
To signal a turn, move the lever all the way up or down. When the turn is
finished, the lever will return automatically.
2-34
Page 81 of 340

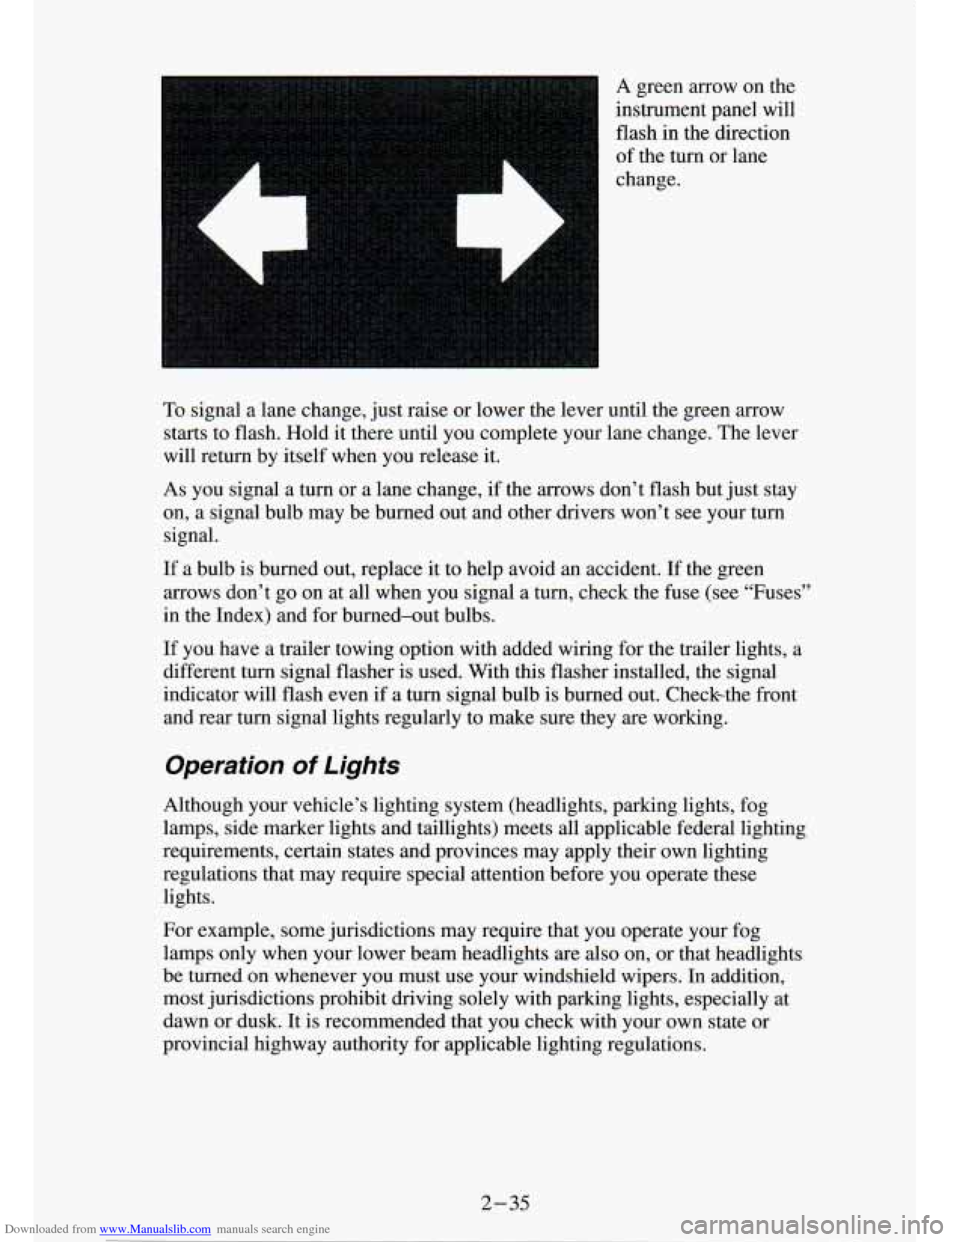
Downloaded from www.Manualslib.com manuals search engine A green arrow on the
instrument panel will
flash in the direction
of the turn
or lane
change.
To signal a lane change, just raise or lower the lever until the green arrow
starts to flash. Hold it there until you complete your lane change. The lever
will return by itself when you release it.
As you signal a turn or a lane change, if the arrows don’t f\
lash but just stay
on, a signal bulb may be burned out and other drivers won’t see your turn
signal.
If a bulb is burned out, replace it to help avoid an accident. If the green
arrows don’t go
on at all when you signal a turn, check the fuse (see “Fuses”
in the Index) and for burned-out bulbs.
If you have a trailer towing option with added wiring for
the trailer lights, a
different turn signal flasher is used. With this flasher installed, the signal
indicator will flash even if a turn signal bulb is burned out. Checkthe front
and rear turn signal lights regularly to make sure they
are working.
Operation Of Lights
Although your vehicle’s lighting system (headlights, parking \
lights, fog
lamps, side marker lights and taillights) meets all applicable federal ligh\
ting
requirements, certain states and provinces may apply their own lighting
regulations that may require special attention before you operat\
e these
lights.
For example, some jurisdictions may require that you operate your f\
og
lamps only when your lower beam headlights
are also on, or that headlights
be turned on whenever you must use your windshield wipers. In add\
ition,
most jurisdictions prohibit driving solely with parking lights, \
especially at
dawn or dusk. It is recommended that you check with your own state or
provincial highway authority for applicable lighting regulations.
2 -35
Page 82 of 340
Downloaded from www.Manualslib.com manuals search engine Headlight High-Low Beam
Windshield Wipers
To change the
headlights from low
beam to high or high
to low, pull the
turn
signal lever all the
way toward you. Then
release
it.
When the high beams are on, this blue
indicator light
on the
instrument panel also
will be
on.
You control the
windshield wipers by
turning the band with
the wiper symbol on
it.
2-36
Page 91 of 340
Downloaded from www.Manualslib.com manuals search engine Your light switches
are on the left side of
: your instrument panel.
Push the top switch to
turn on:
Parking Lights
0 Sidemarker Lights
0 Taillights
0 License Plate Lights
0 Instrument Panel Lights
0 Transfer Case Shift Indicator Panel
Push the bottom switch to
turn on the headlights, together with:
Parking Lights
Sidemarker Lights
Taillights
License Plate Lights
Instrument Panel Lights
Transfer Case Shift Indicator Panel
Push the switch marked
OFF to turn off your lights.
Turn the switch to the right of the headlight switch up to make your
instrument panel and transfer case lights brighter. Turn the switch all the
way up until it clicks to
turn on the interior lights.
Turn the switch down to
dim your instrument panel and transfer case
indicator lights.
You can switch your headlights from high to low beam
by pulling on the
multifunction lever.
I
.2-45
Page 92 of 340
Downloaded from www.Manualslib.com manuals search engine A circuit breaker protects your headlights. If you have an electrical
overload, your headlights will flicker
on and off. Have your headlight
wiring checked right away if this happens.
Fog Lamps (Option)
Use your fog lamps
for better vision in
foggy or misty
conditions. Your
parking lights and/or low beam headlights
must be
on or your
fog lamps won't work.
The fog lamp switch
is on the instrument
panel under the
headlight switch.
Press the left side of the switch to turn the fog lamps on, and the right side
of the switch
to turn them off. A light will glow in the right side of the
switch when they are on.
Remember, fog lamps alone will not give off as much light as your
headlights.
Never
use your fog lamps in the dark without turning on your headlights.
Fog lamps will go
off whenever your high beam headlights come on. When
the high beams go off, the fog lamps will come
on again.
2-46
I
Page 108 of 340
Downloaded from www.Manualslib.com manuals search engine Oil Pressure Gage
I
The oil pressure gage shows the engine oil pressure in psi (pounds per
square inch) when the engine is running. Canadian vehicles indicate
pressure in Pa (kilopascals). Oil pressure may vary with engine speed,
outside temperature and oil viscosity, but readings above the l\
ow pressure
zone indicate the normal operating range.
A reading in the low pressure zone may be caused by a dangerously low oil \
level or other problems causing low oil pressure.
NOTICE:
Damage to your engine from neglected oil problems can be
costly and
is not covered by your warranty.
Indicator Lights
Indicator lights go on when you use your turn signals, change from low
beam headlights to high beams, or when you use your hazard fl\
ashers. The
next few pages will also tell you about the indicator lights \
on your vehicle
and help you locate them.
Page 111 of 340
Downloaded from www.Manualslib.com manuals search engine Headlight High Beam Indicator Light
This blue high beam
indicator light
is on
the instrument cluster and is on whenever
you use your high
beam headlights. For
more details about
high beams, see
“Headlight High-Low
Beam Changer” in this
section.
Turn Signal and Lane Change Indicator
instrument cluster.
The turn signal indicator will come on
whenever you signal a
turn or lane change.
See “Turn and Lane
Change Signal” in this
section.
2-65