Page 9 of 340
Downloaded from www.Manualslib.com manuals search engine Vehicle Damage Warnings
in this book 3u wi: ind these notices:
I NOTICE:
I These mean there is something that could damage your vehicle. I
In the notice area,
we tell you about something that can damage your
vehicle. Many times, this damage would not be covered by your warranty,
and it could be costly. But the notice
will tell you^ what to do to help avoid
the damage.
When you read other manuals, you might see CAUTION and NOTICE \
warnings
in different colors or in different words.
You’ll also see warning labels on your vehicle. They use yellow for
cautions, blue for notices and the words CAUTION or NOTICE.
Vehicle Symbols
These are some of the symbols you will find on your vehicle. For example,
these symbols are used on an original battery:
Cautran
Possible Injury
Avoid Sparks
or Flames
Protect Eyes
by Shielding Caustic Battery Acid
Sould Cause Burns Spark
or Flame
Could
Explode Battery
vii
Page 11 of 340
Downloaded from www.Manualslib.com manuals search engine These symbols are on some of your controls:
Windshield Washer Windshield
Defroster Windshield
Wiper
I
Ventilating Fan
These symbols are used on warning and indicator lights:
Engine Coolant
Temperature
BRAKE
Brake Battery Charging
System
I SHIFT
I
Shift Light Fuel
0
Off
Engine Oil
Pressure
Page 56 of 340
Downloaded from www.Manualslib.com manuals search engine Ignition Switch
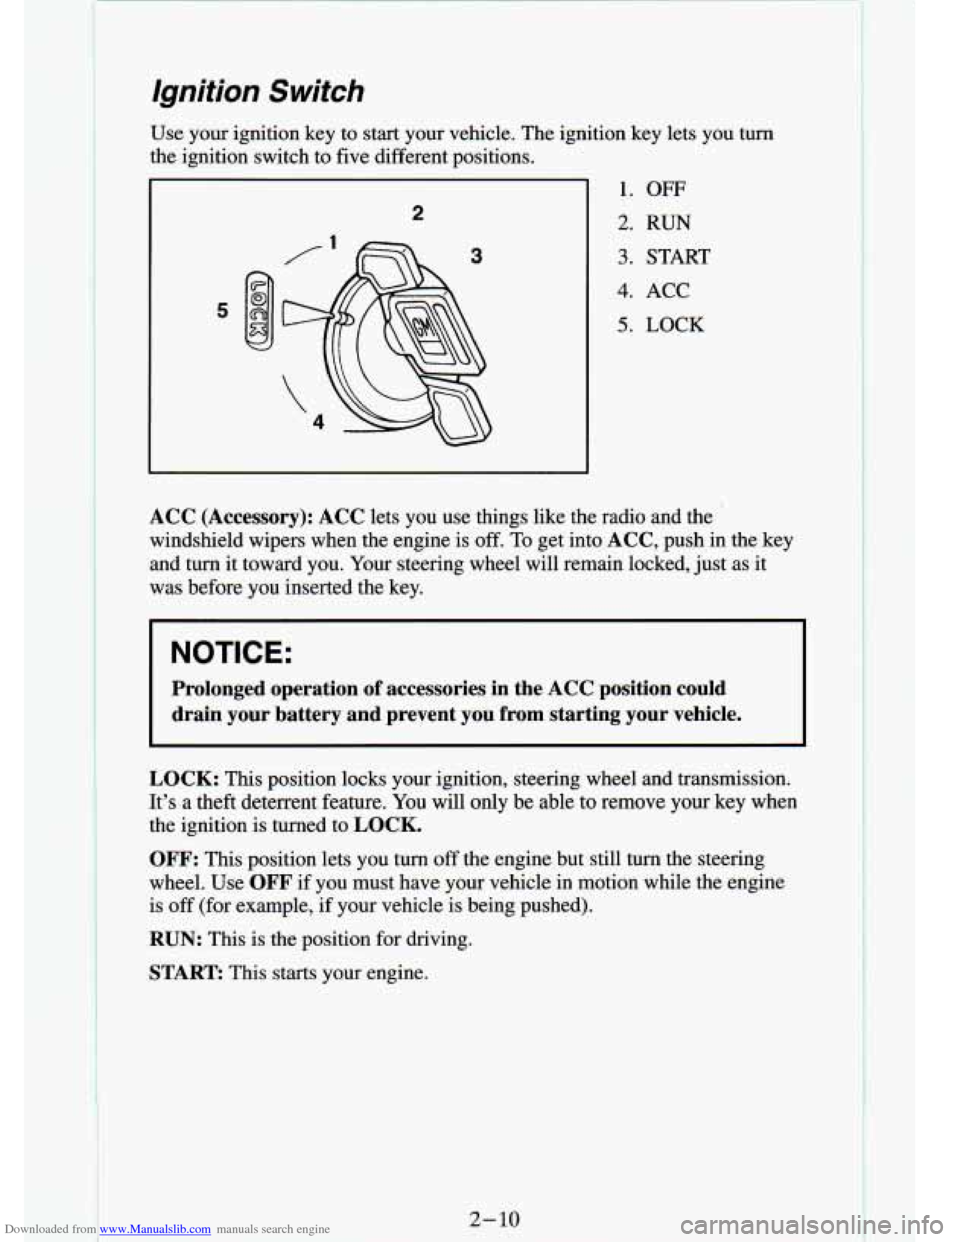
Use your ignition key to start your vehicle. The ignition key \
lets you turn
the ignition switch to five different positions.
2
3
1. OFF
2. RUN
3. START
4. ACC
5. LOCK
ACC (Accessory): ACC lets you use things like the radio and the
windshield wipers when the engine is
off. To get into ACC, push in the key
and turn it toward you. Your steering wheel will remain locked, just as it
was before you inserted the key.
NOTICE:
Prolonged operation of accessories in the ACC position could
drain vour battery and prevent you
from starting your vehicle.
LOCK: This position locks your ignition, steering wheel and transmissi\
on.
It’s a theft deterrent feature. You will only be able to remove your key when
the ignition is turned to
LOCK.
OFF: This position lets you turn off the engine but still turn the steering
wheel. Use
OFF if you must have your vehicle in motion while the engine
is off (for example,
if your vehicle is being pushed).
RUN: This is the position for driving.
START: This starts your engine.
Page 58 of 340
Downloaded from www.Manualslib.com manuals search engine Starting Your Engine
Engines start differently. The 8th digit of your Vehicle Identification
Number (VIN) shows the code letter or number for your engine. You will
find the VIN at the top left of your instrument panel. (See “Vehicle
Identification Number” in the Index.) Follow the proper steps to start the
engine.
Automatic transmission:
Move your shift lever to “P” (Park) or “N’ (Neutral). Your engine won’t
start in any other position
- that’s a safety feature. To restart when you’re
already moving, use
“N” (Neutral) only.
NOTICE:
Don’t try to shift to “P” (Park) if your vehicle is moving. If you
do, you could damage the transmission. Shift to “P” (Park) \
only
when your vehicle is stopped.
Manual transmission:
Hold the clutch pedal to the floor, then shift your gear selector to neutral
while starting the engine. Your vehicle won’t start
if the clutch pedal is not
all the way down
- that’s a safety feature.
To start your 2.2 Liter engine:
1. Without pushing the accelerator pedal, turn your ignition key t\
o “Start.”
When the engine starts, let go of the key. The idle speed will go down
as your engine gets
warm.
NOTICE:
Holding your key in “Start” for longer than 15 seconds at a time
will cause your battery to be drained much sooner. And the
excessive heat can damage your starter motor.
2. If your engine still won’t start (or starts but then stops), it could be
flooded with too much gasoline. Try pushing your accelerator pe\
dal all
the way to the floor and holding it there as you hold the key in “Start”
for about three seconds. If
the vehicle starts briefly but then stops
again, do the same thing, but this time keep the pedal down for five or
six seconds. This clears the extra gasoline from the engine.
2-12
Page 59 of 340
Downloaded from www.Manualslib.com manuals search engine NOTICE:
Your engine is designed to work with the electronics in your
vehicle.
If you add electrical parts or accessories, you could
change the way the fuel injection system operates. Before adding
electrical equipment, check
with your dealer. If you don’t, your
engine might not perform properly.
If you ever have to have your vehicle towed, see the part of this
manual that tells how to do it without damaging your vehicle.
See “Towing Your Vehicle” in the Index.
To start your 4.3 Liter engine:
1. Without pushing the accelerator pedal, turn your ignition key t\
o “Start.”
When the engine starts, let go of the key. The idle speed will go down
as your engine gets warm.
NOTICE:
Holding your key in “Start” for longer than 15 seconds at a time
will cause your battery to be drained much sooner.
And the
excessive heat can damage your starter motor.
2. If it doesn’t start right away, hold your key in “Start.” If
it doesn’t start
in three seconds, push the accelerator pedal about one-quarter
of the
way down for 12 more seconds, or until
it starts.
flooded with too much gasoline.
Try this:
3. If your engine still won’t start (or starts but then stops), it could be
Wait 15 seconds to let the starter motor cool down. Then push\
your accelerator pedal all the way to the floor.
Hold it there. Then, hold the
key in “Start” for no more than ten seconds. This clears the extra
gasoline from the engine.
If the engine still doesn’t start, wait another 15 seconds and do it all
again.
When the engine starts, let go of the key and the accelerator pedal.
2-13
Page 97 of 340
Downloaded from www.Manualslib.com manuals search engine Some visors have a
lighted mirror. Just lift
the cover up to turn on
the mirror lights.
Accessory Power Outlets (Option)
If you have accessory
power outlets, you can
plug
in auxiliary
electrical equipment.
Just pull down from
the top of the door and
follow the proper
installation
instructions that are
included with any
electrical equipment
you install.
These circuits
are protected by a fuse and have maximum current levels.
NOTICE:
When using the accessory power outlets, maximum electrical
load must not exceed
25 amps. Always turn off any electrical
equipment when not in use. Leaving electrical equipment
on for
extended periods will drain your battery.
2-51
Page 109 of 340
Downloaded from www.Manualslib.com manuals search engine Charging System Light
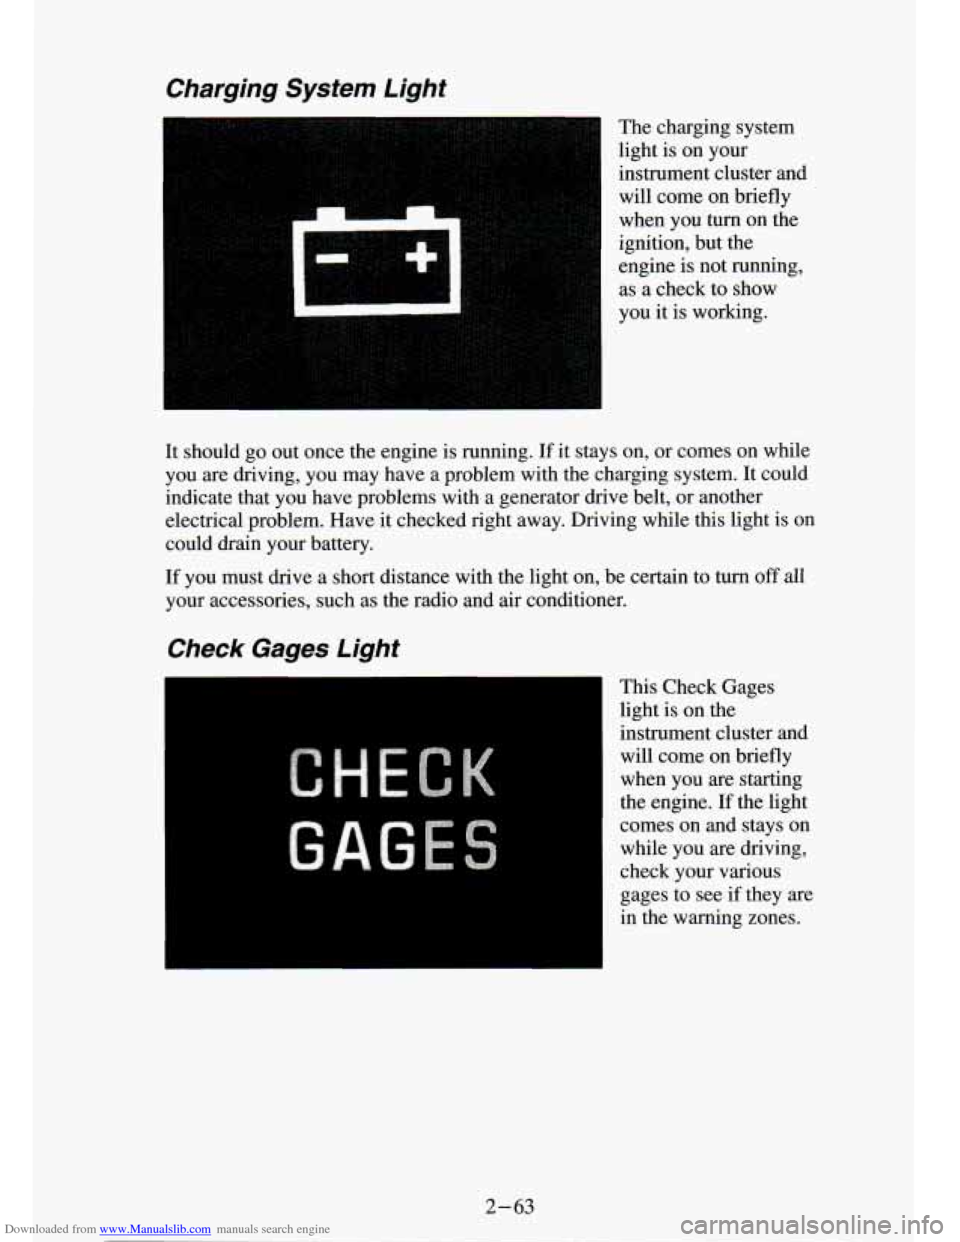
The charging system
light is on your
instrument cluster and will come on briefly
when you turn on the
ignition, but the
engine is not running,
as a check to show
you it is working.
It should
go out once the engine is running. If it stays on, or comes on while
you are driving, you may have a problem with the charging system.
It could
indicate that you have problems with a generator drive belt, or another
electrical problem. Have it checked right away. Driving while this light is on
could drain your battery.
If you must drive a short distance with the light on, be certain to turn off all
your accessories, such as the radio and air conditioner.
Check Gages Light
This Check Gages
light is on the
instrument cluster and
will come on briefly
when you are starting
the engine.
If the light
comes on and stays on while you are driving,
check your various
gages to see
if they are
in the warning zones.
2-63
Page 113 of 340
Downloaded from www.Manualslib.com manuals search engine Voltmeter
I
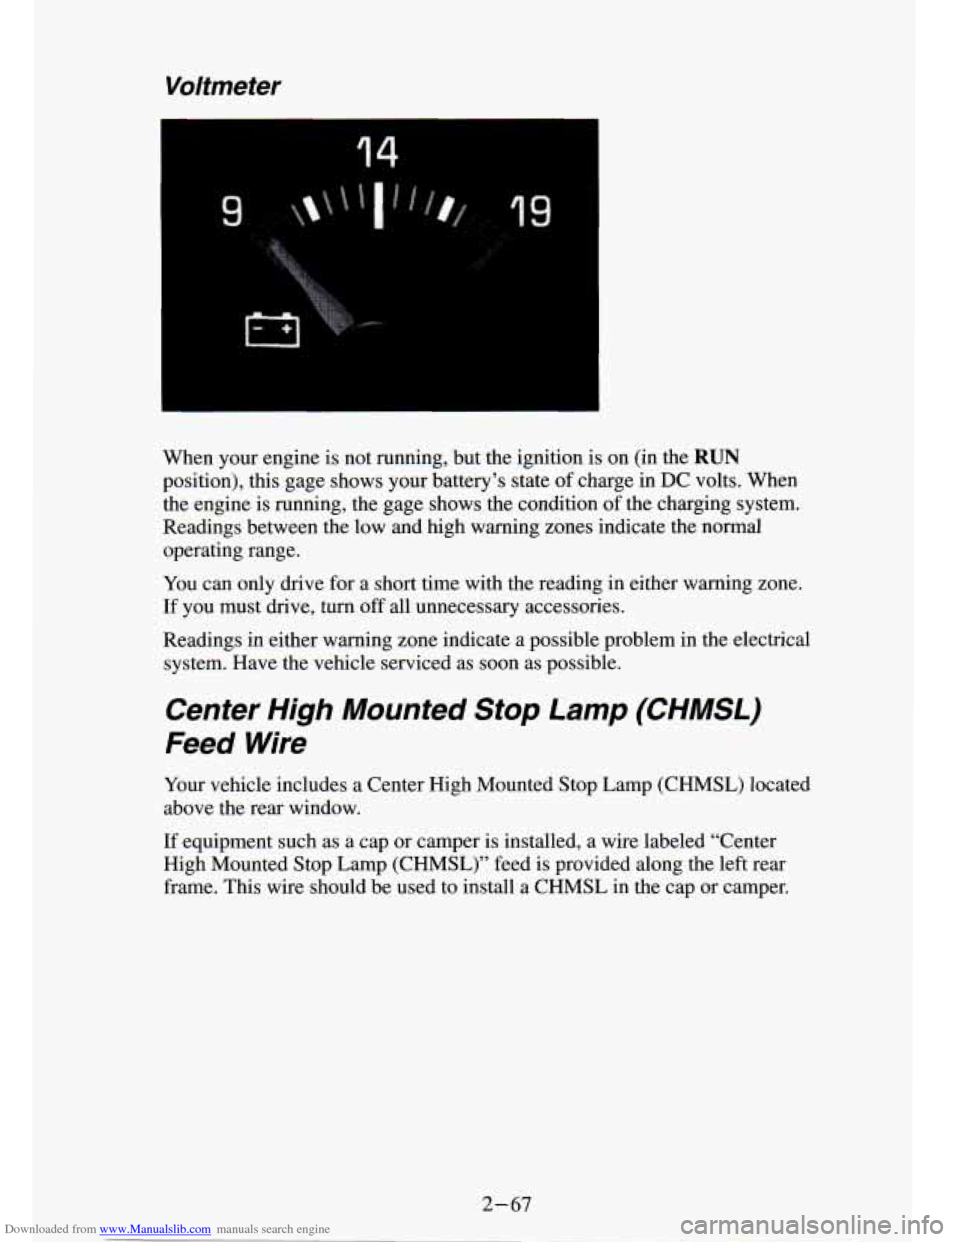
When your engine is not running, but the ignition is on (in \
the RUN
position), this gage shows your battery’s state of charge in DC volts. When
the engine is running, the gage shows the condition of the charging system.
Readings between the low and high warning zones indicate the normal
operating range.
You can only drive for a short time with
the reading in either warning zone.
If you must drive,
turn off all unnecessary accessories.
Readings in either warning zone indicate a possible problem in the electrical
system. Have
the vehicle serviced as soon as possible.
Center High Mounted Stop Lamp (CHMSL)
Feed Wire
Your vehicle includes a Center High Mounted Stop Lamp (CHMSL) located
above the rear window.
If equipment such as a cap or camper is installed, a wire labeled “Center
High Mounted Stop Lamp (CHMSL)” feed is provided along the left rear
frame. This wire should be used to install a CHMSL in the cap or camper.
2-67