1994 CHEVROLET S10 brake light
[x] Cancel search: brake lightPage 161 of 340
Downloaded from www.Manualslib.com manuals search engine After Off-Road Driving
Remove any brush or debris that has collected on the underbody, chassis or
under the hood. These accumulations can be a fire hazard.
After operation in mud or sand, have the brake linings cleaned and checked.
These substances can cause glazing and uneven braking. Check th\
e body structure, steering, suspension, wheels, tires, and exhaust syste\
m for
damage. Also, check the fuel lines and cooling system for any leakage.
Your vehicle will require more frequent service due to off-road use.\
Refer
to the Maintenance Schedule booklet for additional information.
Driving at Night
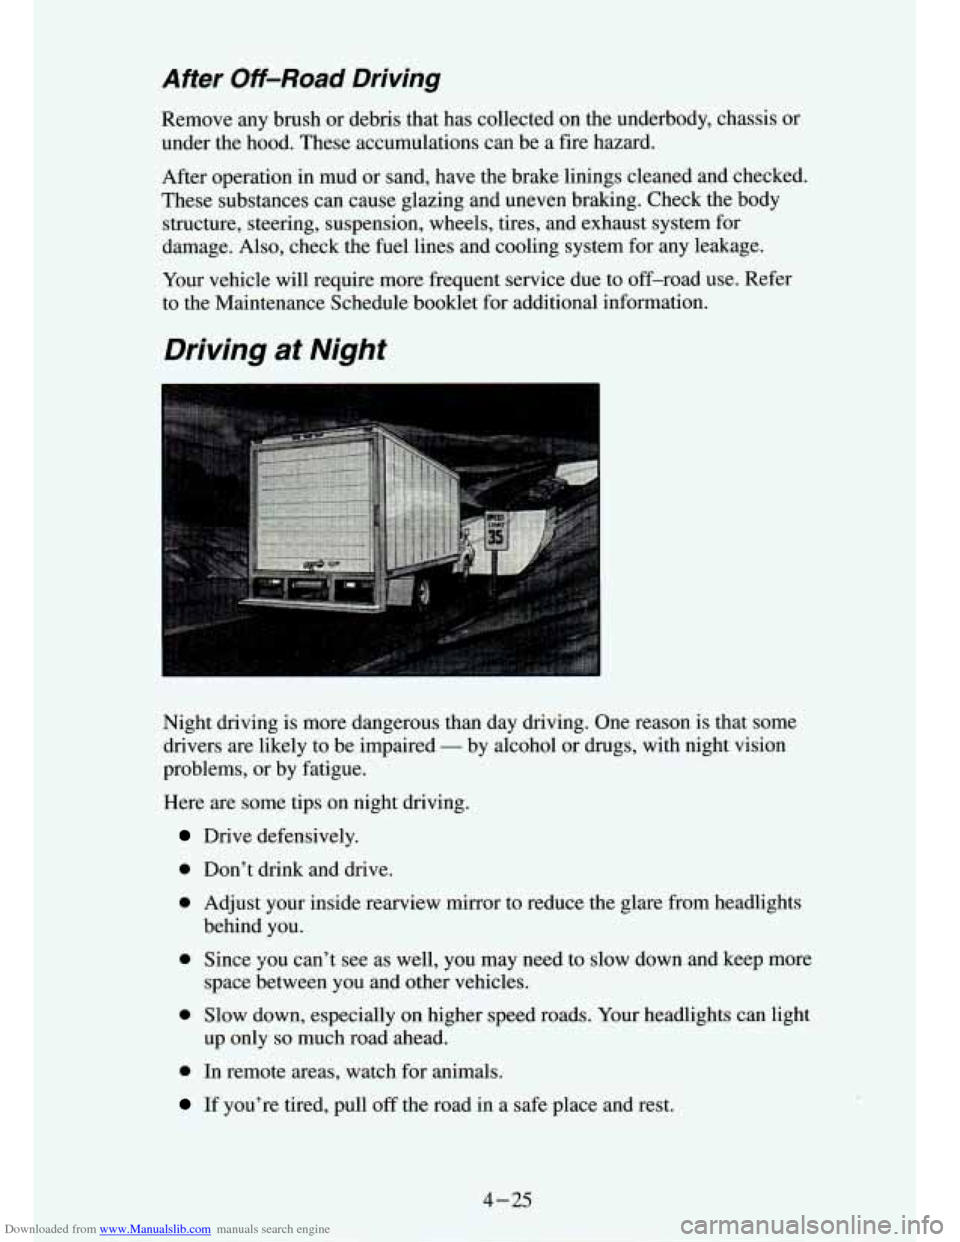
Night driving is more dangerous than day driving. 0 ne reason is that some
drivers are likely to be impaired
- by alcohol or drugs, with night vision
problems,
or by fatigue.
Here are some tips on night driving.
Drive defensively.
0 Don’t drink and drive.
0 Adjust your inside rearview mirror to reduce the glare from ndlights
behind you.
0 Since you can’t see as well, you may need to slow down and keep more
0 Slow down, especially on higher speed roads. Your headlights can light
space between you and other vehicles.
up only
so much road ahead.
0 In remote areas, watch for animals.
If you’re tired, pull off the road in a safe place and rest.
4-25
Page 177 of 340
Downloaded from www.Manualslib.com manuals search engine You can tow trailers to 2,000 pounds (900 kg) with a step bumper hitch, but
if your trailer tongue has a V-shaped foot, your bumper could be damaged
in sharp turns. Check the distance from the front edge of the foot to the
middle of the hitch ball socket.
If the distance is less than 12 inches, take the
foot
off the trailer tongue.
Safety Chains
You should always attach chains between your vehicle and your trail\
er.
Cross the safety chains under the tongue of the trailer
so that the tongue will
not drop
to the road if it becomes separated from the hitch. Instructions
about safety chains may be provided by the hitch manufacturer \
or by the
trailer manufacturer. Follow the manufacturer’s recommendation for
attaching safety chains. Always leave just enough slack
so you can turn with
your rig. And, never allow safety chains to drag
on the ground.
Trailer Brakes
If your trailer weighs more than 1,000 pounds (450 kg) loaded, then it needs
its own brakes
- and they must be adequate. Be sure to read and follow the
instructions for the trailer bE---:s
so you’ll be able to install, adjust and
maintain them properly.
Your trailer brakes system can tap into vehicle’s hydraulic brake system
except:
Don’t tap into your vehicle’s brake system if the trailer’s brake system will
use more than
0.02 cubic inch (0.3~~) of fluid from your vehicle’s master
cylinder. If it does, both braking systems won’t work well. You could even
lose your brakes.
Will the trailer parts take
3,000 psi (20 650 Pa) of pressure? If not, the
trailer brake system must not be used with your vehicle.
If everything checks out this far, then make the brake fluid tap at the port on
the master cylinder that sends fluid to the rear brakes. But don’t use copper
tubing for this.
If you do, it will bend and finally break off. Use steel brake
tubing.
Driving with a Trailer
Towing a trailer requires a certain amount of experience. Before setting out
for the open road, you’ll want to get to know your rig. Acquai\
nt yourself
with the feel
of handling and braking with the added weight of the trailer.
And always keep
in mind that the vehicle you are driving is now a good
deal longer and not nearly
so responsive as your vehicle is by itself.
Before you start, check the trailer hitch and platform, safety chains,
electrical connector, lights, tires and mirror adjustment. If th\
e trailer has
electric brakes, start your vehicle and trailer moving and then\
apply the
4-41
Page 178 of 340
Downloaded from www.Manualslib.com manuals search engine trailer brake controller by hand to be sure the brakes are working. This lets
you check your electricql connection at the same time.
During your trip, check occasionally to be sure that the load \
is secure, and
that the lights and any trailer brakes
are still working.
Following Distance
Stay at least twice as far behind the vehicle ahead as you would when
driving your vehicle without a trailer. This can help you avoid situations \
that
require heavy braking apd sudden turns.
Passing
You’ll need more passing distance up ahead when you’re to\
wing a trailer.
And, because you’re a good deal longer, you’ll need to g\
o much farther
beyond the passed vehicle before you can return to your lane. \
Backing Up
Hold the bottom of the steering wheel with one hand. Then, to move the
trailer to the left, just move that hand to the left. To move the trailer to the
right, move your hand to the right. Always back up slowly and\
, if possible,
have someone guide you.
Making Turns
When you’re turning with a trailer, make wider turns than n\
ormal. Do this
so your trailer won’t strike soft shoulders, curbs, road signs, \
trees, or other
objects. Avoid jerky or sudden maneuvers. Signal well in advance.
Turn Signals When Towing a Trailer
When you tow a trailer, your vehicle has to have a different \
turn signal
flasher and extra wiring. The green arrows on your instrument panel wi\
ll
flash whenever you signal a turn or lane change. Properly hooked up, the
trailer lights will also flash, telling other drivers you’re \
about
to turn,
change lanes or stop.
When towing a trailer, the green arrows on your instrument pan\
el will flash
€or
turns even if the bulbs on the trailer are burned out. Thus, you may think
drivers behind you are seeing your signal when they are not. It’s importan\
t
to check occasionally to be sure the trailer bulbs are still \
working.
4-42
Page 180 of 340
Downloaded from www.Manualslib.com manuals search engine - . ?
-. “C ^.
When You Are Ready to Leave After Parking on a Hill
1. Apply your regular brakes and hold the pedal down while you:
Start your engine;
Shift into a gear; and
Release the parking brake.
2. Let up on the brake pedal.
3. Drive slowly until the trailer is clear of the chocks.
4. Stop and have someone pick up and store the chocks.
Maintenance When Trailer Towing
Your vehicle will need service more often when you’re pulling a trailer. See
the Maintenance Schedule for more on this. Things that are especially
important in trailer operation are automatic transmission fluid (don’t
overfill), engine oil, axle lubricant, belt, cooling system, an\
d brake
adjustment. Each
of these is covered in this manual, and the Index will help
you find them quickly.
If you’re trailering, it’s a good idea to review these
sections before you
start your trip.
Check periodically to see that all hitch nuts and bolts are tight.
Trailer Light Wiring
See “Trailer Wiring Harness” in the Index.
4-44
I b
Page 186 of 340
Downloaded from www.Manualslib.com manuals search engine I E
To Jump Start Your Vehicle:
1. Check the other vehicle. It must have a 12-volt battery wlm a\
negauve
ground system.
NOTICE:
If the other system isn’t a 12-volt system with a negative \
ground, both vehicles can be damaged.
2. Get the vehicles close enough so the jumper cables can reach, but be
sure the vehicles aren’t touching each other. If they are, it could cause
a
ground connection you don’t want. You wouldn’t be able to start your
vehicle, and the bad grounding could damage the electrical syst\
ems.
You could be injured if the vehicles roll, Set the parking brake
firmly
on each vehicle. Put an automatic transmission in “P” (Park)\
or a
manual transmission
in “N’ (Neutral). If you have a four-wheel drive
vehicle with
a manual transfer case shift lever, be sure the transfer case
is not in “N’ (Neutral).
3. Turn off the ignition on both vehicles. Turn off all lights t\
hat aren’t
needed, and radios. This will avoid sparks and help save both batteries.
And it could save your radio!
I NOTICE:
I
If you leave your radio on, it could be badly damaged. The
repairs wouldn’t be covered by your warranty.
4. Open the hoods and locate the batteries. Find the positive (+) and
negative
(-) terminals on each battery.
5-4
I
Page 249 of 340
Downloaded from www.Manualslib.com manuals search engine Brake Wear
Your vehicle has front disc brakes and rear drum brakes.
Disc brake pads have built-in wear indicators that make a high\
-pitched warning sound when the brake pads are worn and new pads are \
needed. The
sound may come and go or be heard
all the time your vehicle is moving
(except when you -are pushing on the brake pedal
firmly).
I NOTICE:
I
Continuing to drive with worn-out brake pads could result in
costly brake repair.
Some driving conditions or climates may cause a brake squeal w\
hen the
brakes are first applied or lightly applied. This does not mean something is
wrong with your brakes.
Your rear
drum brakes don’t have wear indicators, but if you ever hear a
rear brake rabbing noise, have the rear brake linings inspected. Also, the
rear brake drums should be removed and inspected each time the\
tires itre
removed for rotation or changing. When you have the front brakes replaced,
have the rear brakes inspected, too.
Brake linings should always be replaced
as complete axle sets.
Brake Pedal Travel
See your dealer if the brake pedal does not return to normal height, o\
r if
there is a rapid increase in pedal travel. This could be a sign of brake
trouble.
Brake Adjustment
Every time you make a brake stop, your disc brakes adjust for wear.
If your brake pedal goes down farther than normal, your rear drum brakes
may need adjustment. Adjust them by backing up and
firmly applying the
brakes a few times.
6-31
Page 276 of 340
Downloaded from www.Manualslib.com manuals search engine If you need to replace any of your wheels, wheel bolts, or wheel nuts,
replace them only with new
GM original equipment parts. This way, you
will be sure to have the right wheel, wheel bolts, and wheel \
nuts for your
GM model.
NOTICE:
The wrong wheel can also cause problems with bearing life,
brake cooling, speedometer/odometer calibration, headlight aim,
bumper height, vehicle ground clearance, and tire or tire chain\
clearance to the body and chassis.
Used Replacement Wheels
6-58
Page 327 of 340
Downloaded from www.Manualslib.com manuals search engine Index
A
Accessory rower Outlets .......................................... 2-51
Aircleaner ..................................................... 6-14
Airconditioning
............................................ 3-4. 6-42
Fanswitch
................................................... 34
Functionhob
................................................ 3-5
Refrigerantcapacity
........................................... 6-78
Antenna. FixedMast
............................................. 3-22
Anti-lock Brakes (See “Brakes”)
Appearancecare
................................................ 6-59
Materials
Chart ............................................... 6-67
Arbitration Program
............................................... 8-3
Audiosystems
................................................... 3-5
AMRadio
.................................................... 3-6
AM-FM Stereo Audio Compact Disc (CD) System
................... 3-17
AM-FM Stereo Audio System
.................................... 3-8
AM-FM Stereo Audio System with Cassette Deck
................... 3-10
AM-FM Stereo Audio System with Cassette Deck and Equalizer ........ 3-13
Anti-Theft System (CD) System)
................................. 3-20
Cassette Tape Player Care
....................................... 3-16
CompactDiscCare
............................................ 3-22
Automatic Transmission
.......................................... 2-16
Axle Fluid
6-15
Front
....................................................... 6-22
Rear
........................................................ 6-20
Temperature Knob
............................................. 3-5
.......................................................
RearLocking ................................................. 2-21
B
Battery ........................................................ 6-32
Belts (See “Safety Belts”)
Better Business Bureau Mediation
.................................... 8-3
Blizzard
....................................................... 4-35
Brakes
Adjustment
................................................... 4-5
Anti-lock
.................................................... 4-6
Anti-lock Warning Light
....................................... 2-60
Fluid
....................................................... 6-30
Four-wheel Anti-lock
.......................................... 4-7
Rear-Wheel Anti-lock
.......................................... 4-7
Leakcheck .................................................. 6-28
Mastercylinder
.............................................. 6-29
Pedal Travel
.................................................. 4-7
RearDrumBrakes
.............................................. 4-7
Replacingparts
............................................... 6-32
System Warning Light
..................................... 2.59. 4-5
Trailer ...................................................... 444
Wear Indicators
................................................ 4-6
Paking
..................................................... 2-16