1994 CHEVROLET S10 service
[x] Cancel search: servicePage 106 of 340
Downloaded from www.Manualslib.com manuals search engine Anti-Lock Brake System Warning Light (Option)
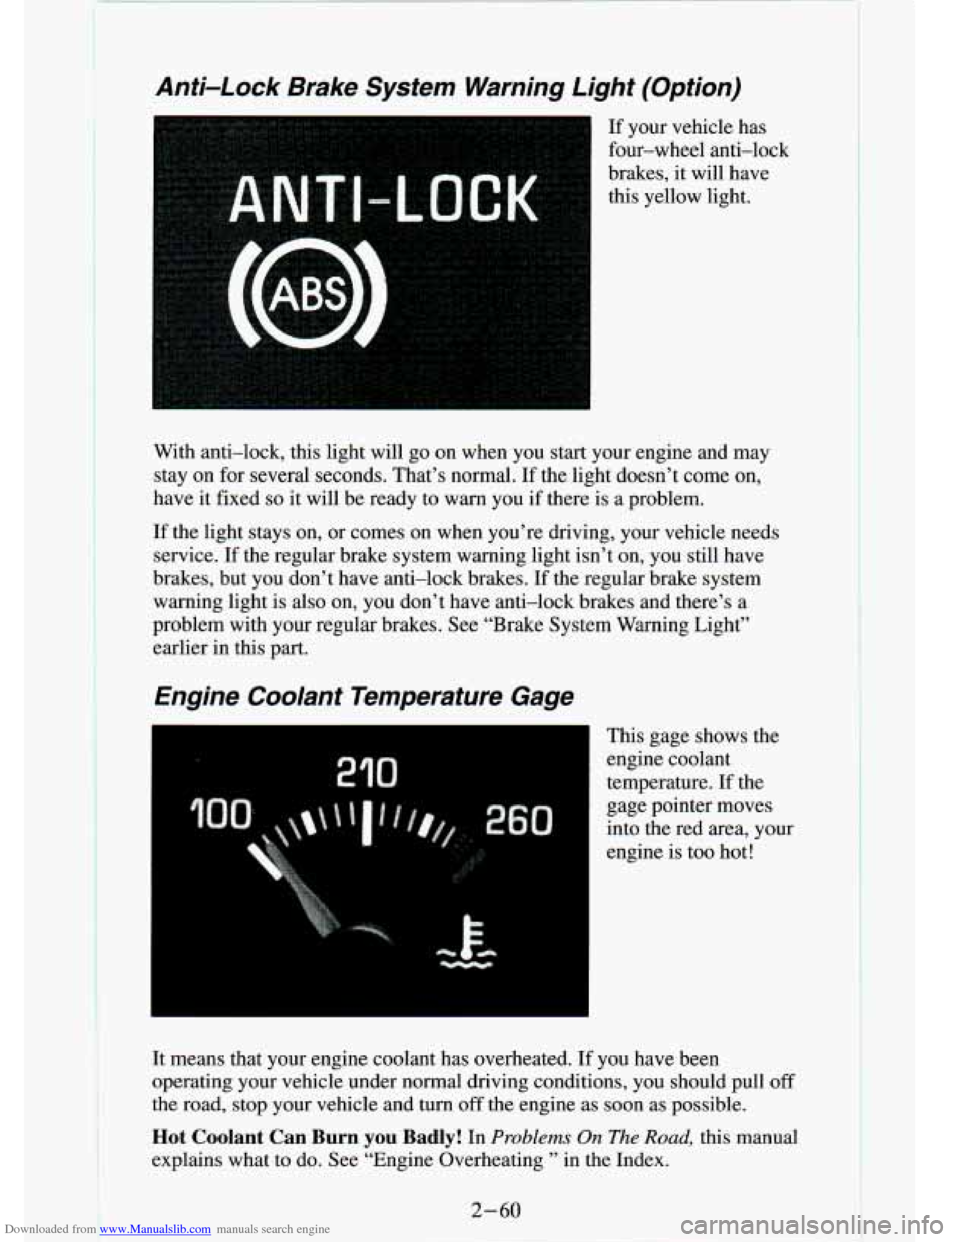
If your vehicle has
four-wheel anti-lock
brakes, it will have
this yellow light.
3
With anti-lock, this light will go on when you start your engine and may
stay on for several seconds. That’s normal. If the light doesn’t come \
on,
have it fixed
so it will be ready to warn you if there is a problem.
If the light stays on, or comes on when you’re driving, your vehic\
le needs
service.
If the regular brake system warning light isn’t on, you still \
have
brakes, but you don’t have anti-lock brakes.
If the regular brake system
warning light is also on, you don’t have anti-lock brakes and there’s a
problem with your regular brakes. See “Brake System Warning Light”
earlier in this part.
Engine Coolant Temperature Gage
I This gage shows the
engine coolant
temperature. If the
gage pointer moves
into the red area, your
engine is too hot!
It means that your engine coolant has overheated. If you have been
operating your vehicle under normal driving conditions, you shou\
ld pull
off
the road, stop your vehicle and turn off the engine as soon as possible.
Hot Coolant Can Burn you Badly! In Problems On The Road, this manual
explains what
to do. See “Engine Overheating ’’ in the Index.
2-60
Page 107 of 340
Downloaded from www.Manualslib.com manuals search engine Malfunction Indicator (Service Engine Soon) Lamp
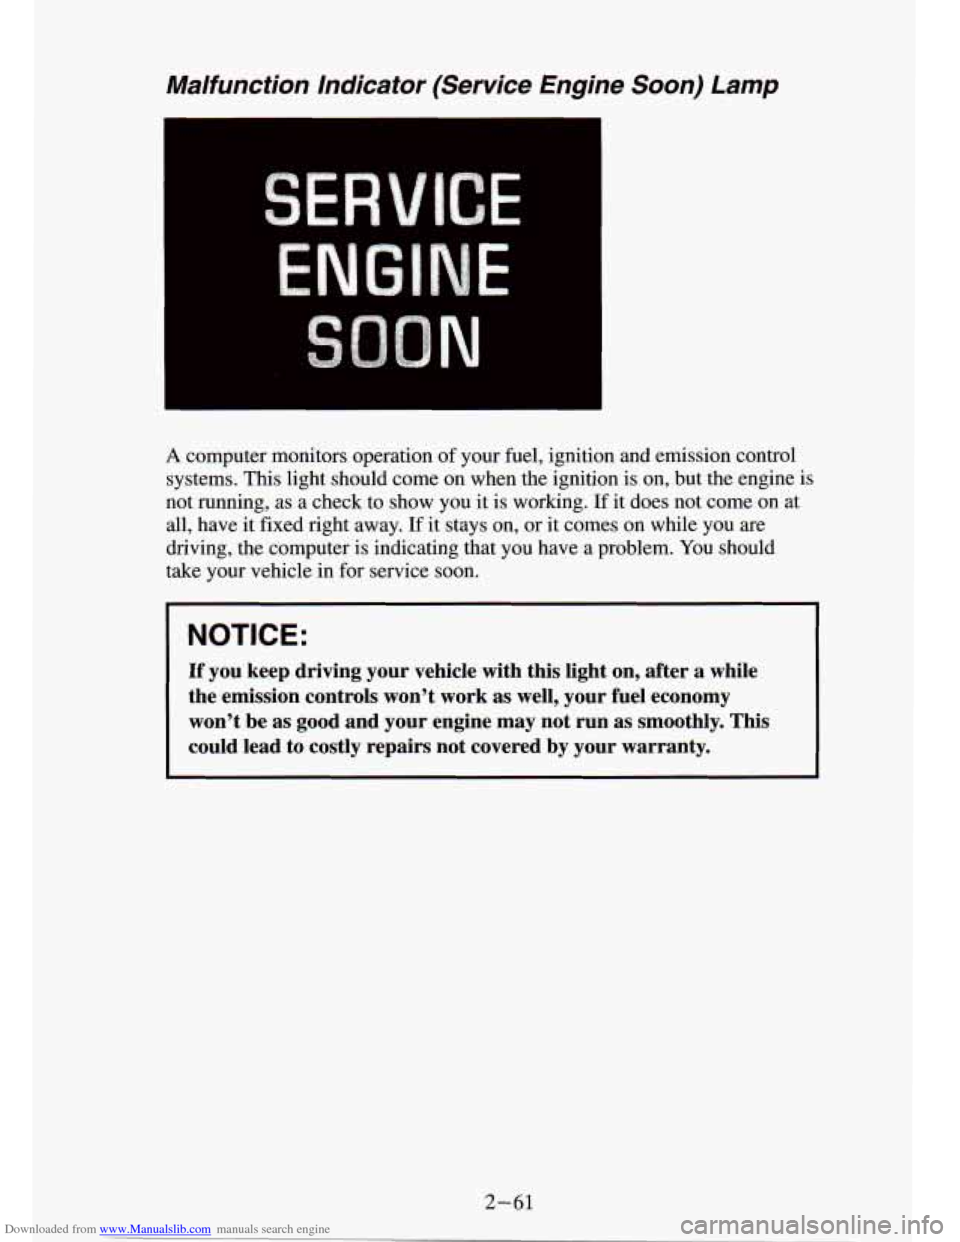
A computer monitors operation of your fuel, ignition and emission control
systems. This light should come on when the ignition
is on, but the engine is
not running, as a check to show you it is working.
If it does not come on at
all, have it fixed right away.
If it stays on, or it comes on while you are
driving, the computer is indicating that you have a problem. You should
take your vehicle in for service soon.
NOTICE:
If you keep driving your vehicle with this light on, after a while
the emission controls won’t work as well, your fuel economy \
won’t be as good and your engine may
not run as smoothly. This
could lead to costly repairs not covered by your warranty.
2-61
Page 113 of 340
Downloaded from www.Manualslib.com manuals search engine Voltmeter
I
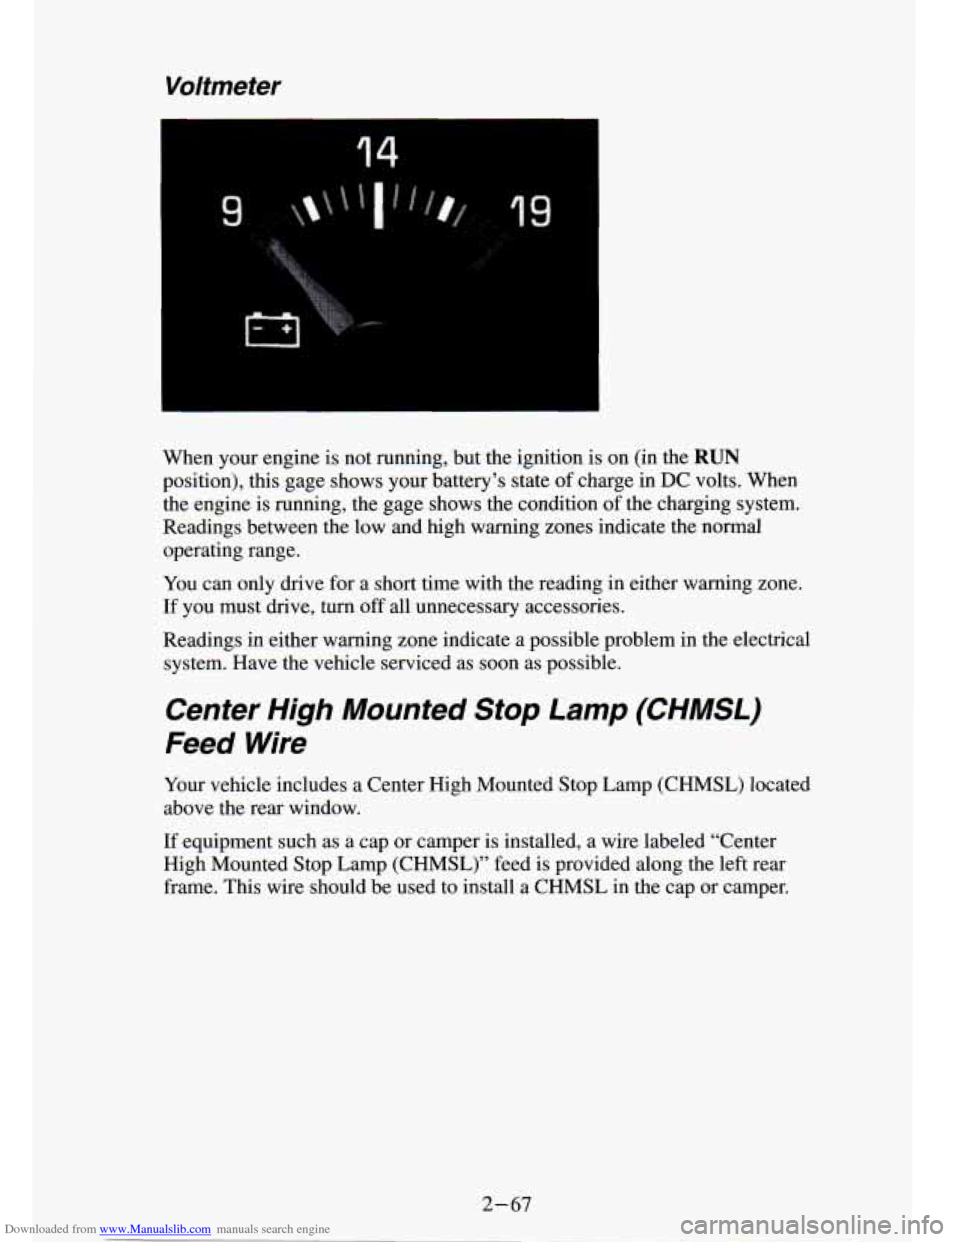
When your engine is not running, but the ignition is on (in \
the RUN
position), this gage shows your battery’s state of charge in DC volts. When
the engine is running, the gage shows the condition of the charging system.
Readings between the low and high warning zones indicate the normal
operating range.
You can only drive for a short time with
the reading in either warning zone.
If you must drive,
turn off all unnecessary accessories.
Readings in either warning zone indicate a possible problem in the electrical
system. Have
the vehicle serviced as soon as possible.
Center High Mounted Stop Lamp (CHMSL)
Feed Wire
Your vehicle includes a Center High Mounted Stop Lamp (CHMSL) located
above the rear window.
If equipment such as a cap or camper is installed, a wire labeled “Center
High Mounted Stop Lamp (CHMSL)” feed is provided along the left rear
frame. This wire should be used to install a CHMSL in the cap or camper.
2-67
Page 114 of 340
Downloaded from www.Manualslib.com manuals search engine Trailer Wiring Harness
Your vehicle may have either a 5-wire or 7-wire harness.
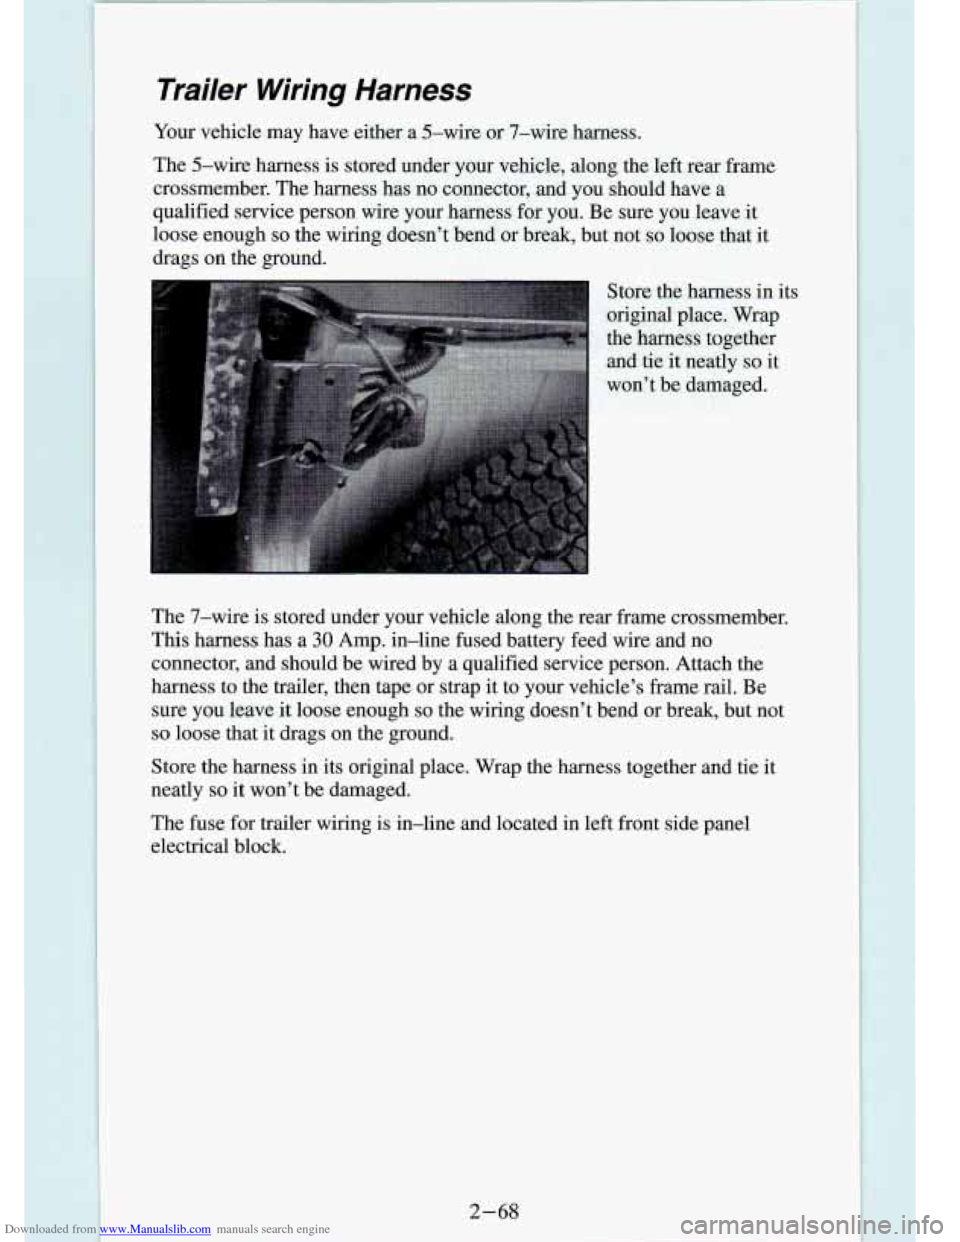
The 5-wire harness is stored under your vehicle, along the left rear frame
crossmember. The harness has no connector, and you should have \
a
qualified service person wire your harness for you. Be sure you leave
it
loose enough so the wiring doesn’t bend or break, but not so loose that it
drags
on the ground.
Store the harness in its
original place. Wrap
the h>arness together
and tie it neatly so it
wm’t be damaged.
The 7-wire is stored under your vehicle along the rear frame erossmember.
This harness has a
30 Amp. in-line fused battery feed wire and no
connector, and should be wired by
a qualified service person. Attach the
harness to the trailer, then tape or strap it to your vehicle’s frame rail. Be
sure you leave it loose enough
so the wiring doesn’t bend or break, but not
so loose that it drags on the ground.
Store the harness in its original place. Wrap the harness together a\
nd tie it
neatly
so it won’t be damaged.
The fuse for trailer wiring is in-line and located in left front side panel
electrical block.
2-68
Page 130 of 340
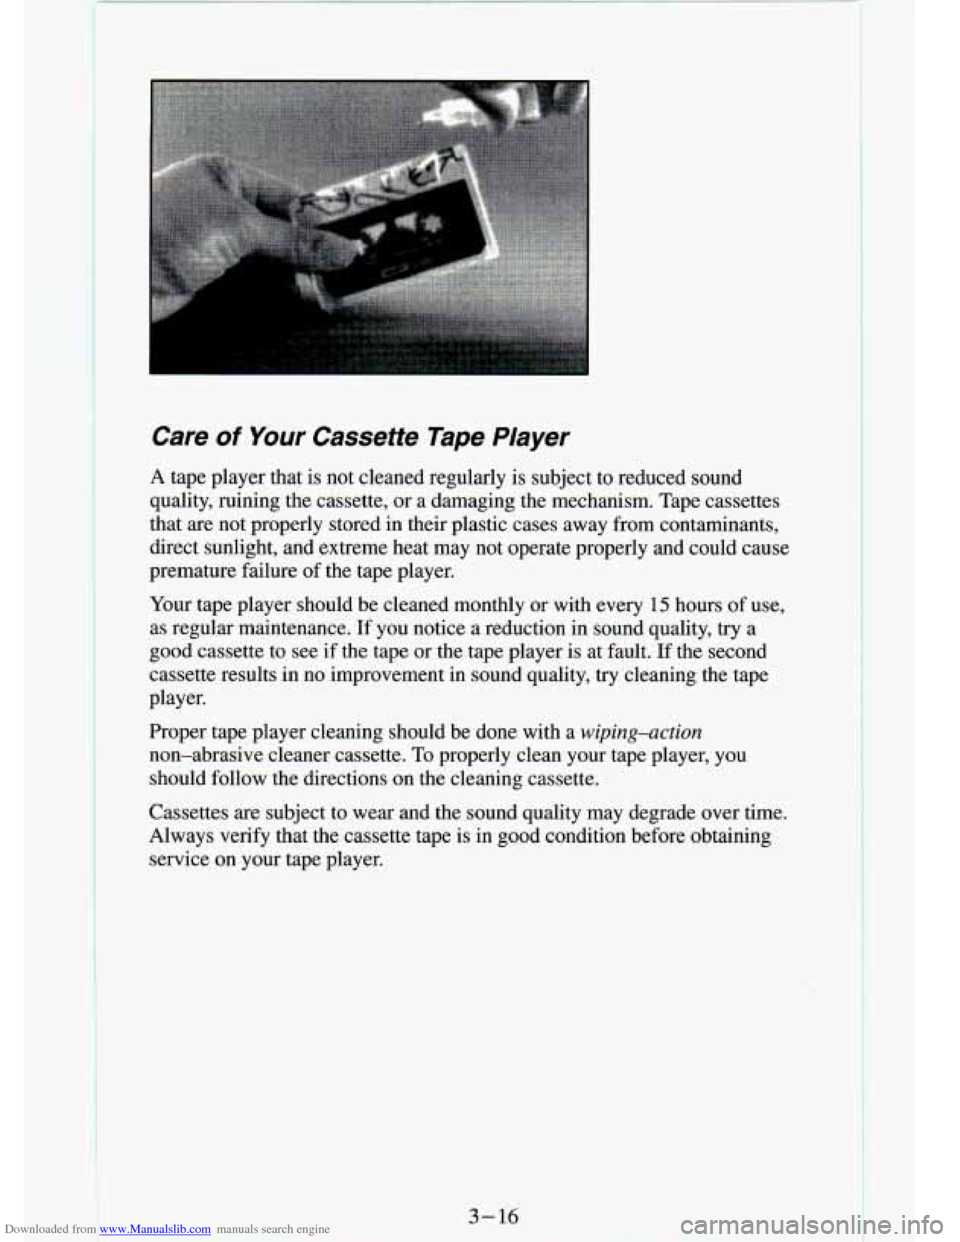
Downloaded from www.Manualslib.com manuals search engine Care of Your Cassette Tape PIayer
A tape player that is not cleaned regularly is subject to reduced sound
quality, ruining the cassette, or
a damaging the mechanism. Tape cassettes
that are not properly stored in their plastic cases away from \
contaminants,
direct sunlight, and extreme heat may not operate properly and could cause
premature failure of the tape player.
Your tape player should be cleaned monthly or with every
15 hours of use,
as regular maintenance. If you notice a reduction in sound quality, try a
good cassette to see
if the tape or the tape player is at fault. If the second
cassette results in
no improvement in sound quality, try cleaning the tape
player.
Proper tape player cleaning should be done with a
wiping-action
non-abrasive cleaner cassette. To properly clean your tape player, you
should follow the directions on the cleaning cassette.
Cassettes are subject to wear and the sound quality may degrad\
e over time.
Always verify that the cassette tape is in good condition befo\
re obtaining service on your tape player.
3-16
Page 149 of 340
Downloaded from www.Manualslib.com manuals search engine While driving on a surrace with reaucea traction, try yo best to a td
sudden steering, acceleration, or braking (including engme braki\
ng DY
shifting to a lower gear). Any sudden changes could cause the tires to slide.
You may not realize the surface is slippery until your vehicle is skidding.\
Learn to recognize warning clues
- such as enough water, ice or packed
snow on the road to make a “mirrored surface”
- and slow down when you
have any doubt.
Remember:
If you have the four-wheel anti-lock braking system, it helps
avoid only the braking skid. The rear-wheel anti-lock braking system helps
avoid only a rear braking skid. In a braking skid (where the\
front wheels are
no longer rolling), release enough pressure on the brakes to \
get the front
wheels rolling again. This restores steering control. Push the brake pedal
down steadily when you have to stop suddenly. As long as the front wheels
are rolling, you will have steering control.
Driving Guidelines
Off-Road Driving with Your Four-wheel
Drive Vehicle
This off-road guide is for vehicles that have four-wheel drive.
Also, see “Anti-lock Brakes’’
in the Index.
If your vehicle doesn’t have four-wheel drive, you shouldn’\
t drive off-road
unless you’re on a level, solid surface.
Off-road driving can be great fun. But it does have some definite hazards.
The greatest of these is the terrain itself.
“Off-roading” means you’ve left the great North American road system
behind. Traffic lanes aren’t marked. Curves aren’t banked. \
There are no
road signs. Surfaces can be slippery, rough, uphill or downhill\
. In short,
you’ve gone right back to nature.
Off-road driving involves some new skills. And that’s why it\
’s very
important that you read this guide. You’ll find many driving tips and
suggestions. These
will help make your off-road driving safer and more
enjoy able.
Before You Go Off-Roading
There are some things to do before you go out. For example, be sure to have
all necessary maintenance and service work done. Be sure
you read all the
information about your four-wheel drive vehicle in this manual. \
Is there
enough fuel?
Is the spare tire fully inflated? Are the fluid levels up where
they should be? What are the local laws that apply to off-roading where
you’ll be driving? If you don’t know, you should check with law
enforcement people in the area. Will you
be on someone’s private land? If
so, be sure to get the necessary permission.
4-13
Page 161 of 340
Downloaded from www.Manualslib.com manuals search engine After Off-Road Driving
Remove any brush or debris that has collected on the underbody, chassis or
under the hood. These accumulations can be a fire hazard.
After operation in mud or sand, have the brake linings cleaned and checked.
These substances can cause glazing and uneven braking. Check th\
e body structure, steering, suspension, wheels, tires, and exhaust syste\
m for
damage. Also, check the fuel lines and cooling system for any leakage.
Your vehicle will require more frequent service due to off-road use.\
Refer
to the Maintenance Schedule booklet for additional information.
Driving at Night
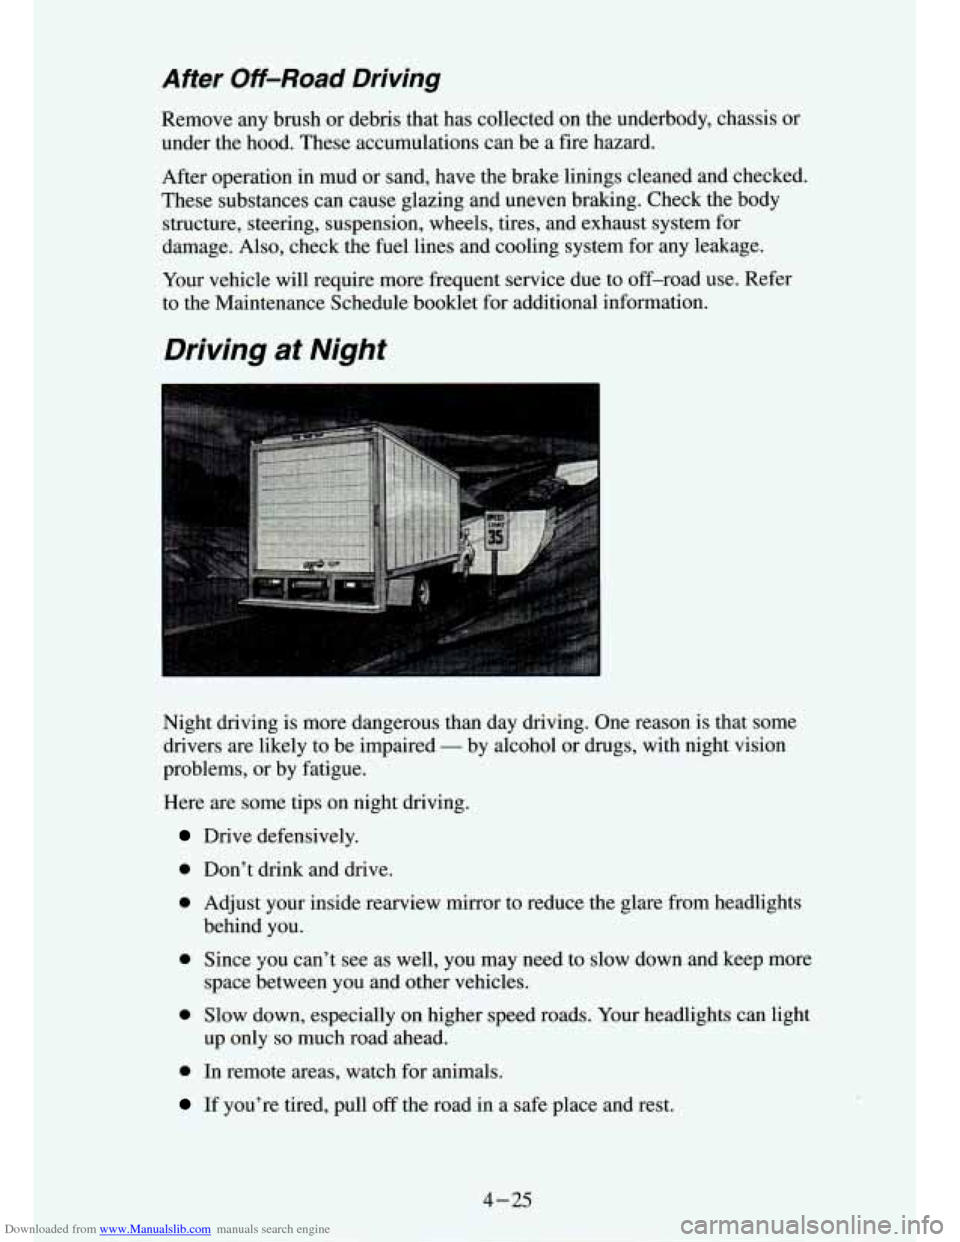
Night driving is more dangerous than day driving. 0 ne reason is that some
drivers are likely to be impaired
- by alcohol or drugs, with night vision
problems,
or by fatigue.
Here are some tips on night driving.
Drive defensively.
0 Don’t drink and drive.
0 Adjust your inside rearview mirror to reduce the glare from ndlights
behind you.
0 Since you can’t see as well, you may need to slow down and keep more
0 Slow down, especially on higher speed roads. Your headlights can light
space between you and other vehicles.
up only
so much road ahead.
0 In remote areas, watch for animals.
If you’re tired, pull off the road in a safe place and rest.
4-25
Page 166 of 340
Downloaded from www.Manualslib.com manuals search engine Once you are moving on the freeway, make certain you allow a reasonable
following distance. Expect to move slightly slower at night.
When you want to leave the freeway, move to the proper lane well in
advance. If you miss your exit do not, under any circumstances, stop and
back up. Drive on to the next exit.
The exit ramp can be curved, sometimes quite sharply.
The exit speed
is usually posted.
Reduce your speed according to your speedometer, not to your s\
ense of
motion. After driving for any distance at higher speeds, you may tend to
think you are going slower than you actually are.
Before Leaving on a Long Trip
Make sure you’re ready. Try to be well rested. If you must start when you’re
not fresh
- such as after a day’s work - don’t plan to make too many
miles that first part of the journey. Wear comfortable clothing and shoes you
can easily drive in.
Is your vehicle ready for a long trip?
If you keep it serviced and maintained,
it’s ready to go. If it needs service, have it done before starting out. Of
course, you’ll find experienced and able service experts in Vehicle
dealerships all across North America. They’ll be ready and w\
illing to help if
you need it.
Here are some things you can check before a trip:
Windshield Washer Fluid: Is the reservoir full? Are all windows clean
inside and outside?
Wiper Blades: Are they in good shape?
Fuel, Engine Oil, Other Fluids: Have you checked all levels?
Lights: Are they all working? Are the lenses clean?
Tires: They are vitally important to a safe, trouble-free trip. Is th\
e tread
good enough for long-distance driving? Are the tires all inflated to the
recommended pressure?
Should you delay your trip a short time to avoid a major storm syst\
em?
Weather Forecasts: What’s the weather outlook along your route?
Maps: Do you have up-to-date maps?
4-30