1994 CHEVROLET CORVETTE ABS
[x] Cancel search: ABSPage 87 of 274
Downloaded from www.Manualslib.com manuals search engine Features and Controls
ABS
ACTIVE
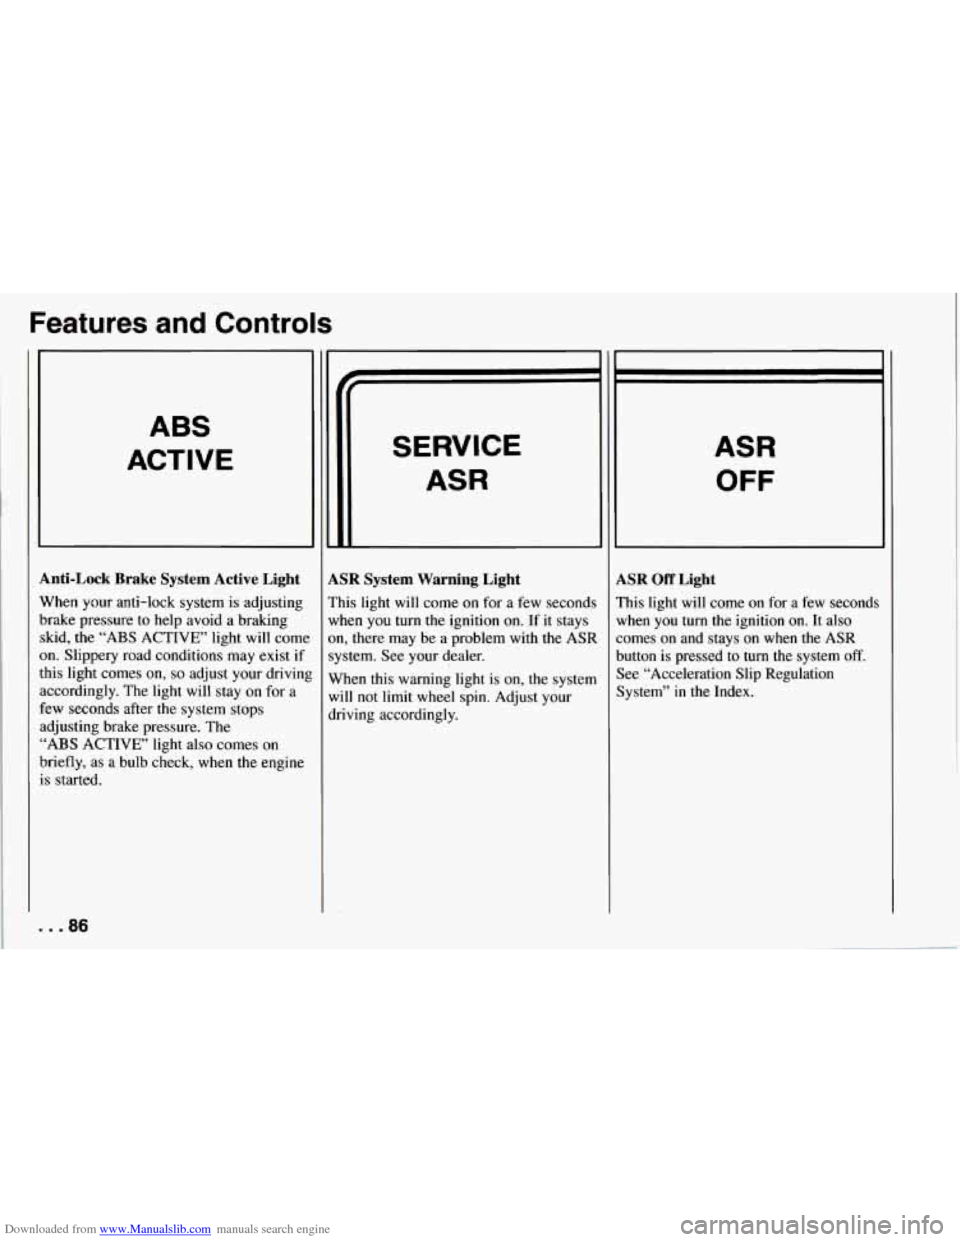
Anti-Lock Brake System Active Light
When your anti-lock system is adjusting
brake pressure to help avoid a braking skid, the
“ABS ACTIVE’ light will come
on. Slippery road conditions may exist if
this light comes
on, so adjust your drivinl
accordingly. The light will stay on for a
few seconds after the system stops
adjusting brake pressure. The
“ABS ACTIVE’ light also comes on
briefly, as a bulb check, when the engine
is started.
. . .86
SERVICE
ASR
LSR System Warning Light
’his light will come on for a few seconds
vhen you turn the ignition on. If it stays
m, there may be a problem with
the ASR
ystem. See your dealer.
Vhen this warning light is on, the system
vi11 not limit
wheel spin. Adjust your
lriving accordingly.
ASR
OFF
LSR Off Light
’his light will come on for a few seconds
lrhen you turn the ignition
on. It also
omes on and stays on when the ASR
lutton is pressed to turn the system
off.
lee “Acceleration Slip Regulation
lystem” in the Index.
Page 126 of 274
Downloaded from www.Manualslib.com manuals search engine This is a mistake. Your brakes may not
have time to cool between hard stops.
Your brakes will wear out much faster if
you do a lot
of heavy braking. If you keep
pace with the traffic and allow realistic
following distances, you will eliminate a
lot of unnecessary braking. That means
better braking and longer brake life.
If your engine ever stops while you’re
driving, brake normally but don’t pump
your brakes. If you do, the pedal may get
harder to push down. If your engine stops,
you will still have some power brake
assist. But you will use it
when you brake.
Once the power assist is used up, it may
take longer to stop and the brake pedal
will be harder to push.
SERVICE
I
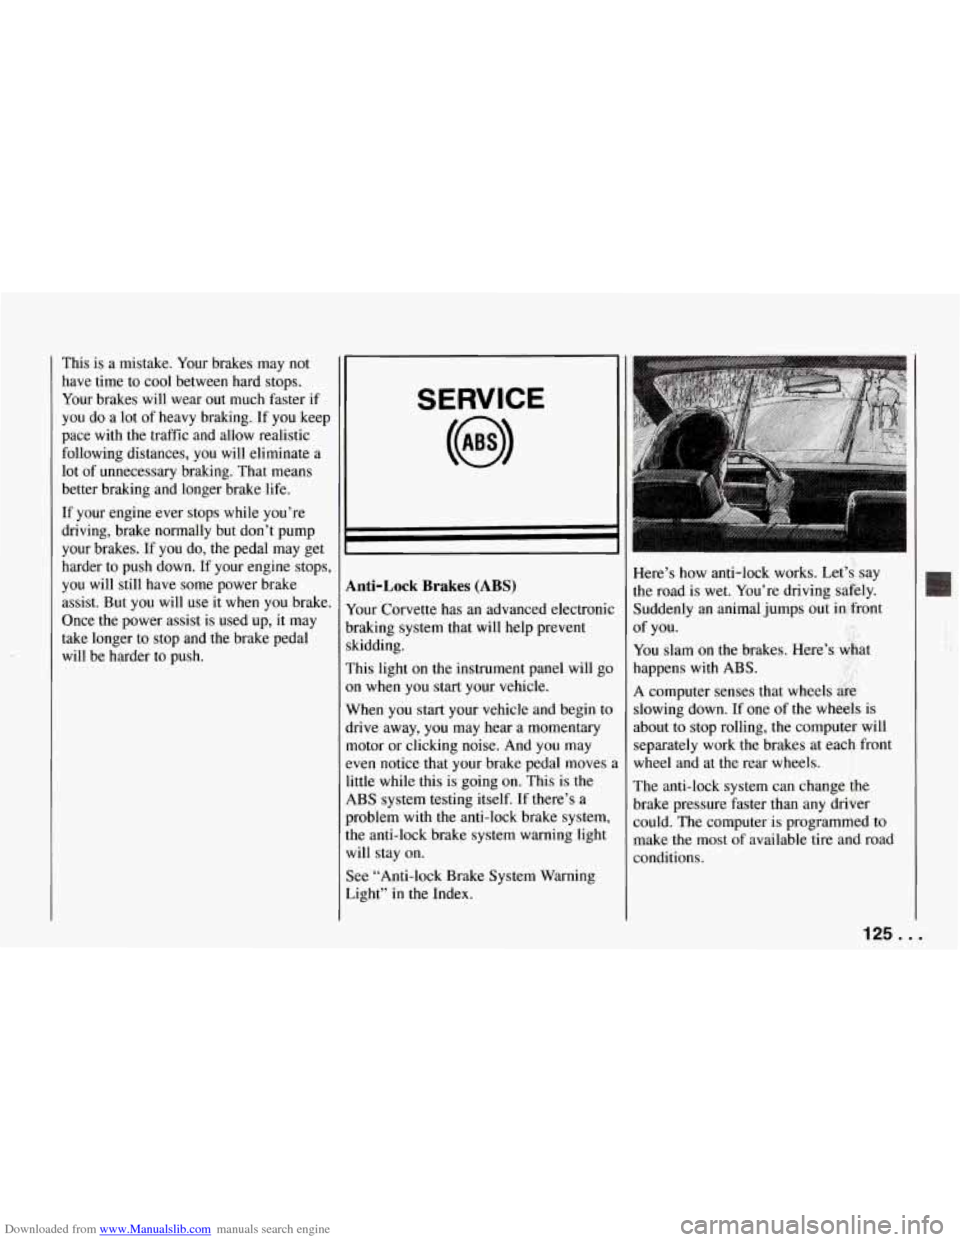
Anti-Lock Brakes (ABS)
Your Corvette has an advanced electronic
braking system that will help prevent
skidding.
This light on the instrument panel will go
on when you start your vehicle.
When you start your vehicle and begin to
drive away, you may hear a momentary
motor or clicking noise. And you may
even notice that your brake pedal moves
,
little while this is going on. This is the
ABS system testing itself. If there’s a
problem with the anti-lock brake system,
the anti-lock brake system warning light
will stay on.
See “Anti-lock Brake System Warning
Light” in the Index. Here’s how anti-lock works. Let’s, say
the road
is wet. You’re driving safely.
Suddenly an animal jumps out in front
You slam on the brakes. Here’s &at
happens with
ABS. ..
A computer senses that wheels &g,
slowing down. If one of the wheels is
about to stop rolling, the computer will
separately work the brakes at each front
wheel and at the rear wheels.
The anti-lock system can change
the
brake pressure faster than any driver
could. The computer is programmed to
make the most of available tire and road
conditions. of
you.
125..,
Page 127 of 274
Downloaded from www.Manualslib.com manuals search engine Your Driving and the Road
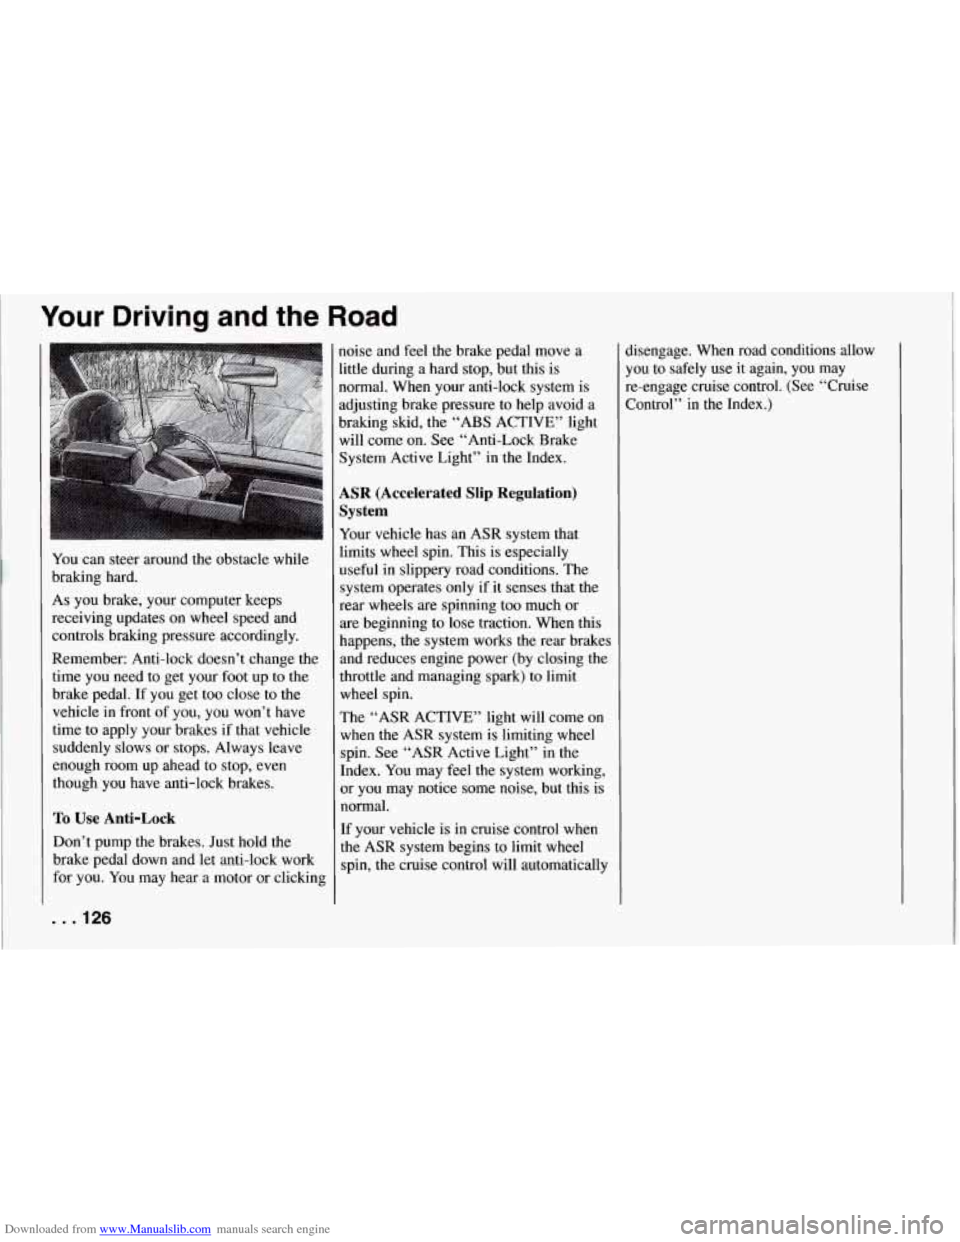
You can steer around the obstacle while
braking hard.
As you brake, your computer keeps
receiving updates on wheel speed and
controls braking pressure accordingly.
Remember: Anti-lock doesn’t change the
time you need to get your foot up to the
brake pedal.
If you get too close to the
vehicle
in front of you, you won’t have
time to apply your brakes if that vehicle
suddenly slows or stops. Always leave
enough room up ahead to stop, even
though you have anti-lock brakes.
To Use Anti-Lock
Don’t pump the brakes. Just hold the
brake pedal down and let anti-lock work
for you. You may hear a motor or clicking
. . .I26
noise and feel the brake pedal move a
little during a hard stop, but this is
normal. When your anti-lock system is
adjusting brake pressure to help avoid a
braking skid, the “ABS ACTIVE” light
will come on. See “Anti-Lock Brake
System Active Light” in the Index.
ASR (Accelerated Slip Regulation)
System
Your vehicle has an ASR system that
limits wheel spin. This is especially
useful in slippery road conditions. The
system operates only if it senses that the
rear wheels are spinning too much or
are beginning to lose traction. When this
happens, the system works
the rear brakes
and reduces engine power (by closing the
throttle and managing spark) to limit
wheel spin.
The “ASR ACTIVE” light will come on
when the ASR system is limiting wheel
spin. See “ASR Active Light”
in the
Index. You may feel the system working,
or you may notice some noise, but this is
normal.
If your vehicle is in cruise control when
the ASR system begins to limit wheel
spin, the cruise control will automatically disengage. When road conditions allow
you to safely use it again, you may
re-engage cruise control. (See “Cruise
Control” in the Index.)
Page 132 of 274
Downloaded from www.Manualslib.com manuals search engine While driving on a surface with reduced
traction, try your best to avoid sudden steering, acceleration, or braking
(including engine braking by shifting to
a lower gear). Any sudden changes could
cause the tires to slide.
You may not
realize the surface is slippery until your vehicle is skidding. Learn to recognize
warning clues
- such as enough water,
ice or packed snow on the road to make a
“mirrored surface”
- and slow down
when you have any doubt.
Remember: Any anti-lock braking system (ABS) helps avoid only the braking skid.
I
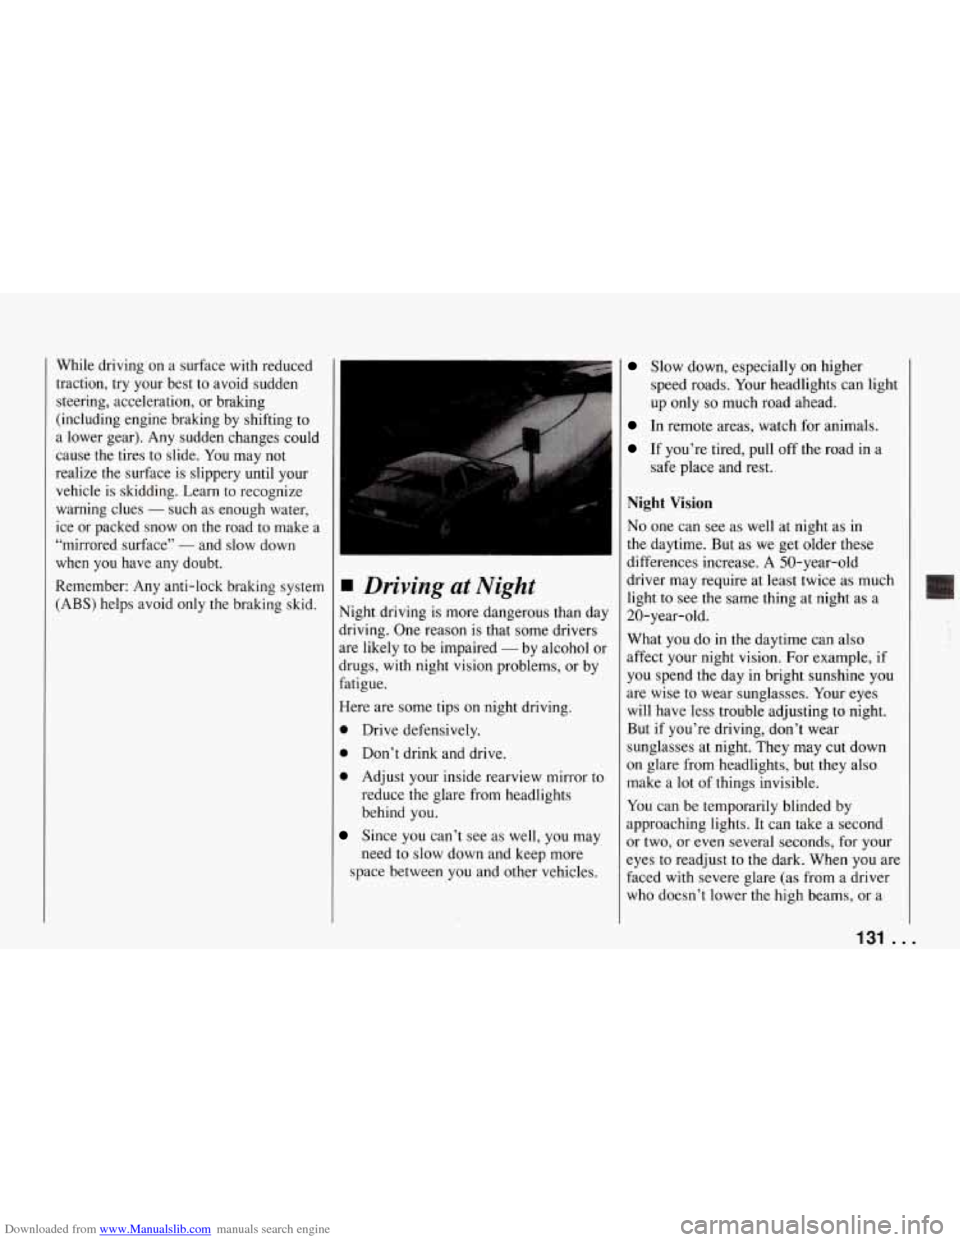
1 Driving at Night
Night driving is more dangerous than day
driving. One reason is that some drivers
are likely to be impaired
- by alcohol or
drugs, with night vision problems, or by
fatigue.
Here are some tips on night driving.
0 Drive defensively.
0 Don’t drink and drive.
0 Adjust your inside rearview mirror to
reduce the glare from headlights
behind you.
Since you can’t see as well, you may
need to slow down and keep more
space between you and other vehicles.
Slow down, especially on higher
speed roads. Your headlights can light
up only
so much road ahead.
In remote areas, watch for animals.
If you’re tired, pull off the road in a
safe place and rest.
Night Vision
No one can see as well at night as in
the daytime. But as we get older these
differences increase.
A 50-year-old
driver may require at least twice as much
light to see the same thing at night as a
20-year-old.
What you do in the daytime can also
affect your night vision. For example, if
you spend the day in bright sunshine you
are wise to wear sunglasses. Your eyes
will have less trouble adjusting to night.
But if you’re driving, don’t wear
sunglasses at night. They may cut down
on glare from headlights, but they also
make a lot of things invisible.
You can be temporarily blinded by
approaching lights. It can take
a second
or two, or even several seconds, for your
eyes to readjust to the dark. When you are
faced with severe glare (as from a driver
who doesn’t lower the high beams, or a
131 ..
Page 185 of 274

Downloaded from www.Manualslib.com manuals search engine Service and Appearance Care
5.
0
0
Reverse the steps.
Align the tabs
to the slots in the
bottom of the assembly before you
replace it.
Install the short knob into the middle
hole first. Then install the longer
knobs into the outer holes.
Automatic Transmission Fluid
When to Check and Change
4 good time to check your automatic
:ransmission fluid level is when the
mgine oil is changed. Refer to the
Maintenance Schedule to determine when
co change your fluid. See “Scheduled
Maintenance Services” in the Index.
How to Check
Because this operation can be a little
iifficult, you may choose to have this
done at a Chevrolet dealership Service
Department.
[f you do it yourself, be sure to follow all
the instructions here, or you could get a
false reading on the dipstick.
NOTICE:
Too much or too little fluid can dam-
age your transmission.
Too much can
mean that some of the fluid could
come out and fall
on hot engine parts
or exhaust system, starting a fire. Be
sure to get an accurate reading if you
check your transmission fluid. Wait
at least 30 minutes before checking
the transmission fluid level if you have
been driving:
0 When outside temperatures are above
0 At high speed for quite a while.
0 In heavy traffic - especially in hot
To get the right reading, the fluid should
be at normal operating temperature, which is
180°F to 200°F (82°C to 93°C).
To check transmission fluid hot: Get
the vehicle warmed up by driving
about
15 miles (24 km) when outside
temperatures are above
50°F (10°C). If
it’s colder than
50°F (10°C)’ drive the
vehicle in
“D’ (Third Gear) until the
engine temperature gage moves and then
remains steady for ten minutes. Then follow the hot check procedures.
To check transmission fluid cold: A cold
check is made after the vehicle has been sitting for eight hours or more with the
engine
off and is used only as a reference.
Let the engine run at idle for five minutes
if outside temperatures are 50” F ( 1 OOC)
or more. If it’s colder than 50°F ( 10°C)’
you may have to idle the engine longer.
Should the fluid level be low during a
90°F (32°C).
weather.
. . .184
Page 194 of 274
Downloaded from www.Manualslib.com manuals search engine Brake Master Cylinder
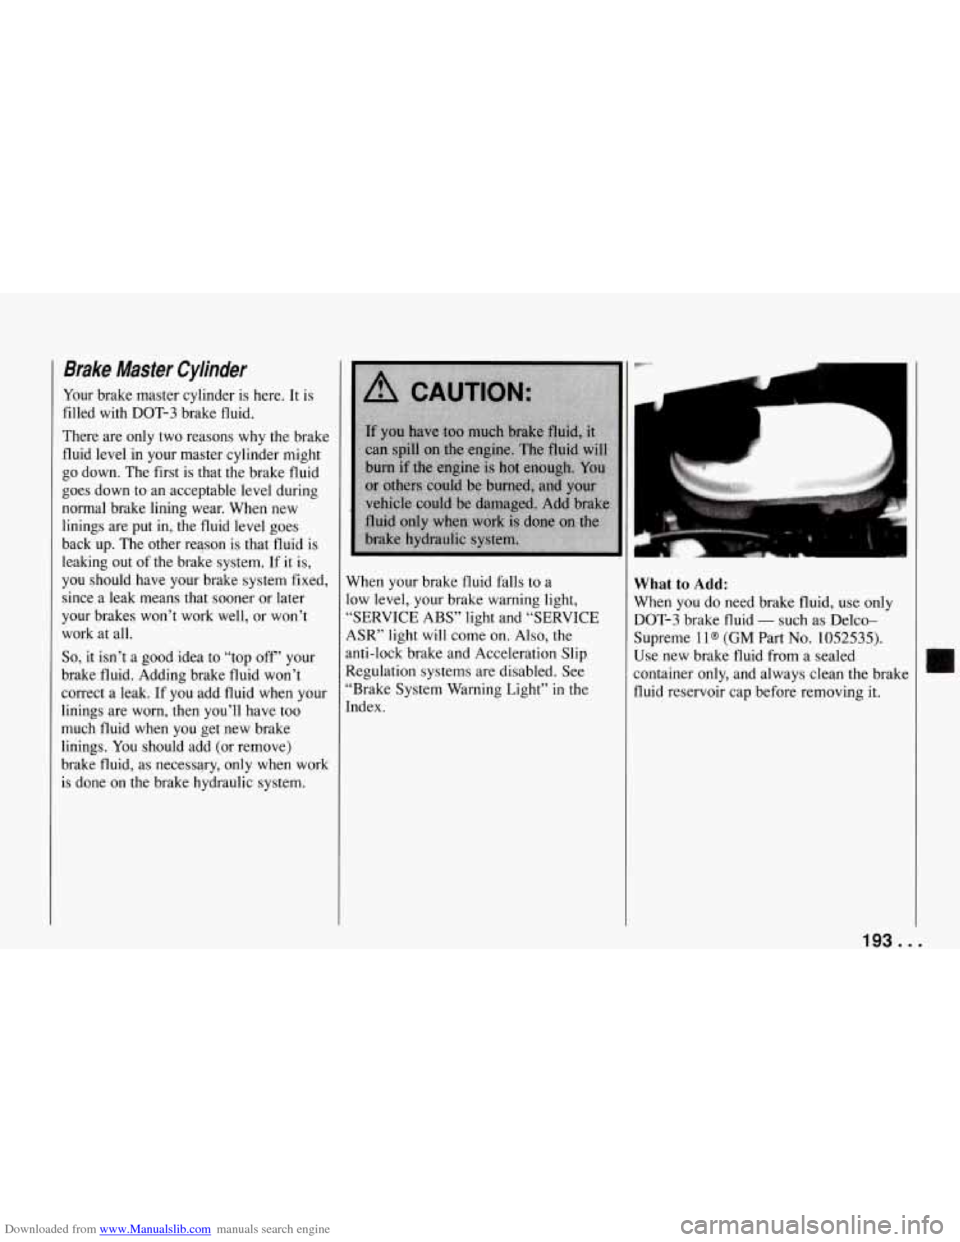
Your brake master cylinder is here. It is
filled with DOT-3 brake fluid.
There are only two reasons why the brake
fluid level in your master cylinder might
go down. The first is that the brake fluid
goes down to an acceptable level during
normal brake lining wear. When new
linings are put in, the fluid level goes
back up. The other reason is that fluid is
leaking out of the brake system.
If it is,
you should have your brake system fixed,
since a leak means that sooner or later
your brakes won’t work well, or won’t work at all.
So, it isn’t a good idea to “top off’ your
brake fluid. Adding brake fluid won’t
correct a leak. If you add fluid when your
linings are worn, then you’ll have too
much fluid when you get new brake
linings. You should add (or remove)
brake fluid, as necessary, only when work
is done on the brake hydraulic system. When your brake fluid falls to a
low level, your brake warning light,
“SERVICE ABS” light and “SERVICE
ASR” light will come on. Also, the
anti-lock brake and Acceleration Slip
Regulation systems are disabled. See
“Brake System Warning Light” in the
Index.
What to Add:
When you do need brake fluid, use only
DOT-3 brake fluid
- such as Delco-
Supreme
1 l@ (GM Part No. 1052535).
Use new brake fluid from a sealed
container only, and always clean the brak
fluid reservoir cap before removing it.
193 ...
Page 198 of 274
Downloaded from www.Manualslib.com manuals search engine Front Turn Signal
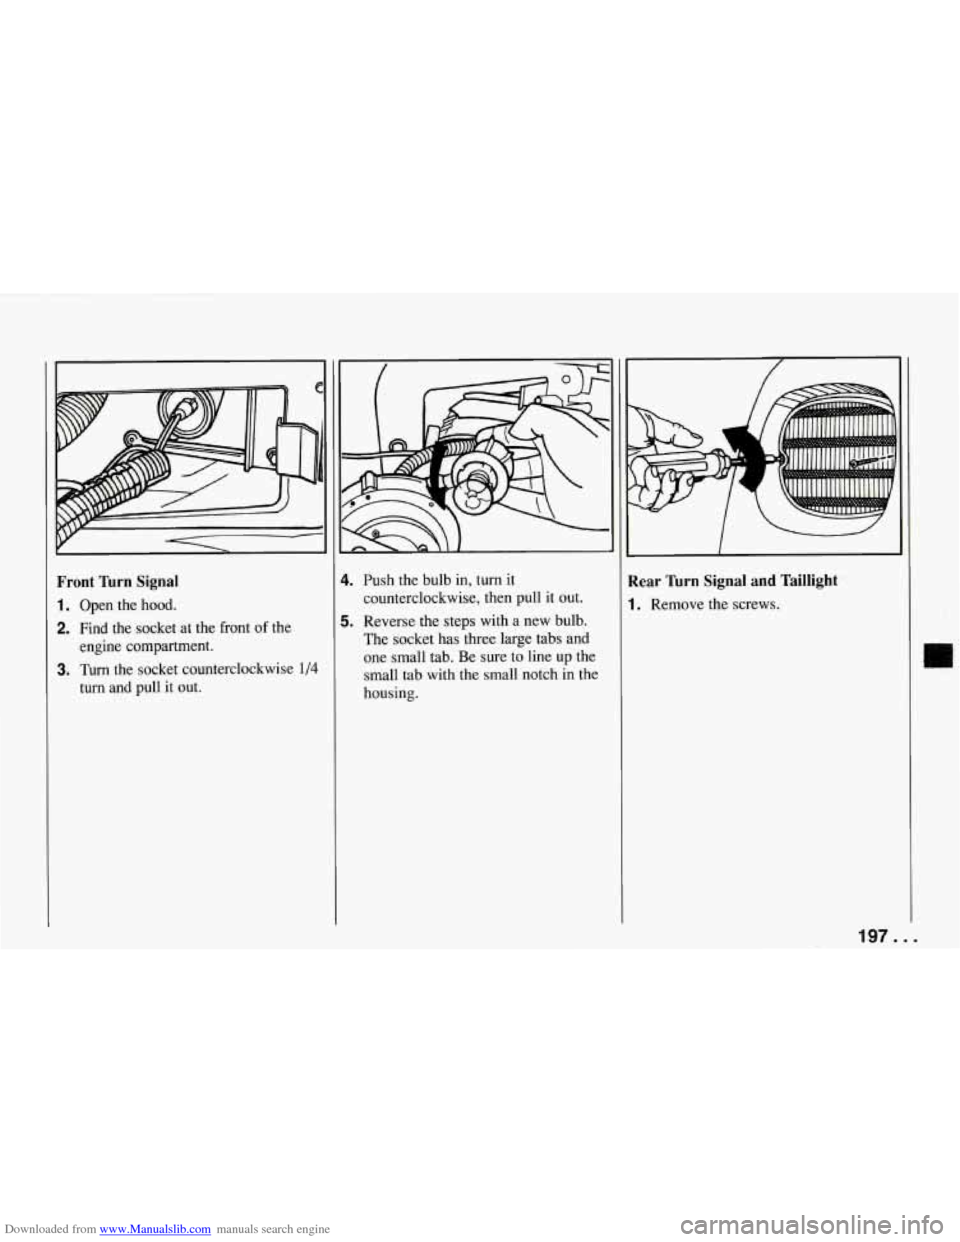
1. Open the hood.
2. Find the socket at the front of the
engine compartment.
turn and pull it out.
3. Turn the socket counterclockwise 1/4
4.
5.
Push the bulb in, turn it
counterclockwise, then pull it out.
Reverse the steps with a new bulb.
The socket has three large tabs and
one small tab. Be sure
to line up the
small tab with the small notch in the
housing.
.A
Rear 'hrn Signal and Taillight
1. Remove the screws.
197.
I1
..
Page 221 of 274

Downloaded from www.Manualslib.com manuals search engine Service and Appearance Care
I EoA7 I
POWER WINDOW
lu
D
.
Instrument Panel Fuse Block
1 - A/C Module (5 Amp)
2 - Blank
3 - Windshield WiperNVasher Switch
4 - Radio Receiver Box (Ignition)
5 - Heated Mirrors (5 Amp.)
6 - Taillight, Daytime Running Lights
Module (15 Amp.)
Assembly
(30 Amp.)
(5 Amp.)
7 - Horn Relay
(15 Amp.)
*Export Horn
(20 Amp.)
8 - Hazard Flashers; Brake Switch
(20 Amp.)
9 - Crank-Air Bag (5 Amp.)
10 - Crank-Parmeutral Shitch
(Automatic); Clutch (Manual)
(5 Amp.)
11 - RH Illumination (5 Amp.)
12 - LH Illumination (5 Amp.)
13 - Console Illumination (5 Amp.)
14 - Fuel Pump 1 (10 Amp.)
15 - Fuel Pump 2 (LT5) (IO Amp.)
16 - Central Control Module; Daytime
Running Lights Module
(5 Amp.)
17 - Generator; Vacuum Pump (LT5);
Valet Mode (LT5); EGR Circuit
(LT5); Oxygen Sensors (LT5)
(10 Amp.)
and A/C Control Head; Heater and
A/C Programmer; Rear Defog
Relay
(10 Amp.)
19 - Utility Plug (15 Amp.)
20 - Heated Oxygen Sensors (LT1)
(15 Amp.)
21 - Fuel Pump Relay Coil #2 (LT5);
Selective Ride Control Module;
ABS Module; Transmission Clutch
Control Switch (Automatic);
Air Pump Relay; Diverter Valve;
Secondary Bypass Valve (LT5)
(10 Amp.)
22 - Injectors #1,4,6,7 (LT1); Primary
Injectors #1-8 (LT5); Ignition Coil
Module (LT5); Ignition Coil Plate
Connector (LT5) (10 Amp.)
18 - A/C Compressor Clutch; Heater
. . .220