1994 CHEVROLET CORVETTE warning
[x] Cancel search: warningPage 189 of 274
Downloaded from www.Manualslib.com manuals search engine Service and Appearance Care
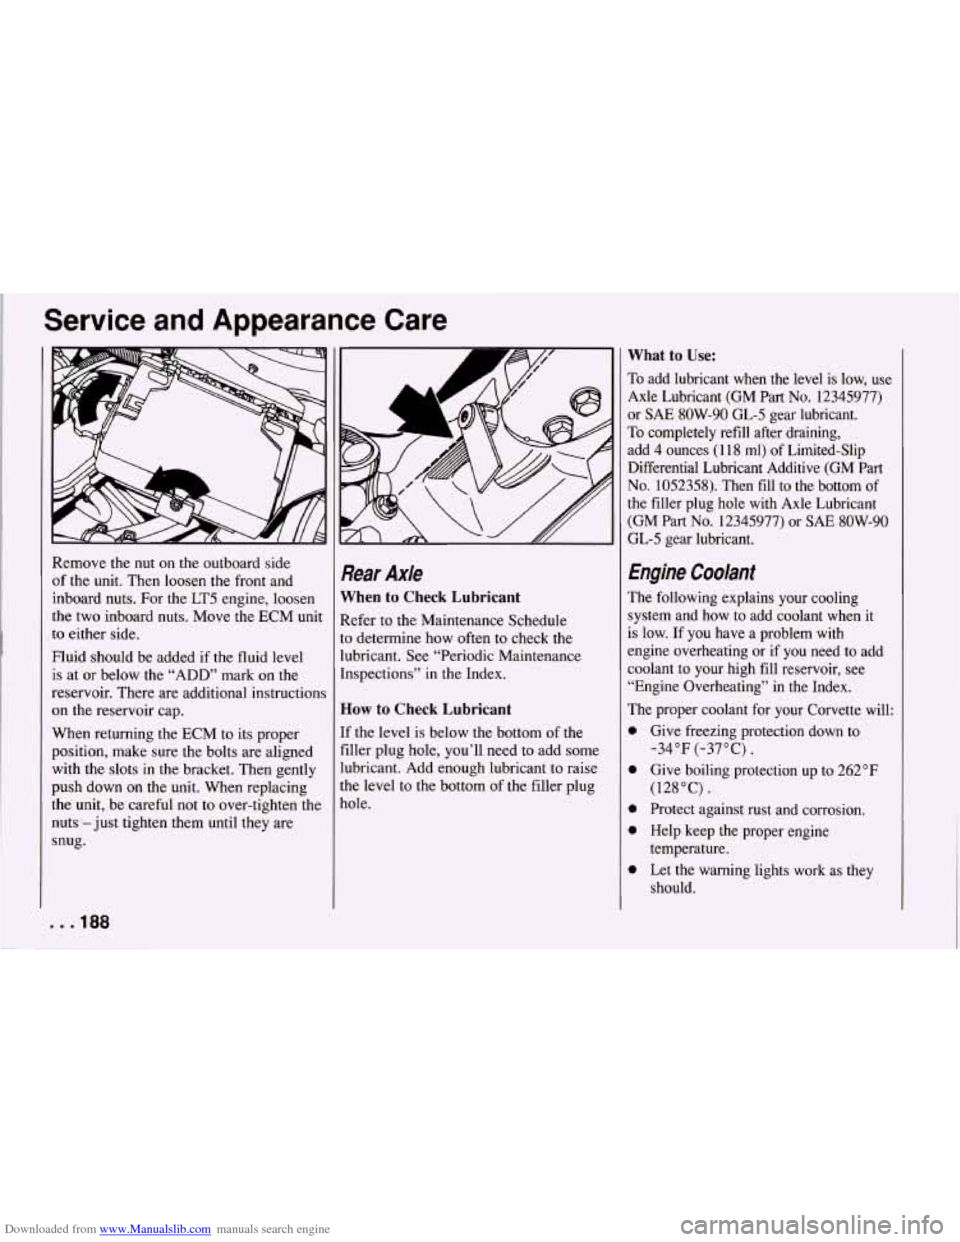
Remove the nut on the outboard side
of the unit. Then loosen the front and
inboard nuts. For the LT5 engine, loosen
the two inboard nuts. Move the ECM unit
to either side.
Fluid should be added if the fluid level
is at or below the “ADD” mark on the
reservoir. There are additional instructions
on the reservoir cap.
When returning the ECM to its proper
position, make sure the bolts are aligned
with the slots in the bracket. Then gently
push down on the unit. When replacing
the unit, be careful not to over-tighten the
nuts -just tighten them until they are
snug.
. . * 188
Rear Axle
When to Check Lubricant
Refer to the Maintenance Schedule
to determine how often to check the
lubricant. See “Periodic Maintenance
Inspections” in the Index.
How to Check Lubricant
If the level is below the bottom of the
filler plug hole, you’ll need to add some
lubricant. Add enough lubricant to raise
the level to the bottom of the filler plug
hole.
What to Use:
To add lubricant when the level is low, use
Axle Lubricant (GM Part
No. 12345977)
or
SAE 8OW-90 GL-5 gear lubricant.
To completely refill after draining,
add 4 ounces (1 18 ml) of Limited-Slip
Differential Lubricant Additive (GM Part
No. 1052358). Then fill to the bottom of
the filler plug hole with Axle Lubricant
(GM Part
No. 12345977) or SAE 8OW-90
GL-5 gear lubricant.
Engine Coolant
The following explains your cooling
system and how to add coolant when
it
is low. If you have a problem with
engine overheating or
if you need to add
coolant to your high fill reservoir, see
“Engine Overheating” in the Index.
The proper coolant for your Corvette will:
0
0
0
0
0
Give freezing protection down to -34°F (-37°C).
Give boiling protection up to 262°F
(128°C).
Protect against rust and corrosion.
Help keep the proper engine
temperature.
Let the warning lights work as they
should.
Page 194 of 274
Downloaded from www.Manualslib.com manuals search engine Brake Master Cylinder
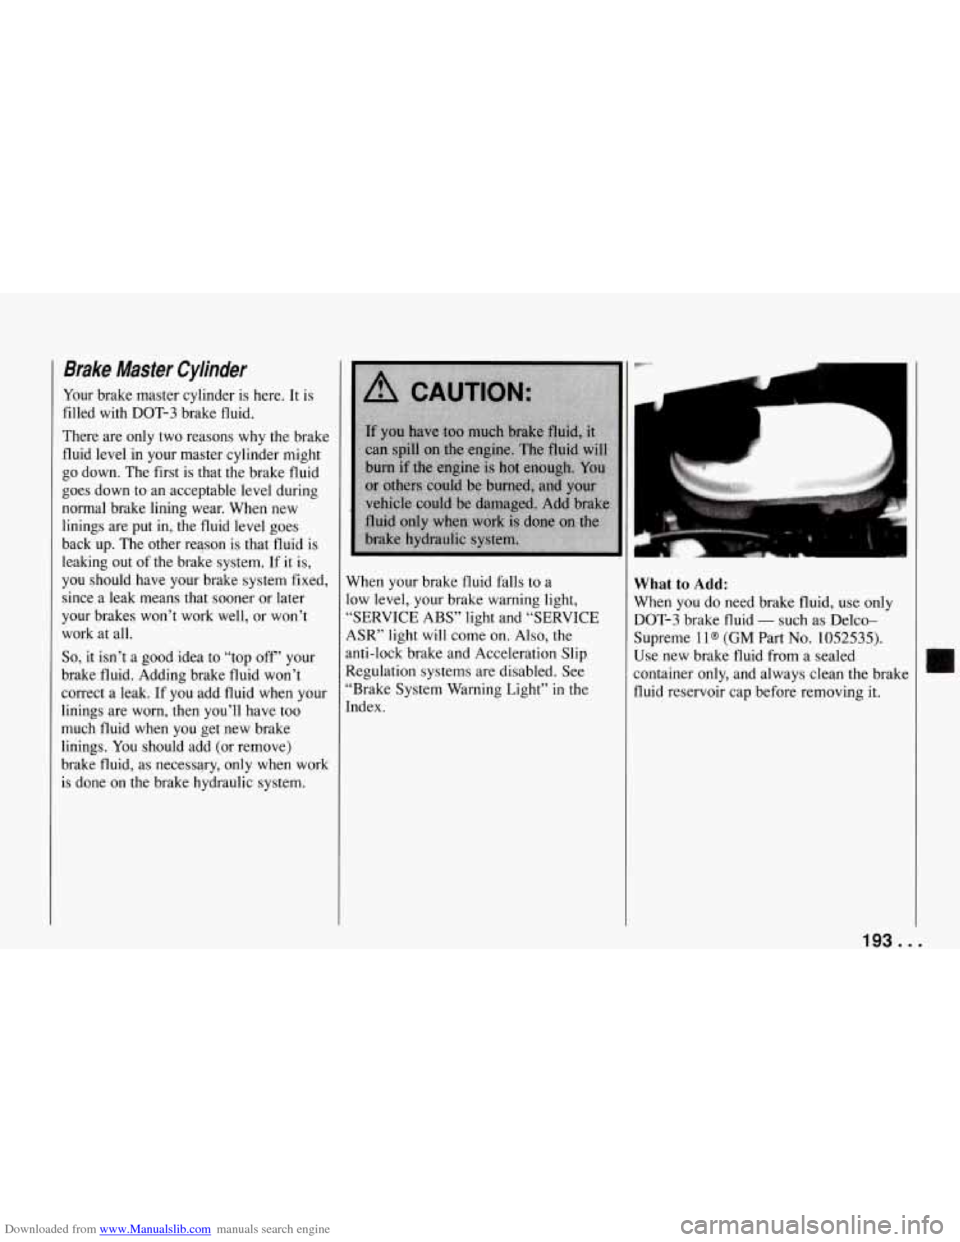
Your brake master cylinder is here. It is
filled with DOT-3 brake fluid.
There are only two reasons why the brake
fluid level in your master cylinder might
go down. The first is that the brake fluid
goes down to an acceptable level during
normal brake lining wear. When new
linings are put in, the fluid level goes
back up. The other reason is that fluid is
leaking out of the brake system.
If it is,
you should have your brake system fixed,
since a leak means that sooner or later
your brakes won’t work well, or won’t work at all.
So, it isn’t a good idea to “top off’ your
brake fluid. Adding brake fluid won’t
correct a leak. If you add fluid when your
linings are worn, then you’ll have too
much fluid when you get new brake
linings. You should add (or remove)
brake fluid, as necessary, only when work
is done on the brake hydraulic system. When your brake fluid falls to a
low level, your brake warning light,
“SERVICE ABS” light and “SERVICE
ASR” light will come on. Also, the
anti-lock brake and Acceleration Slip
Regulation systems are disabled. See
“Brake System Warning Light” in the
Index.
What to Add:
When you do need brake fluid, use only
DOT-3 brake fluid
- such as Delco-
Supreme
1 l@ (GM Part No. 1052535).
Use new brake fluid from a sealed
container only, and always clean the brak
fluid reservoir cap before removing it.
193 ...
Page 195 of 274

Downloaded from www.Manualslib.com manuals search engine Service and Appearance Care
NOTICE:
Don’t let someone put in the
wrong kind of fluid. For example,
just a few drops of mineral-based
oil, such as engine oil, in your
brake system can damage brake
system parts
so badly that they’ll
have to be replaced.
Brake fluid can damage paint,
so
be careful not to spill brake fluid
on your vehicle. If you
do, wash it
off immediately. See “Appearance
Care” in the Index.
Brake Wear
Your Corvette has four-wheel disc brakes.
Disc brake pads have built-in wear
indicators that make a high-pitched
warning sound when the brake pads are
worn and new pads are needed. The
sound may come and go or be heard all
the time your vehicle is moving (except
when you are pushing
on the brake pedal
firmly).
I NOTICE:
I
Continuing to drive with worn-out
brake pads could result in costly brake repair.
Some driving conditions or climates may
cause a brake squeal when the brakes are
first applied or lightly applied. This does not mean something is wrong with your
brakes. Brake linings should always be
replaced as complete axle sets.
Brake Pedal Travel
See your dealer if the brake pedal does
not return to normal height, or if there is
a rapid increase in pedal travel. This
could be a sign of brake trouble.
Brake Adjustment
As you make brake stops, your disc
brakes automatically adjust for wear.
Replacing Brake System Parts
The braking system on a modern vehicle
is complex. Its many parts have to be of
top quality and work well together
if the
vehicle is to have really good braking.
Vehicles we design and test have
top-quality GM brake parts in them, as
your Corvette does when it is new. When
you replace parts of your braking system
- for example, when your brake linings
wear down and you have to have new
ones put in
- be sure you get new
genuine GM replacement parts. If you
don’t, your brakes may no longer work
properly. For example,
if someone puts
in brake linings that are wrong for your
vehicle, the balance between your front
and rear brakes can change, for the worse. The braking performance you’ve come to
expect can change in many other ways
if
someone puts in the wrong replacement
brake parts.
. . .I94
Page 206 of 274
Downloaded from www.Manualslib.com manuals search engine Extended Mobility Tires (omoiv)
If your Corvette has optional Goodyear
Extended Mobility Tires (EMT’s), the tires will have “EMT” molded on the
sidewalls. These tires perform
so well
without any air that a Low Tire Pressure
Warning System (LTPWS)
is used to
alert you if a tire has lost pressure.
A
“LOWELAT TIRE” light will appear on
your Driver Information Center if a tire’s
inflation pressure is less than
25 psi
(1 70 kPa). If the “LOWELAT TIRE”
light comes on, check your tire pressures
as soon as you can. See “Low Tire
Pressure Warning System” in
the Index
for additional information.
If a tire goes flat, you won’t need to stop
on the side of the road to change the tire.
You can just keep on driving. The shorter
the distance you drive and the slower the
speed, the greater the chance that the tire
will not have to be replaced. If you drive on
a deflated EMT for distances
of
50 miles (80 km) or less and at speeds of
55 mph (90 km/h) or less, there is a good
chance that the tire can be repaired. The
tire can operate effectively with no air
pressure for up to
200 miles (320 km) at
speeds up to
55 mph (90 km/h), but the
tire would then have to be replaced. Also
remember: When a tire is filled with air, it
provides a cushion between the road and
the wheel. Because you do not have this
cushion when driving on a deflated tire,
try to avoid potholes that could damage
your wheel and require replacement of it.
Some road hazards can damage a tire
beyond repair. This damage could occur
before you’ve driven on the tire in a
deflated condition. Whenever a tire has
been damaged, or if you’ve driven any
distance on a deflated EMT, check with
a Goodyear EMT Service Center to
determine whether the tire can be
repaired or should be replaced. To
maintain your vehicle’s extended
mobility feature, all replacement tires
must be Extended Mobility Tires.
See the Goodyear Extended Mobility Tire
Owner’s Manual and Limited Warranty
supplied with your Corvette for additional
information.
205. .
Page 209 of 274
Downloaded from www.Manualslib.com manuals search engine Service and Appearance Care
on a specified government test course. For
example, a tire graded 150 would wear
one and a half
(1 1/2) times as well on the
government course as a tire graded
100.
The relative performance of tires depends
upon the actual conditions of their use,
however, and may depart significantly
from the norm due to variations in driving
habits, service practices and differences in
road characteristics and climate.
Traction - A, B, C
The traction grades, from highest to
iowest are:
A, B, and C. They represent
the tire’s ability to stop on wet pavement
as measured under controlled conditions
on specified government test surfaces of
asphalt and concrete.
A tire marked C
may have poor traction performance.
Warning: The traction grade assigned
to this tire is based on braking
(straight-ahead) traction tests and does
not include cornering (turning) traction.
Temperature - A, B, C
The temperature grades are A (the
highest),
B, and C, representing the tire’s
resistance to the generation of heat and its
ability to dissipate heat when tested under
controlled conditions on a specified
. . .208
indoor laboratory test wheel. Sustained
high temperature can cause the material
of the tire to degenerate and reduce tire
life, and excessive temperature can lead to
sudden tire failure. The grade C
corresponds to a level
of performance
which all passenger car tires must meet
under the Federal Motor Vehicle Safety
Standard
No. 109. Grades B and A
represent higher levels of performance on
the laboratory test wheel than the
minimum required by law.
Warning: The temperature grade for
this tire is established for a tire that is
properly inflated and not overloaded.
Excessive speed, underinflation, or
excessive loading, either separately or
in combination, can cause heat buiidup
and possible tire failure.
These grades are molded on the sidewalls
of passenger car tires.
While the tires available as standard or
optional equipment on General Motors
vehicles may vary with respect to these
grades, all such tires meet General Motors
performance standards and have been
approved for use on General Motors
vehicles. All passenger type
(P Metric)
tires must conform to Federal safety
requirements in addition to these grades.
Wheel Alignment and Tire Balance
The wheels on your vehicle were aligned
and balanced carefully at the factory to
give you the longest tire life and best
overall performance.
In most cases, you will not need to have
your wheels aligned again. However, if
you notice unusual tire wear or your
vehicle pulling one way or
the other, the
alignment may need to be reset. If you
notice your vehicle vibrating when
driving on a smooth road, your wheels may need to be rebalanced.
Wheel- Replacement - . -
Replace any wheel that is bent, cracked or
badly rusted. If wheel nuts keep coming
loose, the wheel, wheel bolts, and wheel
nuts should be replaced. If the wheel
leaks air, replace it (except some
aluminum wheels, which can sometimes
be repaired). See your Chevrolet dealer
if any of these conditions exist.
Your dealer will know the kind of wheel
you need.
Each new wheel should have the same
load carrying capacity, diameter, width,
offset, and be mounted
the same way as
the one it replaces.
Page 211 of 274
Downloaded from www.Manualslib.com manuals search engine Service and Appearance Care
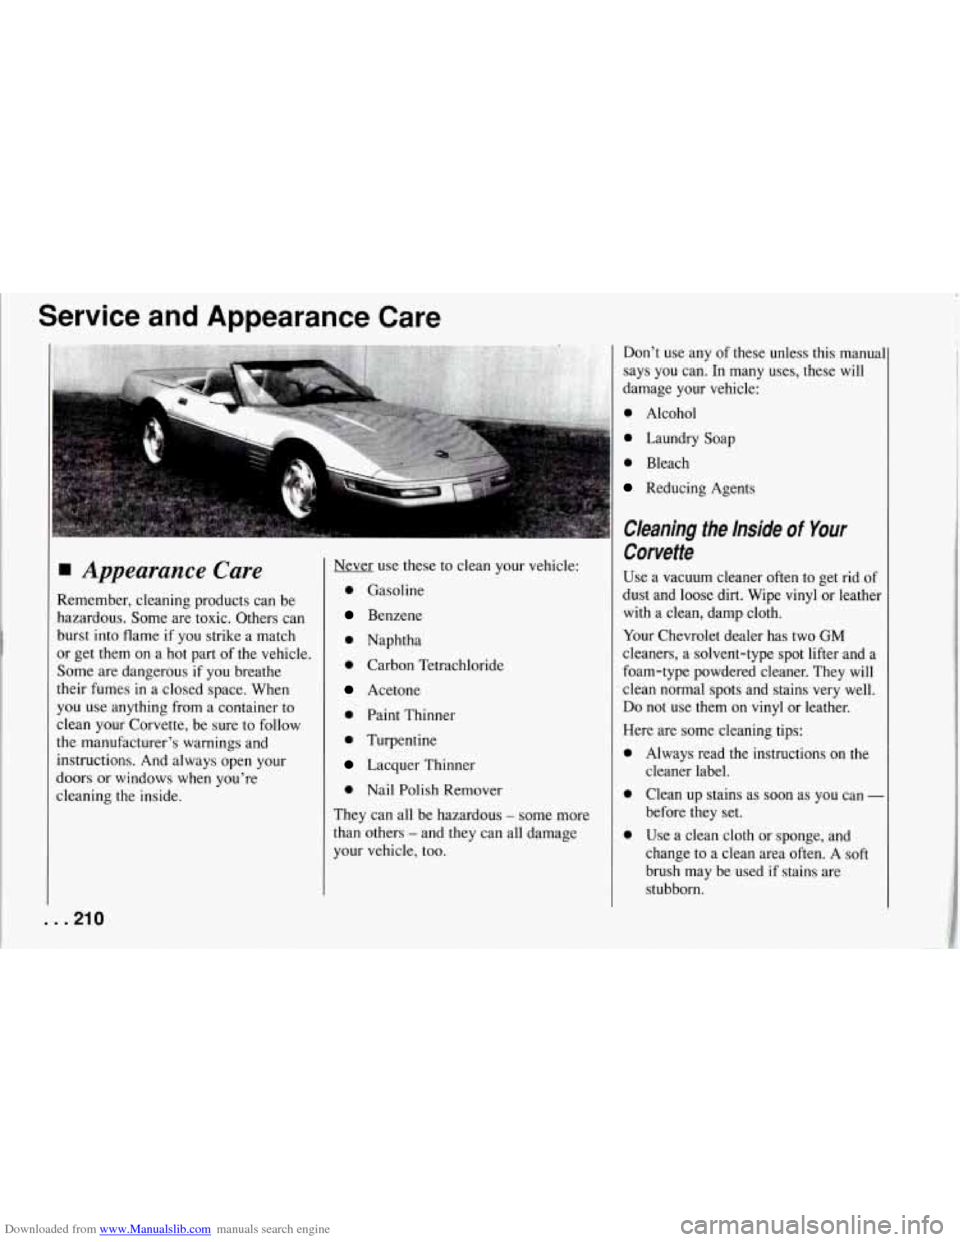
Appearance Care
Remember, cleaning products can be
hazardous. Some are toxic. Others can
burst into flame if you strike a match
or get them on a hot part of the vehicle.
Some are dangerous if you breathe
their fumes in a closed space. When
you use anything from a container to
clean your Corvette, be sure to follow
the manufacturer’s warnings and
instructions. And always open your
doors or windows
when you’re
cleaning the inside. Never use
these to clean your vehicle:
0 Gasoline
Benzene
0 Naphtha
0 Carbon Tetrachloride
Acetone
0 Paint Thinner
0 Turpentine
Lacquer Thinner
0 Nail Polish Remover
They can all be hazardous
- some more
than others
- and they can all damage
your vehicle, too. Don’t use any
of these unless this manual
says you can. In many uses, these will
damage your vehicle:
0 Alcohol
0 Laundry Soap
0 Bleach
Reducing Agents
Cleaning the Inside of Your
Corvette
Use a vacuum cleaner often to get rid of
dust and loose dirt. Wipe vinyl or leather
with a clean, damp cloth.
Your Chevrolet dealer has two
GM
cleaners, a solvent-type spot lifter and a
foam-type powdered cleaner. They will
clean normal spots and stains very well.
Do not use them on vinyl or leather.
Here are some cleaning tips: Always read the instructions on the
cleaner label. Clean up stains as soon as you can
-
before they set.
Use a clean cloth or sponge, and
change to a clean area often. A soft
brush may be used
if stains are
stubborn.
I
. . .210
Page 222 of 274

Downloaded from www.Manualslib.com manuals search engine 23 - Injectors #2, 3, 5, 8 (LTI);
Secondary Injector Relays (#1,2
(LT5); Secondary SF1 Control
Modules (LT5)
(10 Amp.)
24 - Turn Signal Flashers (10 Amp.)
25 - Ignition Coil and Ignition Coil
26 - Passive Keyless Entry Module
27 - Instrument Cluster; Driver Module (10 Amp.)
(5 Amp.)
Information Center; Air Bag Derm; Acceleration Slip Regulation
Switch
(15 Amp.)
Transmission Position Switch; One
to Four Shift Solenoid
(10 Amp.)
29 - Primary Cooling Fan Relay Coil;
Secondary Cooling Fan Relay Coil
28 - Backup Lights Switch;
(5 Amp.)
30 - Direct Ignition Module; Camshaft Sensor; Canister Purge Solenoid;
Throttle Position Sensor Buffer
Module; EGR Circuit (LT1);
31
32
Secondary Air Inlet Solenoid
(LT5); Electronic Ignition Control
Module (LT5); One to Four Shift
Relay
( 10 Amp.)
Power Mirror Adjuster Control;
Lighted Rearview Mirror; Visor
Vanity Mirrors
(5 Amp.)
Cruise Control Engage Switch;
Daytime Running Lights Module;
Low Tire Pressure Warning
Module
(5 Amp.)
33 - Engine Control Module (5 Amp.)
34 - Air Bag System (15 Amp.)
35 - Central Control Module (5 Amp.)
36 - Footwell Courtesy Lights; Door
Courtesy Lights; Glove
Compartment Lights; Lighted
Rearview Mirror
(5 Amp.)
37 - Bose Amplifier Relay; Power
Antenna Relay; Cargo
Compartment Lights
(20 Amp.)
Relay
(5 Amp.)
38 - LCD; Tone Generator; Dome Light
39 - Central Control Module (5 Amp.)
40 - Radio Receiver Box (Battery);
Radio Control Head; Passive
Keyless Entry Module
(5 Amp.)
41 - Sport Seat (10 Amp.)
42 - Power Door Lock Switches; Driver
Information Center; Passive
Keyless Entry Module
(20 Amp.)
43 - A/C Programmer (5 Amp.)
44 - Cigar Lighter; Accessory Plug
45 - Hatch or Deck Lid Release Relay
K - Power Seats (30 Amp. Circuit
L - Blank
M - Power Windows (30 Amp: Circuit
N - Blank
P - Blank
(15 Amp.)
(25 Amp.)
Breaker)
Breaker)
221 . I
Page 244 of 274
Downloaded from www.Manualslib.com manuals search engine INSPECTION
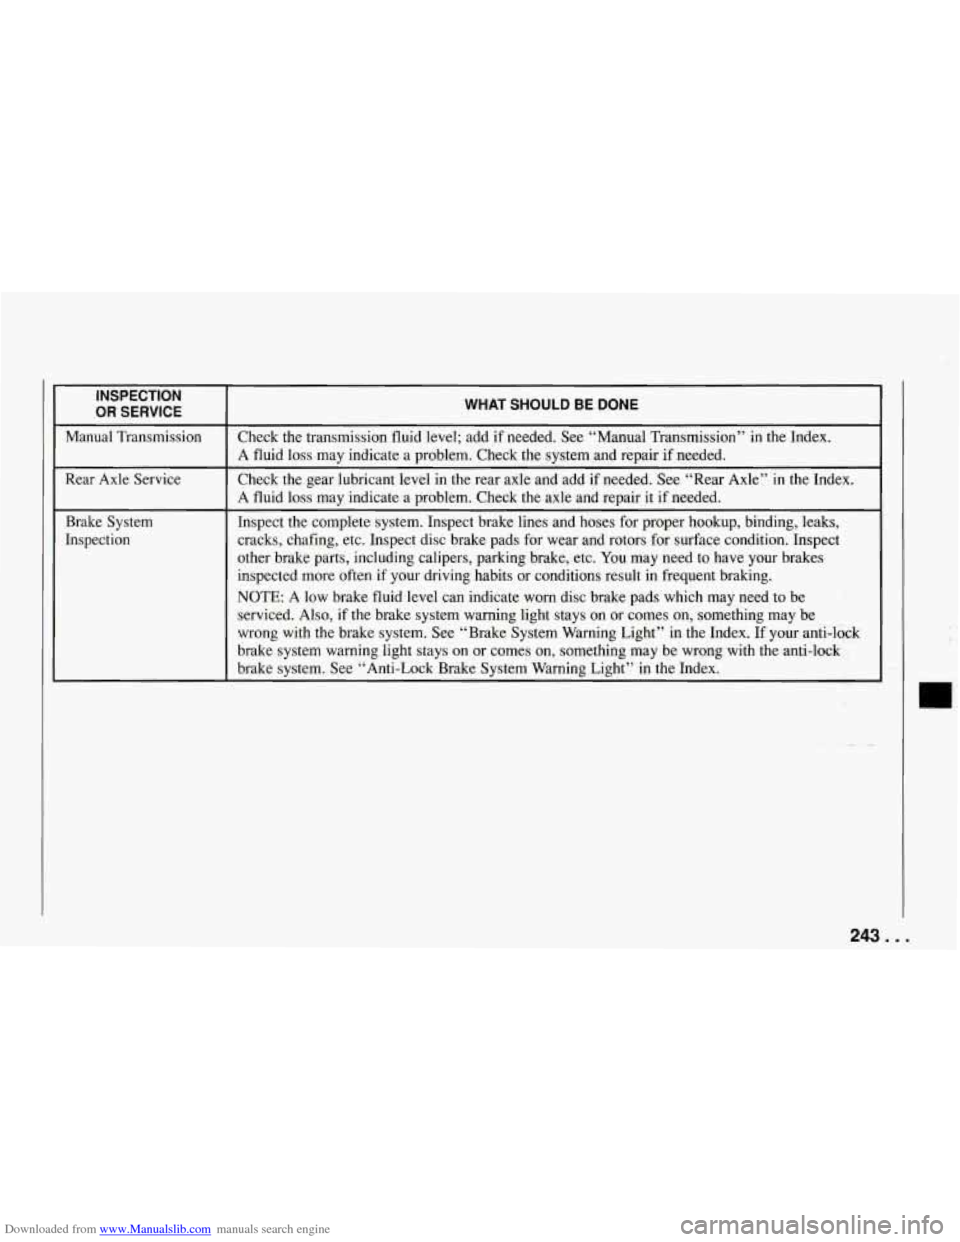
OR SERVICE
I WHAT SHOULD BE DONE
Manual Transmission
Inspect the complete system. Inspect brake lines and hoses for proper hookup, binding, leaks,
Brake System Check the gear lubricant level in the rear axle and add
if needed. See “Rear Axle” in the Index.
Rear Axle Service Check the transmission fluid level;
add if needed. See “Manual Transmission” in the Index.
Inspection cracks, chafing, etc. Inspect disc brake pads
for wear and rotors for surface condition. Inspect
A fluid loss may indicate a problem. Check the system and rep\
air
if needed.
A fluid loss may indicate a problem. Check the axle and repair it
if needed.
other brake parts, including calipers, parking brake, etc. You may need to have your brakes
inspected more often if your driving habits or conditions result in frequent braking.
NOTE: A low brake fluid level can indicate worn disc brake pads whi\
ch may need to be
serviced. Also, if the brake system warning light stays on or comes on, something may be
wrong with the brake system. See “Brake System Warning Light” in the Index.
If your anti-lock
brake system warning light stays on or comes on, something may be wrong with the anti-lock
brake system. See
“ Anti-Lock Brake System Warning Light” in the Index.
I 1
243. . .