1994 CHEVROLET CAVALIER reset
[x] Cancel search: resetPage 72 of 243
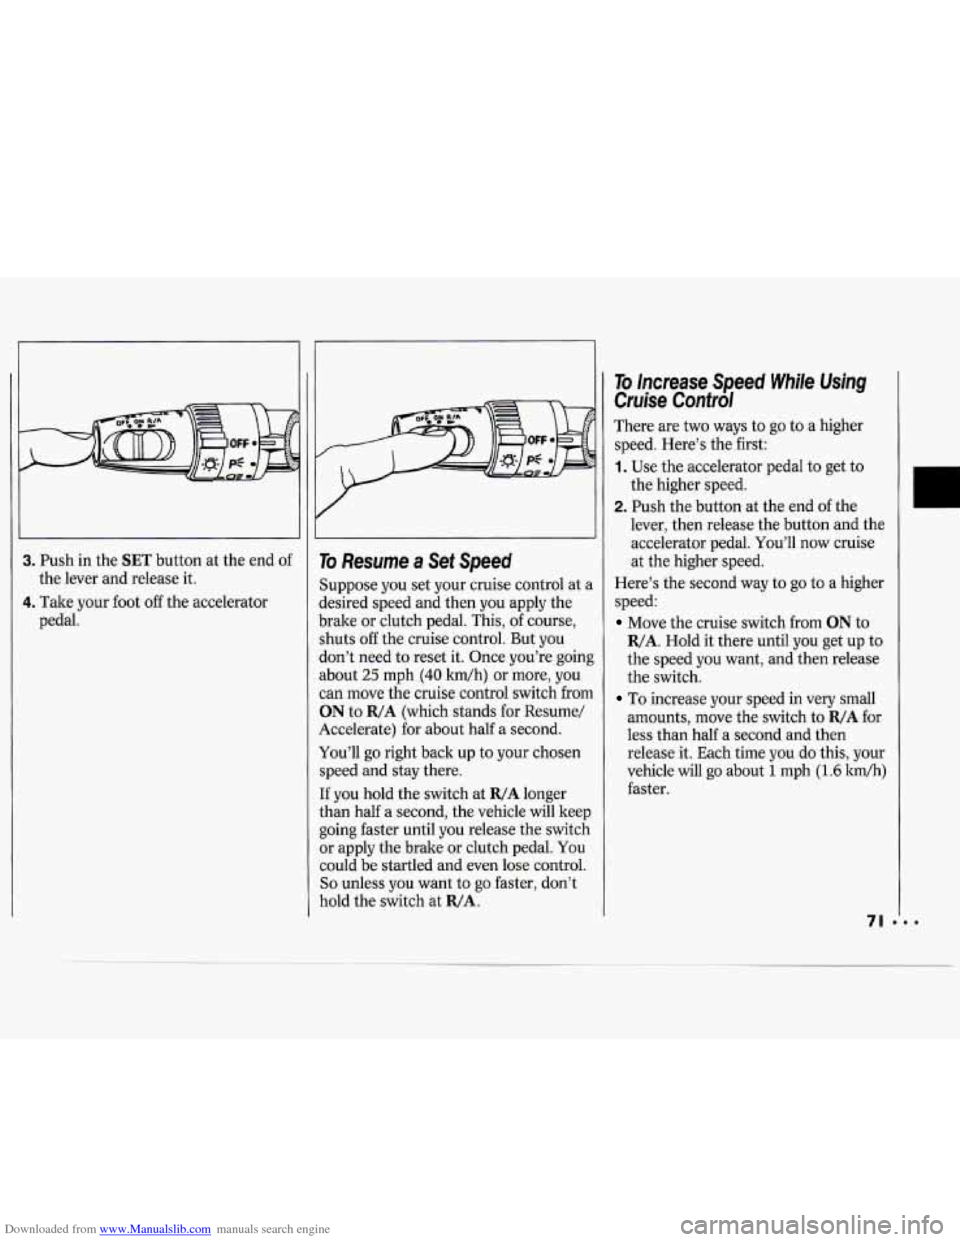
Downloaded from www.Manualslib.com manuals search engine 3. Push in the SET button at the end of
4. Take your foot off the accelerator
the
lever and release it.
pedal.
I I
To Resume a Set Speed
Suppose you set your cruise control at a
desired speed and then you apply the
brake or clutch pedal. This, of course,
shuts
off the cruise control. But you
don’t need to reset it. Once you’re going
about
25 mph (40 kwh) or more, you
can move the cruise control switch from
ON to R/A (which stands for Resume/
Accelerate) for about half a second.
You’ll go right back up to your chosen
speed and stay there.
If you hold the switch
at R/A longer
than half a second, the vehicle
will keep
going faster until you release the switch
or apply the brake or clutch pedal. You
could be startled and even lose control.
So unless you want to go faster, don’t
hold the switch at
R/A.
To Increase speed While Using
Cruise Control
There are two ways to go to a higher
speed. Here’s the first:
1. Use the accelerator pedal to get to
the higher speed.
2. Push the button at the end of the
lever, then release the button and the
accelerator pedal. You’ll now cruise
at the higher speed.
Here’s the second way
to go to a higher
speed:
Move the cruise switch from ON to
R/A. Hold it there until you get up to
the speed you want, and then release
the switch.
To increase your speed in very small
amounts, move the switch to
R/A for
less than half a second and then
release it. Each time you do this, your
vehicle will go about
1 mph (1.6 km/h)
faster.
Page 88 of 243
Downloaded from www.Manualslib.com manuals search engine Anti-Lock Brake System Warning Light
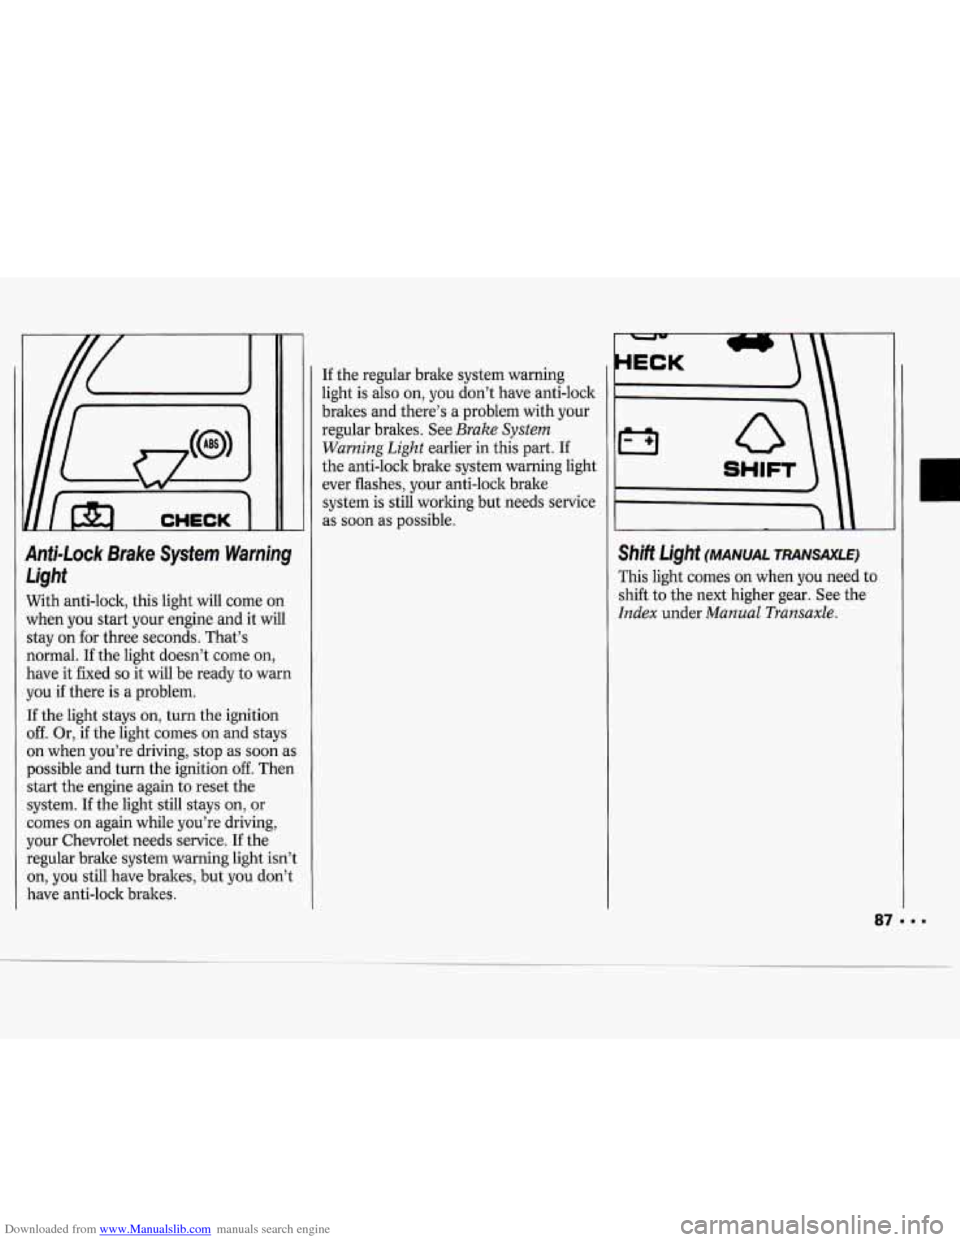
With anti-lock, this light will come on
when you start your engine and it will
stay on for three seconds. That’s
normal.
If the light doesn’t come on,
have it fixed
so it will be ready to warn
you if there is a problem.
If the light stays on, turn the ignition
off. Or, if the light comes on and stays
on when you’re driving, stop as soon
as
possible and turn the ignition off. Then
start the engine again to reset the
system. If the light still stays on, or
comes on again while you’re driving,
your Chevrolet needs service.
If the
regular brake system warning light isn’t
on,
you still have brakes, but you don’t
have anti-lock brakes. If
the regular brake system warning
light is also on, you don’t have anti-lock
brakes and there’s a problem with your
regular brakes. See
Brake System
Warning Light
earlier in this part. If
the anti-lock brake system warning light
ever flashes, your anti-lock brake
system is still working but needs service
as soon as possible.
I SHIFT
Shift Light (MANUAL TRANSAXLE)
This light comes on when you need to
shift to the next higher gear. See the
Index under Manual Transaxle.
Page 99 of 243
Downloaded from www.Manualslib.com manuals search engine Comfort Controls & Audio Systems
BASS: Slide this lever up to increase
bass, or down to decrease it.
SEEK A: Press to seek and stop on
the next station higher
or lower on the
radio band.
SCAN: Press both SEEK buttons
together to listen for a few seconds to
the next station on the AM or FM band;
the scan will continue every few
seconds to the next station on the AM
or FM band.
The radio will scan upward if you press
SEEKA first and downward if you
press
V SEEK first. When the radio is
scanning stations, the word
SCAN will
appear
on the digital display.
Press either of the
SEEK buttons or the
PWR-VOL
knob to cancel SCAN and
select a station.
To Preset Radio Stations:
The four pushbuttons under the digital
display can be used to preset up to
14
radio stations (seven AM and seven FM
stations).
1. Tune in the desired station.
2. Press SET. The word SET will
appear on the digital screen for five
seconds.
3. While SET is displayed, press one of
the four pushbuttons. Whenever you
press this button again, the preset
station will be tuned in.
4. Repeat steps 1-3 for each of the four
AM and four FM stations. Up
to three additional stations on each
band may be preset by “pairing”
pushbuttons:
1. Tune in the desired station.
2. Press SET, and within five seconds
press any
two adjacent pushbuttons
at the same time. Whenever you press
these buttons again, the preset
station will be tuned in.
Page 100 of 243
Downloaded from www.Manualslib.com manuals search engine -
PWR-VOL TREBLE
AM/FM Stereo Radio with
Cassette Tape Player
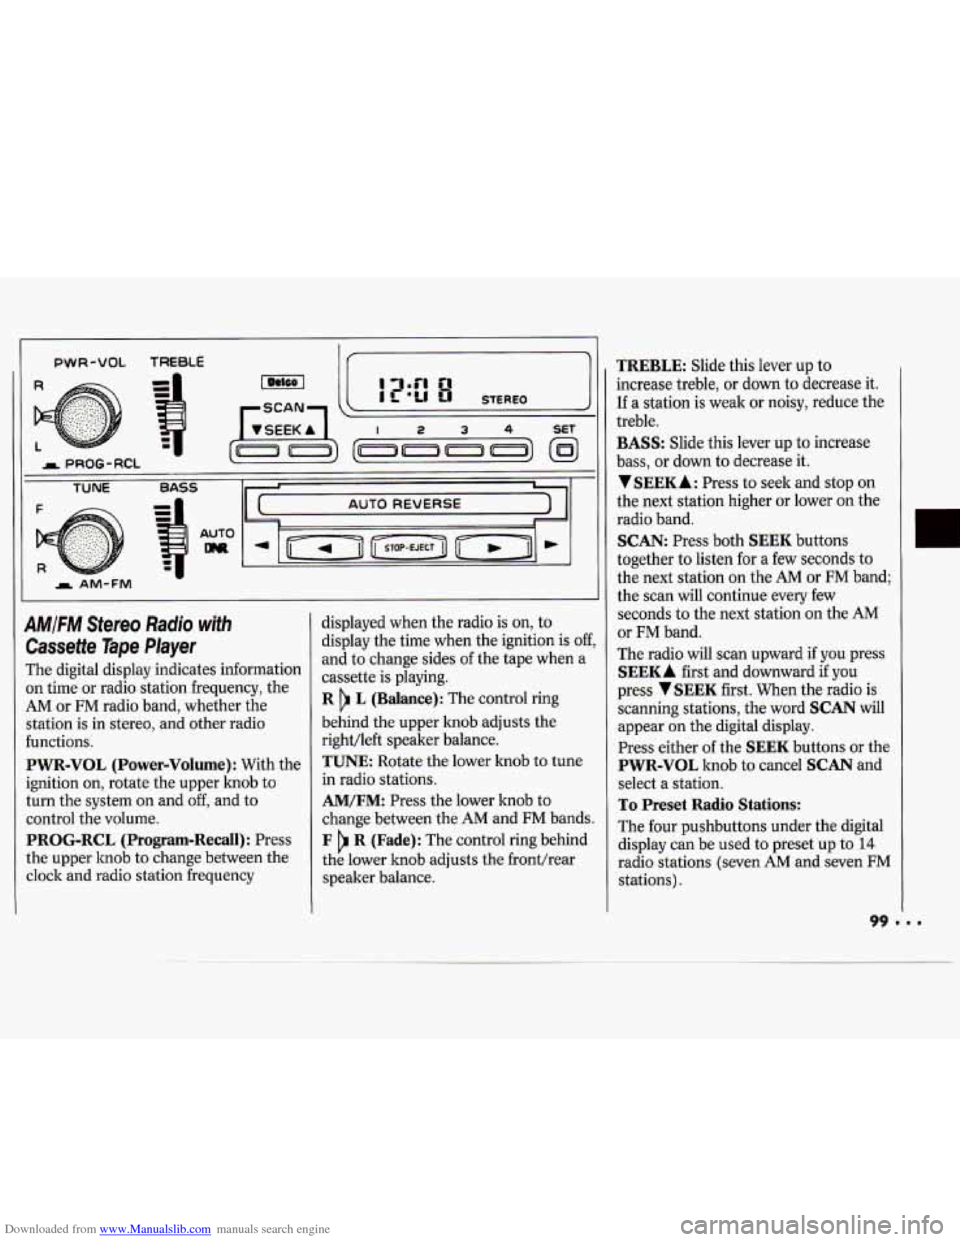
The digital display indicates information
on time or radio station frequency, the
AM or FM radio band, whether the
station is in stereo, and other radio
functions.
PWR-VOL (Power-Volume) : With the
ignition on, rotate the upper lmob to
turn the system on and
off, and to
control the volume.
PROG-RCL (Program-Recall): Press
the upper knob to change between the
clock and radio station frequency displayed
when the radio is
on, to
display the time when the ignition is
off,
and to change sides of the tape when a
cassette is playing.
R L (Balance): The control ring
behind the upper knob adjusts the
right/left speaker balance.
TUNE Rotate the lower knob to tune
in radio stations.
AM/FM: Press the lower knob to
change between the
AM and FM bands.
F R (Fade): The control ring behind
the lower knob adjusts the fronthear
speaker balance.
TREBLE: Slide this lever up to
increase treble, or down to decrease it.
If a station is weak or noisy, reduce the
treble.
BASS: Slide this lever up to increase
bass, or down
to decrease it.
VSEEKA: Press to seek and stop on
the next station higher or lower on the
radio band.
SCAN: Press both SEEK buttons
together to listen for a few seconds to
the next station on the
AM or FM band;
the scan will continue every few
seconds to the next station on the AM
or FM band.
The radio will scan upward if you press
SEEKA first and downward if you
press
VSEEK first. When the radio is
scanning stations, the word
SCAN will
appear on the digital display.
Press either
of the SEEK buttons or the
PWR-VOL knob to cancel SCAN and
select a station.
To Preset Radio Stations:
The four pushbuttons under the digital
display can be used to preset up to
14
radio stations (seven AM and seven FM
stations).
Page 101 of 243
Downloaded from www.Manualslib.com manuals search engine Comfort Controls & Audio Systems
1. Tune in the desired station.
2. Press SET. The word SET will
appear on the digital display for five
seconds.
3. While SET is displayed, press one of
the four pushbuttons. Whenever you
press this button again, the preset
station will be tuned in.
4. Repeat steps 1-3 for each of the four
AM and four FM stations.
Up to three additional stations on each
band may be preset by “pairing”
pushbuttons:
1. Tune in the desired station.
2. Press SET, and within five seconds
press any two adjacent pushbuttons
at the same time. Whenever you press
these buttons again, the preset
station will be tuned in.
AUTO DNR: This unit is equipped
with an automatic Dynamic Noise
Reduction system that reduces
background hiss on
AM or FM radio
broadcasts, as well as on cassette tapes.
Cassette Tape Player
With the power on, insert a tape into
the cassette door.
Do not use tapes that
are longer than
45 minutes on each side.
When the left arrow is lit, selections
listed on the top side of the cassette are
playing. When the right indicator arrow
is lit, selections listed on the bottom
side of the cassette are playing. To
change sides
of the tape, press the
upper control knob
(PROG) while the
cassette is playing. The tape player
automatically begins playing the other
side when it reaches the end
of the tape.
Fast Forward Press the button with
the arrow pointing in the same direction
that the tape is playing. To stop fast
forward, press the
STOP-EJECT
button.
Reverse: Press the button with the
arrow pointing in the opposite direction
that the tape is playing. To stop reverse,
press the
STOP-EJECT button.
STOP-EJECT: To stop playing a tape,
fully press this button (the cassette will
be partially ejected, and the radio will
begin playing).
Page 104 of 243

Downloaded from www.Manualslib.com manuals search engine and start again when you turn on the
ignition or the
PWR-VOL button. The
disc will begin playing at the point
where it had been stopped.
ST-PL (Stop-Play): Press to stop the
disc player; the radio will play. Press
again to play the disc (the player will
start playing the disc where it had
stopped earlier).
EJCT (Eject): Press to eject the disc; the
radio will play. The disc will start at
track
1 when you reinsert it. EJCT works
even when the radio or the ignition is
off.
CD Player Anti-Theft Feature
Delco LOC II@ is a security feature that
can be used or ignored. If you ignore it,
the radio will play normally. If you use
it, your radio cannot be turned on
if it is
stolen. These instructions will tell you
how to enter a secret code into the radio.
If battery power is lost for any reason, the
secret code must be entered again before
your audio system can be turned on.
To Set the Anti-Theft System:
1. Write down any six-digit number and
keep it in a safe place. This is your
secret code.
2. Turn the ignition on.
3. Rotate the PWR-VOL knob to turn
the radio
off.
4. Press station preset buttons 1 and 4
at the same time and hold until "- - -"
shows on the display. You now have
only
15 seconds between each of the
following steps.
5. Press SET and 000 will appear on
the display.
6. Press SCAN until the first digit of
your code appears.
7. Press SEEK until the second and
third digits of your code appear.
8. Press the TUNE knob (000 will
appear on the display).
9. Press SCAN until the fourth digit of
your code appears.
IO. Press SEEK until the fifth and sixth
11. Press the TUNE knob (rEP will
12. Repeat steps 6 through 10. Then
digits
of your code appear.
appear for five seconds, then
000 ) .
press the TUNE knob again. SEC
will appear, indicating that Delco
LOC IP is set, and your radio is
secure. If
"- - -" appears, the steps
were not successful and you must
repeat the entire procedure.
To Disable the Anti-Theft System:
Enter your secret code by following
these steps (you will have only
15
seconds between each step).
1, Turn the ignition on and the radio
off, then press station preset buttons
1 and 4. SEC will appear, showing
the radio is secure.
2. Press SET and 000 will appear on
the display.
3. Press SCAN until the first digit of
your secret code appears.
4. Press SEEK until the second and
third digits of your code appear.
5. Press the TUNE knob (000 will
appear on the display).
6. Press SCAN until the fourth digit of
your code appears.
7. Press SEEK until the fifth and sixth
digits of your code appear.
I03
Page 173 of 243
Downloaded from www.Manualslib.com manuals search engine Dl
~ ~~ ~~ ~
Service & Appearance Care
ID
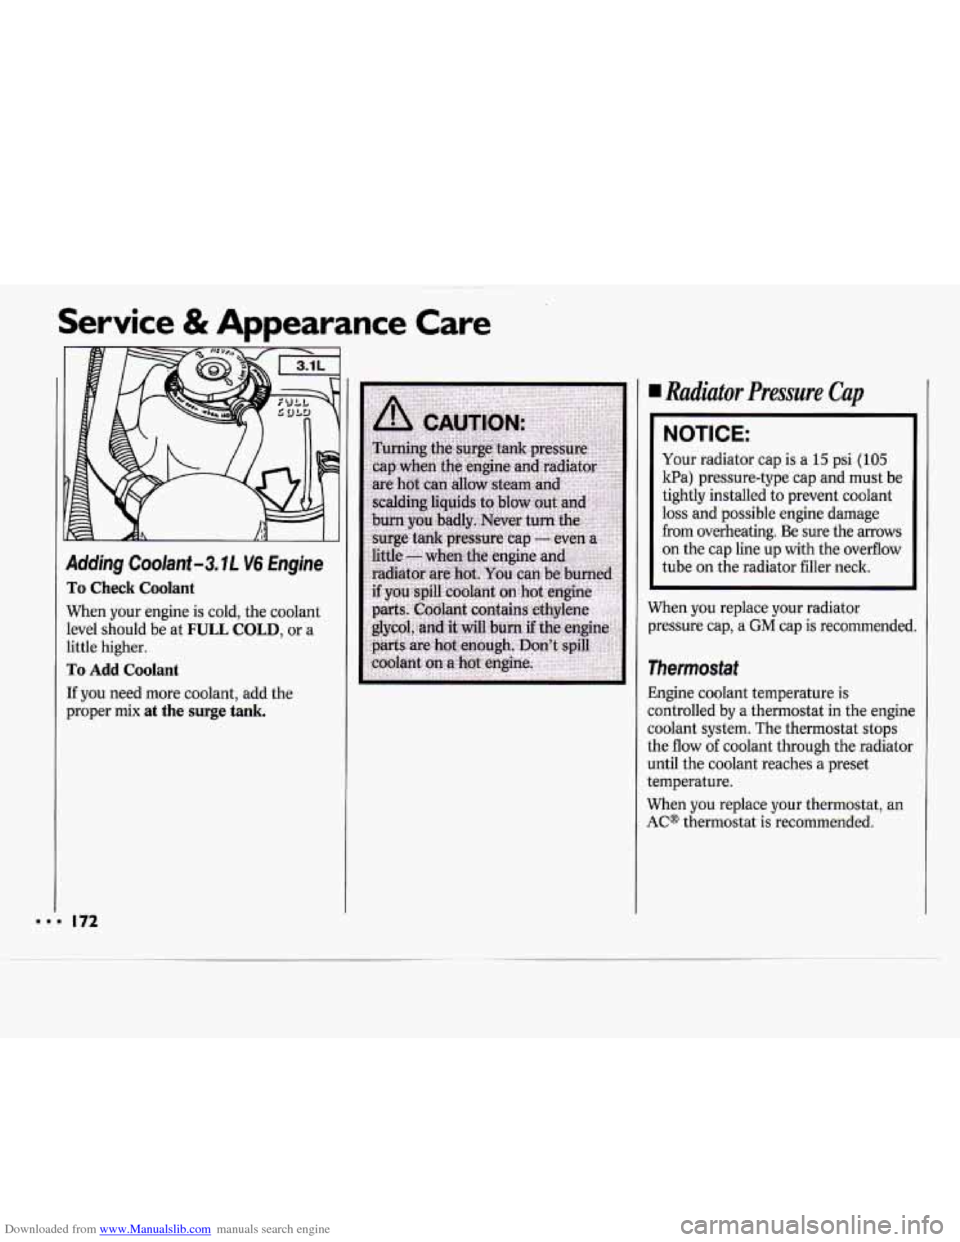
Adding Coolant -3. IL V6 Engine
To Check Coolant
When your engine is cold, the coolant
level should be at
FULL COLD, or a
little
higher.
To Add Coolant
If you need more coolant, add the
proper
mix at the surge tank.
I72
Radiator Pressure Cap
NOTICE:
Your radiator cap is a 15 psi (105
kPa) pressure-type cap and must be
tightly installed to prevent coolant
loss and possible engine damage
from overheating. Be sure the arrows
on the cap line up with the overflow
tube on the radiator filler neck.
When
you replace your radiator
pressure cap, a
GM cap is recommended.
Thermostat
Engine coolant temperature is
controlled by a thermostat in the engine
coolant system. The thermostat stops
the flow of coolant through the radiator
until the coolant reaches a preset
temperature.
When
you replace your thermostat, an
AC@ thermostat is recommended.
Page 187 of 243
Downloaded from www.Manualslib.com manuals search engine Service & Appearance Care
Wheel Alignment and Tire Balance
The wheels on your vehicle were
aligned and balanced carefully at the
factory
to give you the longest tire life
and best overall performance.
In most cases, you will not need to have
your wheels aligned again. However, if
you notice unusual tire wear or your
vehicle pulling one way or the other, the
alignment may need
to be reset. If you
notice your vehicle vibrating when
driving on
a smooth road, your wheels
may need to be rebalanced.
Wheel Replacement
Replace any wheel that is bent, cracked
or badly rusted.
If wheel nuts keep
coming loose, the wheel, wheel bolts,
and wheel nuts should be replaced.
If
the wheel leaks air, replace it (except
some aluminum wheels, which can
sometimes be repaired). See your
Chevrolet dealer if any
of these
conditions exist.
Your dealer will know the kind of wheel
you need.
Each new wheel should have the same
load carrying capacity, diameter, width,
offset, and be mounted the same way as
the one it replaces.
If you need to replace any of your
wheels, wheel bolts, or wheel nuts,
replace them only with new
GM
original equipment parts. This way, you
will be sure
to have the right wheel,
wheel bolts, and wheel nuts for your
Chevrolet model.
I NOTICE:
The wrong wheel can also cause
problems with bearing life, brake
cooling, speedometer/odometer
calibration, headlight aim, bumper
height, vehicle ground clearance,
and tire or tire chain clearance to
the body and chassis.