1994 CHEVROLET CAVALIER parking brake
[x] Cancel search: parking brakePage 87 of 243
Downloaded from www.Manualslib.com manuals search engine Features & Controls
II
I CHECK
L
I
I
... 86
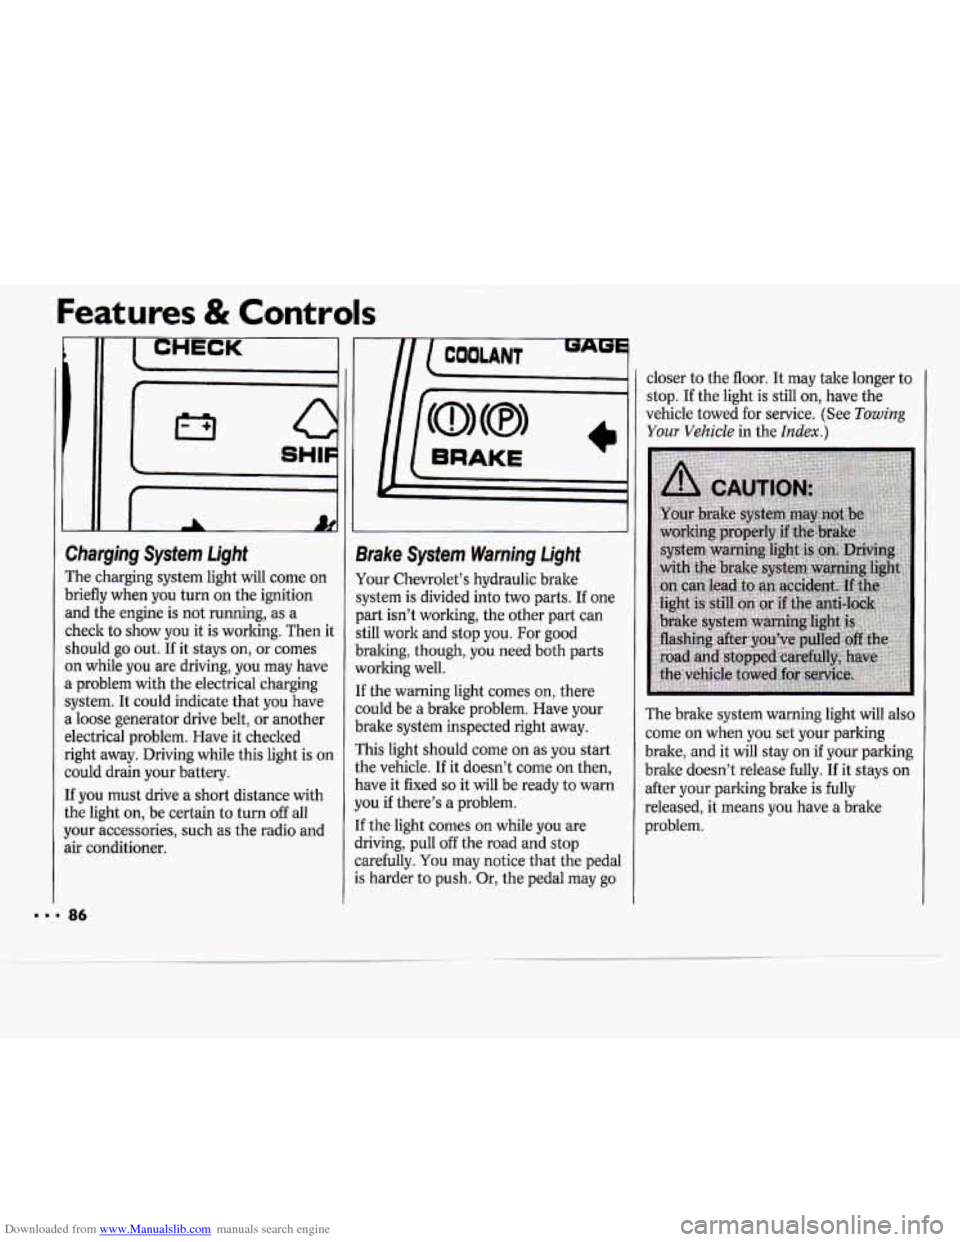
Charging System Light
The charging system light will come on
briefly when you turn on the ignition
and the engine is not running, as a
check to show you it is working. Then it
should
go out. If it stays on, or comes
on while you are driving, you may have
a problem with the electrical charging
system. It could indicate that you have
a loose generator drive belt, or another
electrical problem. Have it checked
right away. Driving while this light is on
could drain your battery.
If you must drive a short distance with
the light on, be certain to turn
off all
your accessories, such as the radio and
air conditioner.
m
9rake Sysfem Warning Light
tour Chevrolet’s hydraulic brake
;ystem is divided into two parts. If one
)art isn’t working, the other part can
;till work and stop you. For good
)raking, though, you need both parts
vorlting well.
[f the warning light comes on, there
zould be a brake problem. Have your
brake system inspected right away.
rhis light should come
on as you start
the vehicle.
If it doesn’t come on then,
have it fixed
so it will be ready to warn
you if there’s a problem.
[f the light comes on while you are
jriving, pull off the road and stop
zarefully.
You may notice that the pedal
.s harder to push. Or, the pedal may go closer
to the floor. It may take longer to
stop.
If the light is still on, have the
vehicle towed for service. (See
Towing
Your Vehicle in the Index.)
The brake system warning light will also
come
on when you set your parking
brake, and it will stay
on if your parking
brake doesn’t release fully. If it stays on
after your parking brake is
fully
released, it means you have a brake
problem.
Page 126 of 243
Downloaded from www.Manualslib.com manuals search engine Run your engine only as long as you
must. This saves fuel. When you run the
engine, malte it go a little faster than
just idle. That is, push the accelerator
slightly. This uses less fuel for the heat
that you get and it keeps the battery
charged.
You will need a well-charged
battery to restart the vehicle, and
possibly
for signaling later on with your
headlights. Let the heater run for
awhile.
Then, shut the engine
off and close the
window almost all the way to preserve
the heat. Start the engine again and
repeat this only when you feel really
uncomfortable
from the cold. But do it
as little as possible. Preserve the fuel as
long as
you can. To help keep warm,
you can get out
of the vehicle and do
some fairly vigorous exercises every half
hour or so until help comes.
~~
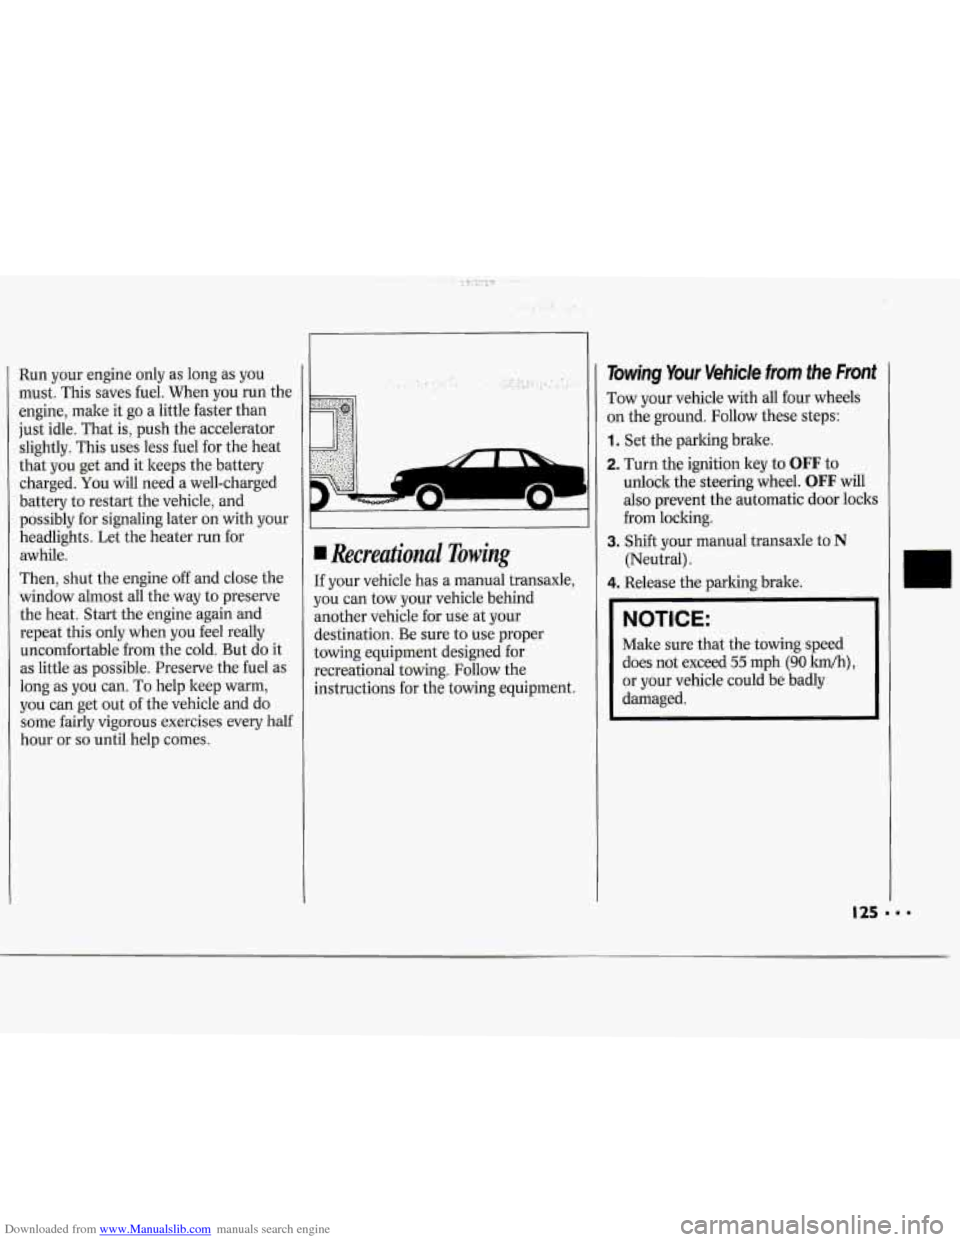
Recreational Towing
If your vehicle has a manual transaxle,
you can tow your vehicle behind
another vehicle for use at your
destination. Be sure
to use proper
towing equipment designed for
recreational towing. Follow the
instructions for the towing equipment.
Towing Your Vehicle from the Front
Tow your vehicle with all four wheels
on the ground. Follow these steps:
1. Set the parking brake.
2. Turn the ignition key to OFF to
unlock the steering wheel.
OFF will
also prevent the automatic door locks
from locking.
(Neutral).
3.
Shift your manual transaxle to
N
4. Release the parking brake.
NOTICE:
Make sure that the towing speed
does not exceed
55 mph (90 lm),
or your vehicle could be badly
damaged.
Page 130 of 243
Downloaded from www.Manualslib.com manuals search engine NOTICE:
Ignoring these steps could result in
costly damage to your vehicle that
wouldn’t be covered by your
warranty. Trying to start your
Chevrolet by pushing or pulling it
could damage your vehicle, even if
you have a manual transaxle. And
if
you have an automatic transaxle, it
won’t start that way.
To Jump Start Your Chevrolet:
1. Check the other vehicle. It must have
a 12-volt battery with a negative
ground system.
NOTICE:
If the other system isn’t a 12-volt
system with
a negative ground,
both vehicles can be damaged.
2. Get the vehicles. close enough so the
jumper cables can reach, Ijut be suke
the vehicles aren’t touching each
other. If they are, it could cause a
ground connection you don’t want.
You wouldn’t be able to start your
Chevrolet, and the bad grounding
could damage the electrical systems.
You could be injured if the vehicles roll.
Set the parking brake
firmly on each
vehicle. Put an automatic transaxle in
P (Park) or a manual transaxle in
N (Neutral).
3.
Turn off the ignition on both
vehicles. Turn
off all lights that aren’t
needed, and radios. This
will avoid
sparks and help save both batteries.
And
it could save your radio!
NOTICE:
If you leave your radio on, it could
be badly damaged. The repairs
wouldn’t
be covered by your warranty.
4. Open the hoods and locate the
batteries.
Find the positive
(+) and negative (-)
terminals on each battery.
Page 134 of 243
Downloaded from www.Manualslib.com manuals search engine When your vehicle is being towed, have
the ignition key
off. The steering wheel
should be clamped in a straight-ahead
position, with a clamping device
designed for towing service.
Do not use
the vehicle’s steering column lock for
this. The transaxle should be in
N
(Neutral) and the parking brake
released.
Don’t have your vehicle towed
on the
front wheels, unless you must. If the
vehicle must be towed
on the front wheels,
don’t
go more than 35 mph (56 kdh)
or farther than
50 miles (80 lun) or your
transaxle will be damaged.
If these
limits must be exceeded, then the front
wheels have to be supported on a dolly.
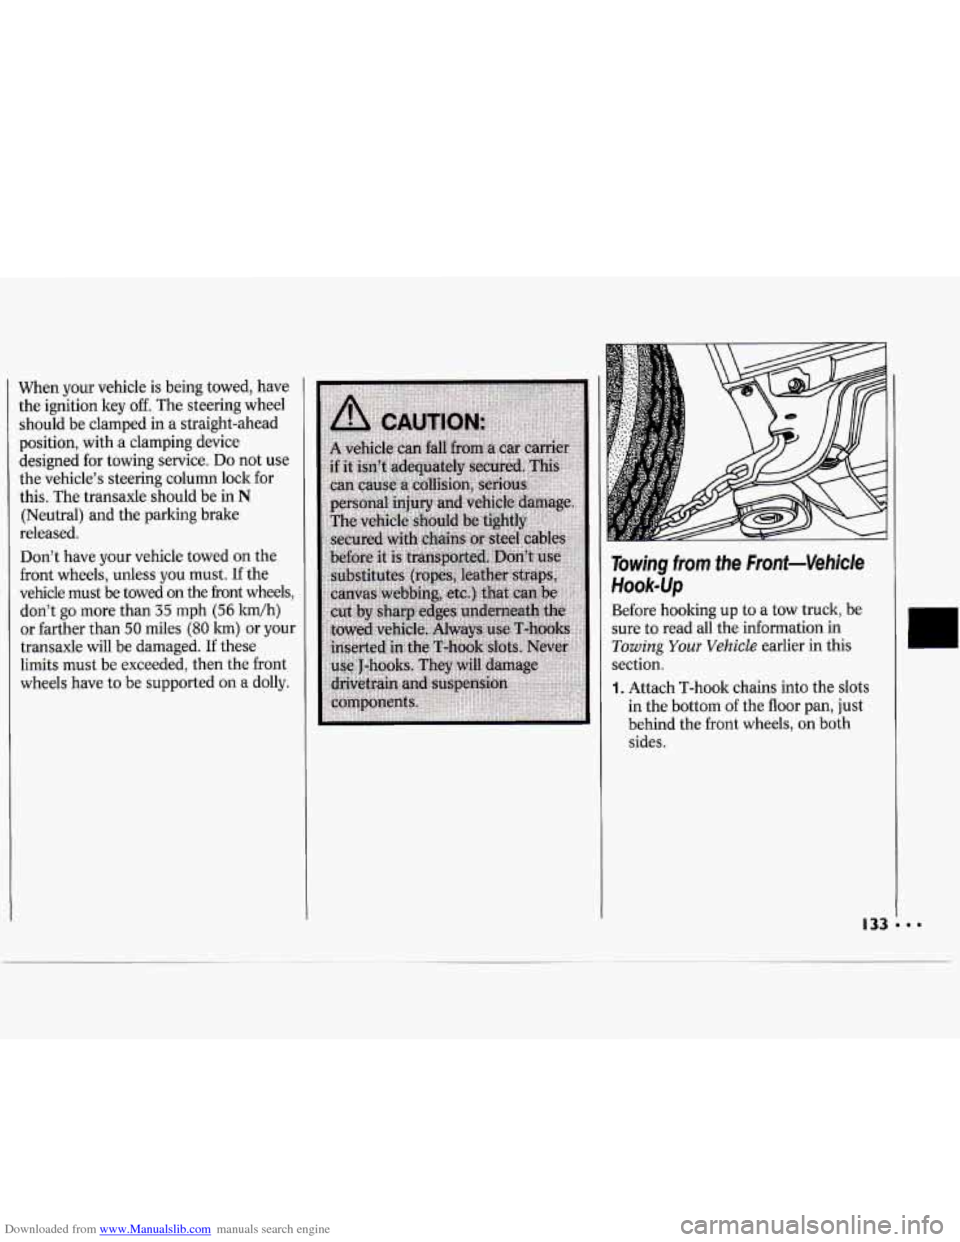
Towing from the Front-Vehicle
Hookup
Before hooking up to a tow truck, be
sure to read all the information in
Towing Your Vehicle earlier in this
section.
1. Attach T-hook chains into the slots
in the bottom
of the floor pan, just
behind the front wheels, on both
sides.
Page 168 of 243
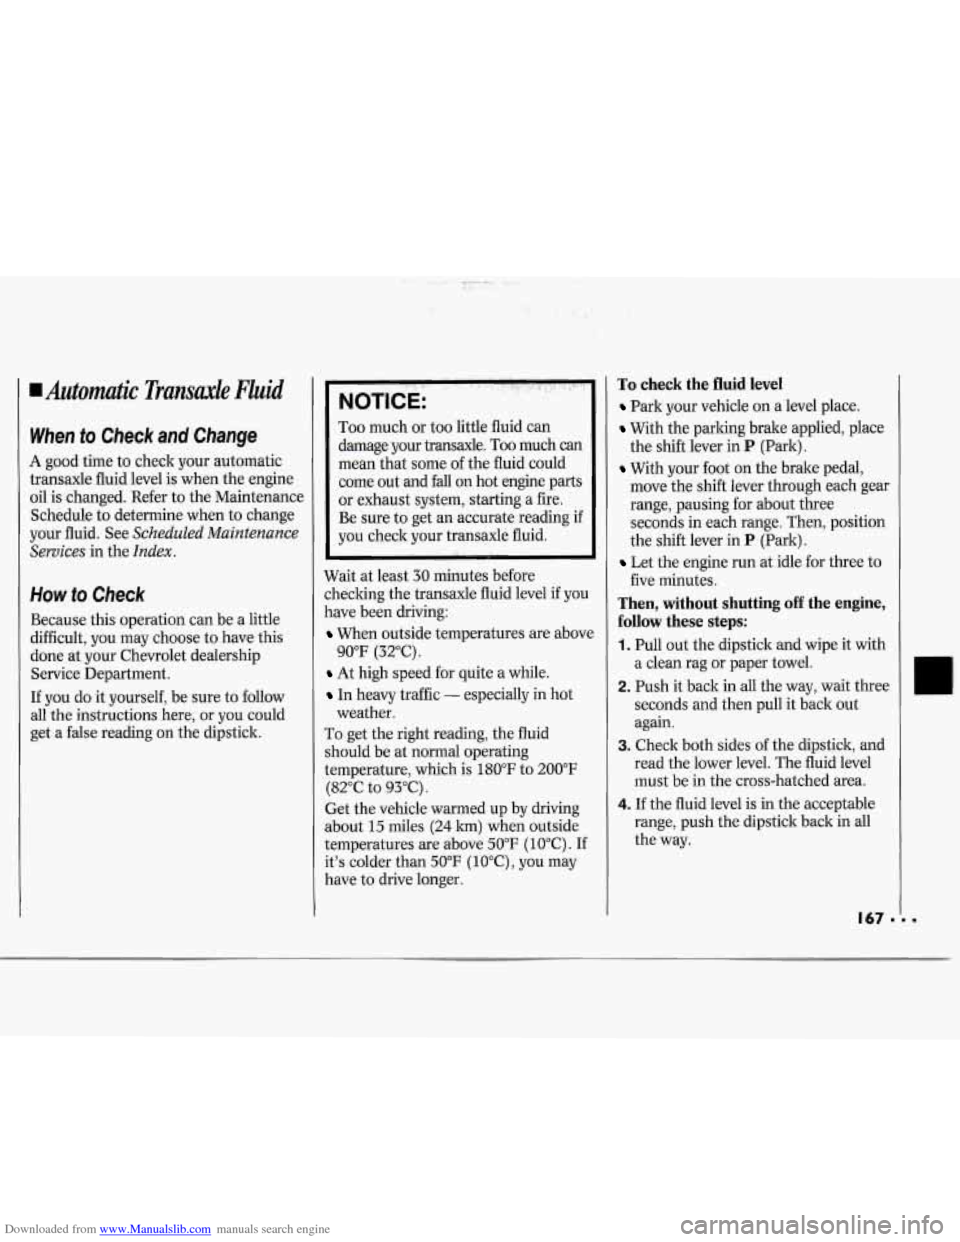
Downloaded from www.Manualslib.com manuals search engine I Automatic Transaxle Fluid
1 When to Check and Change
A good time to check your automatic
transaxle fluid level is when the engine
oil is changed. Refer to the Maintenance
Schedule to determine when to change
your fluid. See
Scheduled Maintenance
Services
in the Index.
How to Check
Because this operation can be a little
difficult, you may choose to have this
done at your Chevrolet dealership
Service Department.
If you do it yourself, be sure to follow
all the instructions here, or
you could
get a false reading on the dipstick.
NOTICE:
~. , ,'
Too much or too little fluid can
damage your transaxle.
Too much can
mean that some of the fluid could
come out and fall on hot engine parts
or exhaust system, starting a fire.
Be sure to get an accurate reading
if
you check your transaxle fluid.
Wait at least
30 minutes before
checking the transaxle fluid level
if you
have been driving:
When outside temperatures are above
At high speed for quite a while.
In heavy traffic - especially in hot
To get the right reading, the fluid
should be at normal operating
temperature, which is 180°F to 200°F
(82°C to 93°C).
Get the vehicle warmed up by driving
about 15 miles (24 lun) when outside
temperatures are above
50°F (10.C). If
it's colder than 50°F (lOOC), you may
have to drive longer.
90°F
(32°C).
weather.
To check the fluid level
Park your vehicle on a level place.
With the parking brake applied, place
With your foot on the brake pedal,
the
shift lever in
P (Park).
move the shift lever through each gear
range, pausing for about three
seconds in each range. Then, position
the shift lever in
P (Park).
Let the engine run at idle for three to
five minutes.
Then, without shutting off the engine,
follow these steps:
1. Pull out the dipstick and wipe it with
2. Push it back in all the way, wait three
a clean rag or
paper towel.
seconds and then pull it back out
again.
3. Check both sides of the dipstick, and
read the lower level. The fluid level
must be in the cross-hatched area.
4. If the fluid level is in the acceptable
range, push the dipstick back in all
the way.
Page 215 of 243
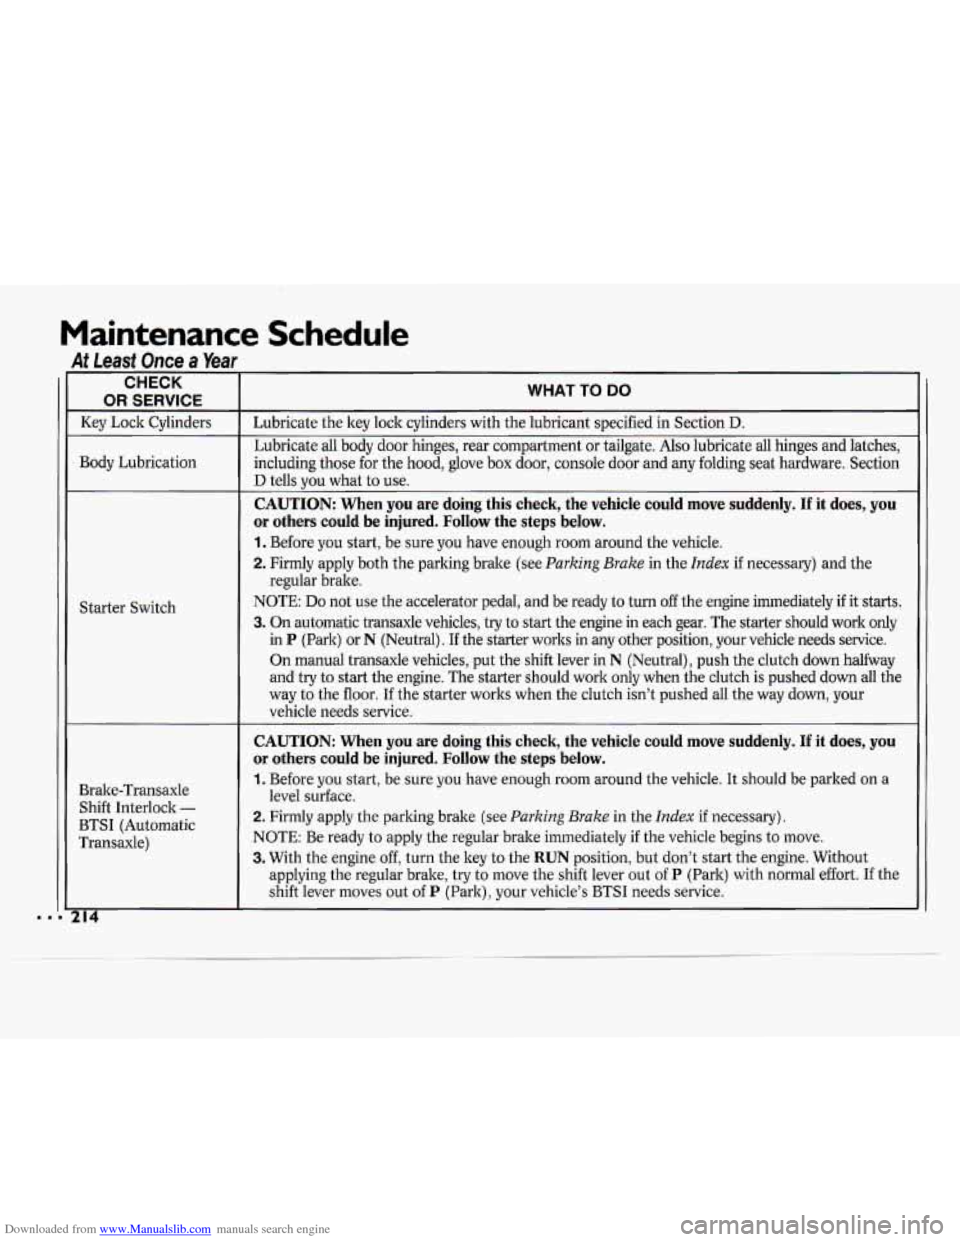
Downloaded from www.Manualslib.com manuals search engine Maintenance Schedule
At Leasf Once a Year
CHECK
-
-
-
OR SERVICE
Key Lock Cylinders
Body Lubrication
Starter Switch
Bralte-Transaxle Shift Interlock
-
BTSI (Automatic
Transaxle)
- z A
WHAT TO DO
Lubricate the key lock cylinders with the lubricant specified in Section D.
Lubricate all body door hinges, rear compartment or tailgate. Also lubricate all hinges and latches,
including those for the hood, glove box door, console
door and any folding seat hardware. Section
D tells vou what to use.
CAUTION: When you are doing this check, the vehicle could move suddenly. If it does, you
or others could be injured. Follow the steps below.
1. Before you start, be sure you have enough room around the vehicle.
2. Firmly apply both the parking brake (see Parking Brake in the Index if necessary) and the
NOTE:
Do not use the accelerator pedal, and be ready to turn off the engine immediately if it starts.
3. On automatic transaxle vehicles, try to start the engine in each gear. The starter should work only
in
P (Park) or N (Neutral). If the starter worlts in any other position, your vehicle needs servic\
e.
On manual transaxle vehicles, put the shift lever in
N (Neutral), push the clutch down halfway
and try to start the engine. The starter should work only when the clutch is pushed down all the
way to the floor.
If the starter worlts when the clutch isn’t pushed all the way down, your
vehicle needs service. regular
brake.
CAUTION: When you are doing this check, the vehicle could move\
suddenly. If it does, you
or others could be injured. Follow the steps below.
1. Before you start, be sure you have enough room around the vehicle. It should be parked on a
2. Firmly apply the parking brake (see Parking Brake in the Index if necessary),
NOTE: Be ready to apply the regular brake immediately if the vehicle begins to move.
3. With the engine off, turn the key to the RUN position, but don’t start the engine. Without
level surface.
applying the regular brake, try to move the shift lever out of
P (Park) with normal effort. If the
shift lever moves out of
P (Park), your vehicle’s BTSI needs service.
Page 216 of 243
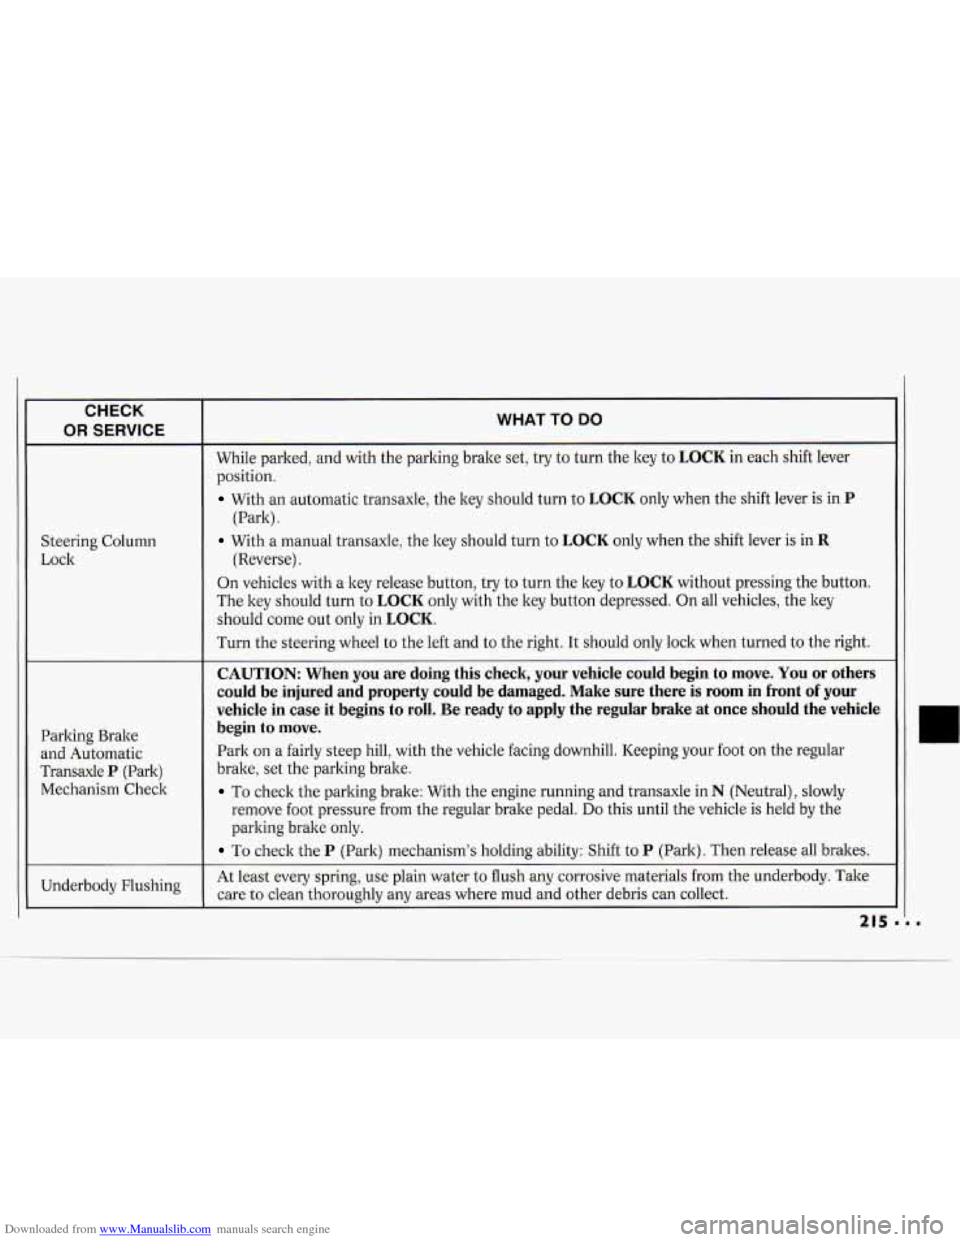
Downloaded from www.Manualslib.com manuals search engine CHECK
I OR SERVICE
Steering Column
Lock
Parking Brake
and Automatic
Transaxle
P (Park)
Mechanism Check
WHAT TO DO
While parked, and with the parking brake set, try to turn the key to LOCK in each shift lever
position.
With an automatic transaxle, the key should turn to LOCK only when the shift lever is in P
(Park) .
With a manual transaxle, the key should turn to LOCK only when the shift lever is in R
(Reverse).
On vehicles with a key release button, try to turn the key to
LOCK without pressing the button.
The key should turn to
LOCK only with the key button depressed. On all vehicles, the key
should come out only in
LOCK.
Turn the steering wheel to the left and to the right. It should only lock when turned to the right.
~~ ~~ ~
CAUTION: When you are doing this check, your vehicle could begin to move. You or others
could be injured and property could be damaged. Make sure ther\
e is room in front
of your
vehicle in case
it begins to roll. Be ready to apply the regular brake at once should the vehicle
begin to move.
Park on a fairly steep hill, with the vehicle facing downhill. Keeping your foot on the regular
brake, set the parking brake.
To check the parking brake: With the engine running and transaxle in N (Neutral), slowly
remove foot pressure from the regular brake pedal.
Do this until the vehicle is held by the
parking brake only.
To check the P (Park) mechanism’s holding ability: Shift to P (Park). Then release all brakes.
At least every spring, use plain water to flush any corrosive materials from the underbody. Take
care
to clean thoroughly any areas where mud and other debris can collect.
Page 217 of 243
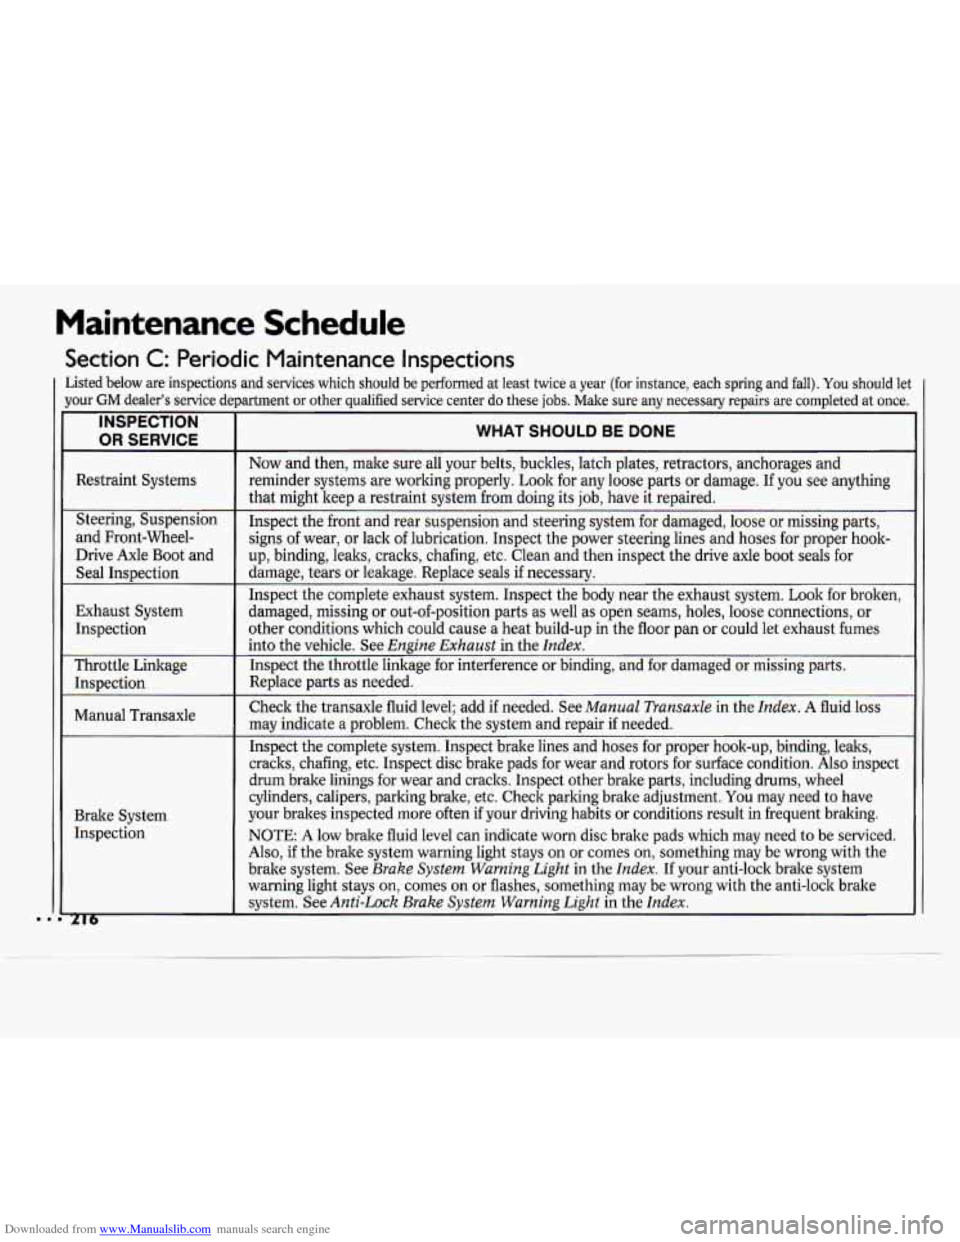
Downloaded from www.Manualslib.com manuals search engine Maintenance Schedule
Section C: Periodic Maintenance Inspections
Listed below are inspections and services which should be performed at least twice a year (for instance, each spring and fall). You should let
Jour
GM dealer’s service department or other qualified service center \
do these jobs. Make sure any necessary repairs are completed at once.
INSPECTION
OR SERVICE
Restraint Systems
Steering, Suspension
and Front-Wheel-
Drive Axle Boot and
Seal InsDection
Exhaust System Inspection
Throttle Linkage Inspection
Manual Transaxle
Brake System Inspection
216
WHAT SHOULD BE DONE
Now and then, make sure all your belts, bucltles, latch plates, retractors, anchorages and
reminder systems are worlting properly. Look for any loose parts or damage. If you see anything
that might keep a restraint system from doing its job, have it repaired.
Inspect the front and rear suspension and steering system for damaged, loose or \
missing parts,
signs of wear, or lack
of lubrication. Inspect the power steering lines and hoses for proper hook-
up, binding, leaks, cracks, chafing, etc. Clean and then inspect the drive axle boot seals for
damage, tears or leakage. Replace seals if necessary.
~ ~~~~~~
Inspect the complete exhaust system. Inspect the body near the exhaust system. Look for broken,
damaged, missing or out-of-position parts as well as open seams, holes, loose connections, or
other conditions which could cause a heat build-up in the floor pan or could let exhaust fumes
into the vehicle. See
Engine Exhaust in the Index.
Inspect the throttle linkage for interference or binding, and for damaged or missing parts.
Replace parts as needed.
.-
Check the transaxle fluid level; add if needed. See Manual Transaxle in the Index. A fluid loss
may indicate a problem. Check the system and repair if needed.
Inspect the complete system. Inspect brake lines and hoses for proper hook-\
up, binding, leaks,
cracks, chafing, etc. Inspect disc brake pads for wear and rot\
ors for surface condition. Also inspect
drum brake linings for wear and cracks. Inspect other brake parts, including drums, wheel
cylinders, calipers, parking brake, etc. Check parking brake adj\
ustment. You may need to have
your brakes inspected more often if your driving habits or conditions result in frequent braking.
NOTE: A low brake fluid level can indicate worn disc brake pads which \
may need to be serviced.
Also, if the brake system warning light stays on or comes
on, something may be wrong with the
brake system. See
Brake System Warning Light in the Index. If your anti-lock brake system
warning light stays on, comes on or flashes, something may be wrong with the anti-lock brake
system. See
Anti-Lock Brake System Warning Light in the Index.
11
.