1994 CHEVROLET CAVALIER ECU
[x] Cancel search: ECUPage 38 of 243
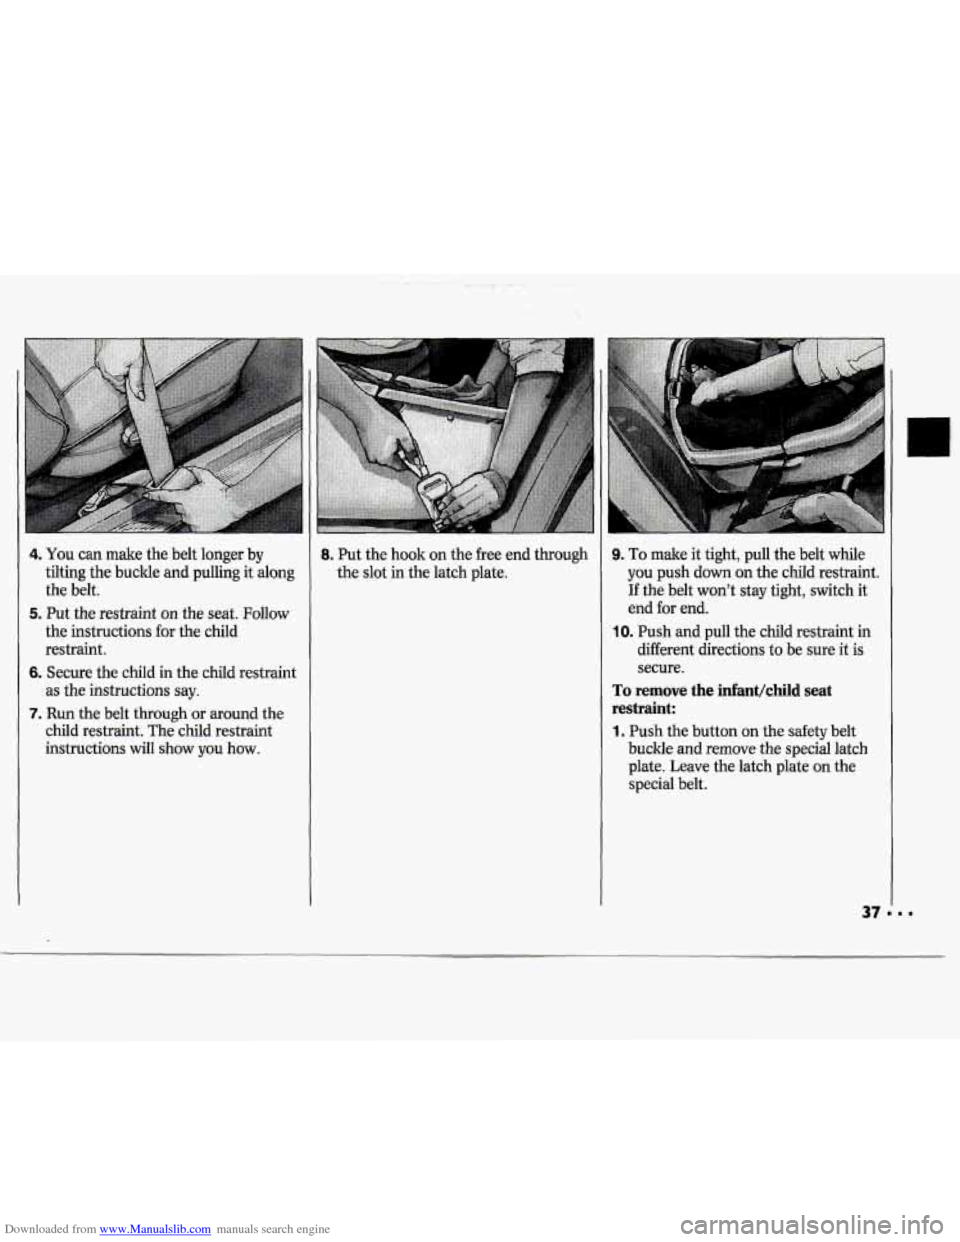
Downloaded from www.Manualslib.com manuals search engine 4. You can make the belt longer by
tilting the buckle and pulling it along
the belt.
5. Put the restraint on the seat. Follow
the instructions for the child
restraint.
6. Secure the child in the child restraint
as the instructions say.
7. Run the belt through or around the
child restraint. The child restraint
instructions will show you how.
8. Put the hook on the free end through
the slot
in the latch plate.
9. To make it tight, pull the belt while
you push down on the child restraint.
If the belt won't stay tight, switch it
end for end.
IO. Push and pull the child restraint in
different directions to be sure it
is
secure.
To remove the infant/child seat
restraint:
1. Push the button on the safety belt
buckle and remove the special latch
plate. Leave the latch plate on the
special belt.
Page 50 of 243
Downloaded from www.Manualslib.com manuals search engine Convenience Net (OPTION)
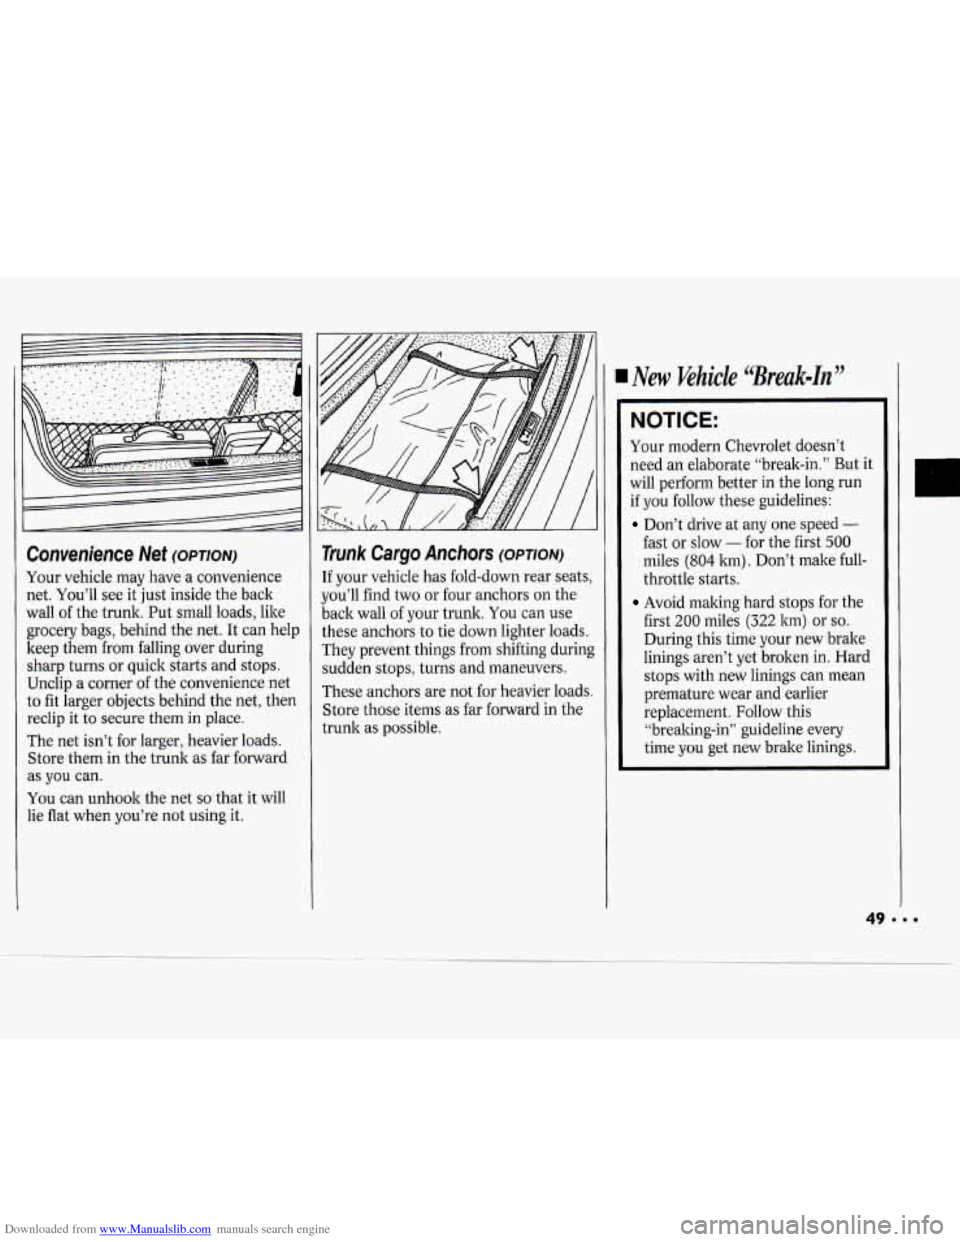
Your vehicle may have a convenience
net. You’ll see it just inside the back
wall of the trunk. Put small loads, like
grocery bags, behind the net. It can help
keep them
from falling over during
sharp turns or quick starts and stops.
Unclip a corner of the convenience net
to fit larger objects behind the net, then
reclip it to secure them in place.
The net isn’t for larger, heavier loads.
Store them in the trunk as far forward
as
you can.
You can unhook the net
so that it will
lie flat when you’re not using it.
Trunk Cargo Anchors (OPTION)
If your vehicle has fold-down rear seats,
you’ll find two or four anchors on the
back wall of your trunk.
You can use
these anchors to tie down lighter loads.
They prevent things from shifting during
sudden stops, turns and maneuvers.
These anchors are not for heavier loads.
Store those items as far forward in the
trunk as possible.
New Khicle ‘Break-in"
NOTICE:
Your modern Chevrolet doesn’t
need an elaborate “break-in.” But it
will perform better in the long run
if you follow these guidelines:
Don’t drive at any one speed -
fast or slow - for the fist 500
miles (804 km) . Don’t make full-
throttle starts.
Avoid making hard stops for the
first
200 miles (322 km) or so.
During this time your new brake
linings aren’t yet broken in. Hard
stops with new linings can mean
premature wear and earlier
replacement. Follow this
“brealring-in” guideline every
time you get new brake linings.
Page 78 of 243
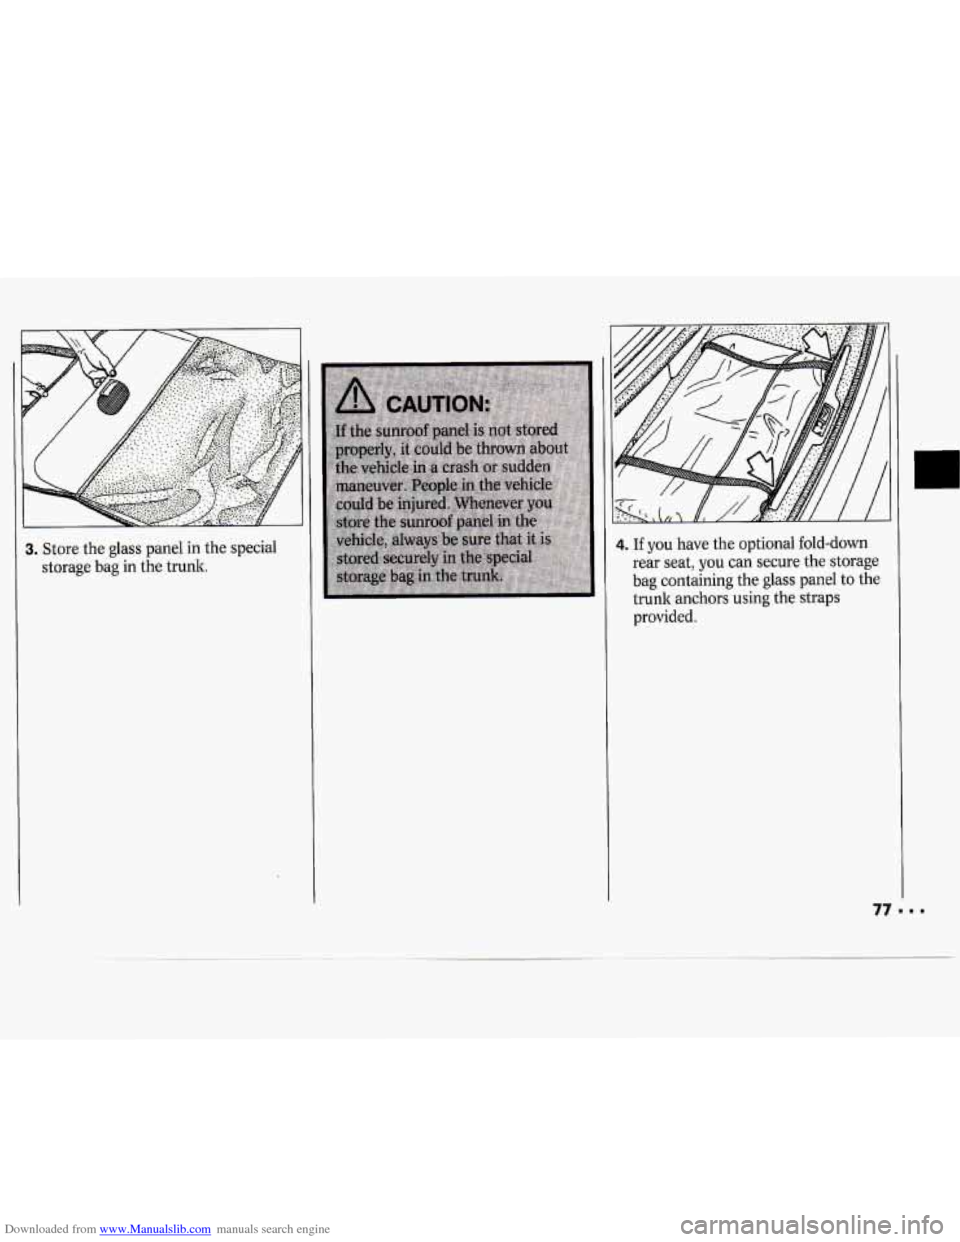
Downloaded from www.Manualslib.com manuals search engine Store the glass panel in the special
storage bag
in the trunk.
4. If you have the optional fold-down
rear seat, you can secure the storage
bag containing the glass panel to the
trunk anchors using the straps
provided.
77"'
Page 80 of 243
Downloaded from www.Manualslib.com manuals search engine Roof Luggage Carrier
(WAGON, OPTION)
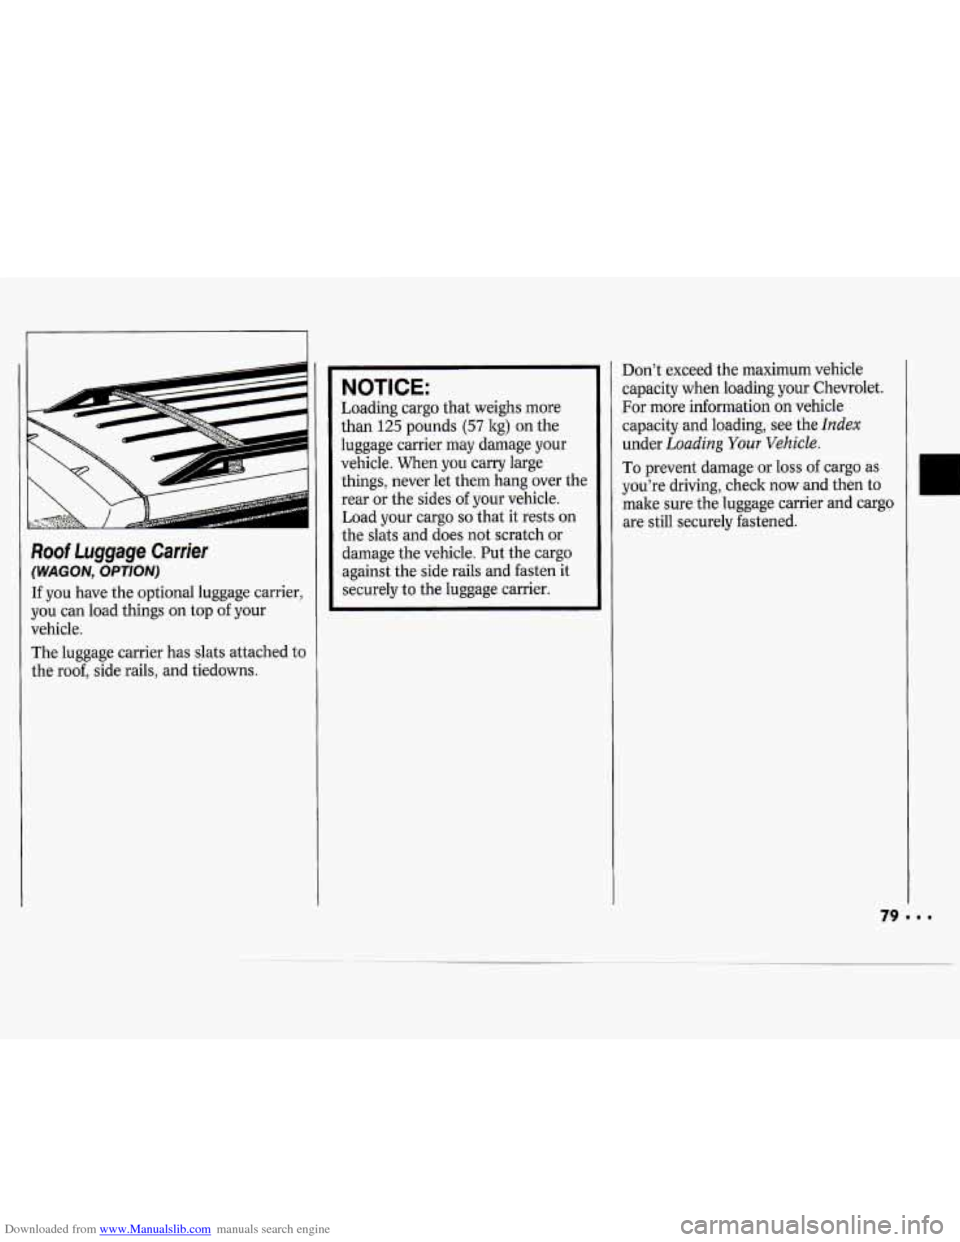
If you have the optional luggage carrier,
you can load things on top of your
vehicle.
The luggage carrier has slats attached
to
the roof, side rails, and tiedowns.
NOTICE:
Loading cargo that weighs more
than
125 pounds (57 kg) on the
luggage carrier may damage your
vehicle. When you carry large things, never let them hang over the
rear or the sides
of your vehicle.
Load your cargo
so that it rests on
the slats and does not scratch or
damage the vehicle. Put the cargo
against the side rails and fasten it
securely to the luggage carrier. Don’t
exceed the maximum vehicle
capacity when loading your Chevrolet.
For more information on vehicle
capacity and loading, see the
Index
under Loading Your Vehicle.
To prevent damage or loss of cargo as
you’re driving, check now and then
to
make sure the luggage carrier and cargo
are still securely fastened.
Page 104 of 243

Downloaded from www.Manualslib.com manuals search engine and start again when you turn on the
ignition or the
PWR-VOL button. The
disc will begin playing at the point
where it had been stopped.
ST-PL (Stop-Play): Press to stop the
disc player; the radio will play. Press
again to play the disc (the player will
start playing the disc where it had
stopped earlier).
EJCT (Eject): Press to eject the disc; the
radio will play. The disc will start at
track
1 when you reinsert it. EJCT works
even when the radio or the ignition is
off.
CD Player Anti-Theft Feature
Delco LOC II@ is a security feature that
can be used or ignored. If you ignore it,
the radio will play normally. If you use
it, your radio cannot be turned on
if it is
stolen. These instructions will tell you
how to enter a secret code into the radio.
If battery power is lost for any reason, the
secret code must be entered again before
your audio system can be turned on.
To Set the Anti-Theft System:
1. Write down any six-digit number and
keep it in a safe place. This is your
secret code.
2. Turn the ignition on.
3. Rotate the PWR-VOL knob to turn
the radio
off.
4. Press station preset buttons 1 and 4
at the same time and hold until "- - -"
shows on the display. You now have
only
15 seconds between each of the
following steps.
5. Press SET and 000 will appear on
the display.
6. Press SCAN until the first digit of
your code appears.
7. Press SEEK until the second and
third digits of your code appear.
8. Press the TUNE knob (000 will
appear on the display).
9. Press SCAN until the fourth digit of
your code appears.
IO. Press SEEK until the fifth and sixth
11. Press the TUNE knob (rEP will
12. Repeat steps 6 through 10. Then
digits
of your code appear.
appear for five seconds, then
000 ) .
press the TUNE knob again. SEC
will appear, indicating that Delco
LOC IP is set, and your radio is
secure. If
"- - -" appears, the steps
were not successful and you must
repeat the entire procedure.
To Disable the Anti-Theft System:
Enter your secret code by following
these steps (you will have only
15
seconds between each step).
1, Turn the ignition on and the radio
off, then press station preset buttons
1 and 4. SEC will appear, showing
the radio is secure.
2. Press SET and 000 will appear on
the display.
3. Press SCAN until the first digit of
your secret code appears.
4. Press SEEK until the second and
third digits of your code appear.
5. Press the TUNE knob (000 will
appear on the display).
6. Press SCAN until the fourth digit of
your code appears.
7. Press SEEK until the fifth and sixth
digits of your code appear.
I03
Page 105 of 243
Downloaded from www.Manualslib.com manuals search engine Comfort Controls & Audio Systems
8. Press the TUNE knob. If the display
shows
"- - -," the radio is unsecured
and
will play again. If the display
shows
SEC, the steps were not
successful and the numbers did not
match the secret code.
If
you lose or forget your code, see your
dealer.
If you lose battery power, when the
battery is reconnected the radio will not
turn on and
IX)C will appear. Follow
steps
1-8 for disabling your system, and
the time will appear
if you are successful.
If
SEC appears, the numbers did not
match and
YOUK unit is still locked.
Understanding Radio Reception
FM Stereo
FM Stereo will give you the best sound,
but FM signals
will reach only about 10
to 40 miles (16 to 65 la). Tall buildings
or hills can interfere with FM signals,
causing the sound to come and go.
AM
The range for most AM stations is
greater than for
FM, especially at night.
The longer range, however,
can cause
stations to interfere with each other,
AM can also pick up noise from things
like storms and power lines. To lower
this noise,
try reducing the treble level.
Care of Your Cassette Tape
Player
A tape player that is not cleaned
regularly
is subject to reduced sound
quality, ruining the cassette, or
damaging the mechanism. Tape
cassettes that are not properly stored in
their plastic cases away from
contaminants, direct sunlight, and
extreme heat may not operate properly
and could cause premature failure of I'
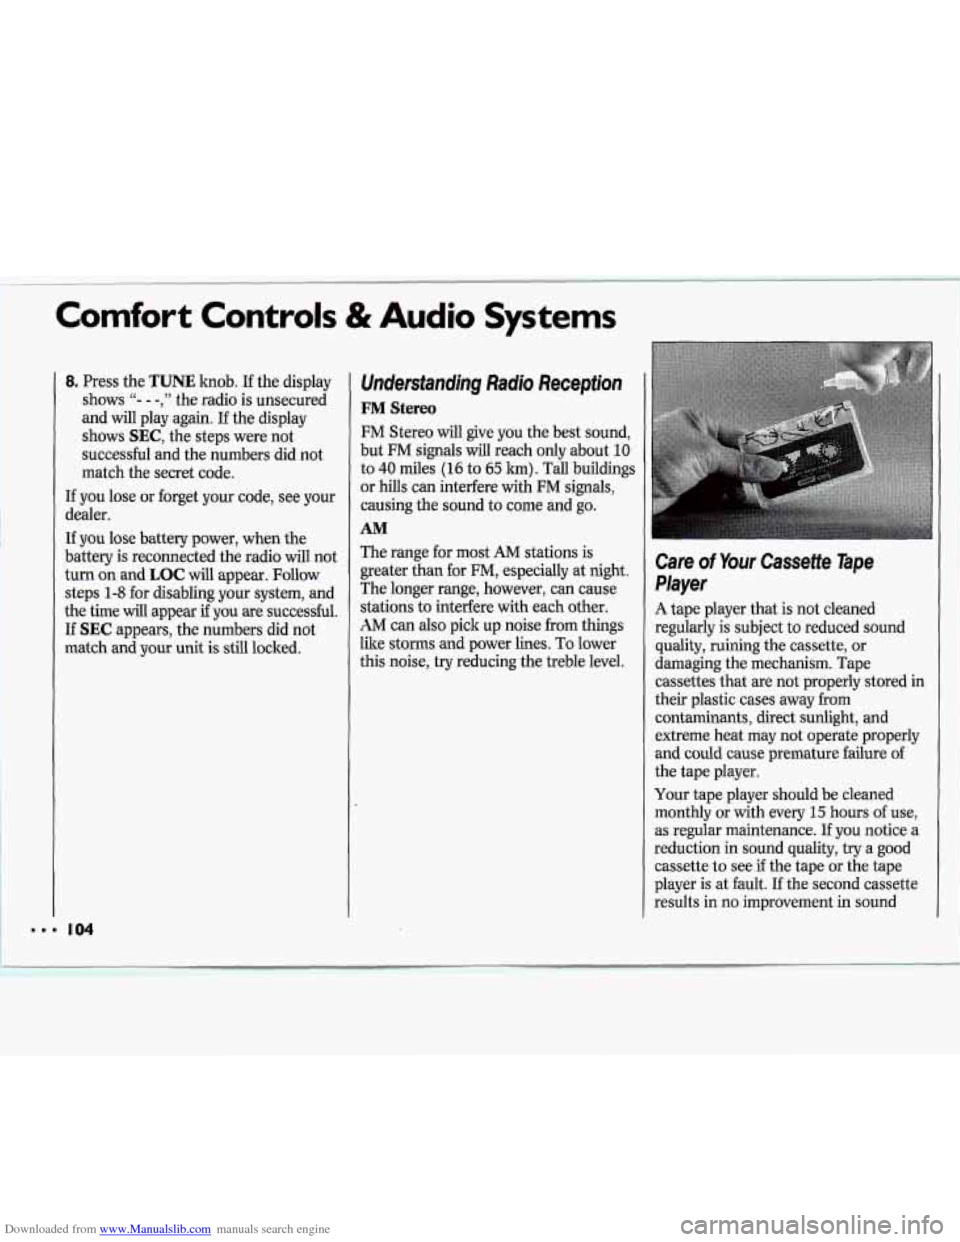
the tape player.
Your tape player should be cleaned
monthly or with every
15 hours of use,
as regular maintenance. If you notice a ll
reduction in sound quality, try a good
cassette to see
if the tape or the tape
player is at fault. If the second cassette
results in no improvement in sound
Page 124 of 243
Downloaded from www.Manualslib.com manuals search engine 4 Winter Driving
Here are some tips for winter driving:
Have your Chevrolet in good shape
for winter. Be sure your engine
coolant mix is correct.
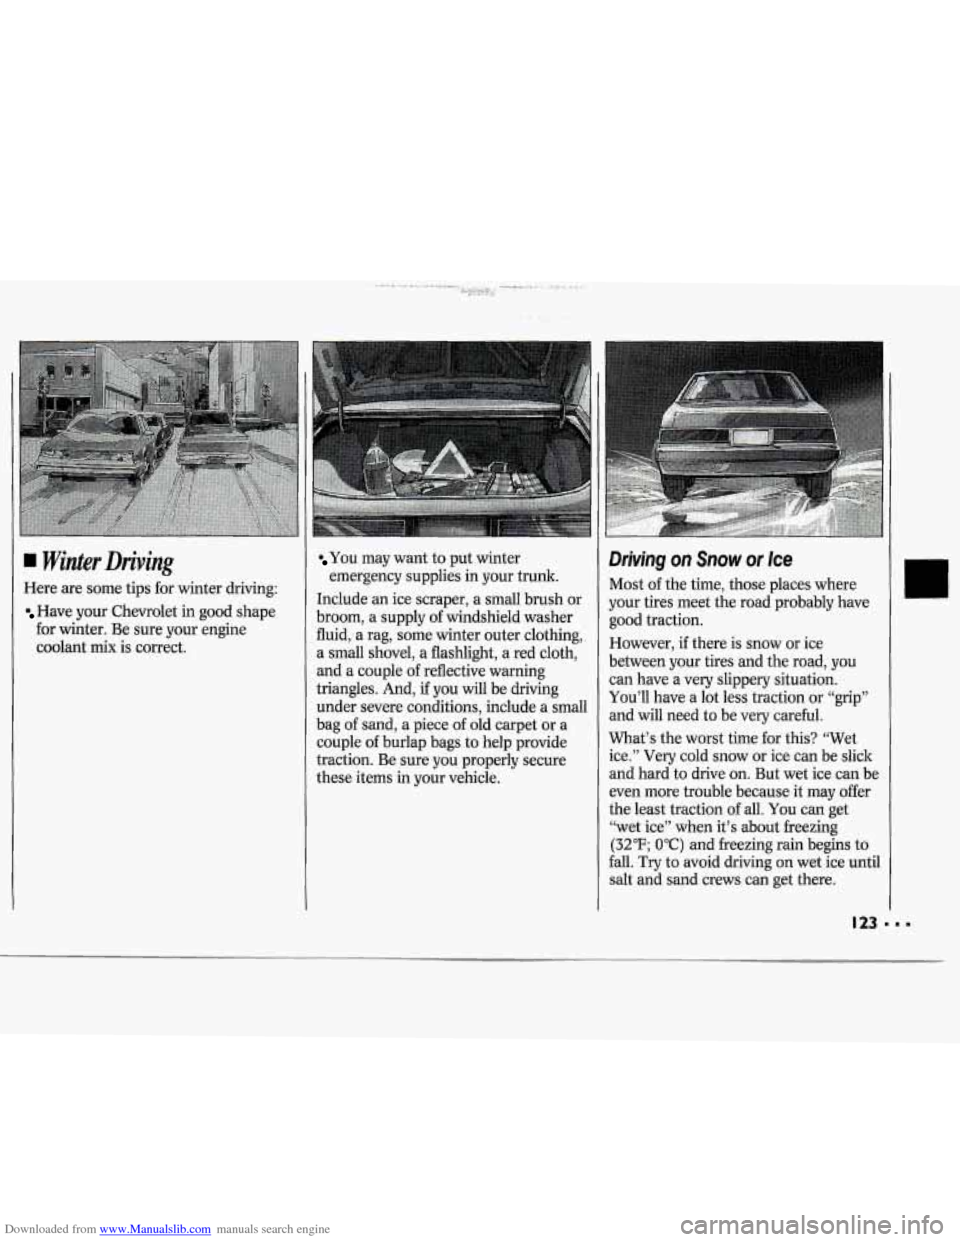
You may want to put winter
emergency supplies in your trunk.
Include an ice scraper, a small brush or
broom,
a supply of windshield washer
fluid, a rag, some winter outer clothing,
a small shovel, a flashlight, a red cloth,
and a couple
of reflective warning
triangles. And,
if you will be driving
under severe conditions, include a small
bag
of sand, a piece of old carpet or a
couple of burlap bags to help provide
traction. Be sure you properly secure
these items in your vehicle.
Driving on Snow or Ice
Most of the time, those places wnere
your tires meet the road probably have
good traction.
However, if there is snow or ice
between your tires and the road, you
can have a very slippery situation.
You’ll have a lot less traction or “grip”
and will need to be very careful.
What’s the worst time for this? “Wet
ice.” Very cold snow or ice can be slick
and hard to drive on. But wet ice can be
even more trouble because it may offer
the least traction of all. You can get
“wet ice” when it’s about freezing
(32°F; OOC) and freezing rain begins to
fall. Try to avoid driving on wet ice until
salt and sand crews can get there.
Page 148 of 243
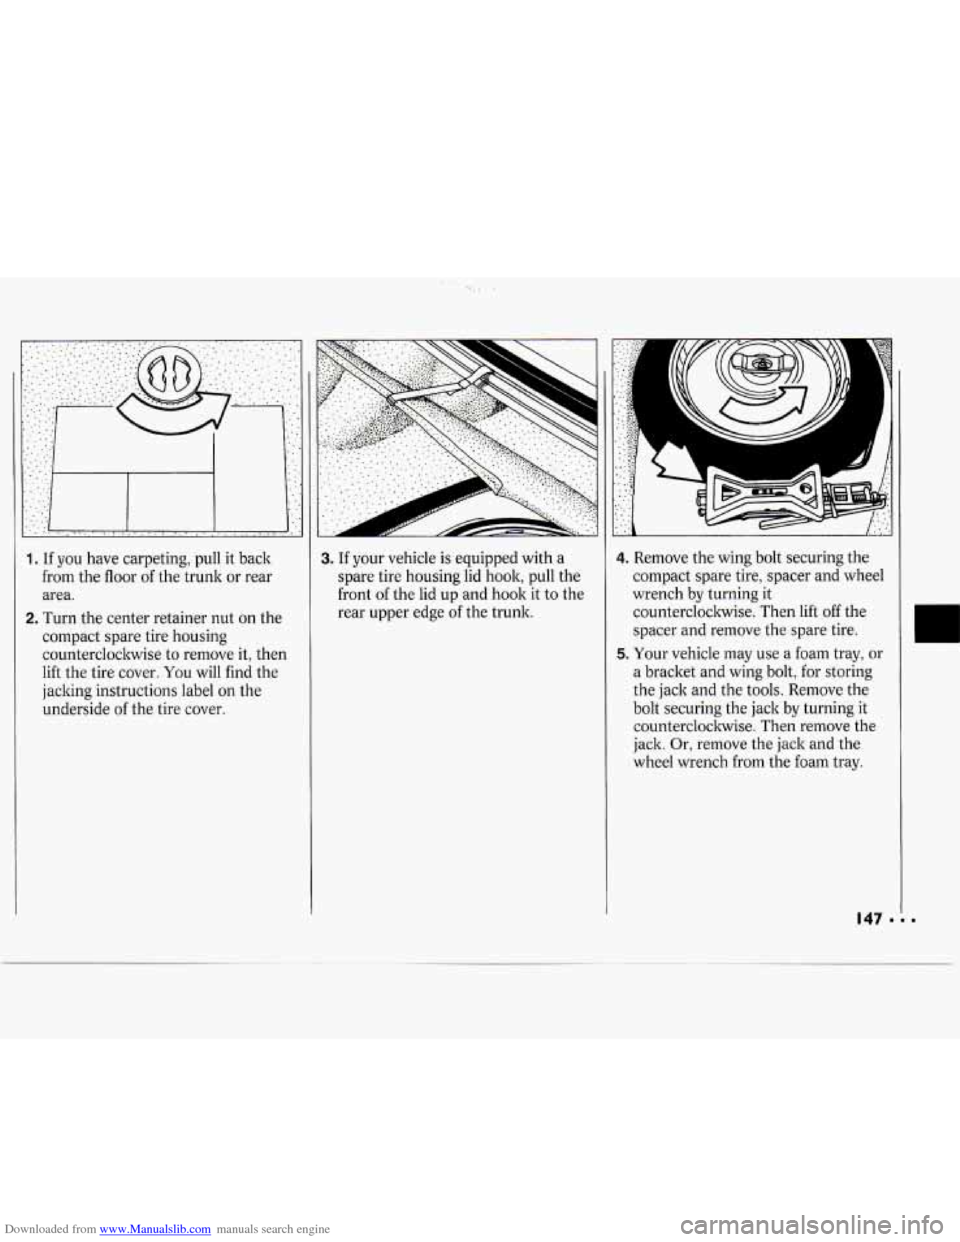
Downloaded from www.Manualslib.com manuals search engine 1. If you have carpeting, pull it back
from the floor of the trunk or rear
area.
2. Turn the center retainer nut on the
compact spare tire housing counterclockwise to remove it, then
lift the tire cover.
You will find the
jacking instructions label
on the
underside
of the tire cover.
..
3. If your vehicle is equipped with a
spare tire housing lid hook, pull the
front
of the lid up and hook it to the
rear upper edge
of the trunk.
4. Remove the wing bolt securing the
compact spare tire, spacer and wheel
wrench by turning it
counterclockwise. Then lift off the
spacer and remove the spare tire.
5. Your vehicle may use a foam tray, or
a bracket and wing bolt, for storing
the jack and the tools. Remove the
bolt securing the jack by turning it
counterclockwise. Then remove the
jack. Or, remove the jack and the
wheel wrench from the foam tray.
I