Page 89 of 324

Parking Brake
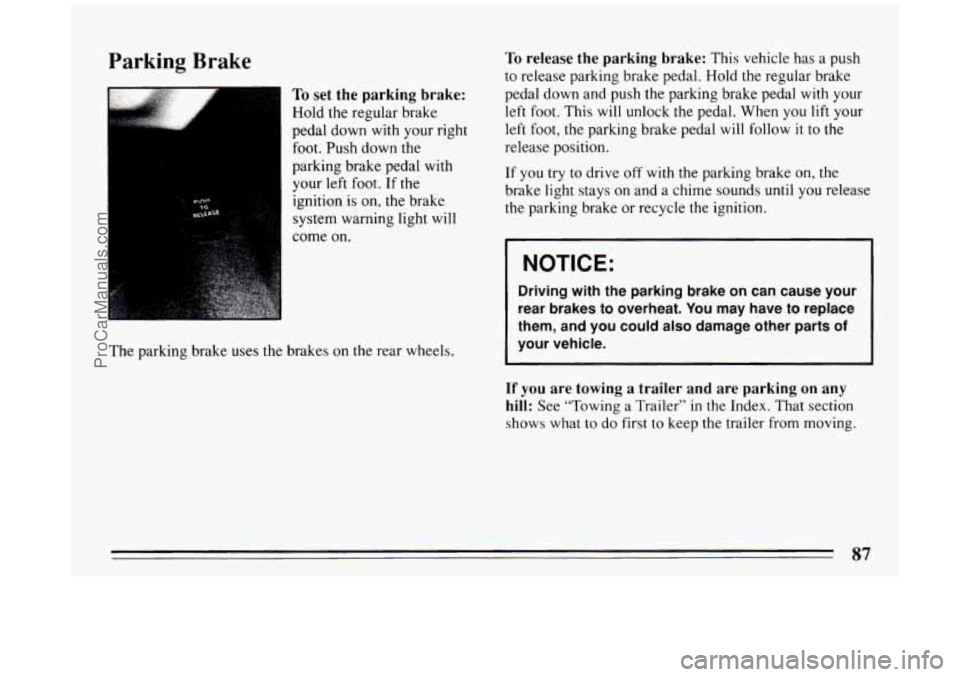
To set the parking brake:
Hold the regular brake
pedal down with your right
foot. Push down the
parking brake pedal with
your
left foot. If the
ignition is on, the brake
system warning light will
come on.
The parking brake uses
the brakes on the rear wheels.
To release the parking brake: This vehicle has a push
to release parking brake pedal. Hold
the regular brake
pedal down and push the parking brake pedal with your
left foot. This
will unlock the pedal. When you lift your
left
foot, the parking brake pedal will follow it to the
release position.
If
you try to drive off with the parking brake on, the
brake light stays on and a chime sounds until you release
the parking brake or recycle the ignition.
I NOTICE:
Driving with the parking brake on can cause your
rear brakes to overheat.
You may have to replace
them, and you could
also damage other parts of
your vehicle.
If you are towing a trailer and are parking on any
hill:
See “Towing a Trailer” in the Index. That section
shows what to
do first to keep the trailer from moving.
87
ProCarManuals.com
Page 90 of 324
Shifting Into 66 P 79 (Park)
1. Hold the brake pedal down with your right foot and
set the parking brake.
2. Move the shift lever into “P’ (Park) position like
this:
0 Pull the lever toward you.
88
ProCarManuals.com
Page 91 of 324
Move the lever up as far as it will go.
3. Move the ignition key to “Lock.”
4. Remove the key and take it with you. If you can
walk away from
your vehicle with the ignition key in
your hand, your vehicle is in “P” (Park).
Leaving Your Vehicle With the Engine
Running
If you have to leave your vehicle with the engine
running, be sure your vehicle
is in “P” (Park) and your
parking brake
is firmly set before you leave it. After
you’ve moved the shift lever into the
“P” (Park)
position, hold the regular brake pedal down. Then, see
if
you can move the shift lever away from “P” (Park)
without first pulling
it toward you. If you can, it means
that the
shift lever wasn’t fully locked into “P” (Park).
89
ProCarManuals.com
Page 92 of 324

Torque Lock
If you are parking on a hill and you don’t shift your
transaxle into
“P’ (Park) properly, the weight of the
vehicle may put too much force on the parking pawl
in
the transaxle. You may find it difficult to pull the shift
lever out of
“P’ (Park). This is called “torque lock.” To
prevent torque lock, set the parking brake and then shift
into “P” (Park) properly before you leave the driver’s
seat.
To find out how, see “Shifting Into ‘P’ (Park)” in
the Index.
When
you are ready to drive, move the shift lever out of
“P” (Park) BEFORE you release the parking brake.
If “torque lock” does occur, you may need
to have
another vehicle push yours
a little uphill to take some of
the pressure from the transaxle,
so you can pull the shift
lever out of “P’ (Park).
Shifting Out of P (Park) 66 99
Your hick has a brake-transaxle shift interlock. You
have
to fully apply your regular brake before you can
shift from
“P’ (Park) when the ignition is in the “Run”
position. See “Automatic Transaxle”
in the Index.
If you cannot shift
out of T“ (Park), ease pressure on
the shift lever
-- push the shift lever all the way into “P”
(Park) as you maintain brake application.
Then move the
shift lever into the gear you want. If
you ever hold the
brake pedal down but still can’t shift out of
“P” (Park),
try this:
1, Turn the key to “Off.” Open and close the driver’s
door
to turn off the Retained Accessory Power
feature,
if you have it.
2. Apply and hold the brake until the end of Step 4.
3. Shift to “N” (Neutral).
4. Start the vehicle and then shift to the drive gear you
5. Have the vehicle fixed as soon as you can.
want.
ProCarManuals.com
Page 124 of 324

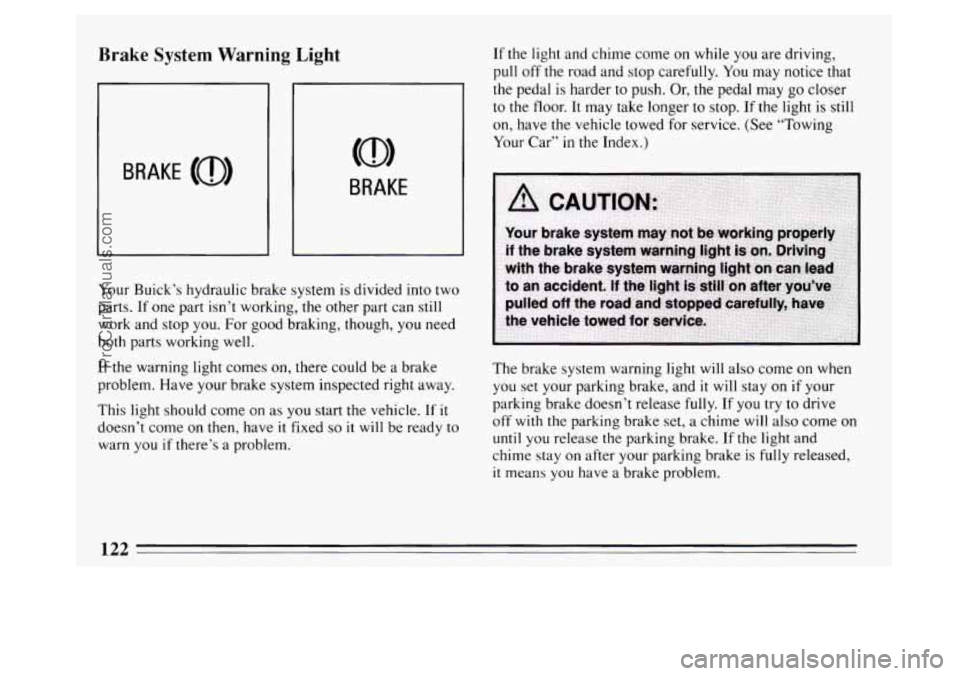
Brake System Warning Light
BRAKE
Your Buick’s hydraulic brake system is divided into two
parts. If one part isn’t working, the other part can still
work and stop you. For good braking, though,
you need
both parts working well.
If the warning light comes on, there could be
a brake
problem. Have your brake system inspected right away.
This light should come on as you start the vehicle. If
it
doesn’t come on then, have it fixed so it will be ready to
warn you if there’s
a problem. If
the light and chime come on while you are driving,
pull off the road and stop carefully. You may notice that
the pedal
is harder to push. Or, the pedal may go closer
to
the floor. It may take longer to stop. If the light is still
on, have the vehicle towed for service. (See “Towing
Your Car”
in the Index.)
The brake system warning light will also come on when
you set your parking brake, and
it will stay on if your
parking brake doesn’t release
fully. If you try to drive
off
with the parking brake set, a chime will also come on
until you release the parking brake. If the light and
chime stay on after your parking brake is
fully released.
it means you have a brake problem.
122
ProCarManuals.com
Page 195 of 324

Turn Signals When Towing a Trailer
When you tow a trailer, your vehicle has to have a
different turn signal flasher and extra wiring. The green
arrows on your instrument panel
will flash whenever
you signal a turn or lane change. Properly hooked up,
the trailer lights
will also flash, telling other drivers
you’re about to turn, change lanes or stop.
When towing a trailer, the green arrows on your
instrument panel will flash for turns even
if the bulbs on
the trailer are burned out. Thus, you may
think drivers
behind you are seeing your signal when they are not. It’s
important to check occasionally to be sure the trailer
bulbs are still working.
Your vehicle has bulb warning lights. When you plug
trailer lights into your vehicle’s lighting system, its bulb
warning lights may not
let you know if one of your
lights goes out.
So, when you have trailer lights plugged
in, be sure to check your vehicle and trailer lights from
time to time to be sure they’re all working. Once you
disconnect the trailer lights, the bulb warning lights
again can tell you
if one of your vehicle lights is out.
Driving On Grades
Reduce speed and shift to a lower gear before you start
down a long or steep downgrade. If you don’t shift down,
you might have to use your brakes
so much that
they would get hot and no longer work well.
On a long uphill grade, shift down to “D or 3” (Drive)
and reduce your speed to around
45 mph (70 km/h) to
reduce the possibility of engine and transaxle
overheating.
Parking on Hills
You really should not park your vehicle, with a trailer
attached,
on a hill. If something goes wrong, your rig
could start to move. People can be injured, and both
your vehicle and the trailer can be damaged.
But
if you ever have to park your rig on a hill, here’s
how
to do it:
1. Apply your regular brakes, but don’t shift into “P”
(Park) yet.
2. Have someone place chocks under the trailer wheels.
3. When the wheel chocks are in place, release the
regular brakes until the chocks absorb the load.
4. Reapply the regular brakes. Then apply your parking
brake, and the shift to
“P” (Park).
5. Release the regular brakes.
193
ProCarManuals.com
Page 196 of 324
When You Are Ready to Leave After
Parking on a Hill
1. Apply your regular brakes and hold the pedal down
while you:
Start your engine;
0 Shift into a gear; and
0 Release the parking brake.
2. Let up on the brake pedal.
3. Drive slowly until the trailer is clear of the chocks.
4. Stop and have someone pick up and store the chocks.
Maintenance When Trailer Towing
Your vehicle will need service more often when you’re
pulling a trailer. See the Maintenance Schedule for more
on this. Things that are especially important in trailer
operation are automatic transaxle fluid (don’t overfill),
engine oil, belts, cooling system, and brake adjustment.
Each of these is covered in this manual, and the Index
will help you find them quickly. If you’re trailering, it’s
a good idea to review these sections before you start
your trip.
Check periodically to see that all hitch nuts and bolts are
tight.
194
ProCarManuals.com
Page 201 of 324
You could be injured if the vehicles roll. Set the
parking brake firmly
on each vehicle. Put an
automatic transaxle
in “P” (Park) or a manual
transaxle in “N” (Neutral).
3. Turn off the ignition on both vehicles. Turn off the
radios and all lights that aren’t needed. This
will
avoid sparks and help save both batteries. It could
save your radio!
NOTICE:
If you leave your radio on, it could be badly
damaged. The repairs wouldn’t be covered by
your warranty.
4. Open the hoods and locate the batteries. Find the positive
(+) and negative (-) terminals
on
each battery.
199
ProCarManuals.com