1994 BUICK PARK AVENUE ECU
[x] Cancel search: ECUPage 110 of 324
Mirrors
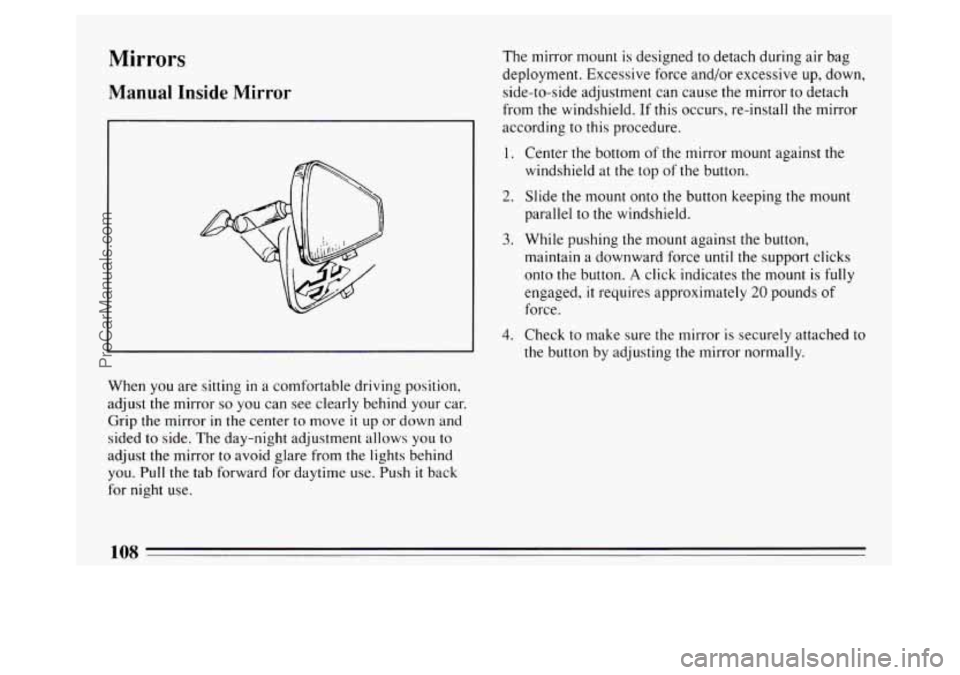
Manual Inside Mirror
When you are sitting in a comfortable driving position,
adjust the mirror
so you can see clearly behind your car.
Grip the mirror
in the center to move it up or down and
sided to side. The day-night adjustment allows you to
adjust the mirror to avoid glare from the lights behind
you. Pull
the tab forward for daytime use. Push it back
for night use. The mirror mount
is designed
to detach during air bag
deployment. Excessive force and/or excessive up, down,
side-to-side adjustment can cause the mirror to detach
from the windshield. If this occurs, re-install the mirror
according to this procedure.
1.
2.
3.
4.
Center the bottom of the mirror mount against the
windshield at the top
of the button.
Slide the mount onto the button keeping the mount
parallel to the windshield.
While pushing the mount against the button,
maintain
a downward force until the support clicks
onto the button.
A click indicates the mount is fully
engaged, it requires approximately 20 pounds of
force.
Check to make sure the mirror is securely attached to
the button by adjusting the mirror normally.
108
ProCarManuals.com
Page 157 of 324

Steering Wheel Controls
t‘
If your car has this feature, you can control certain radio
and comfort control functions using the pads on the
steering wheel.
You can select radio stations by pressing the pad marked
SEEK A or v.
Press PROG A to hear the stations preset on your radio
pushbuttons.
Press
BAND v to receive AM, FM 1 or FM2 radio
signals. To
increase or decrease the volume, press the pad
marked
VOL A or v.
The pad marked TEMP A or allows you to select
higher or lower temperature for the climate control
system.
Anti-Theft Feature
Delco-Loc I1 is a security feature for the compact disc
player. It can be used or ignored. If ignored, the system
plays normally. If security system
is used, your player
won’t be usable
if it’s ever stolen, because it won’t turn
on.
The instructions below tell you how to enter your
personal secret code into the system. If your vehicle
loses battery power
for any reason, you must unlock
the system
with the secret code again before the system
will turn on.
Be sure to read through the entire procedure and become
familiar
with the appropriate buttons and knobs before
starting.
1. Write down any &digit number and keep it in a safe
place.
2. Turn the ignition to the ACC or RUN position.
3. Press PWR to turn the radio off.
155
ProCarManuals.com
Page 158 of 324
4. Press preset 1 and 4 buttons together. Hold them
until
“---” shows on the display (at least 5 seconds).
You are now ready to enter your secret code. If you
pause more than
15 seconds between steps you may
have to start over.
5. Press SET and “000” will appear on the display.
6. Press SEEK and hold it until the first digit of your
code appears.
two numbers agree with your code.
7. Rotate the TUNE knob right or left to make the next
8. Press the BAND knob and “OOO” will appear. Now
you are ready to enter the second three digits of the
code according to steps
6 and 7.
9. Press the BAND knob. The display will show “rEP”
for
5 seconds, and then“000” will appear indicating
that some steps are to be repeated for verification.
10. Repeat steps 6, 7, and 8.
11. Press the BAND knob. If the display shows “SEC”,
the verification process was successful and the system is
SECURE. If the display shows “---”, the
verification steps were not successful and the entire
sequence must be started again.
To Unlock The System After a Power Loss
When battery power is reapplied to a secured radio, the
radio won’t turn on and “LOC” will appear in the
display.
Enter your secret code
as follows. Pause no more than
15 seconds between steps.
0 Turn the ignition ON (radio off.)
0 Press the SET button. The display will show “000”.
0 Enter the six digits of the code following steps 6 thru
9 on the preceding page. The display will show the
number as entered.
Press the BAND knob and the time appears --
indicating that the disabling sequence was
successful. If the display indicates “SEC”,
the
number did not match and the unit is still secured.
156
ProCarManuals.com
Page 159 of 324
Disabling The Theft System
Press preset buttons 1 and 4, for 5 seconds with the
ignition “On” and radio power “Off’. The display
will show “SEC”, indicating the unit is in the secure
mode.
Press the SET button. The display will show “000”.
Enter the first three digits of the code following step
6 and 7 of the preceding directions. The display will
show the numbers as entered.
Press the BAND knob. The radio will display “000”.
Enter the second three digits of the code. The display
Press the BAND knob. If the display shows “---” ,
will show the numbers as entered.
the disabling sequence was successful. (The numbers
matched the user-selected code
or the factory
back-up code) and the
unit is in the UNSECURED
mode. If the display shows “SEC”, the disabling
sequence was unsuccessful and the numbers did not
match either
of the codes and the unit will remain in
the SECURED mode.
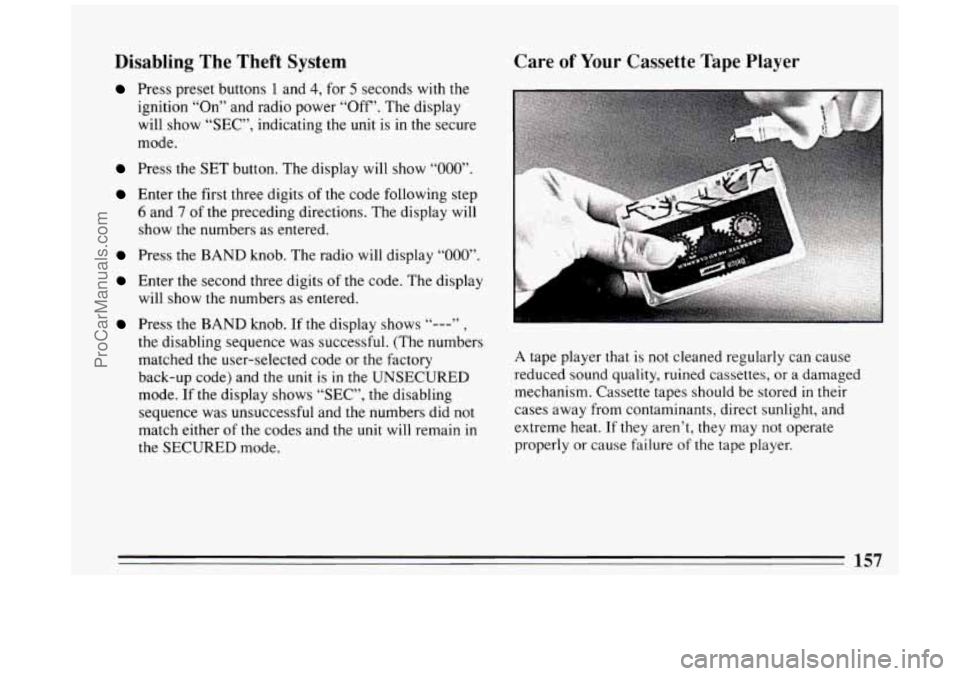
Care of Your Cassette Tape Player
A tape player that is not cleaned regularly can cause
reduced sound quality, ruined cassettes, or a damaged
mechanism. Cassette tapes should be stored
in their
cases away from contaminants, direct sunlight, and
extreme heat.
If they aren’t, they may not operate
properly or cause failure
of the tape player.
157
ProCarManuals.com
Page 186 of 324
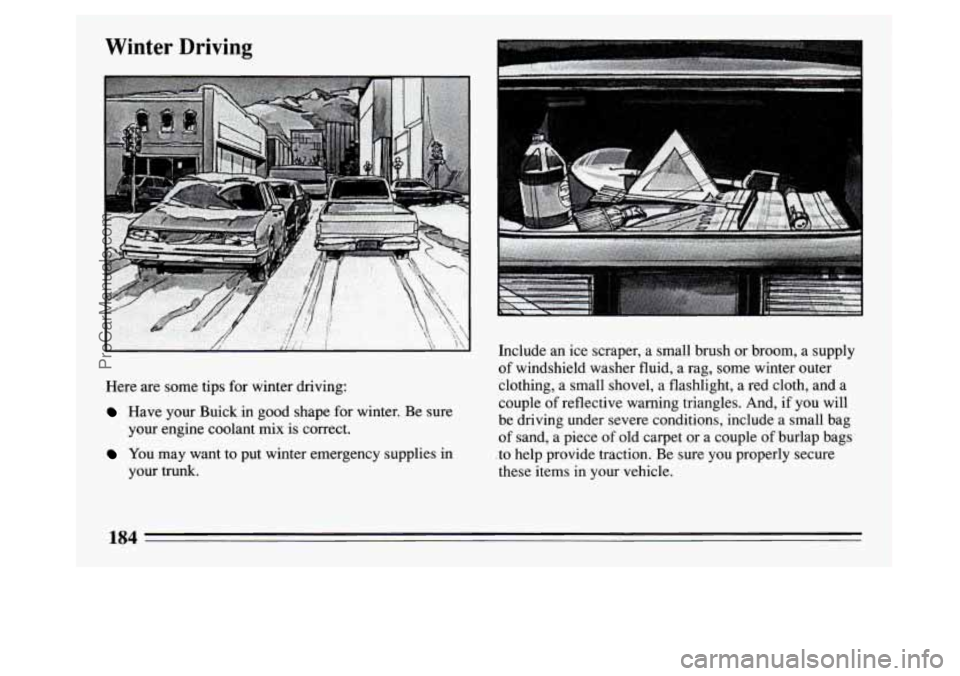
Here are some tips for winter driving:
Have your Buick in good shape for winter. Be sure
your engine coolant mix is correct.
You may want to put winter emergency supplies in
your trunk. Include
an ice scraper, a small brush or broom, a supply
of windshield washer fluid, a rag, some winter outer
clothing, a small shovel, a flashlight, a red cloth, and a
couple
of reflective warning triangles. And, if you will
be driving under severe conditions, include a small bag
of sand, a piece of old carpet or a couple of burlap bags
.to help provide traction.
Be sure you properly secure
these items in your vehicle.
184
ProCarManuals.com
Page 194 of 324
the trailer brakes so you’ll be able to install, adjust and
maintain them properly. Because you have anti-lock
brakes, do not try
to tap into you vehicle’s brake system.
If
you do, both brake systems won’t work well, or at all.
Driving with a Trailer
Towing a trailer requires a certain amount of experience.
Before setting out for the open road, you’ll want to get
to know your rig. Acquaint yourself with the feel of
handling and braking with the added weight of the
trailer. And always keep in mind that the vehicle you are
driving is now a good deal longer and not nearly
so
responsive as your vehicle is by itself.
Before you start, check the trailer hitch and platform,
safety chains, electrical connector, lights, tires and
mirror adjustment. If the trailer has electric brakes, start
your vehicle and trailer moving and then apply the
trailer brake controller by hand to be sure the brakes are
working. This lets you check your electrical connection
at the same time.
During your trip, check occasionally to be sure that the
load is secure, and that the lights and any trailer brakes
are still working.
Following Distance
Stay at least twice as far behind the vehicle ahead as you
would when driving your vehicle without a trailer. This
can help you avoid situations that require heavy braking
and sudden turns.
Passing
You’ll need more passing distance up ahead when
you’re towing a trailer. And, because you’re a good deal
longer, you’ll need
to go much farther beyond the
passed vehicle before you can return to your lane.
Backing Up
Hold the bottom of the steering wheel with one hand.
Then, to move the trailer to the
left, just move that hand
to the left.
To move the trailer to the right, move your
hand to the right. Always back up slowly and,
if
possible, have someone guide you.
Making Turns
When you’re turning with a trailer, make wider turns
than normal.
Do this so your trailer won’t strike soft
shoulders, curbs, road signs, trees, or other objects.
Avoid jerky or sudden maneuvers. Signal well in
advance.
192
ProCarManuals.com
Page 269 of 324
Used Replacement Wheels Tire Chains
NOTICE:
If your Buick has P215/70R15 size tires, don’t use
tire chains; they can damage your vehicle.
If you have other tires, use tire chains only where
legal and only when you must. Use only
SAE
Class “S” type chains that are the proper size for
your tires. Install them on the front tires and
tighten them as tightly as possible with the ends
securely fastened. Drive slowly and follow the
chain manufacturer’s instructions. If you can
hear the chains contacting your vehicle, stop and
retighten them. If the contact continues, slow
down until
it stops. Driving too fast with chains
on will damage your vehicle.
267
ProCarManuals.com
Page 308 of 324
Courtesy Transportation
To Buick Motor Division, Quality Means Service -- and
service means “keeping you
on the road.”
Included
with your 1994 Buick new car warranty, (36
months,
or 36,000 miles), is Courtesy Transportation, a
program which will provide Buick retail customers
with:
Reimbursement toward a loaner vehicle, courtesy of
Buick Motor Division, for up to five days for
vehicles requiring overnight warranty repairs. Also,
reimbursement up
to $30 a day (5 days maximum)
may be available for the cost
of a rental car, bus or
even a cab.
A free one-way shuttle ride up to
10 miles from the
dealership is available for customers whose vehicles
require same-day warranty repairs.
Courtesy Transportation is Buick’s way of extending the
Premium Service you’ve come to expect for Buick and
it’s 3,000 dealers. Please review the Courtesy
Transportation glove-box card contained
in your
vehicle, or consult your Buick dealer for details.
In Canada, please consult your GM dealer for
information on Courtesy Transportation.
Roadside Assistance
Buick Motor Division is proud to offer Buick Roadside
Assistance to customers for vehicles covered under
the
36 month/36,000 mile new car warranty (whichever
comes first).
Our commitment to Buick owners has always included
superior service through our network
of 3,000 Buick
dealers. Buick Roadside Assistance provides an extra
measure of convenience and security.
Buick Roadside Assistance:
- Provides owners with access to minor repairs or
towing for disabled vehicles.
- Takes the anxiety out of uncertain situations by
providing easy access
to service professionals trained
to work with Buick owners, 24-hour a day, 365 days
a year, including weekends and holidays.
For details of Buick Roadside Assistance
, please
consult your Buick Roadside Assistance owner booklet
included with your owner’s manual. For needed
assistance, call the Buick Roadside Assistance toll-free
hotline: 1-800-252-
1 11 2.
306 -
ProCarManuals.com