1993 PONTIAC GRAND-AM washer fluid
[x] Cancel search: washer fluidPage 81 of 306

Features & Controls
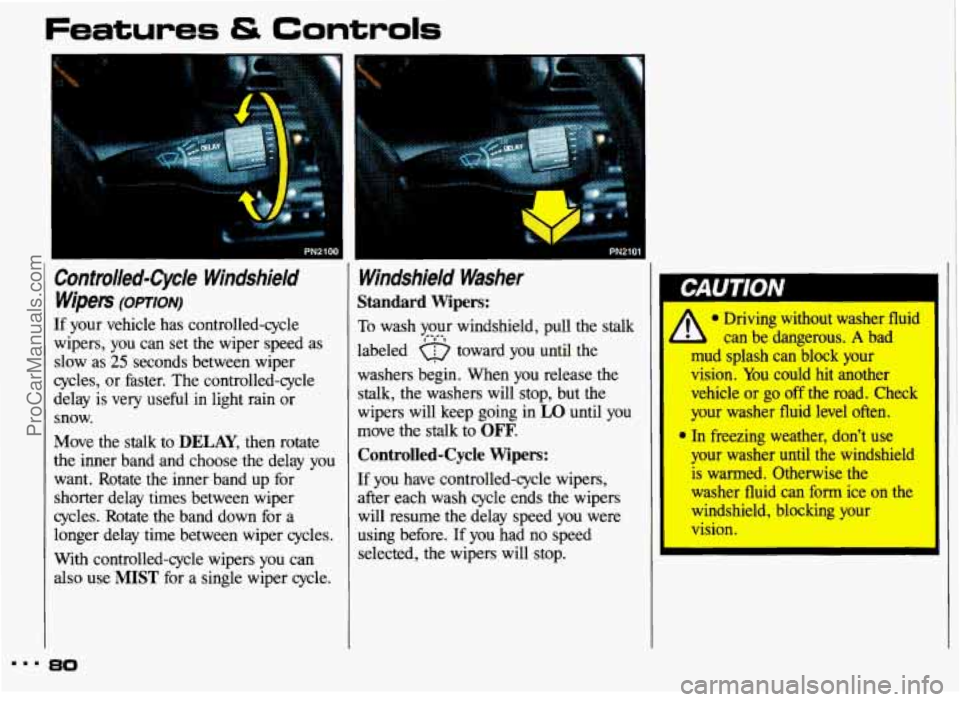
Gontrolled-Cycle Windshield Wipers
(OPTION)
If your vehicle has controlled-cycle
wipers, you can set the wiper speed as
slow as
25 seconds between wiper
cycles, or faster. The controlled-cycle
delay is very useful in light rain or
snow.
Move the stalk to
DELAY, then rotate
the inner band and choose the delay
you
want. Rotate the inner band up for
shorter delay times between wiper
cycles. Rotate the band down for a
longer delay time between wiper cycles.
With controlled-cycle wipers you can
also use
MIST for a single wiper cycle.
Windshield Washer
Standard Wipers:
To wash your windshield, pull the stalk
labeled
a toward you until the
washers begin. When you release the
stalk, the washers will stop, but the
wipers will keep going
in LO until you
move the stalk to OFF.
Controlled-Cycle Wipers:
*.-.
If you have controlled-cycle wipers,
after each wash cycle ends the wipers
will resume the delay speed you were
using before. If you had no speed
selected, the wipers will stop.
I”
I , * Driving without washer fluid
- b can be dangerous. A bad
mud splash can block your
vision. You could hit another
vehicle or go off the mad. Cheek
your washer fluid level often.
9 In freezing weather, don’t lase
pur washer until the windshield
is warmed. otherwise the
washer fluid can form ice on the
windshield, blocking your
vision.
8.. %O
ProCarManuals.com
Page 152 of 306

Here are some things you can check
before a trip:
Windshield Washer Fluid: Is the
reservoir full? Are all windows clean
inside and outside?
shape?
Have you checked all levels?
lenses clean?
safe, trouble-free trip.
Is the tread
good enough for long-distance
driving? Are the tires all inflated to
the recommended pressure?
weather outlook along your route? Should you delay your trip a short
time to avoid a major storm system?
Maps: Do you have up-to-date maps?
Wiper Blades: Are they in good
Fuel, Engine Oil, Other Fluids:
Lights: Are they all working? Are the
Tires: They are vitally important to a
Weather Forecasts: What’s the
On the Road
Unless you are the only driver, it is
good to share the driving task with
others. Limit
turns behind the wheel to
about
100 miles (160 km) or two hours
at a sitting. Then, either change drivers
or stop for some refreshment like coffee,
tea or
soft drinks and some. limbering
up. But do stop and move around. Eat
lightly along the way. Heavier meals
tend to make some people sleepy.
On two-lane highways or undivided
multilane highways that do not have
controlled access, you’ll want to watch
for some situations not usually found on
freeways. Examples are: stop signs and
signals, shopping centers with direct
access to the highway, no passing zones
and school zones, vehicles turning left
and right off the road, pedestrians,
cyclists, parked vehicles, and even
animals.
Highway Hypnosis
Is there actually such a condition as
“highway hypnosis”? Or is it just plain
falling asleep at the wheel?
Call it
highway hypnosis, lack of awareness, or
whatever.
There is something about an easy stretch
of road with the same scenery, along
with the hum of the tires on the road,
the drone of the engine, and the rush
of
the wind against the vehicle that can
make you sleepy. Don’t let it happen
to
you! If it does, your vehicle can leave
the road
in less than a second, and you
could crash and be injured.
What can you do about highway
hypnosis? First, be aware that it can
happen.
Then here are some tips:
Make sure your vehicle is well
ventilated, with a comfortably cool
interior.
151 ...
ProCarManuals.com
Page 157 of 306

Your Driving and the Road
Winter Driving
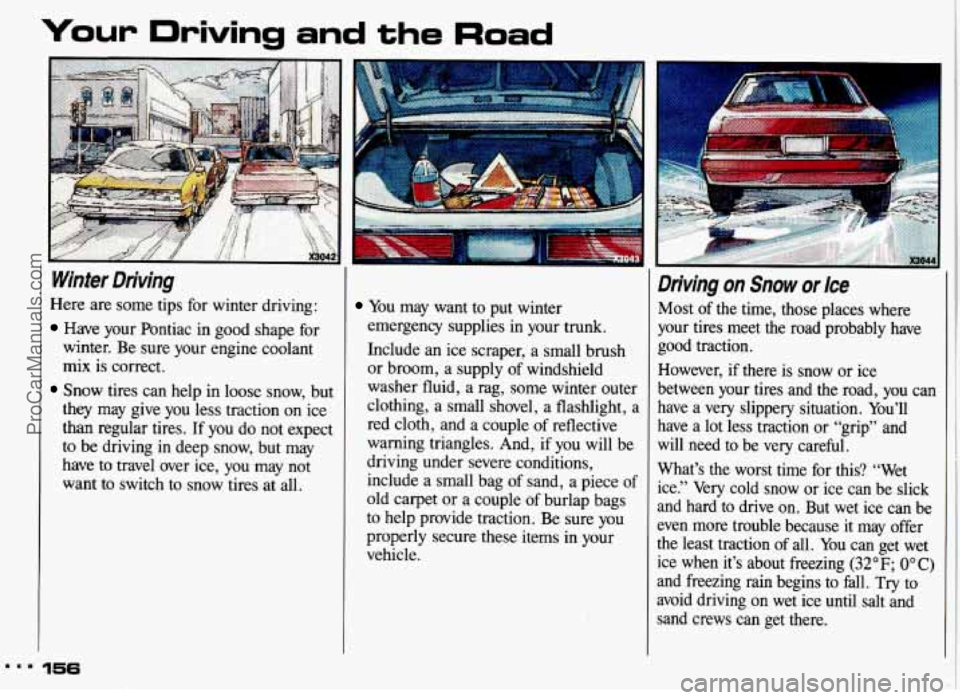
Here are some tips for winter driving:
Have your Pontiac in good shape for
winter. Be sure your engine coolant
mix is correct.
Snow tires can help in loose snow, but
they may give you less traction on ice
than regular tires. If you do not expect
to be driving in deep snow, but may
have to travel over ice, you may not
want to switch to snow tires at all.
.a. 156
You may want to put winter
emergency supplies in your trunk.
Include an ice scraper, a small brush
or broom, a supply of windshield
washer fluid, a rag, some winter outer
clothing, a small shovel, a flashlight, a
red cloth, and a couple of reflective
warning triangles. And, if
you will be
driving under severe conditions,
include a small bag of sand, a piece of
old carpet or a couple of burlap bags
to help provide traction. Be sure you
properly secure these items in your
vehicle.
Driving on Snow or Ice
Most of the time, those places where
your tires meet the road probably have
good traction.
However, if there is snow or ice
between your tires and
the road, you can
have a very slippery situation. You’ll
have a lot less traction
or “grip” and
will need to be very careful.
What’s the
worst time for this? “Wet
ice.” Very cold snow or ice can be slick
and hard to drive on. But wet ice can be
even more trouble because it may offer
the least traction of all. You can get wet
ice when it’s about freezing
(32°F; OOC)
and freezing rain begins to fall. Try to
avoid driving on wet ice until salt and
sand crews can get there.
ProCarManuals.com
Page 198 of 306

Part 6
... N604
Here you will find information
about the care of your Pontiac
. This
part begins with service and fuel
information. and then it shows how
to check important fluid and
lubricant levels
. There is also
technical information about your
vehicle. and a section devoted to its
appearance care
.
Service & Appearance Care
Service ................ .................................. 198
Fuel
........................................................... 199
HoodRelease .................................................... 205
Engineoil
...................................................... 209
Aircleaner
...................................................... 214
Transaxle Fluid
.................................................. 216
Engine Coolant
.................................................. 221
Power Steering Fluid
.............................................. 224
Windshield Washer Fluid
........................................... 224
Brakes
......................................................... 225
Battery
......................................................... 227
BulbReplacement
................................................ 228
Windshield Wiper Blade Replacement
................................. 230
Loading Your Vehicle
............................................. 230
Tires
.......................................................... 232
Appearancecare
................................................. 239
Vehicle Identification Number (VIN)
................................. 247
Add-on Electrical Equipment
....................................... 248
Fuses
& Circuit Breakers ........................................... 248
Capacities
& Specifications ......................................... 251
Fluids
& Lubricants ............................................... 253
Replacement Bulbs
............................................... 254
Normal Maintenance Replacement
Parts ............................. 257
197
ProCarManuals.com
Page 207 of 306

Service & Appearance Care
Hood Release (CONT.)
~1 CAUTION
An electric fan under the hood 1
IhlUlll 0
A
Things that burn can get
hot engine parts and start a
can start up and injure you fire. These include liquids like
even when the engine is not gasoline, oil, coolant, brake fluid,
running. Keep hands, clothing and windshield washer and other
tools away from any underhood fluids, and plastic or rubber. You
or others could be burned. Be
careful not to drop or spill things
that will burn onto a Rot engine,
I’
Before closing the hood, be sure all the
filler caps are on properly. Then lift the
hood to relieve pressure on the hood
prop. Remove the hood prop from the slot in the hood and return the prop to
its retainer. Then just let the hood down
and close
it firmly.
... 206
ProCarManuals.com
Page 208 of 306

2.3L Quad OHC and Quad 4
Engines (CODES 3, D AND A)
When you open the hood, you'll see:
1 . Automatic Transaxle Dipstick
2. Brake Fluid Reservoir
3. Air Cleaner
4. Hydraulic Clutch Fluid Reservoir
5. Windshield Washer Fluid Reservoir
6. Battery
7. Power Steering Fluid Reservoir
8. Engine Oil Fill Cap, Engine Oil
9. Engine Coolant Surge Tank
(if equipped)
(if equipped)
Dipstick
ProCarManuals.com
Page 209 of 306

Service & Appearance Care
208
3300 V6 Engine (CODE N)
When you open your hood, you’ll see:
1. Power Steering Fluid Reservoir
2. Automatic Transaxle Fluid Dipstick
3. Brake Fluid Reservoir
4. Air Cleaner
5. Windshield Washer Fluid Reservoir
6. Battery
7. Engine Oil Fill Cap
8. Engine Oil Dipstick
9. Engine Coolant Surge Tank
(if equipped)
ProCarManuals.com
Page 225 of 306

Service & Appearance Care
Power Steering Fluid
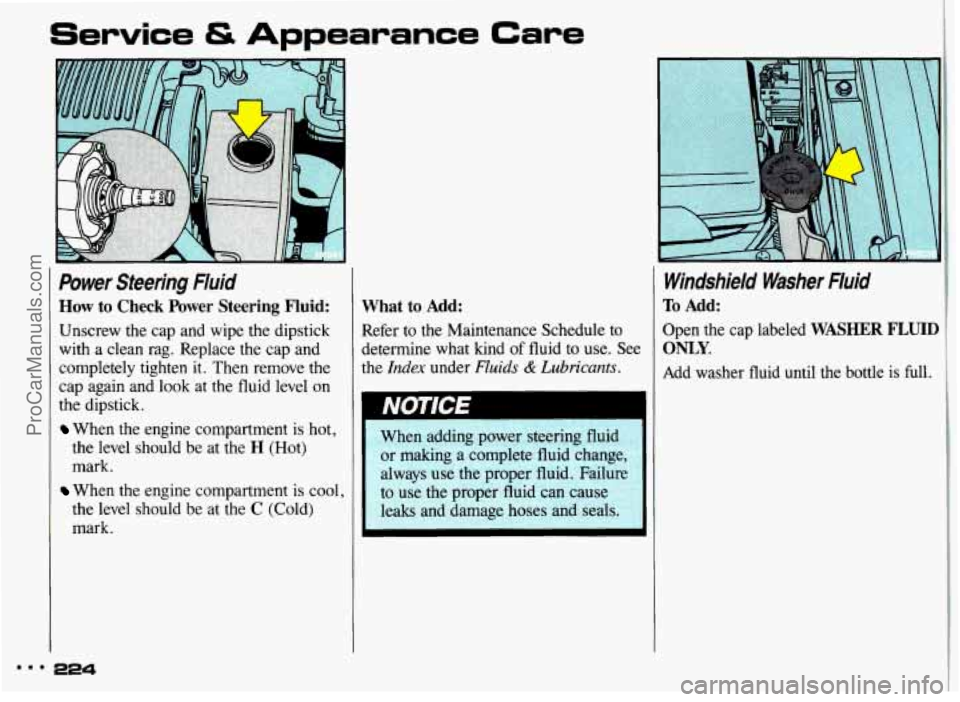
How to Check Power Steering Fluid:
Unscrew the cap and wipe the dipstick
with a clean rag. Replace the cap and
completely tighten
it. Then remove the
cap again and look at the fluid level
on
the dipstick.
When the engine compartment is hot,
the level should be at the
H (Hot)
mark.
the level should be at the
C (Cold)
mark.
When the engine compartment is cool,
What to Add:
Refer to the Maintenance Schedule to
determine what kind
of fluid to use. See
the
Index under Fluids & Lubricants.
Windshield Washer Fluid
To Add:
Open the cap labeled WASHER FLUID
ONLY.
Add washer fluid until the bottle is full.
mmm 224
ProCarManuals.com