Page 2 of 306
1993 Owner’s Manual
Table of Contents Pontiac Grand Am
Introduction How to Use this Manual .............. .3
Part 1 Seats &Safety Belts. ................ .7
Part 2 Features & Controls ............... .43
Part 3 Comfort Controls & Audio Systems. ...
Pert 4 Your Driving and the Road .......... .I~I
L
Part5 ProblemsontheRoad .............. 16s
Part 6 Service & Appearance Care ......... 197
r
I
Part 7 Maintenance Schedule. ............ 259
Part 8 Customer Assistance Information .... 27s
Part9 Index ........................... 293
Includes “Reporting Safety Defects” on page 284 c
I
Service Station Information .... Last Page
Printed in USA 10202167 B Second Printing . .
ProCarManuals.com
Page 4 of 306

How to Use this Manual
Using Your 1993 Pontiac
Owner’s Manual
Many people read their owner’s manual
from beginning to end when they first
receive their new vehicle. This will help
you learn about the features and controls
for your vehicle. In this manual, you’ll
find that pictures and words work
together to explain things quickly.
There are nine parts with color-tabbed
pages
in this manual. Each part begins
with a brief list of contents,
so you can
usually tell at a glance if that part
contains the information you want.
You can bend the manual slightly to
reveal the color tabs that help you find a
part.
Part 1: Seats & Safety Belts
This part tells you how to use your seats
and safety belts properly.
Part 2: Features & Controls
This part explains how to start and
operate your Pontiac.
Part 3: Comfort Controls & Audio
Systems
This part tells you how to adjust the
ventilation and comfort controls and
how to operate your audio system.
Part 4: Your Driving and the Road
Here you’ll find helpful information and
tips about the road and how to drive
under different conditions.
Part 5: Problems on the Road
This part tells you what to do if you
have a problem while driving, such as
a
flat tire or engine overheating. ’
Part 6: Service & Appearance Care
Here the manual tells you how to keep
your Pontiac running properly and
looking good.
Part 7: Maintenance Schedule
This part tells you when to perform
vehicle maintenance and what fluids and
lubricants
to use.
Part 8: Customer Assistance
Information
This part tells you how to contact
Pontiac for assistance and how to get
service publications. It also gives you
information on
Reporting Safety Defects.
Part 9: Index
Here’s an alphabetical listing of almost
every subject in this manual. You can
use
it to quickly find something you
want to read.
Service Station Information
This is a quick reference of service
information. You can find it
on the last
page
of this manual.
3
ProCarManuals.com
Page 167 of 306

Your Driving and the Road
Driving with a mailer (CONT.)
4. Reapply the regular brakes. Then
apply your parking brake, and then shift to
P (Park), or R (Reverse) for a
manual transaxle.
5. Release the regular brakes.
When You Are Ready to Leave After
Parking on a
Hill
1. Apply your regular brakes and hold
the pedal down while you:
Start your engine;
Shift into a gear; and
Release the parking brake.
2. Let up on the brake pedal.
3. Drive slowly until the trailer is clear
4. Stop and have someone pick up and
of the chocks.
store the chocks.
Maintenance When Tmiler Towing
Your vehicle will need service more
often when you’re pulling a trailer. See
the Maintenance Schedule for more on
this. Things that are especially important in trailer operation are
automatic transaxle fluid (don’t overfiil),
engine oil, belts, cooling system, and
brake adjustment. Each
of these is
covered
in this manual, and the Ida
will help you find them quickly. If
you’re trailering, it’s a good idea to
review these sections before you
start
your trip.
Check periodically to see that all hitch
nuts and bolts are tight.
m.. 166
ProCarManuals.com
Page 215 of 306

Service & Appearance Care
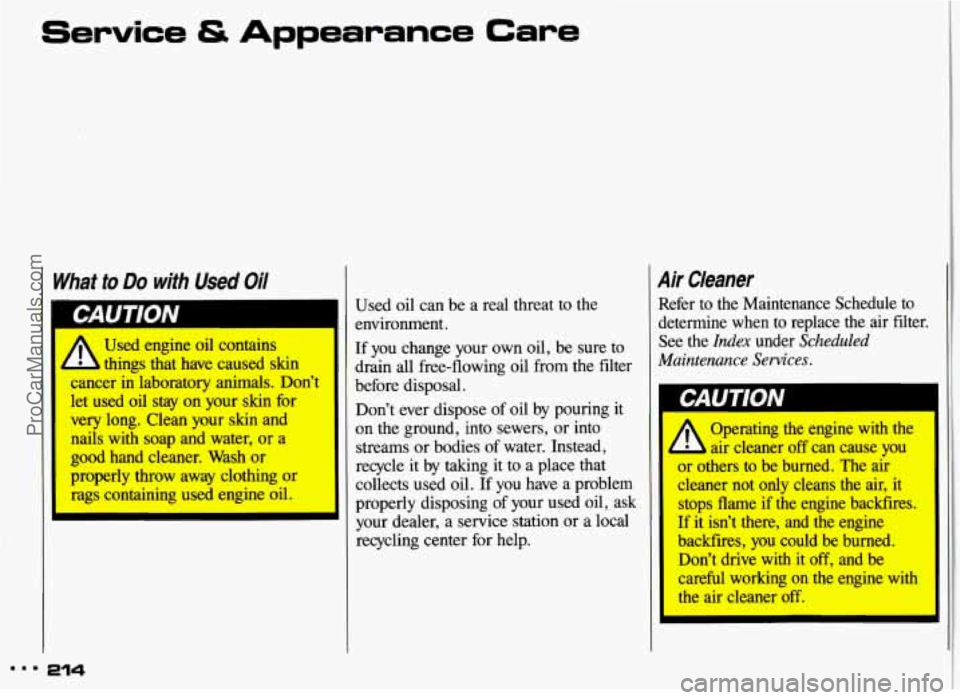
What to Do with Used Oil
A
Used engine oil contains
things that have caused skin
cancer in laboratory animals. Don’t
let used oil stay on your skin for
very long. Clean your
skin and
nails with soap
and water, or a
good hand cleaner. Wash or
properly throw away clothing or
rags containing used engine oil.
214
Used oil can be a real threat to the
environment.
If you change your own oil, be sure to
drain
all free-flowing oil from the filter
before disposal.
Don’t ever dispose of oil by pouring it
on the ground, into sewers, or into
streams or bodies of water. Instead,
recycle it by taking it to a place that
collects used
oil. If you have a problem
properly disposing
of your used oil, ask
your dealer, a service station or a local
recycling center for help.
Air Cleaner
Refer to the Maintenance Schedule to
determine when to replace the air filter.
See the
Index under Scheduled
Maintenance Sewices
.
CAUTION
A
Operating the engine with the
air cleaner off can cause you
or others to be burned. The air
cleaner not only cleans the air, it
stops flame if the engine backfires.
If it isn’t there,
and the engine
backfires, you could be burned.
Don’t drive with
it off, and be
careful working on the engine
with
the air cleaner off.
ProCarManuals.com
Page 217 of 306
...
Service & Appearance Care
Air Cleaner (CONI)
3300 V6: Air Filter Replacement
1. Unscrew the two wing nuts, then
slide
the cover forward and up.
216
2. Remove the air cleaner.
3. Be sure to install the air cleaner filter
and replace the cover.
Automatic Tmnsax/e Fluid
When to Check and Change:
A good time to check your automatic
transaxle fluid level is when the engine
oil is changed. Refer
to the Maintenance
Schedule to determine when to change
your fluid. See the
Index under
Scheduled Maintenance Services.
How to Check:
Because this operation can be a little
difficult, you may choose to have this
done at a Pontiac dealership Service
Department.
If you do it yourself, be sure to follow
all the instructions here, or you could
get a false reading on the dipstick.
ProCarManuals.com
Page 219 of 306

Service & Appearance Care
Automatic Transaxle Fluid (CONT.)
How To Add Fluid:
Refer to the Maintenance Schedule to
determine what kind of transaxle fluid to
use. See the
Index under Fluids &
Lubricants.
If the fluid level is low, add only enough
of the proper fluid to bring the level into
the cross-hatched area on the dipstick.
It doesn’t take much fluid, generally less
than a pint. Don’t overfill. We
recommend you use only fluid
labeled DEXRON@-IIE, because fluids
with that label are made especially for
your automatic transaxle. Damage caused by fluid other than
DEXRON@-IIE is not covered by your
new vehicle warranty.
After adding fluid, recheck the fluid
level as described under
How tu Check.
When the correct fluid level is obtained,
push the dipstick back in all the way.
Manual Transaxle Fluid
When to Check:
A good time to have it checked is when
the engine oil is changed. However, the
fluid in your manual transaxle doesn’t
require changing.
How to Check:
Because this operation can be a little
difficult, you may choose to have this
done at a Pontiac dealership Service
Department.
If you do it yourself, be sure to follow
all the instructions here, or you could
get a false reading on the dipstick.
m.. 218
ProCarManuals.com
Page 221 of 306

Service & Appearance Care
Manual Transaxle Fluid (CONI)
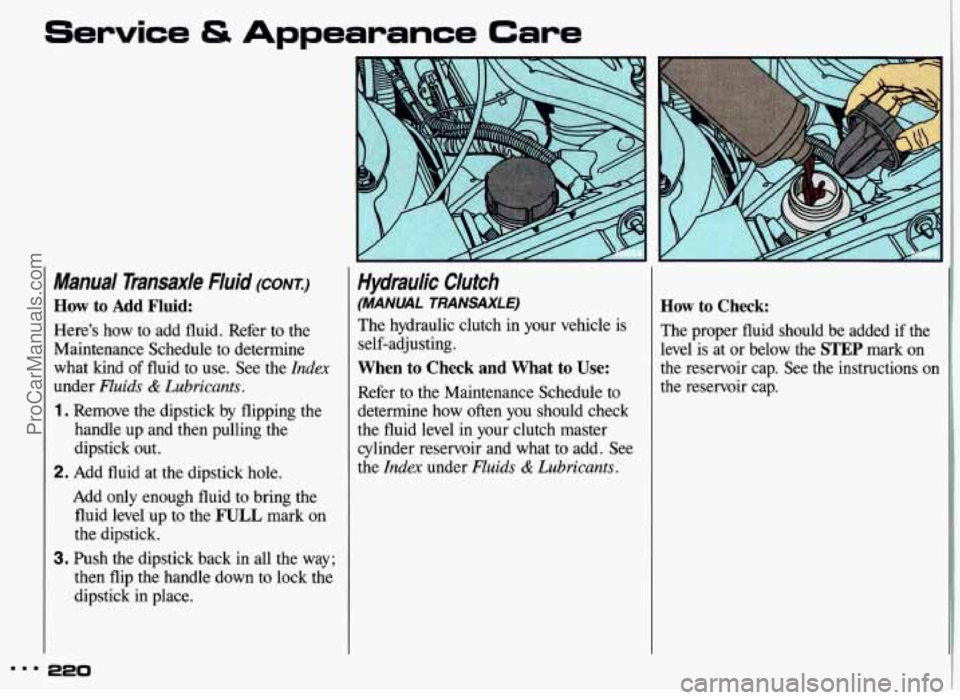
How to Add Fluid:
Here’s how to add fluid. Refer to the
Maintenance Schedule to determine
what kind
of fluid to use. See the Index
under Fluids & Lubricants.
1. Remove the dipstick by flipping the
handle up and then pulling the
dipstick out.
2. Add fluid at the dipstick hole.
Add
only enough fluid to bring the
fluid level up to the
FULL mark on
the dipstick.
3. Push the dipstick back in all the way;
then flip the handle down to lock the
dipstick in place.
220
Hydraulic Clutch
(MANUAL TRANSAXLE)
The hydraulic clutch in your vehicle is
self-adjusting.
When to Check and What to Use:
Refer to the Maintenance Schedule to
determine how often you should check
the fluid level in your clutch master cylinder reservoir and what to add. See
the
Index under Fluids & Lubricants.
How to Check:
The proper fluid should be added if the
level is at or below the
STEP mark on
the reservoir cap. See the instructions on
the reservoir cap.
ProCarManuals.com
Page 225 of 306
Service & Appearance Care
Power Steering Fluid
How to Check Power Steering Fluid:
Unscrew the cap and wipe the dipstick
with a clean rag. Replace the cap and
completely tighten
it. Then remove the
cap again and look at the fluid level
on
the dipstick.
When the engine compartment is hot,
the level should be at the
H (Hot)
mark.
the level should be at the
C (Cold)
mark.
When the engine compartment is cool,
What to Add:
Refer to the Maintenance Schedule to
determine what kind
of fluid to use. See
the
Index under Fluids & Lubricants.
Windshield Washer Fluid
To Add:
Open the cap labeled WASHER FLUID
ONLY.
Add washer fluid until the bottle is full.
mmm 224
ProCarManuals.com