Page 115 of 306

Comfort Controls & Audio Systems
4
AMIFM Stereo Radio with
Compact Disc
Player (CONT.)
To Preset Radio Stations:
The five numbered pushbuttons can be
used to preset up
to 15 radio stations
(five AM, five FM1 and five FM2). The
buttons have other uses when you are
playing a compact disc.
1. Tune in the desired station.
2. Press SET. The word SET will
appear on the digital screen for five
seconds.
3. While SET is displayed, press one of
the five pushbuttons. Whenever you
press this button again, the preset
station will be tuned in.
4. Repeat steps 1-3 for each of five AM
and five FM1 stations.
5. Press the lower knob until FM2
appears on the digital display. You
can then follow steps
1-3 for five
more FM stations.
114
Compact Disc Player
Many of the controls for the radio also
have functions for the compact disc
player, as explained here.
Don’t use mini-discs that are called
singles. They won’t eject. Use only full-
size compact discs.
1 . Press PWR to turn the radio on.
2. Insert a disc part-way into the slot,
with the label side up. The player
will pull it in. Within a few seconds,
the disc should play.
If the disc comes back out and/or Err
appears on the display:
The disc may be upside down.
The disc may be dirty, scratched or
wet.
There may be too much moisture in
the air (wait about one hour and
try
again),
The player may be too hot, or the road
may be too rough for the disc to play.
As soon as things get back to normal,
the disc should play.
While a disc is playing, the
CD indi-
cator is displayed on the digital screen,
as is the clock.
ProCarManuals.com
Page 138 of 306

Speed limit signs near curves warn that
you should adjust your speed. Of
course, the posted speeds are based
on
good weather and road conditions.
Under less favorable conditions you’ll
want to go slower.
If you need to reduce your speed as you
approach a curve, do it before you enter
the curve, while your front wheels are
straight ahead.
Try to adjust your speed
so you can
“drive” through the curve. Maintain a
reasonable, steady speed. Wait to
accelerate until
you are out of the curve,
and then accelerate gently into the
straightaway.
When
you drive into a curve at night,
it’s harder to see the road ahead of you
because it bends away from the straight
beams of your lights. This is one good
reason to drive slower.
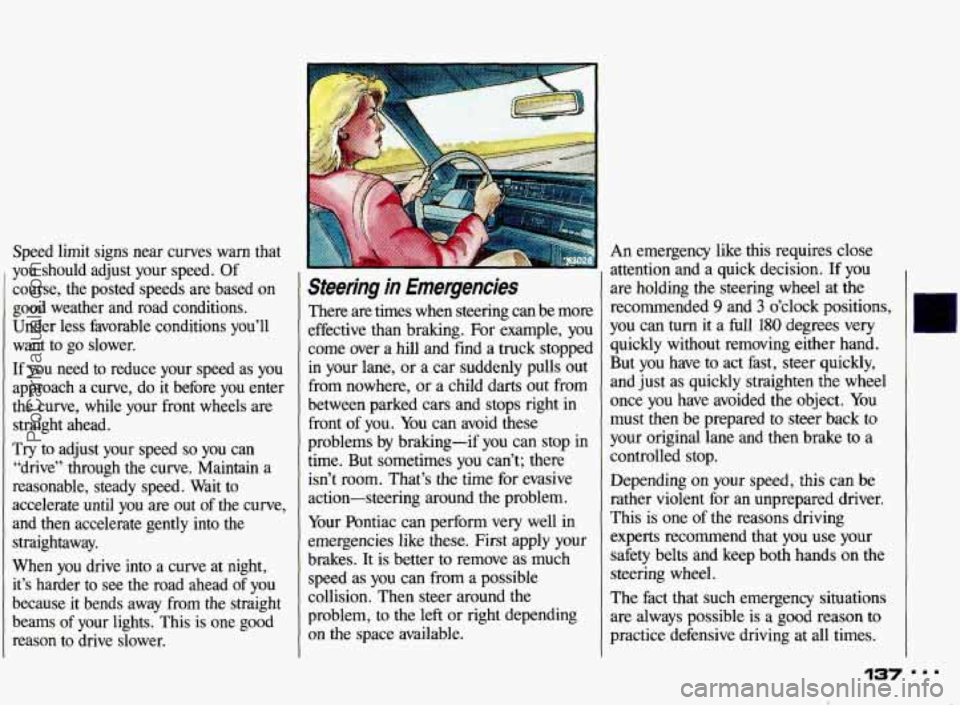
Steering in Emergencies
There are times when steering can be more
effective than braking. For example, you
come over a hill and find a truck stopped
in your lane, or a car suddenly pulls out
from nowhere, or a child darts out from
between parked cars and stops right in
front of you.
You can avoid these
problems by braking-if
you can stop in
time. But sometimes you can’t; there
isn’t
room. That’s the time for evasive
action-steering around the problem.
Your Pontiac can perform very well in
emergencies like these. First apply your
brakes. It is better to remove as much
speed as you can from a possible
collision. Then steer around the
problem, to the left or right depending
on the space available. An emergency like this requires
close
attention and
a quick decision. If you
are holding the steering wheel at the
recommended
9 and 3 o’clock positions,
you can turn it a
full 180 degrees very
quickly without removing either hand.
But
you have to act fast, steer quickly,
and just as quickly straighten the wheel
once
you have avoided the object. You
must then be prepared to steer back to
your original lane and then brake to a
controlled stop.
Depending on your speed, this can
be
rather violent for an unprepared driver.
This is one of the reasons driving
experts recommend that
you use your
safety belts and keep both hands on the
steering wheel.
The fact that such emergency situations
are always possible is a good reason to
practice defensive driving at all times.
ProCarManuals.com
Page 188 of 306
The following steps will tell you how to
use the jack and change a tire.
The equipment you’ll need is in the
trunk.
1. Turn the center retainer nut on the
compact spare tire housing
counterclockwise to remove it, then
lift the tire cover. You will find the
jaclung instructions label on the
underside
of the tire cover.
I
2. Remove the wing bolt securing the
compact spare tire, spacer and wheel
wrench by turning it counterclockwise.
Then lift
off the spacer and remove
the spare tire.
3. Remove the bolt securing the jack by
turning it counterclockwise. Then
remove the jack.
187
ProCarManuals.com
Page 189 of 306
Problems on the Road
Changing a Flat Tire (CONT.)
4. Remove the band around the jack.
Turn the jack handle clockwise to
raise the jack head a few inches.
L.. i
5. Using the wheel wrench, remove the
plastic cap nuts (if your vehicle has
them) and loosen all the wheel nuts. Don’t remove them yet.
On some models, a cover plate must
be removed to find the wheel nuts.
Carefully use the wedge end of the
wheel wrench
to pry it off.
6. Near each wheel, there is a notch in
the vehicle’s frame. Position the jack
under the vehicle. Raise the jack
head until it fits firmly into the notch in the vehicle’s frame nearest the flat
tire. Put the compact spare tire near
you.
ProCarManuals.com
Page 190 of 306
Ih Getting under a vehicle when
it is jacked up is dangerous. If
llle vehicle slips off the jack, you
could be badly injured or killed.
Never get under a vehicle when
it
is supported only by a jack. Raising your vehicle with the
jack
improperly positioned will damage
the vehicle or may allow
the
vehicle to fall off the jack. Be sure
to
fit the jack lift head into the
proper location before raising
vehicle.
Do not jack or lift vehicle using oil
pan. Pans could crack and begin to
leak fluid.
7. Raise tne venicle ~y rotating tne
wheel wrench clockwise. Raise the
vehicle far enough off the ground
so
there is enough room for the spare
tire to
fit.
8. Remove all of the wheel nuts, and
carefully pry the wheel cover from
the wheel,
if your flat tire has onp
Then take off
the flat tire.
189 I..
ProCarManuals.com
Page 192 of 306
12. Lower the vehicle by rotating the
wheel wrench counterclockwise.
Lower the jack completely. 13. Tighten the wheel nuts firmly in a
criss-cross sequence, as shown.
Incorrect wheel nuts or
- mproperly tightened wheel
nuts can cause the wheel to
become loose and even come
off.
This could lead to an accident. Be
sure to use the correct wheel nuts.
If
you have to replace them, be
sure to get the right kind.
Stop somewhere as soon as
you
can and have the nuts tightened
with a torque wrench
to
100 pound-feet (140 Nom). Don't
try to put a wheel cover on your
compact spare tire.
It won't fit. Store the
wheel cover and plastic cap nuts in the
trunk until you have the flat tire repaired
or replaced.
NOTICE
IS1
ProCarManuals.com
Page 204 of 306

To check on fuel availability, ask an auto
club, or contact a major oil company
that does business in the country where
you’ll be driving.
You can also write us at the following
address for advice. Just tell us where
you’re going and give your Vehicle Identification Number (VIN)
.
General Motors of Canada Ltd.
International Export Sales
P.O. Box 828
Oshawa, Ontario L1H 7N1, Canada
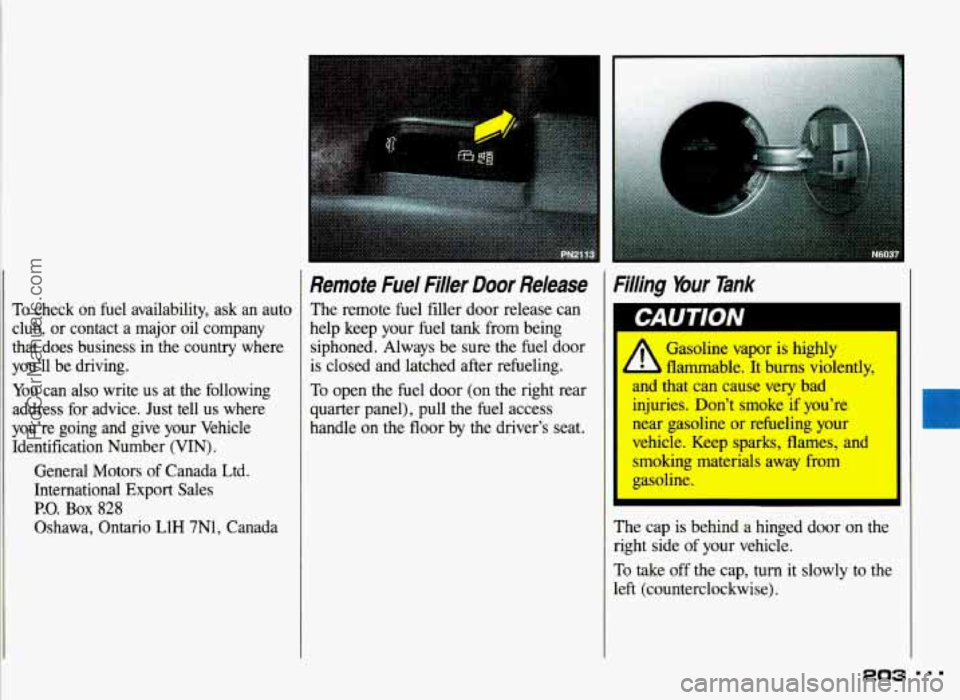
Remote Fuel Filler Door Release
The remote fuel filler door release can
help keep your
fuel tank from being
siphoned. Always be sure the fuel door
is closed and latched after refueling.
To open the fuel door (on the right rear
quarter panel), pull the fuel access
handle on the floor by the driver’s seat.
Wing Your Tank
A Gasoline vapor is highly
and that can cause very bad
injuries. Don’t smoke
if you’re
near gasoline or refueling your
vehicle. Keep sparks, flames, and
smoking materials away from
gasoline.
L flammable. It burns violently,
I
‘he cap is behind a hinged door on the
ight side
of your vehicle.
o take off the cap, turn it slowly to the
:ft (counterclockwise).
203
ProCarManuals.com
Page 229 of 306
Service & Appearance Care
Headlight Bulb Replacement
For the type of bulb, see the Index under
Replacement Bulbs.
1. On the driver’s side only, unscrew the
butterfly fastener. Then lift the plate.
228
Both Sides:
2. Twist the bulb assembly counter-
clockwise
)/6 turn and pull out the
bulb assembly.
3. Unclip the bulb assembly from the wiring harness.
4. Reverse steps 1-3 to replace the bulb ,
assembly and headlight housing. I
ProCarManuals.com