1993 CHEVROLET SUBURBAN brake fluid
[x] Cancel search: brake fluidPage 191 of 386
Driving Guidelines (Utility Models)
This multipurpose passenger vehicle is defined as a utility vehicle in
Consumer Information Regulations issued by the National Highway \
Traffic
Safety Administration (NHTSA) of the United States Department of
Transportation. Utility vehicles have higher ground clearance and\
a narrower
track to make them capable
of performing in a wide variety of off-road
applications. Specific design characteristics give them a higher center of
gravity than ordinary cars. An advantage of the higher ground clearance is a
better view
of the road allowing you to anticipate problems. They are not
designed for cornering at the same speeds as conventional 2-whe\
el drive
vehicles any more than low-slung sports cars are designed to p\
erform
satisfactorily under off-road conditions. If at
all possible, avoid sharp turns or
abrupt maneuvers.
As with other vehicles of this type, failure to operate this
vehicle correctly may result in
loss of control or vehicle rollover.
OffmRoad Driving with Your Four-Wheel
Drive Vehicle
This off-road guide is for vehicles that have four-wheel drive. (Also, see
“Anti-lock Brakes” in the Index.)
If your vehicle doesn’t have four-wheel drive,
you shouldn’t drive off-road unless you’re on
a level, solid surface.
Off-road driving can be great fun. But it does have some definite hazards.
The greatest of these is the terrain itself.
“Off-roading” means you’ve left the great North American road system behind.
Traffic lanes aren’t marked. Curves aren’t banked. There a\
re no road signs.
Surfaces can be slippery, rough, uphill
or downhill. In short, you’ve gone right
back to nature.
Off-road driving involves some new skills. And that’s why it’s very important
that you read this guide. You’ll find many driving tips and suggestions. These
will help make your off-road driving safer and more enjoyable.
Before You Go Off-Roading
There are some things to do before you go out. For example, be sure to
have all necessary maintenance and service work done. Be sure you read \
all
the information about your four-wheel drive vehicle in this manual.
Is there
enough fuel?
Is the spare tire fully inflated? Are the fluid levels up where
they should be? What are the local laws that apply to off-roading where you’ll
be driving?
If you don’t know, you should check with law enforcement people
in the area. Will you be on someone’s private land?
If so, be sure to get the
necessary permission.
4-24
ProCarManuals.com
Page 214 of 386
Hill and Mountain Roads
:.-. . , , . .;. . . . . . - ,. ..
AM470001
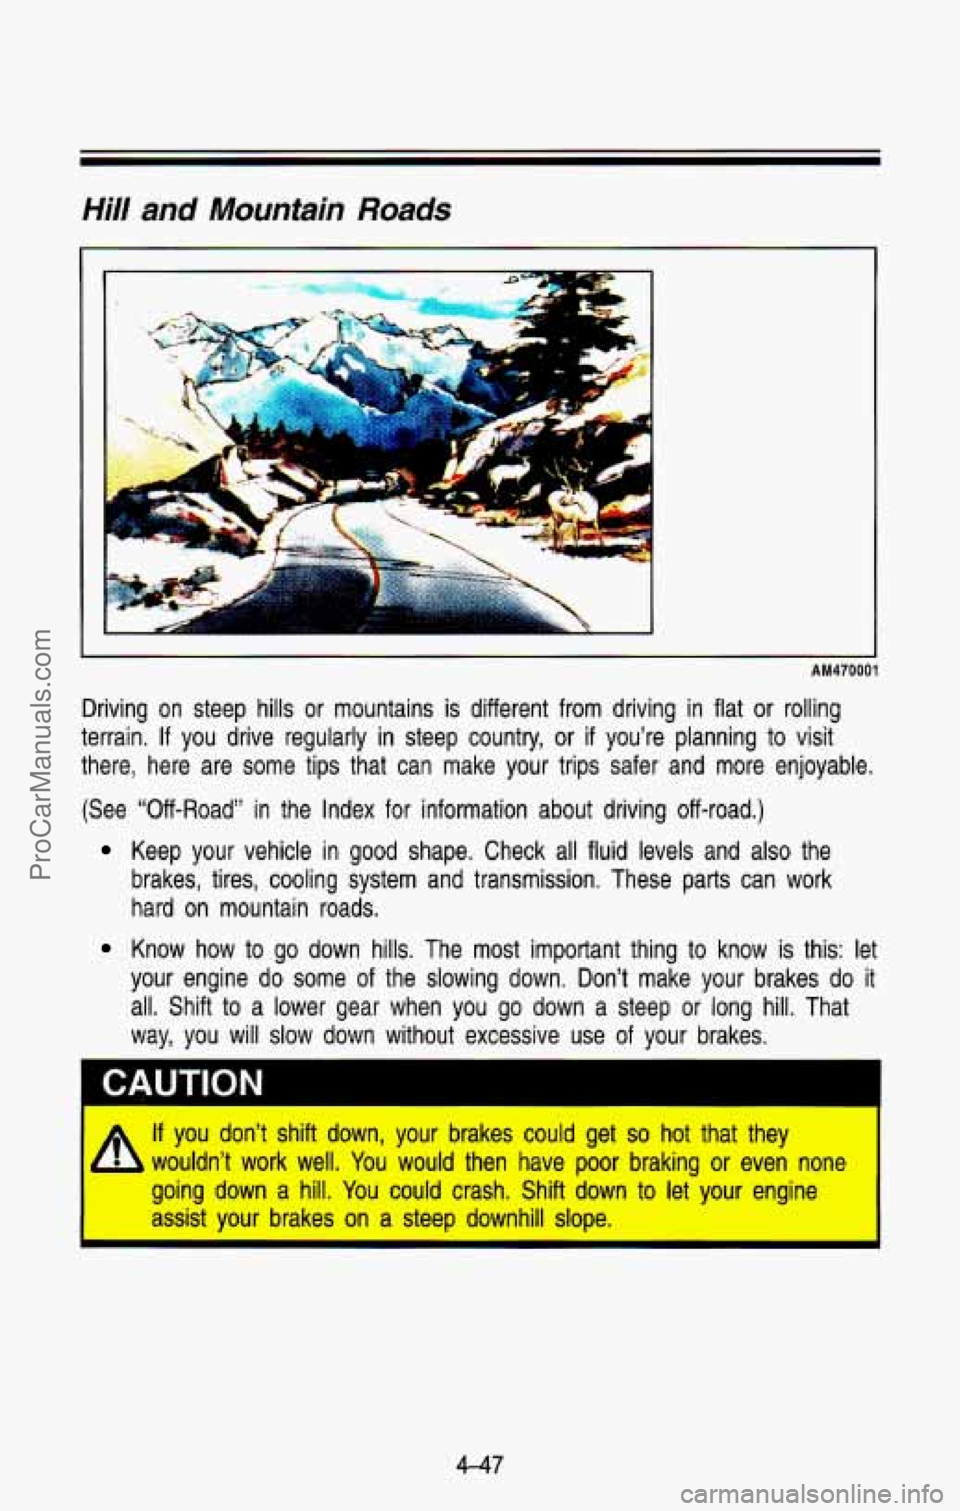
Driving on steep hills or mountains is different from driving in flat or rolling
terrain.
If you drive regularly in steep country, or if you’re planning to visit
there, here are some tips that can make your trips safer and more enjoyable.
(See “Off-Road” in the Index
for information about driving off-road.)
Keep your vehicle in good shape. Check all fluid levels and also the
brakes, tires, cooling system and transmission. These parts can work
hard on mountain roads.
Know how to go down hills. The most important thing to know is this: let
your engine do some
of the slowing down. Don’t make your brakes do it
all. Shift
to a lower gear when you go down a steep or long hill. That
way, you will slow down without excessive use of your brakes.
I
CAUT’oN
A If you don’t shift down, your brakes could get so hot that they
v- wouldn’t work well. You would then have poor braking or even none
going down a hill.
You could crash. Shift down to let your engine
assist
your brakes on a steep downhill slope.
4-47
ProCarManuals.com
Page 227 of 386
Your Driving and 0% Road
Will you have to make any holes in the body of your vehicle when you
install a trailer hitch?
If you do, then be sure to seal the holes later
when you remove the hitch.
If you don’t seal them, deadly carbon
monoxide
(CO) from your exhaust can get into your vehicle (see “Carbon
Monoxide” in the Index). Dirt and water can, too.
Safety Chains
You should always attach chains between your vehicle and your trail\
er. Cross
the safety chains under the tongue of the trailer
so that the tongue will not
drop to the road
if it becomes separated from the hitch. Instructions about
safety chains may be provided by the trailer manufacturer. Follow the
manufacturer’s recommendation
for attaching safety chains. Always leave just
enough slack
so you can turn with your rig. And, never allow safety chains to
drag on the ground.
Trailer Brakes
If your trailer weighs more than 1,000 pounds (450 kg) loaded, then it needs
its own brakes-and they must be adequate. Be sure
to read and follow the
instructions for the trailer brakes
so you’ll be able to install, adjust and
maintain them properly.
Don’t tap into your vehicle’s brake system if the trailer’s brake system will use
more than
0.02 cubic inch (0.3 cc) of fluid from your vehicles master cylinder.
If it does, both braking systems won’t work well. You could even lose your
brakes.
Will the trailer brake parts take 3,000 psi (20 650 kPa) of pressure? If
not, the trailer brake system must not be used with your vehi\
cle.
If everything checks out this far, then make the brake fluid tap at the
port on the master cylinder that sends fluid
to the rear brakes. But don’t
use copper tubing for this.
If you do, it will bend and finally break off.
Use steel brake tubing.
Driving with a Trailer
Towing a trailer requires a certain amount of experience. Before setting out
for the open road, you’ll want
to get to know your rig. Acquaint yourself with
the feel of handling and braking with the added weight of the trailer. And
always keep in mind that the vehicle you are driving is now a good deal
longer and not nearly
so responsive as your vehicle is by itself.
Before you start, check the trailer hitch and platform, safety \
chains, electrical
connector, lights, tires and mirror adjustment.
If the trailer has electric brakes,
start your vehicle and trailer moving and then apply the trail\
er brake controller
by hand to be sure the brakes are working. This lets vou check your
electrical connection at the same time.
4-60
ProCarManuals.com
Page 230 of 386
. .
6. Release the regular brakes.
CAUTION
It can be dangerous to get out of your vehicle if the shift lever is no
fully in
P (Park) wi-. the parking brake firmly set. Your vehicle can
roll.
If you have left the engine running, the vehicle can move suddenl\
y.
You or others could be injured.
To be sure your vehicle won’t move,
when you’re on fairly level ground, use the steps that foll\
ow.
If you have four-wheel drive and your transfer case is in N (Neutral),
your vehicle will be free to
roll, even if your shift lever is in P (Park)
So, be sure the transfer case is in a drive gear-not in N (Neutral).
If you are parking on a hill, or if you’re pulling a trailer, also see
I “Parking On Hills” in the Index. I
When You Are Ready to Leave After Parking on a Hill
1. Apply your regular brakes and hold the pedal down while you:
Start your engine.
Shift into a gear; and
Release the parking brake.
2. Let up on the brake pedal.
3. Drive slowly until the trailer is clear of the chocks.
4. Stop and have someone pick up and stow the chocks.
Maintenance When Trailer Towing
Your vehicle will need service more often when you’re pulling a \
trailer. .See
the Maintenance Schedule for more on this. Things that are especially
important in trailer operation are automatic transmission fluid (don’t overfill),
engine oil, axle lubricant, belts, cooling system, and brake ad\
justment. Each
of these is covered in this manual, and the Index will help you find them
quickly.
If you’re trailering, it’s a good idea to review these sections before
you start your trip.
Check periodically to see that all hitch nuts and bolts are tight.
4-63
ProCarManuals.com
Page 235 of 386
ground connection you don’t want. You wouldn’t be able to start your
vehicle, and the bad grounding could damage the electrical systems.
CAUTION
A You could be injured if the vehicles roll. Set the parking brake firmly
on each vehicle. Put an automatic transmission in
P (Park) or a
manual transmission in
N (Neutral).
If you have a four-wheel-drive vehicle, be sure the transfer case is
not in N (Neutral).
3. Turn off the ignition on both vehicles. Turn off all lights that aren’t
needed, and radios. This will avoid sparks and help save both \
batteries.
And it could save your radio!
I
I jou leave a radio on, it could be badly damaged. The repairs woulc
be covered by your warranty.
4. Open the hoods and locate the batteries.
Find the positive
(t) and negative (-) terminals on each battery,
CAUTION
A Using a match near a battery can cause battery gas to explode.
b People have been hurt doing this, and some have been blinded. \
Use
a flashlight if you need more light.
Be sure the batteries have enough water.
You don’t need to add
water
to the Delco Freedom@ battery installed in every new GM
vehicle. But if a battery has filler caps, be sure the right amount of
fluid
is there. If it is low, add water to take care of that first. If you
don’t, explosive gas could be present.
Battery fluid contains acid that can bum you. Don’t get
it on you. If’
you accidentally get it in your eyes or on your skin, flush the place
with water and get medical help immediately. c
5. Check that the jumper cables don’t have loose or missing insulation. If
they do, you could get a shock. The vehicles could be damaged, too.
Before you connect the cables, here are some things you should\
know.
Positive (t) will go to positive (t) and negative (-) will go to negative
5-4
ProCarManuals.com
Page 266 of 386
Service & Appearance Care
.
Here you will find information about the care of your vehicle . This section
begins with service and fuel information. and then it shows
how to check
important fluid and lubricant levels
. There is also technical information about
your vehicle. and a section devoted to its appearance care
.
Service ........................................................................\
........................................... 6-3
Fuel ........................................................................\
................................................ 6-4
Checking Things Under the Hood
....................................................................... \
6-8
Hood Release
........................................................................\
............................ 6-8
Engine Oil ........................................................................\
.................................. 6-9
Air Cleaner
........................................................................\
............................... 6-16
Automatic Transmission Fluid
........................................................................\
. 6-17
Manual Transmission Fluid ........................................................................\
..... 6-20
Hydraulic Clutch
........................................................................\
....................... 6-21
Transfer Case
........................................................................\
.......................... 6-23
Front
Axle ........................................................................\
................................. 6-24
Rear Axle
........................................................................\
................................. 6-24
Engine Coolant
........................................................................\
........................ 6-25
Power Steering Fluid
........................................................................\
............... 6-29
Windshield Washer Fluid
........................................................................\
......... 6-31
Brake Master Cylinder
........................................................................\
............. 6-32
6-1
ProCarManuals.com
Page 274 of 386
~AUTION
- Things that burn can get on hot engine parts and start a fire. These
include liquids like gasoline,
oil, coolant, brake fluid, windshield
washer and other fluids, and plastic or rubber.
You or others could
be burned. Be careful not to drop or spill things that will burn onto a
Before closing the hood, be sure
all the filler caps are on properly. Then just
pull the
hood down and close it firmly.
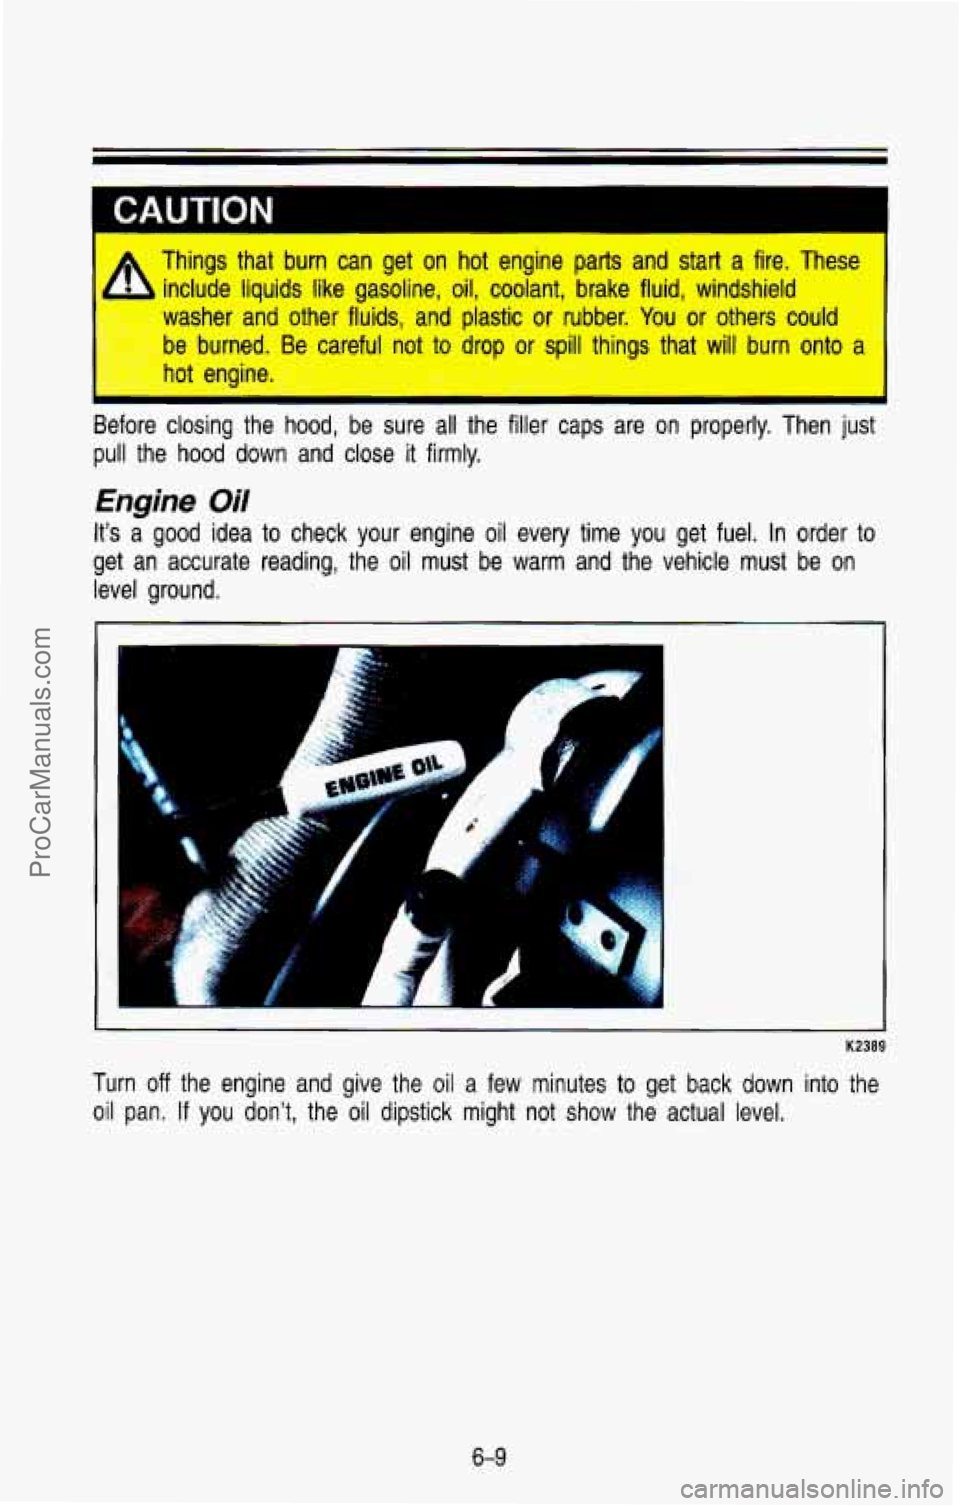
Engine Oil
It's a good idea to check your engine oil every time you get fuel. In order to
get an accurate reading, the
oil must be warm and the vehicle must be on
level ground.
Turn
off the engine and give the oil a few minutes to get back down into the
oil pan. If you don't, the oil dipstick might not show the actual level.
6-9
ProCarManuals.com
Page 283 of 386
Service & Appearance Care
To get the right reading, the fluid must be at normal operating \
temperature,
which is 180°F
to 200°F (82°C to 93°C).
To check the transmission fluid hot: Get the vehicle warmed up by driving
about
15 miles (24 km) when outside temperatures are above 50°F (10°C). If
it's colder than 50°F (lO°C), drive the vehicle in 0 (3rd gear) until the engine
temperature gage moves and then remains steady for ten minutes.\
Then
follow the
hot check procedures.
To check transmission fluid cold: A cold check is made after the vehicle
has been sitting for eight hours or more with the engine
off and is used only
as a reference. Let the engine run at idle for
five minutes if outside
temperatures are 50°F (IO'C) or more. If it's colder than 50°F (1 O'C), you
may have
to idle the engine longer. A hot check must follow when fluid is
added during a cold check.
To check the fluid hot or cold:
Park your vehicle on a level place.
Place the shift lever in P (Park) with the parking brake applied.
With your foot on the brake pedal, move the shift lever throu\
gh each
gear range, pausing for about three seconds
in each range. Then,
position the shift lever in
P (Park).
Let the engine run at idle for three minutes or more.
Then, without shutting off the engine, follow these steps:
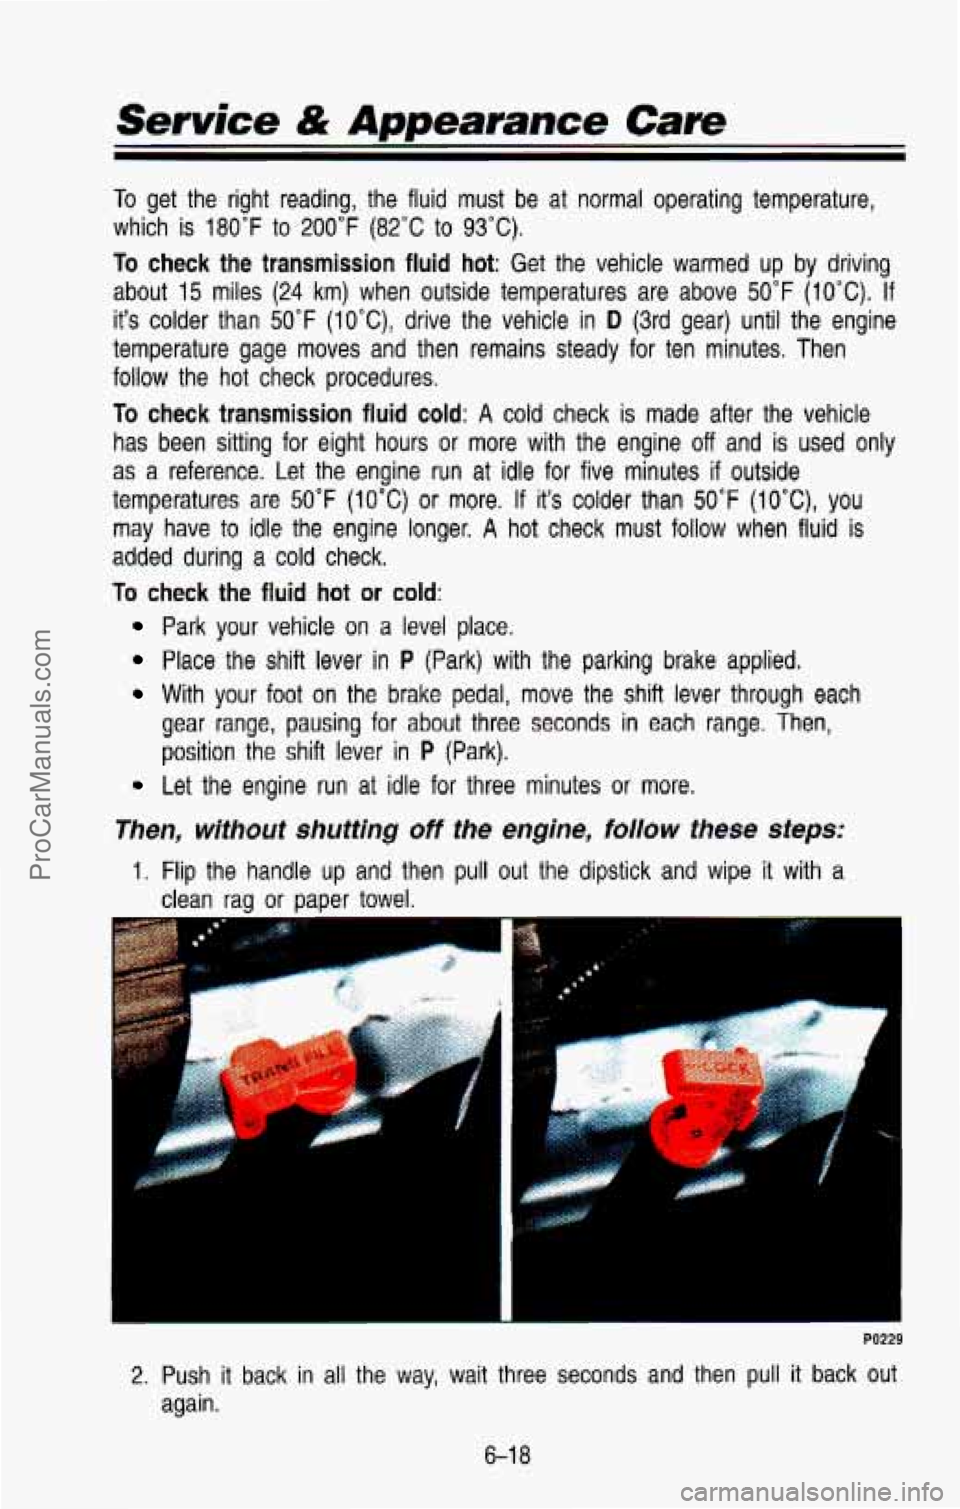
1. Flip the handle up and then pull out the dipstick and wipe it with a
clean raa or DaDer towel.
PO229
2. Push it back in all the way, wait three seconds and then pull it back out
again.
6-1
8
ProCarManuals.com