Page 111 of 386

Features & Controls
The high beam headlights will come on at reduced brightness in\
Daylight
when:
The ignition is on
The headlight switch is off, and
The parking brake is released
When you turn on your headlights, the DRL will switch
off and the exterior
lights come on. When you turn
off the headlights, the exterior lights will go
out and the high beams
will change to the reduced brightness of DRL again.
The DRL indicator light on the instrument panel will go on wh\
enever the DRL are
on. This light means that only the DRL are on. When you turn on your
exterior lights, this light will go out.
Of course, you may still turn on the
headlights any time you need to.
To idle your vehicle with the DRL
off, set the parking brake. The DRL will
stay off until you release the parking brake.
Dome Lights
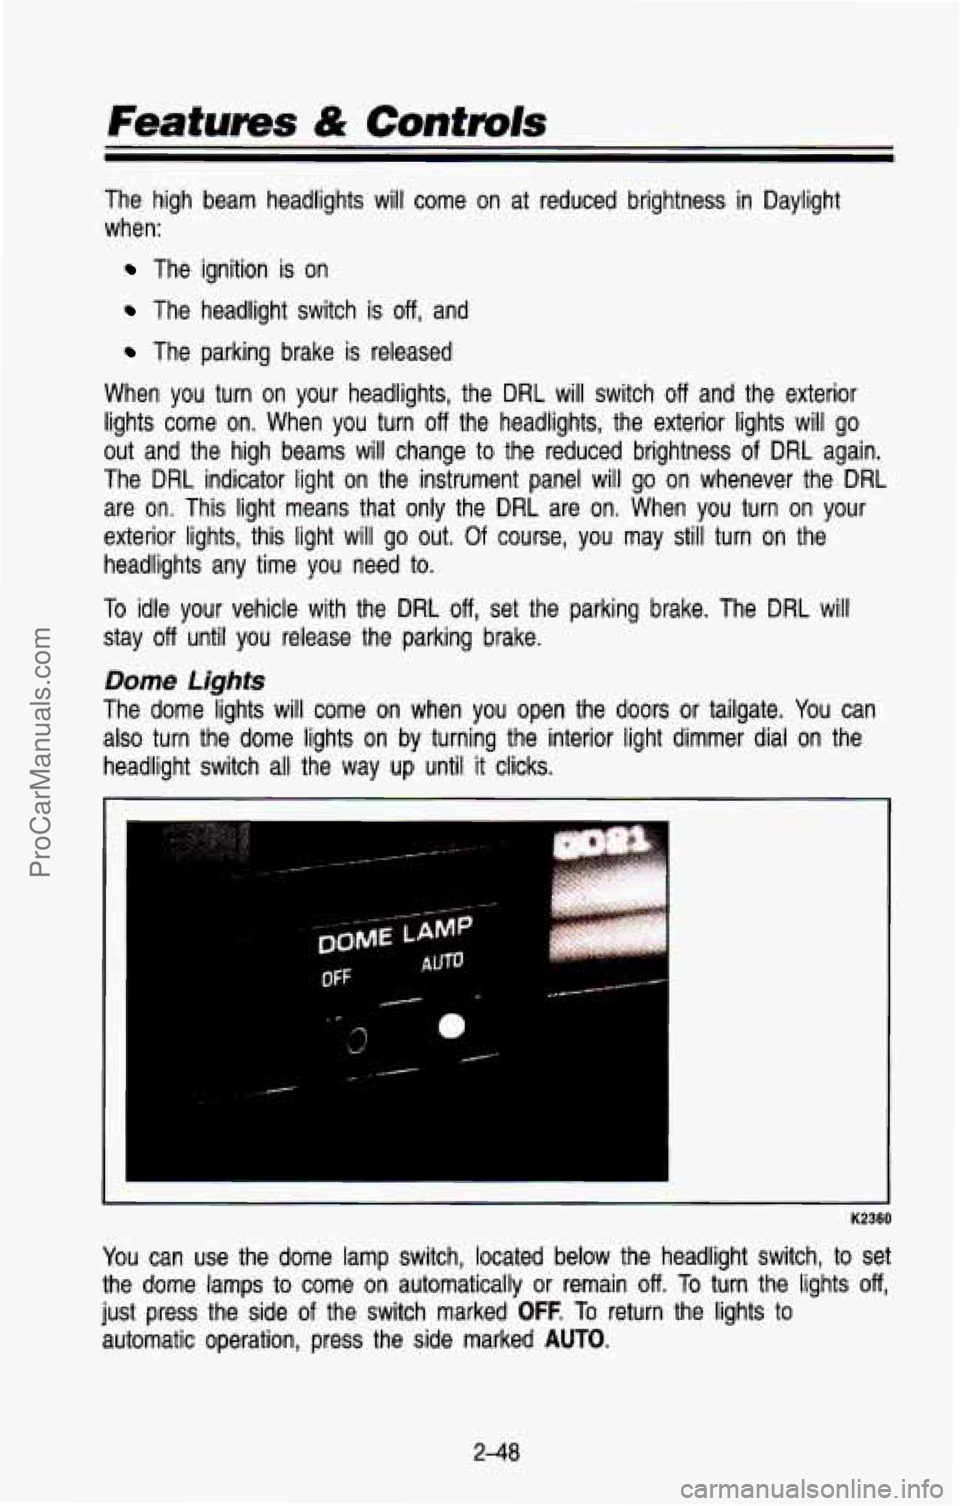
The dome lights will come on when you open the doors or tailgate. You can
also turn the dome lights on by turning the interior light dimmer dial on the
headlight switch all the way
up until it clicks.
K2360
You can use the dome lamp switch, located below the headlight swit\
ch, to set
the
dome lamps to come on automatically or remain off. To turn the lights off,
just press the side of the switch marked OFF. To return the lights to
automatic operation, press the side marked
AUTO.
2-48
ProCarManuals.com
Page 117 of 386
Rear Window Wiper and Washer
I K21:
The rear window wipedwasher switch is on your instrument panel, to the right
of the steering wheel.
To turn the wiper on, slide the lever to the lever to the right.
For delay wiping, slide the lever under
DELAY to the center of the rear wiper
control. The wiper will cycle every nine seconds.
For steady wiper action, move the slide lever all the way
to the right.
To wash the window, push in on the end of the lever. Window washer
The rear window washer uses the same fluid bottle
as the windshield washer.
If the fluid level is low in the washer fluid bottle, you may not be able to
wash your rear window. If you can wash your windshield, but not your rear
window, check the fluid level.
fluid
will continue to spray until the lever is released.
2-54
ProCarManuals.com
Page 120 of 386
1
PO1 92
Your console also has a cup holder that slides out, for the back seat
passengers
to use.
PB002
If your vehicle has a full or split bench seat, you may have a cup holder
attached to the instrument panel.
To use the cup holder, pull the handle and slide the cup holder tray\
out until
it stops. Then, let the cup holder swing down into position.
To close the cup
holder, lift the front and slide the tray
all the way in.
2-57
ProCarManuals.com
Page 124 of 386
Other Storage Compartments
K2238
Some vehicles have storage areas in the instrument panel. Use these spaces
for items such as gloves or small books.
K2269
Some models have a storage pocket on each of the front doors. You can
use the pocket to store a variety
of small items.
2-61
ProCarManuals.com
Page 136 of 386
CHECK GAGES Light
This light will come on briefly when you are statling the engine. If the light
comes on and stays on while you are driving, it could indicate a problem with
your vehicle. Check your various gages to see if they are in the warning
zones.
C “5 XK
GAGES
K2330
Daytime Running Lights (DRL) Indicator tight (Canada Only)
K2318
If your vehicle was first sold, when new, in Canada, you will have this green
light on the instrument panel. It will light,
just above the speedometer,
whenever the Daytime Running Lights are on. For more details a\
bout
DRL,
see “Headlights and Vehicle Lighting’’ in this section.
2-73
ProCarManuals.com
Page 148 of 386
Air Vents
K2315
You will find sir vents in the center and on the sides of your instrument
panel. You can move the vents to direct the flow
of air, or close the vents
altogether. When you close a vent, it will increase the flow of air
coming out
of any vents that are open.
If your vehicle does not have air conditioning, there are air vents below the
instrument panel. Each vent has a handle with a vent symbol on it. Use the
handle to open and close the vent.
3-3
ProCarManuals.com
Page 149 of 386

Comfort Controls & Audio Systems
Heating System (Without Air Conditioning)
K2441
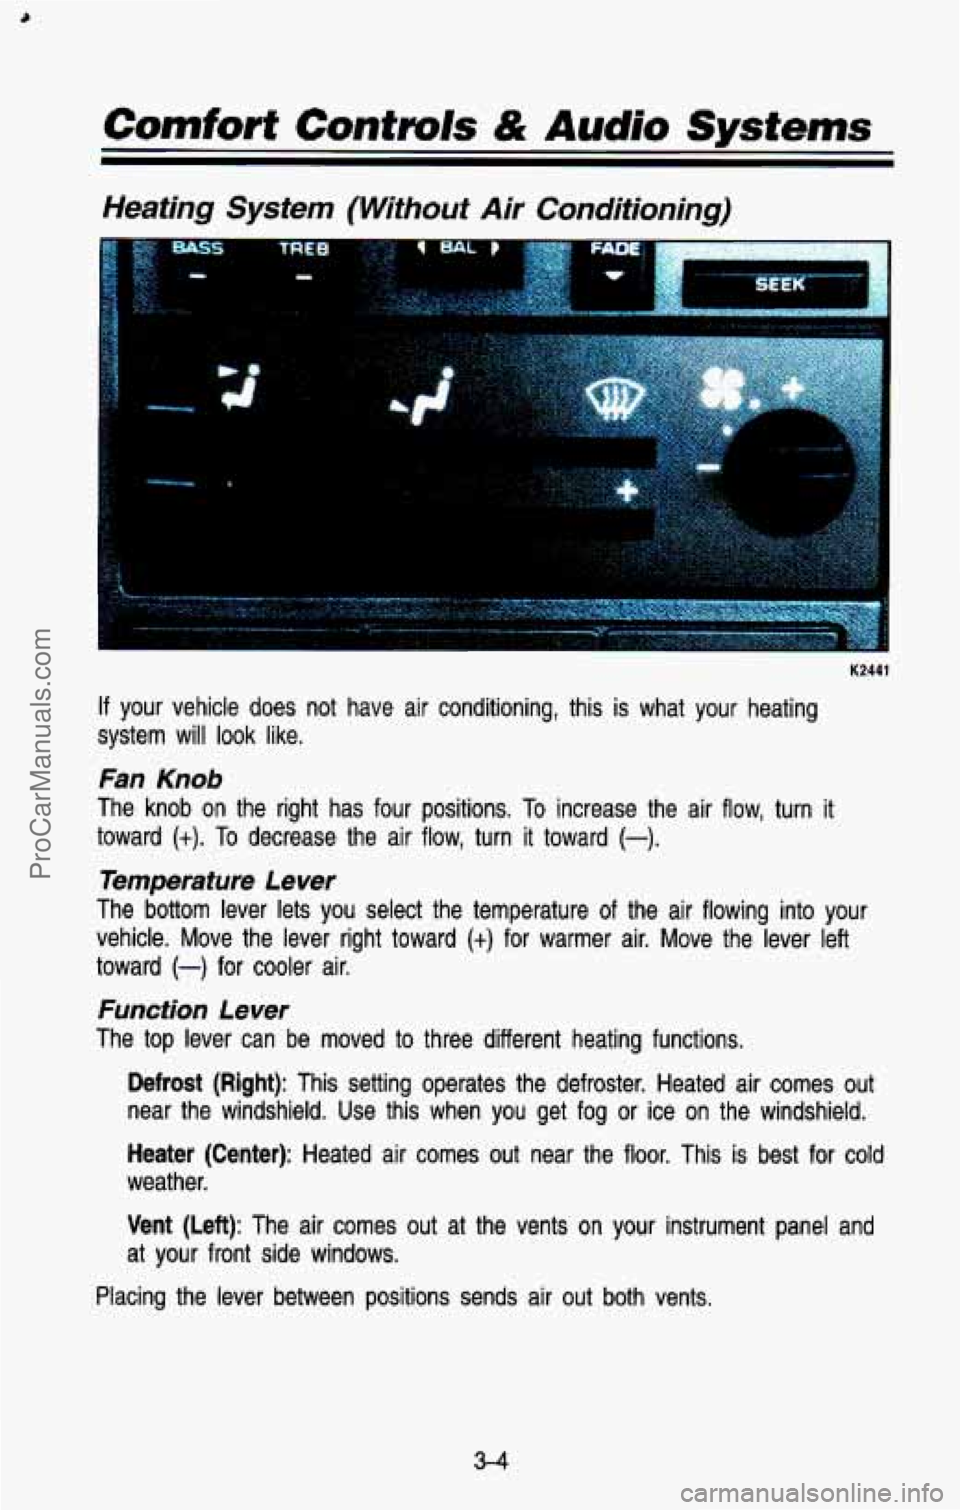
If your vehicle does not have air conditioning, this is what your heating
system will look like.
Fan Knob
The knob on the right has four positions. To increase the air flow, turn it
toward
(t). To decrease the air flow, turn it toward (-).
Temperature Lever
The bottom lever lets you select the temperature of the air f\
lowing into your
vehicle. Move the lever right toward
(+) for warmer air. Move the lever left
toward
(-) for cooler air.
Function Lever
The top lever can be moved to three different heating functions.
Defrost (Right): This setting operates the defroster. Heated air comes\
out
near the windshield. Use this when you get fog
or ice on the windshield.
Heater (Center): Heated air comes out near the floor. This is best for cold
weather.
Vent (Left): The air comes out at the vents on your instrument panel and
at your front side windows.
Placing the lever between positions sends air
out both vents.
3-4
ProCarManuals.com
Page 152 of 386

Right Button
Defrost (Top): Press here to operate the defroster. Heated air comes out
near the windshield. You can use it to help clear fog or ice on your
windshield.
Heater (Bottom): Press here, and heated air comes out near the floor. This
setting is best for passenger comfort in cold weather.
The air flow can be blended between the two positions.
To blend between
positions, press the side of the button showing the area where you would like
more air flow. The system will automatically begin to blend to\
ward the position
chosen. To
stop the system between positions, just press the SAME side of
the button again.
Left Button
Vent (Top): Press the top of this button and all of the airflow will come
through the instrument panel vents.
Heater (Bottom): Press the bottom of this button and all of the airflow will
come through the floor outlet.
The air flow can be blended between the two positions.
To blend between
positions, press the side
of the switch showing the area where you would like
more air flow. The system will automatically begin to blend toward the position
chosen. To stop the system between positions, just press the
SAME side of
the button again.
Temperature Selector Bar
The bar under your system display lets you select the temperat\
ure of the air
coming into your vehicle. Press
COLD for cooler air and press HOT for
warmer air. Release the bar when the system reaches the temper\
ature you
want. The temperature is shown on the display by an arrow mov\
ing between
C and H.
Fan Control Button
This button is in the upper right corner of your system control panel. The fan
has four settings-low, medium low, medium high and high. Press the top of
the button
(t) to increase the air flow. Press the bottom of the button (-) to
decrease the air flow. The setting you select is shown on your display as
LOW, MED LOW, MED HI or HI.
Air Recirculation Button
If you press the MAX button (RECIR on some models), the air in your
vehicle will be recirculated. With the air conditioner on,
MAX will give you
maximum cooling.
It can also be used in all modes to help keep dust out of
your vehicle. When MAX is selected, REC will light on your display.
3-7
ProCarManuals.com