1993 CHEVROLET S10 ESP
[x] Cancel search: ESPPage 26 of 356
Downloaded from www.Manualslib.com manuals search engine Seats & Safety Belts
AM115008
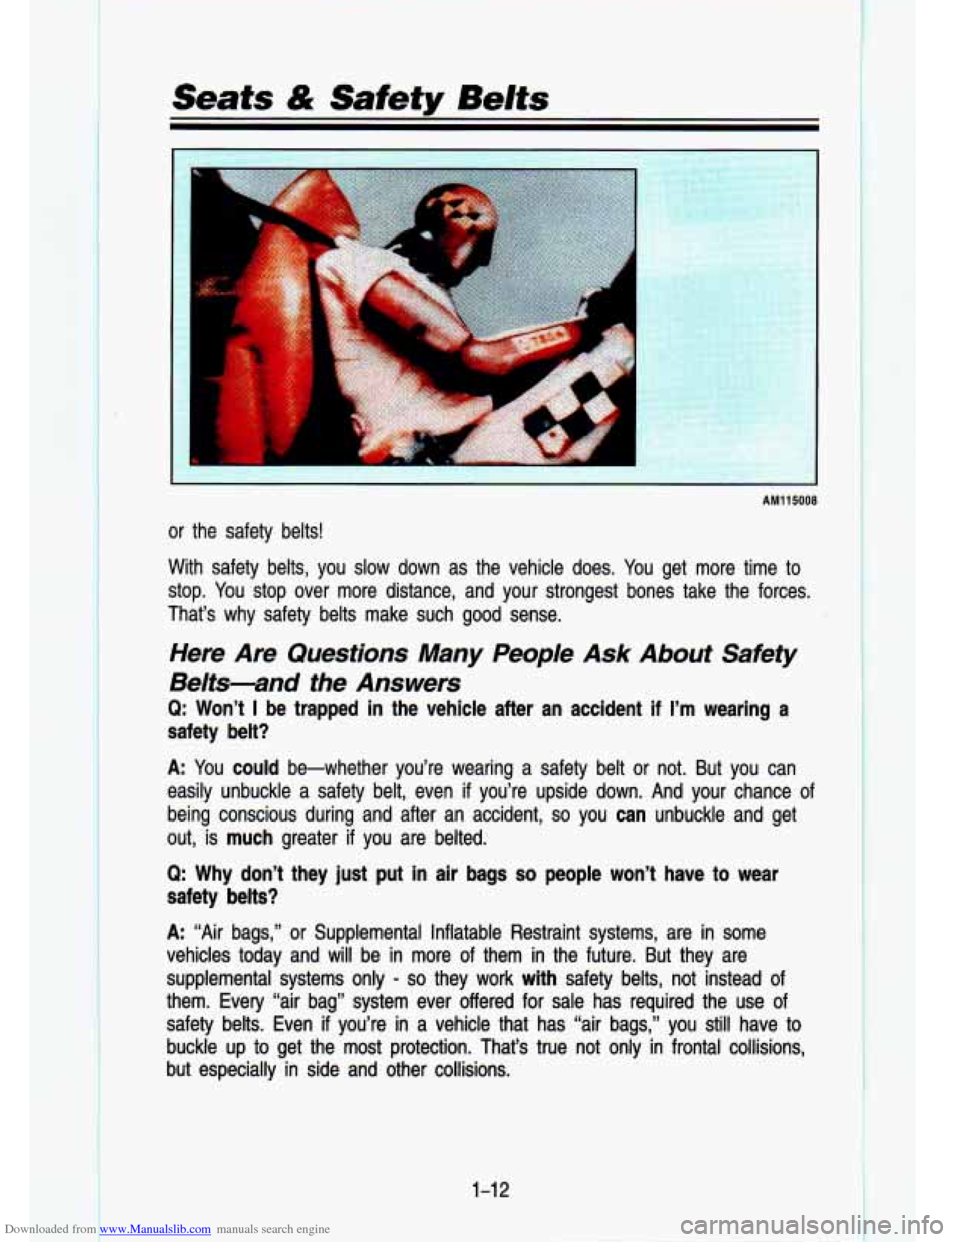
or the safety belts!
With safety belts, you slow down as the vehicle does. You get more time to
stop. You stop over more distance, and your strongest bones take the for\
ces.
That‘s why safety belts make such good sense.
Here Are Questions Many People Ask About Safety
Belts-and the Answers
Q: Won’t I be trapped in the vehicle after an accident if I’m wearing a
safety belt?
A: You could be-whether you’re wearing a safety belt or not. But you can
easily unbuckle a safety belt, even
if you’re upside down. And your chance of
being conscious during and after an accident, so you can unbuckle and get
out, is much greater
if you are belted.
Q: Why don’t they just put in air bags so people won’t have to wear
safety belts?
A: “Air bags,” or Supplemental Inflatable Restraint systems, are in some
vehicles today and will be in more of them in the future. But they are
supplemental systems only
- so they work with safety belts, not instead of
them. Every “air bag” system ever offered for sale has r\
equired the use of
safety belts. Even if you’re in a vehicle that has “air bags,’’ you still have to
buckle up to get the most protection. That’s true not only
in frontal collisions,
but especially in side and other collisions.
1-1 2
Page 58 of 356
Downloaded from www.Manualslib.com manuals search engine f .. :. . I. .
. .. .-
. . .. ., -. .
Features & Controls
Door Locks
1 A Unlocked doors can be dangerous.
' Passengers-especially children-can easily open the doors and fall
out. When a door is locked, the inside handle won't open it.
Outsiders can easily enter through an unlocked door when you s\
low
down or stop your vehicle.
This may not be
so obvious: You increase the chance of being
thrown out of the vehicle in a crash
if the doors aren't locked. Wear
safety belts properly, lock your doors, and you will be far b\
etter
off
whenever you drive your vehicle.
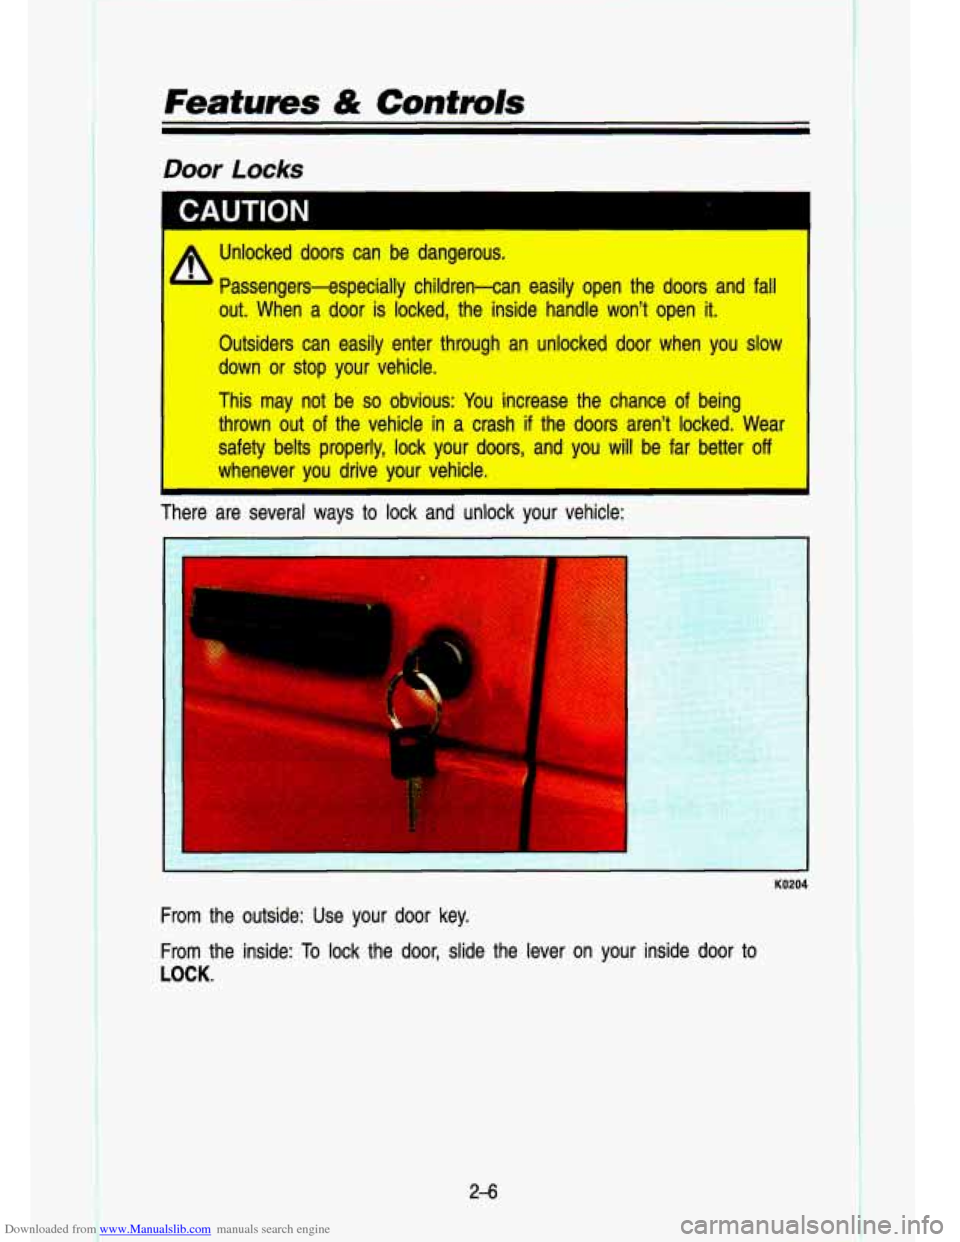
There are several ways to lock and unlock your vehicle:
~~____
KO204
From the outside: Use your door key.
From the inside: To lock the door, slide the lever on your inside door to
LOCK.
~. - -. I.
, .. I
2-6
Page 60 of 356
Downloaded from www.Manualslib.com manuals search engine Theft
Vehicle theft is a big business, especially in some cities. Although your
vehicle has a number of theft deterrent features, we know that nothing we
put on
it can make it impossible to steal. However, there are ways you can
help.
Key in the Ignition:
If you walk away from your vehicle with the keys inside,
it’s an easy target for joy riders or professional thieves-s\
o don’t
do it. when^
you park your vehicle and open the driver’s door, you’ll \
hear a tone reminding
you to remove your key from the ignition and take it with you. Always
do
this. Your steering wheel will be locked, and so will your ignition. If you have
an automatic transmission, taking your key out also locks your \
transmission.
And remember to lock the doors.
Parking at Night: Park in a lighted spot, close all windows and lock your
vehicle. Remember to keep your valuables out of sight. Put them in a storage
area, or take them with you.
Parking Lots:
If you park in a lot where someone will be watching your
vehicle, it’s best to lock it up and take your keys. But what
if you have to
leave your ignition key? What
if you have to leave somethina valuable in vour
vehicle?
Put your valuables in a storage area, like your glove DOX.
Lock the glove box.
Lock all doors except the driver’s.
Then take the door key with you.
2-8
1
Page 89 of 356

Downloaded from www.Manualslib.com manuals search engine To signal a lane change, just raise or lower the lever until the green ar\
row
starts to
flash. Hold it there until you complete your lane change. The lever
will return by itself when you release it.
As you signal a turn or a lane chi' -- if the arrows don’t flash but just stay
on, a signal bulb may be burned
OUT and other drivers won’t see your turn
signal.
(If your vehicle has the digital instrument cluster, the turn signa\
l arrows will
flash at a faster rate
if a signal bulb is burned out.)
If a bulb is burned out, replace it to help avoid an accident. If the green
arrows don’t go on at all when you signal a turn, check the fuse (see
“Fuses” in the Index) and for burned-out bulbs.
If you have a trailer towing option with added wiring for the tr\
ailer lights, a
different turn signal flasher is used. With this flasher instal\
led, the signal indicator will flash even if a turn signal bulb is burned out\
. Check the front
and rear turn signal lights regularly to make sure they are working.
Operation of Lights
Although your vehicle’s lighting system (headlights, parking \
lights, fog lamps,
side marker lights and tail lights) meet all applicable Federa\
l lighting
requirements, certain states and providences may apply their own\
lighting
regulations that may require special attention before you operat\
e these lights. For example, some jurisdictions may require that you operate yo\
ur lower
beam lights with fog lamps at all times, or that headlights b\
e turned on
whenever you must use your windshield wipers. In addition, most\
jurisdictions
prohibit driving solely with parking lights, especially at dawn \
or dusk.
It is
recommended that you check with your own state or provincial h\
ighway
authority for applicable lighting regulations.
2-37
Page 136 of 356
Downloaded from www.Manualslib.com manuals search engine Comfort Contmls & Audio Systems
FM Stereo
FM stereo will give you the best sound. But FM signals will \
reach only about
10
to 40 miles (16 to 65 km). And, tall buildings or hills can interfere with
FM signals, causing the sound
to come and go.
AM
The range for most AM stations is greater than for FM, especi\
ally at night.
The longer range, however, can cause stations to interfere with\
each other.
AM can pick up noise from things like storms and power lines.\
Try reducing
the treble to reduce this noise
if you ever get it.
AM Stereo
C-QUA@
This means the Delco@ system can receive C-QUAM@ stereo broadca\
sts. Many AM stations around the country use C-QUAM@ to produce stereo,
though some
do not. (C-QUAM@ is a registered trademark of Motorola, Inc.)
If your Delco@ system can get C-QUAM? your “STEREO” light will come on
when you’re receiving it.
3-8
Page 138 of 356
Downloaded from www.Manualslib.com manuals search engine Comfort Controls & Audio Systems
Pushbuttons
The four pushbuttons let you return to favorite stations. You \
can set the pushbuttons for up
to seven favorite AM stations. Just:
Tune in the station you want.
Push the SET pushbutton. (SET appears in the VF display for a few
seconds.)
Within 5 seconds, push one of the four pushbuttons to store the station.
Whenever you press that button, the preset station will return.\
NOTE:
Up to three additional stations may be preset by pressina two adjoining
buttons at the same time.
Tune in the desired station.
Press the SET pushbutton.
Within 5 seconds, press any two adjoining pushbuttons at the same time. \
(The station will return when the same two buttons are presse\
d again.
Clock
To set the clock, just:
Push the SET pushbutton.
Within 5 seconds, press and hold MlNS until the correct minute appears
on the display.
Press and hold HRS until the correct hour appears on the display.
TREBLE
Slide the TREBLE lever up to increase the treble response. If the station is
weak or noisy, slide the TREBLE lever down to reduce the noise.
BASS
Slide the BASS lever up to increase the bass response. Adjust the BASS
lever
to give a pleasing sound to your ear.
3-1 0
1
Page 140 of 356
Downloaded from www.Manualslib.com manuals search engine I r. . .. >-
Comfort Controls & Audio Systems
SEEK
Press the SEEK button to cause the receiver to SEEK the next higher station
and stop.
SCAN
When you press SCAN, the radio will go to the next station a\
nd pause and
will keep scanning until you press SCAN again. SCAN appears in the
VF
display.
Pushbuttons
The four pushbuttons let you return to favorite stations.
You can set the pushbuttons for up
to fourteen favorite stations (7 AM and
7 FM). Just:
Tune in the desired station.
Press the SET pushbutton. (SET appears in the VF display for a few
seconds.)
Within 5 seconds, push one of the four pushbuttons to store the station.
Whenever you press that button, the preset station will return.\
NOTE:
Up to three additional stations may be preset on each band by pressing two
adjoining buttons at the same time. (The station will return when the same
two buttons are pressed again.)
Clock
To set the clock, just:
Push the SET pushbutton.
Within 5 seconds, press and hold
on the display. SEEK
until the correct minute appears
Press and hold SCAN until the correct hour appears on the dis\
play.
TREBLE
Slide the TREBLE lever up to increase the treble response. If a station is
weak or noisy, slide the TREBLE lever down to reduce the noise.
BASS
Slide the BASS lever up to increase the bass response. Adjust the BASS
lever
to give a pleasing sound to your ear.
3-1 2
Page 143 of 356
Downloaded from www.Manualslib.com manuals search engine TREBLE
Slide the TREBLE lever up to increase the treble response. If the station is
weak or noisy, slide the TREBLE lever down to reduce the noise.
BASS
Slide the BASS lever up to increase the bass response. Adjust the BASS
lever to give a pleasing sound to your ear.
DNP
This is the Dynamic Noise Reduction button. DNR@ helps remove background\
hiss from the radio or tape player. You may want to leave it pushed in all the
time.
DNR@ is a registered trademark of National Semiconductor Corporation.
To Play A Cassette
Your tape player is built to work best with tapes that are 30 to 45 minutes
long on each side. Tapes longer than that are
so thin they may not work well
in this player.
Once the tape
is playing, use the upper and lower knobs for volume balance
and fade just as you
do for the radio. The arrows indicate which side of the
tape is being played.
Forward
To rapidly advance the tape, press the arrow pointing right and t\
he tape will
rapidly go forward until you press the STOP-EJECT button lightl\
y.
Reverse
To rapidly reverse the tape, press the arrow pointing left and the tape will
rapidly reverse until you press the STOP-EJECT button lightly.
PROGRAM
To go from one side of the tape to the other, press the VOL-BAUPROG-RCL
knob (Volume).
EJECT
To remove the tape or stop the tape and switch to radio, press \
the
STOP-EJECT button.
3-1 5