Page 123 of 356
Downloaded from www.Manualslib.com manuals search engine CHECK GAGES Light
KO281
If you have the standard instrument cluster, this light will come \
on briefly
when you are starting the engine.
If the light comes on and stays on while
you are driving, check your various gages to see
if they are in the warning
zones.
Daytime Running Lights (DRL) Indicator Light (Canada Only)
KO242
This green light with the DRL symbol is on the lower left of the instrument
cluster. The DRL indicator is on whenever the ignition is on \
and the headlight
switch and parking brake are
off. For more details about DRL, see "Lights" in
this section.
2-71
Page 124 of 356
Downloaded from www.Manualslib.com manuals search engine Features & Controls
SHIFT Indicator Light
1
KO287
This light with the SHIFT symbol is on the instrument cluster of some vehicles
with manual transmissions. The
SHIFT indicator light will help you get the
best fuel economy. See “Shift Indicator Light” in this section.
Headlight High Beam Indicator Light
L
This light with the blue high beam symbol is on the instrumen\
t cluster. The
high beam indicator is on whenever you use your high beam headlights. For
more details about high beams, see “Headlight High-Low Beam \
Changer” in
this section.
2-72
Page 125 of 356
Downloaded from www.Manualslib.com manuals search engine Turn Signal and Lane Change lndicator
Standard Cluster Digifal Cluster
I
This light with the green arrows is on the instrument cluster. The turn signal
indicator will come on whenever you signal a turn or lane change. See “Turn
and Lane Change Signal” in this section.
2-73
Page 135 of 356

Downloaded from www.Manualslib.com manuals search engine VENT: The air comes out at the vents on your instrument panel and \
at your
front side windows.
BI-LEV NC: With this, outside air comes in through the heater floor vent and
the instrument panel vents. This setting is useful in cool weather with bright
sunlight.
NORM
NC: This setting cools the outside air. If you first used MAX, use
NORM as soon as the vehicle has cooled down,
so outside air will be going
through your vehicle.
MAX NC: This cools the air the fastest. Move the other lever all the \
way to
Cold. MAX lets in only a little air from the outside. You can use MAX at first
when it’s really hot outside and you need to cool
off quickly.
OFF: The blower is off, but air still will come from outlets at the front of your
vehicle. The system will try
to keep the air at the chosen temperature.
Engine Block Heater
If you use the optional engine block heater before starting your \
engine, your
heating system will produce warmer air faster, to heat the pas\
senger
compartment in cold weather. See “Engine Block Heater” in the Index.
Audio Systems
I CAUTION
A
Hearing damage frolm lloud noise is almost undetectable until it is too
late. Your
hearing can adapt to higher volmes of sound. So’und that
seems normal can
be loud an’d harmfull to your hearing. Jake
precaution’s by adjusting the volume control
on your radio to a safe
sound level before your hearing adapts to
it.
To help avoid hearing IOSS or damage:
* Adjust the volume control to the lowest setting.
Increase volume SliOWly until you hear comfortably and
clearlv.
- -
Your L-.CO@ audio system has been designed to operate easily and give
years of listening pleasure. But you will get the most enjoyment out of it if
you acquaint yourself with
it first. Find out what your Delco@ system can do
and how to operate all its controls, to be sure you’re getting the most out of
the advanced engineering that went into it.
3-7
Page 136 of 356
Downloaded from www.Manualslib.com manuals search engine Comfort Contmls & Audio Systems
FM Stereo
FM stereo will give you the best sound. But FM signals will \
reach only about
10
to 40 miles (16 to 65 km). And, tall buildings or hills can interfere with
FM signals, causing the sound
to come and go.
AM
The range for most AM stations is greater than for FM, especi\
ally at night.
The longer range, however, can cause stations to interfere with\
each other.
AM can pick up noise from things like storms and power lines.\
Try reducing
the treble to reduce this noise
if you ever get it.
AM Stereo
C-QUA@
This means the Delco@ system can receive C-QUAM@ stereo broadca\
sts. Many AM stations around the country use C-QUAM@ to produce stereo,
though some
do not. (C-QUAM@ is a registered trademark of Motorola, Inc.)
If your Delco@ system can get C-QUAM? your “STEREO” light will come on
when you’re receiving it.
3-8
Page 143 of 356

Downloaded from www.Manualslib.com manuals search engine TREBLE
Slide the TREBLE lever up to increase the treble response. If the station is
weak or noisy, slide the TREBLE lever down to reduce the noise.
BASS
Slide the BASS lever up to increase the bass response. Adjust the BASS
lever to give a pleasing sound to your ear.
DNP
This is the Dynamic Noise Reduction button. DNR@ helps remove background\
hiss from the radio or tape player. You may want to leave it pushed in all the
time.
DNR@ is a registered trademark of National Semiconductor Corporation.
To Play A Cassette
Your tape player is built to work best with tapes that are 30 to 45 minutes
long on each side. Tapes longer than that are
so thin they may not work well
in this player.
Once the tape
is playing, use the upper and lower knobs for volume balance
and fade just as you
do for the radio. The arrows indicate which side of the
tape is being played.
Forward
To rapidly advance the tape, press the arrow pointing right and t\
he tape will
rapidly go forward until you press the STOP-EJECT button lightl\
y.
Reverse
To rapidly reverse the tape, press the arrow pointing left and the tape will
rapidly reverse until you press the STOP-EJECT button lightly.
PROGRAM
To go from one side of the tape to the other, press the VOL-BAUPROG-RCL
knob (Volume).
EJECT
To remove the tape or stop the tape and switch to radio, press \
the
STOP-EJECT button.
3-1 5
Page 146 of 356

Downloaded from www.Manualslib.com manuals search engine Comfort Controls & Audio Systems
Am-St Button
The Am-St is just below the PWR button. Push this when you tune to an
AM station that broadcasts in stereo. Your STEREO light will come on when
you’re receiving
AM stereo. If you push Am-St and there is no more noise, it
means the station is weak. You’ll hear the station better if you don’t use
Am-St. Just push the Am-St button again
to delete stereo.
LOUD
The loudness button is next to the PWR button. Push it to get more bass
sound.
DNP
Your audio system has automatic Dynamic Noise Reduction. It helps remove
background hiss noise from the radio or tape player.
DNR@ is a registered trademark of the National Semiconductor Corporation.
To Play A Cassette
Your tape player is built to work best with tapes that are 30 to 45 minutes
long on each side. Tapes longer than that are
so thin they may not work well
in this player.
Once the tape is playing, use the upper and lower knobs for \
volume, balance
and fade, just as you did for radio. The arrows indicate which side of the
tape is being played.
Cr02
The Cr02 button lets you set the system for the type of cassette being used.
If you are using chrome or metal tapes, push the Cr02 button in.
FWD (Forward)
To rapidly advance the tape, press FWD, and the tape will rapidly go forward
until you press the REV button lightly.
REV (Reverse)
To rapidly reverse the tape, press REV, and the tape will rapidly\
reverse until
you press the
WD button lightly.
SEARCH
Push the SEARCH button to the right. (The ON light will come on.)
Push
FWD to go to the beginning of the next selection.
Push REV with the SEARCH
ON light lit, and the tape will reverse to the
beginning
of the current selection.
3-1 8
Page 147 of 356

Downloaded from www.Manualslib.com manuals search engine PROGRAM
To go from one side of the tape to the other, press the upper knob.
EJECT
To remove the tape or stop the tape and switch to radio, press \
the EJECT
button.
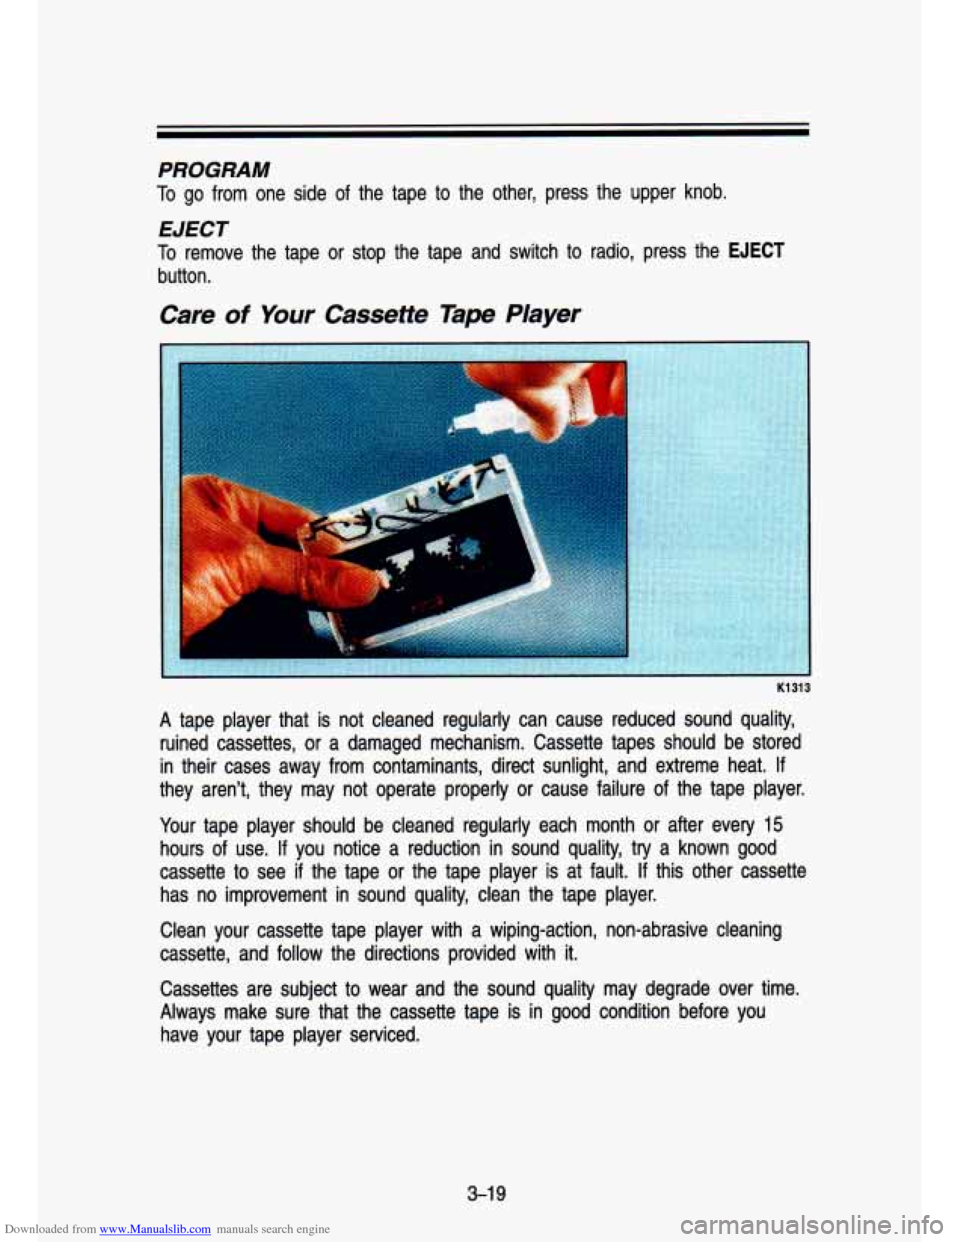
A tape player that is not cleaned regularly can cause reduced so\
und quality,
ruined cassettes,
or a damaged mechanism. Cassette tapes should be stored
in their cases away from contaminants, direct sunlight, and extreme\
heat.
If
they aren't, they may not operate properly or cause failure of the tape player.
Your tape player should be cleaned regularly each month or after ev\
ery
15
hours of use. If you notice a reduction in sound quality, try a known good
cassette to see if the tape or the tape player is at fault.
If this other cassette
has no improvement in sound quality, clean the tape player.
Clean your cassette tape player with a wiping-action, non-abrasi\
ve cleaning
cassette, and follow the directions provided with
it.
Cassettes are subject to wear and the sound quality may degrade over time.
Always make sure that the cassette tape is in good condition before you
have your tape player serviced.
3-1 9