1993 CHEVROLET LUMINA warning
[x] Cancel search: warningPage 189 of 324

Downloaded from www.Manualslib.com manuals search engine Compact Spare Tire
Although the compact spare was fully
inflated when your vehicle was new, it
can lose air after a time. Check the
inflation pressure regularly. It should be
60 psi (420 kPa). The compact spare is
made to go up to
3,000 miles
(5 000 Inn), so you can finish your trip
and have
your full-size tire repaired or
replaced where
you want. Of course, it’s
best to replace your spare with a full-
size tire as soon as you can. Your spare
will last longer and be in good shape in
case you need it again. Your anti-lock
brake system warning light may come
on when you are driving with a compact
spare. See the
Index under Anti-Lock
Brake System Warning Light.
Don’t use your compact spare on some
other vehicle.
And don’t
mix your compact spare or
wheel with other wheels or tires. They
won’t fit. Keep your spare and its wheel
together.
Page 213 of 324

Downloaded from www.Manualslib.com manuals search engine How to Check
The proper fluid should be added if the
level does not reach the bottom of the
diaphragm when it’s
in place in the
reservoir. See the instructions on the
reservoir cap.
Engine Coolant
The following explains your cooling
system and how to add coolant when it
is low. If you have a problem with
engine overheating or
if you need to add
coolant to your radiator, see the
Index
under Engine Overheating.
The proper coolant for you1 ~ ~ ~ _et
will:
Give freezing protection c, .m to
Give boiling protection up to 262°F
Protect against rust and corrosion.
Help keep the proper engine
Let the warning lights work as they
What to Use:
Use a mixture of one-half clean water
(preferably distilled) and one-half
antifreeze that meets
“GM Specification
1825-M,” which won’t damage ,
-34°F (-37°C).
(128°C).
temperature. should. aluminum
parts. You can
also use a
recycled coolant conforming to
GM
Specification 1825-M with a complete
coolant flush and refill. If you use this
mixture, you don’t need to add anything
else.
I
9
Adding only plain water to
your cooling system can be
dangerous. Plain water, or some
other liquid like alcohol, can boil
before the proper coolant mix will.
Your vehicle’s coolant warning
system is set for the proper coolant
mix. With plain water or the wrong
mix, your engine could get too hot
but you wouldn’t get the overheat
warning. Your engine could catch fire and you or others could be
burned. Use a
50/50 mix of clean
water and a proper antifreeze.
Page 219 of 324
Downloaded from www.Manualslib.com manuals search engine p LA
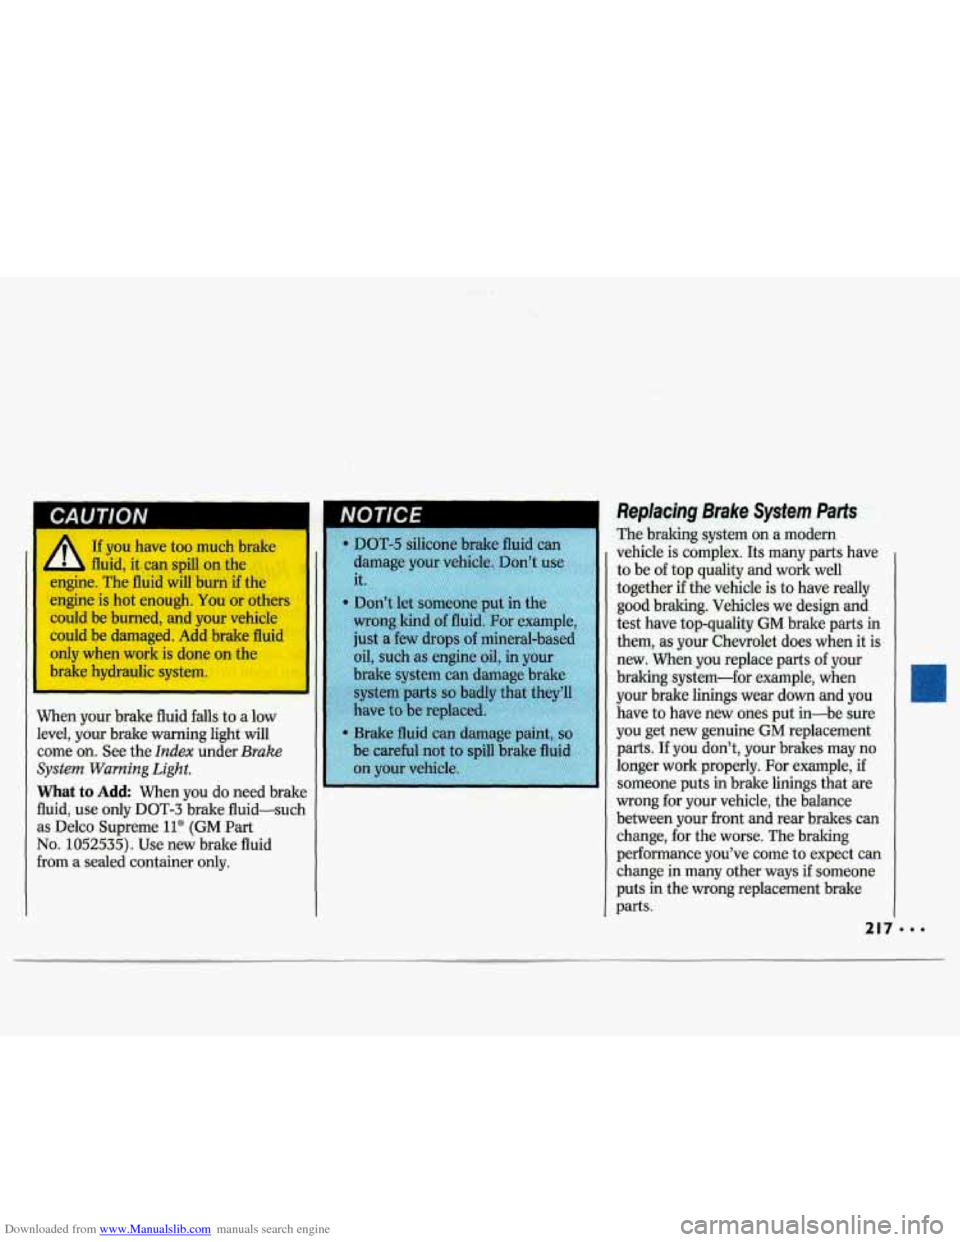
If you have too much brake
fluid, it can spill on the
engine. The fluid will burn
if the
engine is hot enough. You or others
could be burned, and your vehicle
could be damaged. Add brake fluid only when work is done on the
brake hydraulic system.
When your brake fluid falls
to a low
level, your brake warning light will
come
on. See the Index under Brake
System Warning Light.
What to Add When you do need brake
fluid, use only DOT-3 brake fluid-such as Delco Supreme
11@ (GM Part
No. 1052535). Use new brake fluid
from a sealed container only.
NOTICE I
Replacing Brake System Parts
The braking system on a modern
vehicle is complex. Its many parts have
to be of top quality and work well
together
if the vehicle is to have really
good braking. Vehicles we design and
test have top-quality
GM brake parts in
them, as your Chevrolet does when it is
new. When you replace parts of your
braking system-for example, when
your brake linings wear
down and you
have to have new ones put in-be sure
you get new genuine
GM replacement
parts. If you don’t, your brakes may no
longer work properly. For example,
if
someone puts in brake linings that are
wrong for your vehicle, the balance
between your front and rear brakes can
change, for the worse. The braking
performance you’ve come to expect can
change in many other ways
if someone
puts in the wrong replacement brake
parts.
Page 231 of 324
Downloaded from www.Manualslib.com manuals search engine Uniform Tire Quality
Grading
The following information relates to the
system developed by the United States
National Highway Traffic Safety
Administration which grades tires by
treadwear, traction and temperature
performance. (This applies only to
vehicles sold in the United States.)
The treadwear grade is
a comparative
rating based on the wear rate
of the tire
when tested under controlled
conditions on a specified government
test course. For example, a tire graded
150 would wear one and a half (1%)
times as well on the government course
as a tire graded
100. The relative
performance
of tires depends upon the
Treadwear
actual conditions of their use, however,
and may depart significantly
from the
norm due to variations in driving habits,
service practices and differences in road
characteristics and climate.
Traction-A, B, C
The traction grades, from highest to
lowest are: A,
B, and C. They represent
the tire’s ability to stop on wet
pavement as measured under controlled
conditions on specified government test
surfaces of asphalt and concrete. A tire
marked
C may have poor traction
performance.
Warning: The traction grade assigned
to this tire is based on braking (straight-
ahead) traction tests and does not
include cornering (turning) traction.
Temperature-A, B, C
The temperature grades are A (the
highest),
B, and C, representing the
tire’s resistance to the generation of
heat and its ability to dissipate heat
when tested under controlled
conditions on
a specified indoor
laboratory test wheel. Sustained high
temperature can cause the material of
the tire to degenerate and reduce tire
life, and excessive temperature can lead
to sudden tire failure. The grade
C
corresponds to a level of performance
which all passenger car tires must meet under the Federal Motor Vehicle Safety
Standard
No. 109. Grades B and A
represent higher levels of performance
on the laboratory test wheel than the
minimum required by law.
Page 232 of 324
Downloaded from www.Manualslib.com manuals search engine Service & Appearance Care
Temperature-A, B, C (CONT.)
Warning: The temperature grade for
this tire is established for a tire that is
properly inflated and not overloaded.
Excessive speed, underinflation, or
excessive loading, either separately or
in combination, can cause heat
buildup and possible tire failure.
Those grades are molded on the
sidewalls of passenger car tires.
While the tires available as standard or
optional equipment on General Motors
vehicles may vary with respect to these
grades, all such tires meet General
Motors performance standards and
have been approved for use on General
Motors vehicles. All passenger type
(P Metric) tires must conform to
Federal safety requirements in addition
to these grades.
230
Wheel Alignment and
Tire Balance
The wheels on your vehicle were
aligned and balanced carefully at the
factory to give you the longest tire life
and best overall performance.
In most cases, you
will not need to have
your wheels aligned again. However, if
you notice unusual tire wear or your
vehicle pulling one way or the other, the
alignment may need to be reset. If you
notice ycur vehicle vibrating when
driving on a smooth road, your wheels
may need to be rebalanced.
Wheel Replacement
Replace any wheel that is bent, cracked
or badly rusted. If wheel nuts keep
I
coming loose, the wheel, wheel bolts,
and wheel nuts should be replaced. If
the wheel leaks air out, replace
it
(except some aluminum wheels, which
can sometimes be repaired). See your
Chevrolet dealer if any
of these
conditions exist.Your dealer will know
I
the kind of wheel you need.
Each new wheel should have the same
load carrying capacity, diameter, width,
offset, and be mounted the same way
as
the one it replaces.
If you need to replace any
of your
wheels, wheel bolts, or wheel nuts,
replace them only with
new GM
original equipment parts. This way, you
will be sure to have the right wheels,
wheel bolts, and wheel nuts for your
Chevrolet model.
Page 244 of 324

Downloaded from www.Manualslib.com manuals search engine Service & Appearance Care
Glove Box Fuse Block
I-
. . . 242
W61561
Fuse
3
4
5
6
7
8
9
10
11
12
13
14
15
16
17
18
15
25
10
15
15
20
15
10 5
25
10 10
Rating Circuitry
1 10 Radio & Clock
2 15 Radio & Clock; Passive Restraint Lockout; Delcom
Bose Amplifier
Door Lock; Courtesy, Glove
Box, Underhood, Trunk,
Modular Dim Lights; Lighted Visor Mirror
Windshield Wiper
& Washer
Temp Door Motor; HVAC
& Rear Defogger; DRL
Module (Canada)
Brake Lights; ABS Control Module
ECM
Taillights; Radio
& Clock HVAC; Chime Module;
DRL Module (Canada)
Hazard Warning Flasher
Rear Defogger Timer Relay; Instrument Cluster;
Chime Module; Cruise Control; DIU Module (Canada);
ABS Lamp Driver
Instrument Panel and Switch Lights
HVAC
Turn Signals/Flasher
Not Used
ABS Control Module
Not Used
Not Used
Not Used
(AMP.)
Page 276 of 324

Downloaded from www.Manualslib.com manuals search engine Maintenance Schedule
Section C: Periodic Maintenance Inspections
Listed below are inspections and services which should be performed at least twice a year (for instance, each spring an\
d M).
You should let your GM dealer’s service department or other qualified service center do these jobs. Make sure any necessary
repairs are completed at once.
INSPECTION
OR SERVICE
Steering, Suspension
and Front-Wheel-Drive
Axle Boot and Seal
Inspection
Exhaust System
Inspection
Throttle Linkage
Inspection
Brake System
Inspection
I
WHAT SHOULD BE DONE
Inspect the front and rear suspension and steering system for damaged, loose or missing parts,
signs of wear, or lack of lubrication. Inspect the power steering lines and hoses for pro\
per
hookup, binding,
leaks, cracks, chafing, etc. Clean and then inspect the drive axle boot seals for
damage, tears or leakage. Replace
seals if necessary.
Inspect the complete exhaust system. Inspect the body near the exhaust system.
Look for broken,
damaged, missing or out-of-position parts as well as open seams, holes, loose connections, or
other conditions which could cause
a heat build-up in the floor an or could let exhaust fumes
into
the vehicle. See the Index under Engine Exhaust.
Inspect the throttle linkage for interference or binding, and for damaged or missing parts.
Replace parts as needed.
-~~
Inspect the complete system. Inspect brake lines and hoses for proper hookup, binding, leaks,
cracks, chafing, etc. Inspect disc brake pads for wear and rot\
ors for surface condition. Inspect
other brake parts, including calipers, parking brake, etc. Check parking brake adjustment. You
may need to have your brakes inspected more often
if your driving habits or conditions result in
frequent braking.
NOTE: A low brake fluid level can indicate worn disc brake pads which \
may need to be
serviced.
Also, if the brake system warning light stays on or comes on, something may be wrong
with the brake system.
See the Ida under Brake System Warning Light. If your vehicle is
equipped with anti-lock brakes and the anti-lock brake system w\
arning light
stays on, comes on
or flashes, something may be wrong with the anti-lock brake system. See the
Index under Anti-
Lock Brake System Warning Light.
I
Page 311 of 324

Downloaded from www.Manualslib.com manuals search engine Index
ABS Warning Light .......................... 93
Adding Brake Fluid
............................ 217. 249
Electrical Equipment
............. 103. 240
Engine Coolant
...... 175.212.248. 249
Engine Oil
.............................. 201. 249
Power Steering Fluid
...... 214.248. 250
Sound Equipment
.......................... 103
Transaxle Fluid Automatic
..................... 208. 247. 249
Manual
......................... 210. 247. 249
Air Cleaner Filter
..................... 205. 254
Air Conditioner
(see
Comfort ControZs)
Alcohol. Driving Under the
Influence
of .................................... 123
Alcohol in Gasoline
.......................... 193
Aluminum Wheels
Cleaning
.......................................... 23 7
Removing ....................................... 183
Antenna ............................................ 114
Antifreeze
........................ 21 1. 248. 249
Anti-Lock Brake System
(ABS) ..... 127
Hydraulic Clutch Fluid
......... 210. 249
Windshield Washer Fluid
........ 76. 215 Anti-Lock Brake System
Warning Light
.................................. 93
Appearance Care
............................. 232
Armrest. Console Storage
.................. 82
Ashtrays
& Lighter ............................ 82
Audio Systems
................................. 103
AM/FM Stereo Radio
..................... 104
AM/FM Stereo Radio with
Cassette Player
............................ 106
AM/FM Stereo with Cassette Player
and
Base@ Silver Series Speaker
System
.......................................... 108
AM/FM Stereo with Compact
Disc Player ................................... 110
Care
of Audio Systems ................... 113
Radio Reception. For the Best
...... 113
Setting the Clock
........................... 103
Automatic Lap-Shoulder Belt
(see
Safety Belts)
Automatic Transaxle
Adding Fluid ................... 208. 247. 249
Checking Fluid
................................ 206
Shifting
.............................................. 56
Starting the Engine
........................... 53
BBB Auto Line ........................... 284
Battery
............................................... 218
Acid Warning
........................... 165. 167
Jump Starting
................................. 165
Battery Warning Light
....................... 92
Blizzard
............................................. 153
Block Heater. Engine
....................... 55
Blowout. Tire ................................... 180
Brake Adjustment
..................................... 130
Fluid
....................................... 216. 249
Master Cylinder
............................. 216
Parlung
............................................. 63
Replacing Parts
............................... 217
Warning Light
.................................. 92
Wear Indicators
............................. 129
Anti-Lock Brake System
.................. 93
Standard Brakes
............................... 92
Brakes. Anti-Lock
.......................... 127
Warning Light
................................... 93
Brakes Trailer
.............................................. 158
Braking ............................................. 126
Brake System Warning Light