1993 CHEVROLET CAVALIER bulb
[x] Cancel search: bulbPage 76 of 308
Downloaded from www.Manualslib.com manuals search engine Features & Controls
Turn Signal and Lane Change
Indicator
(CONI)
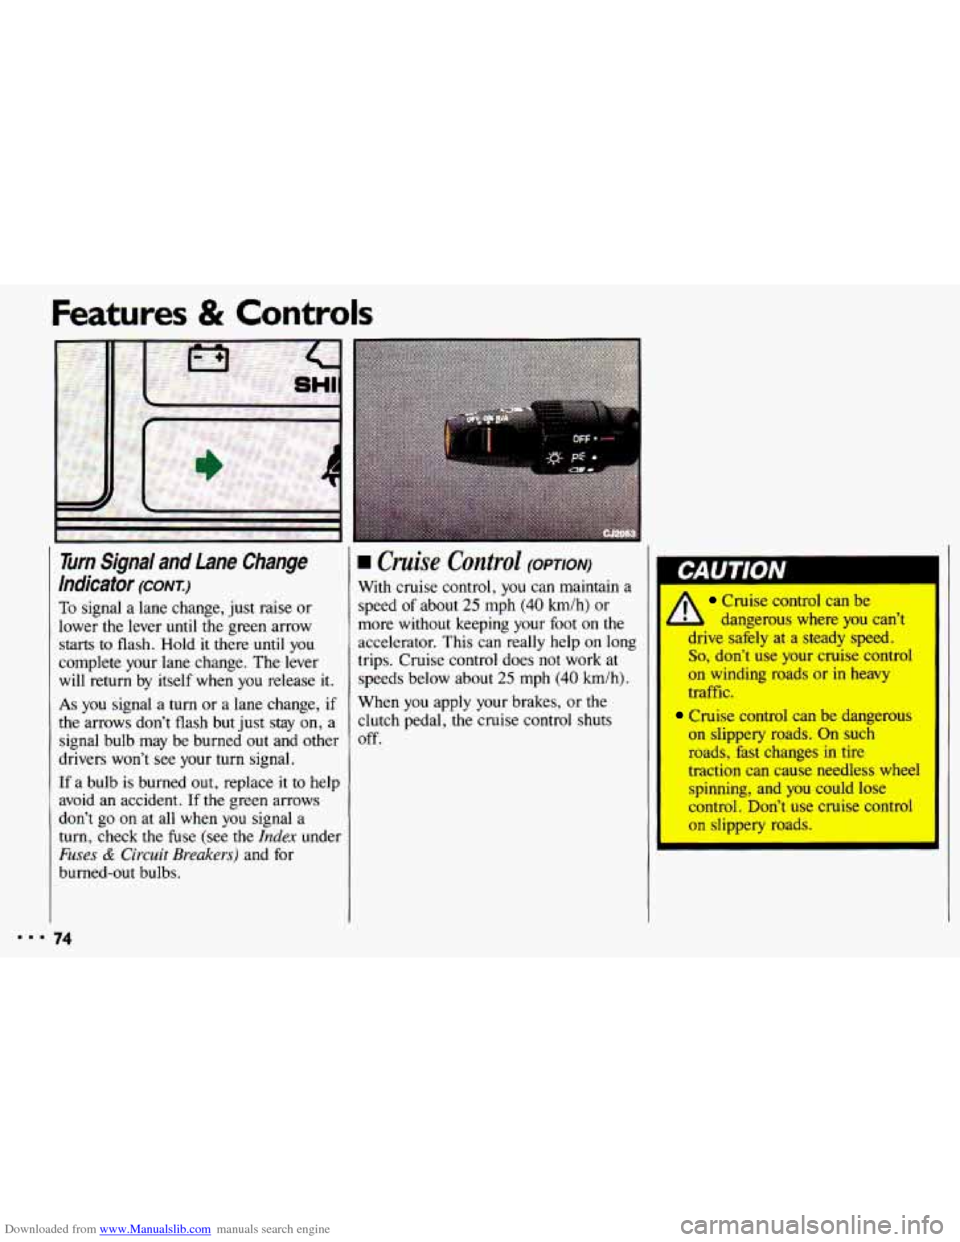
To signal a lane change, just raise or
lower the lever
until the green arrow
starts to flash. Hold it there until you
complete your lane change. The lever
will return by itself when you release it.
As you signal a turn or a lane change, if
the arrows don’t flash but just stay on, a
signal bulb may be burned out and other
drivers won’t see your turn signal.
If a bulb is burned out, replace it to help
avoid an accident.
If the green arrows
don’t go
on at all when you signal a
turn, check the fuse (see
the Index under
Fuses & Circuit Breakers) and for
burned-out bulbs.
74
rn Cruise Control (OPTION)
With cruise control, you can maintain a
speed of about
25 mph (40 h/h) or
more without keeping your foot on the
accelerator. This can really help on long
trips. Cruise control does not work at
speeds below about
25 mph (40 km/h).
When you apply your brakes, or the
clutch pedal, the cruise control shuts
off.
Cruise control can be
l dangerous where you can’t
drive safely at a steady speed.
So, don’t use your cruise control
on winding roads or-in heavy
traffic.
Cruise control can be dangerous
on slippery roads. On such
roads, hst changes in
tire
traction can cause needless wheel
spinning, and you could
lose
control. Don’t use cruise control
on slippery roads.
Page 84 of 308
Downloaded from www.Manualslib.com manuals search engine Features & Controls
...
Dome Light
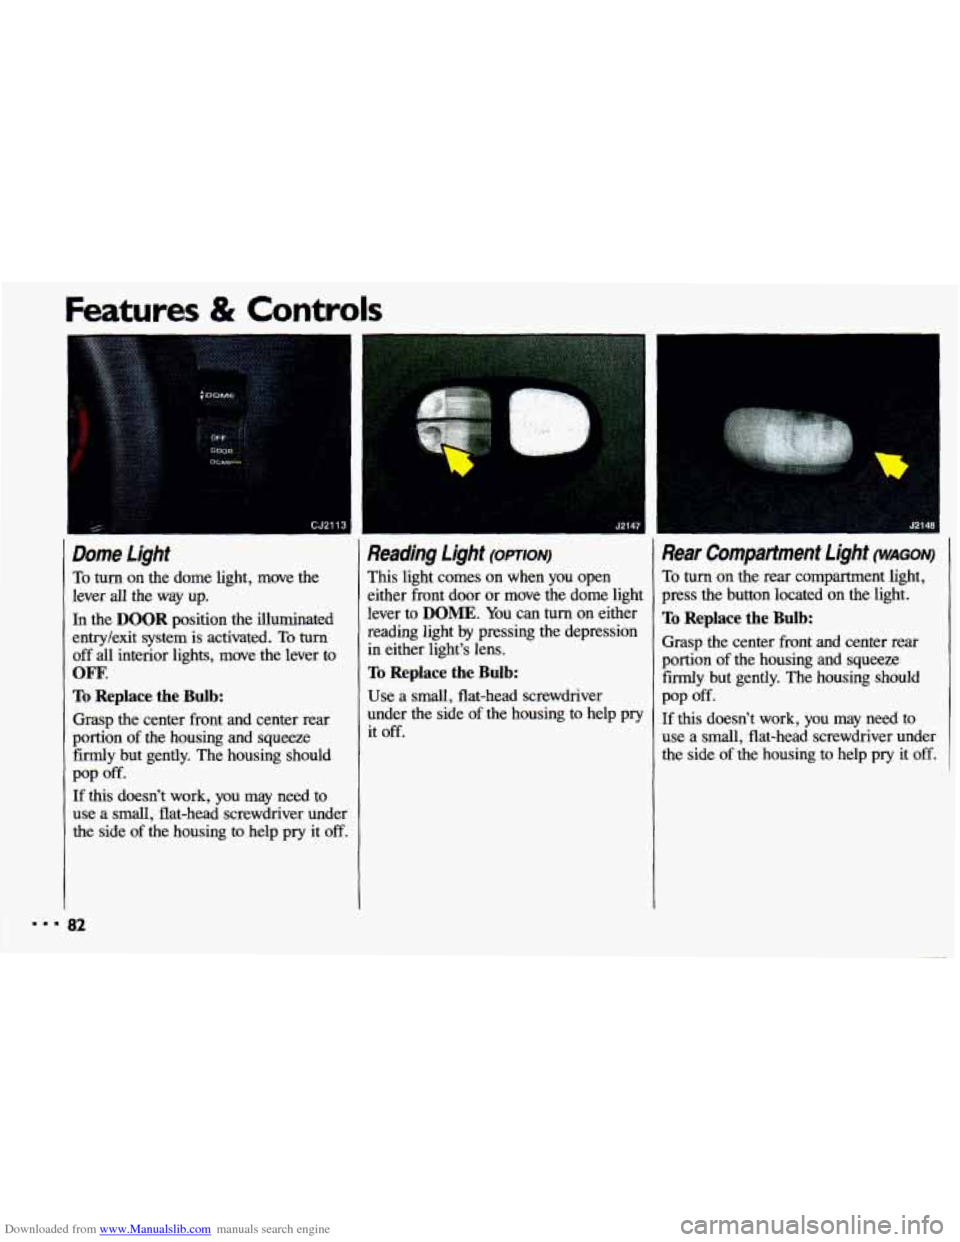
To turn on the dome light, move the
lever all the way up.
In the DOOR position the illuminated
entry/exit system is activated.
To turn
off all interior lights, move the lever to
OFF.
To Replace the Bulb:
Grasp the center front and center rear
portion
of the housing and squeeze
firmly but gently. The housing should
If this doesn’t work, you may need to
use a small, flat-head screwdriver under
the side
of the housing to help pry it off.
pop off.
B2
Reading Light (OPTION)
This light comes on when you open
either front door or move the dome lighl
lever to
DOME. You can turn on either
reading light
by pressing the depression
in either light’s lens.
To Replace the Bulb:
Use a small, flat-head screwdriver
under the side
of the housing to help pr]
it
off.
Rear Compartment Light (WAGON)
To turn on the rear compartment light,
press the button located
on the light.
To Replace the Bulb:
Grasp the center front and center rear
portion
of the housing and squeeze
firmly but gently. The housing should
If this doesn’t work, you may need to
use a small, flat-head screwdriver under
the side of the housing to help pry it
off.
pop off.
Page 100 of 308

Downloaded from www.Manualslib.com manuals search engine Features & Controls
Oil Warning Light (3.7~ v6 ENGINE)
If you have a problem with your oil, this
light may stay on after you start your
engine, or come on when you are
driving. This indicates that oil is not
going through your engine quickly
enough to keep it lubricated. The engine
could be low on
oil, or could have some
other oil problem. Have it fixed right
away.
98
The oil light could also come on in three
other situations:
When the ignition is on but the engine
is
not running, the light will come on
as a test
to show you it is working, but
the light will
go out when you turn the
ignition to
Start. If it doesn’t come on
with the ignition on, you may have a
problem with the fuse or bulb. Have
it
fixed right away.
Sometimes when the engine is idling
at
a stop, the light may blink on and
off. This is normal.
If you make a hard stop, the light may
come
on for a moment. This is
normal. Don’t
keep driving
if the oil
b pressure is low. If you do,
your engine can become
so hot that
It catches fire. You or others could
be burned. Check your oil as soon
as possible and have your vehicle
serviced.
Damage to your engine
from
neglected oil problems can be
costly and
is not covered by YOL
warranty.
Page 197 of 308
Downloaded from www.Manualslib.com manuals search engine i
.....
.................................. ...................
........ ... . &5
..... ..... .... .. --
' . I .. ~
Here you wit1 find information
about the care
of your Chevrolet .
This part begins with service and
fuel information. and then
it shows
how to check important fluid and
lubricant levels
. There is also
technical information about your
vehicle. and
a section devoted to its
appearance care
.
Part 6
Service & Appearance Care
Service ......................................................... 196
Fuel ........................................................... 197
HoodRelease
.................................................... 201
EngineOil
...................................................... 205
Aircleaner
..................................................... 209
Transaxle Fluid
................................................... 211
Engine Coolant
................................................... 216
Power Steering Fluid
.............................................. 219
Windshield Washer Fluid
........................................... 220
Brakes
......................................................... 221
Battery
......................................................... 223
BulbReplacement
................................................ 224
Windshield Wiper Blade Replacement
................................. 227
Loading
Your Vehicle ............................................. 227
Vehicle Identification Number (VIN)
................................. 246
Add-on Electrical Equipment
....................................... 247
Fuses
& Circuit Breakers ........................................... 247
Capacities & Specifications ......................................... 250
Fluids & Lubricants ............................................... 252
Replacement Bulbs
............................................... 253
Engine Specifications
............................................. 255
Normal Maintenance Replacement
Parts ............................... 256
Tires .......................................................... 229
Appearancecare
................................................. 236
I95
Page 226 of 308
Downloaded from www.Manualslib.com manuals search engine Service & Appearance Care
1 Halogen Bulbs Headlight Bulb Replacement
~1 For the type of bulb, see the Index under
Replacement Bulbs.
Halogen bulbs have
bLl3t if you drop or scratch the
bulb.
You or others could be
injured. Take special care when
handling and disposing
of halogen
bulbs.
L: pressurized gas inside and can
3
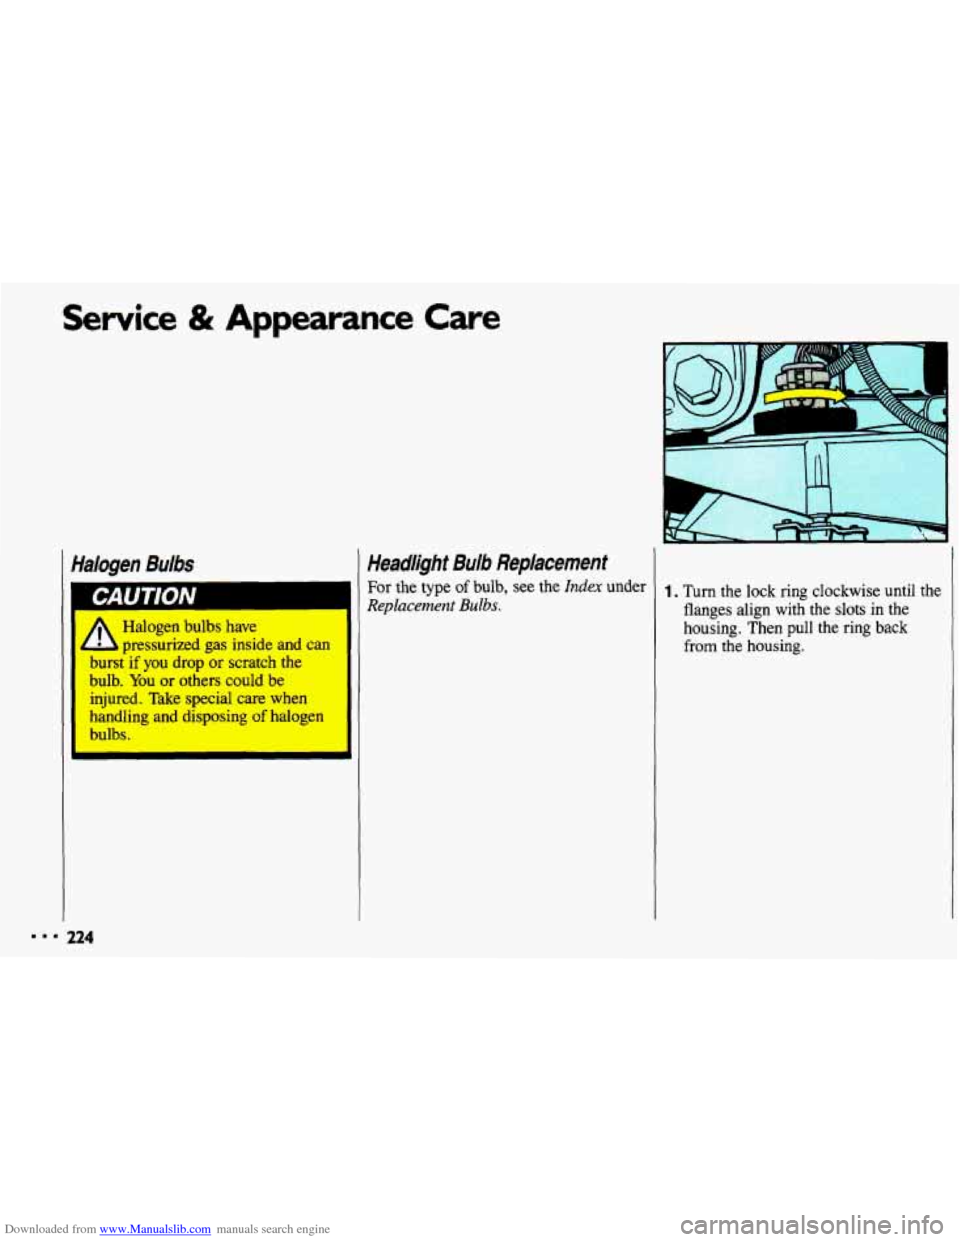
1. Turn the lock ring clockwise until the
flanges align with the slots in the
housing. Then pull the ring back
from the housing.
from the housing.
224
Page 227 of 308
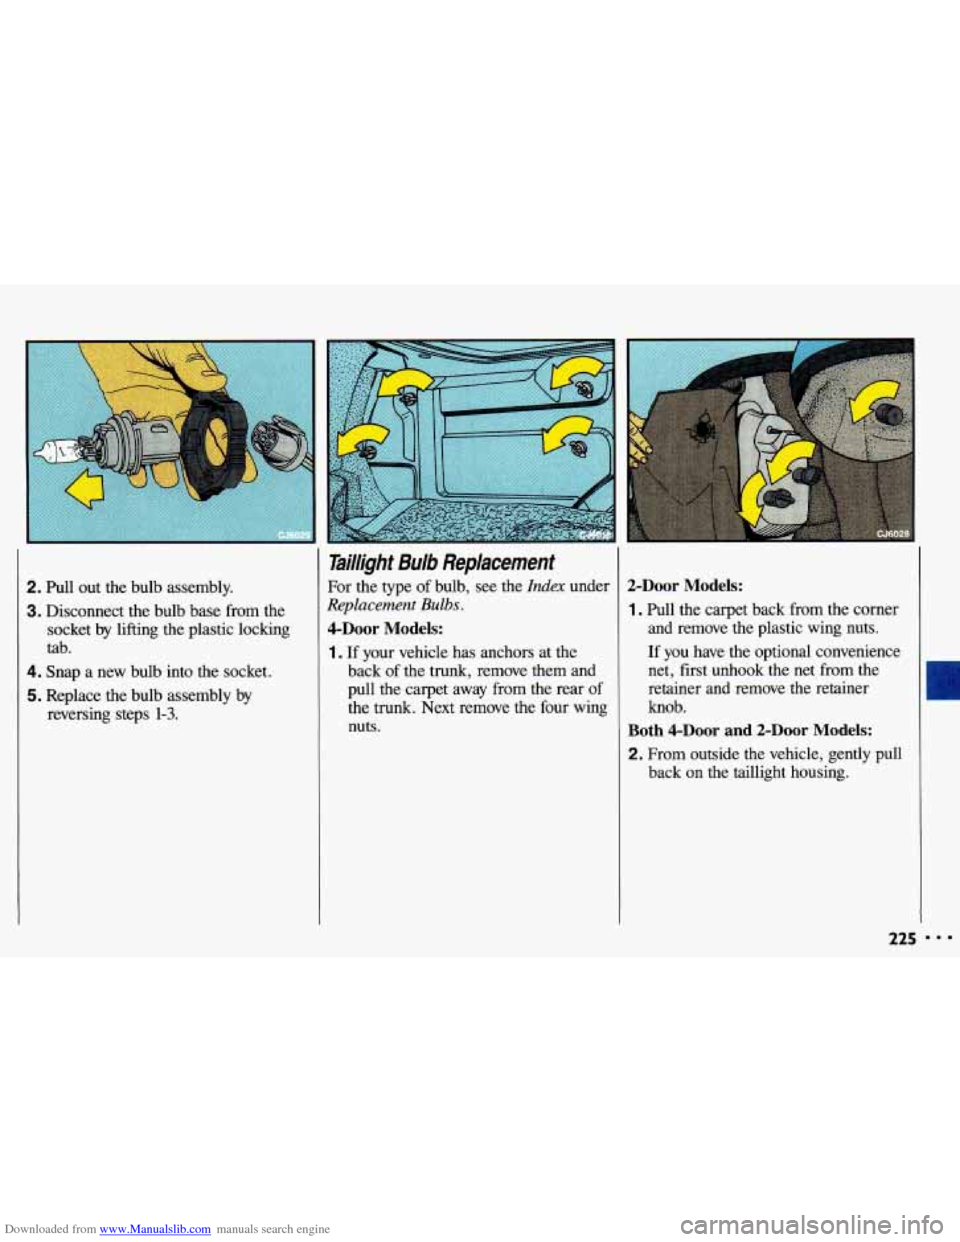
Downloaded from www.Manualslib.com manuals search engine 2. Pull out the bulb assembly.
3. Disconnect the bulb base from the
socket
by lifting the plastic locking
tab.
4. Snap a new bulb into the socket.
5. Replace the bulb assembly by
reversing steps
1-3.
Taillight Bulb Replacement
For the type of bulb, see the Idex under
Replacement Bulbs.
4-Door Models:
1 . If your vehicle has anchors at the
back
of the trunk, remove them and
pull the carpet away from the rear of
the trunk. Next remove the four wing
nuts.
2-Door Models:
1. Pull the carpet back from the comer
and remove the plastic wing nuts.
If you have the optional convenience
net, first unhook the net from the
retainer and remove the retainer
knob.
Both 4-Door and 2-Door Models:
2. From outside the vehicle, gently pull back
on the taillight housing.
Page 228 of 308
Downloaded from www.Manualslib.com manuals search engine DDD
Service & Appearance Care
Tai//ight Bulb Replacement
(CONr)
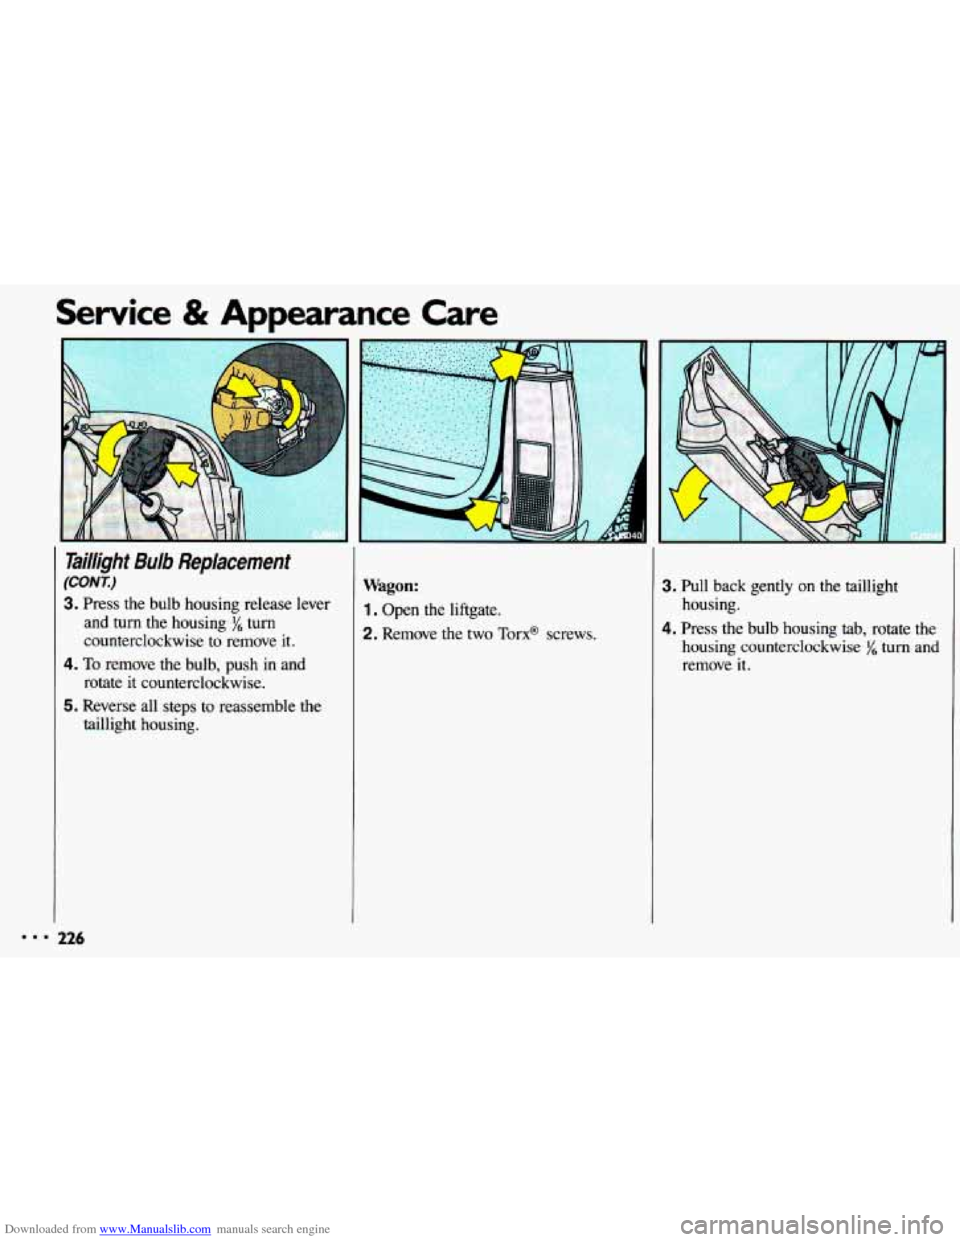
3. Press the bulb housing release lever
and turn the housing turn
counterclockwise to remove it.
4. To remove the bulb, push in and
rotate
it counterclockwise.
5. Reverse all steps to reassemble the
taillight housing.
226
Wagon:
1. Open the liftgate.
2. Remove the two Torx@ screws.
3. Pull back gently on the taillight
housing.
4. Press the bulb housing tab, rotate the housing counterclockwise
f/6 turn and
remove it.
Page 229 of 308
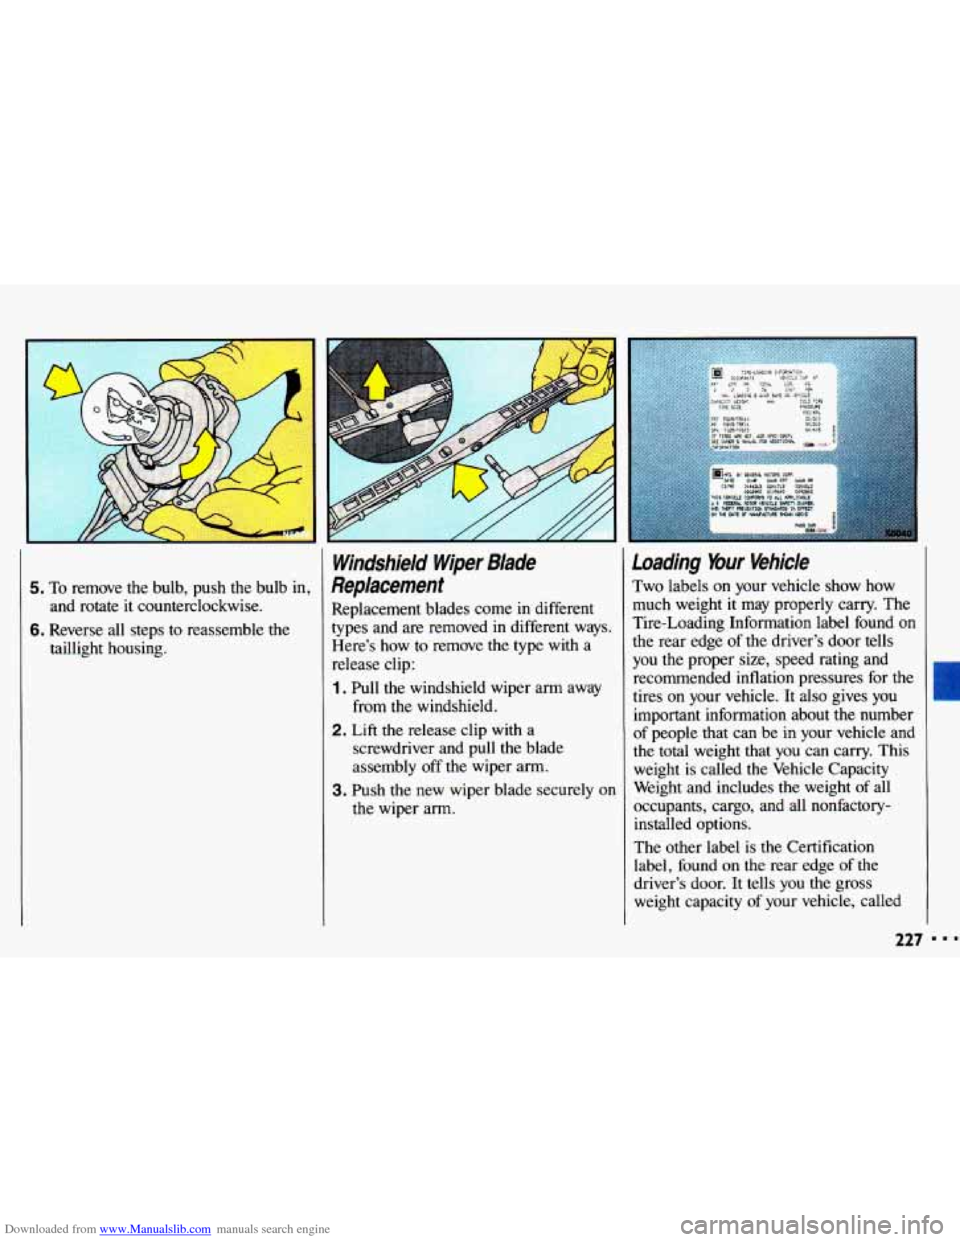
Downloaded from www.Manualslib.com manuals search engine 5. To remove the bulb, push the bulb in,
and rotate it counterclockwise.
6. Reverse all steps to reassemble the
taillight housing.
Windshield Wiper Blade
Replacement
Replacement blades come in different
types and are removed in different ways.
Here’s how
to remove the type with a
release clip:
1. Pull the windshield wiper arm away
2. Lift the release clip with a
from the windshield.
screwdriver and pull the blade
assembly
off the wiper arm.
the wiper arm.
3. Push the new wiper blade securely on
Loading %ur Vehicle
Two labels on your vehicle show how
much weight it may properly carry. The
Tire-Loading Information label found
on
the rear edge of the driver’s door tells
you the proper size, speed rating and
recommended inflation pressures for the
tires on your vehicle. It also gives
you
important information about the number
of people
that can be in your vehicle and
the total weight that you can carry. This
weight
is called the Vehicle Capacity
Weight and includes the weight
of all
occupants, cargo, and all nonfactory- installed options.
The other label
is the Certification
label, found on the rear edge of the
driver’s door. It tells you the gross
weight capacity
of your vehicle, called
I
227