Page 203 of 308
Downloaded from www.Manualslib.com manuals search engine Checking Things Under
the Hood
The following sections tell you how to
check fluids, lubricants and important
parts underhood.
Hood Release
To open the hood, first pull the HOOD
handle inside the vehicle. Then
go to the front of the vehicle
and
release the secondary hood release.
20 I
Page 207 of 308
Downloaded from www.Manualslib.com manuals search engine Engine Oil
It’s a good idea to check your engine oil
level every time
you get fuel. In order to
get an accurate reading, the
oil must be
warm and the vehicle must be on level
ground.
Turn off the engine and give the oil a
few minutes to drain back into the oil
pan. If you don’t, the oil dipstick might
not show
the actual level.
To Check Engine Oil:
Pull out the dipstick and clean it with a
paper towel or cloth, then push
it back
in all the way. Remove
it again, keeping
the tip lower.
2.2L L4: Checking Engine Oil
3.1L V6: Checking Engine Oil
205 I..
Page 212 of 308
Downloaded from www.Manualslib.com manuals search engine Service & Appearance Care
111
2.2L L4: Air Filter Replacement
To check or replace the filter, remove
the two wing nuts and lift the cover.
21 0
3.1L V6 (Except 2-24): Air Filter
Replacement
To check or replace the filter, remove
the three wing nuts
and lift the cover.
3.1L V6 (2-24): Air Filter
Replacement
To check or replace the filter, unclip the
three clips and remove the cover.
Page 213 of 308

Downloaded from www.Manualslib.com manuals search engine Automaric Transaxle Fluid
When to Check and Change:
A good time to check your automatic
transaxle fluid level is when the engine
oil is changed. Refer to the Maintenance
Schedule to determine when to change
your fluid. See the
Index under
Scheduled Maintenance Services.
How to Check:
Because this operation can be a little
difficult, you may choose to have this
done at a Chevrolet dealership Service
Department.
If you do it yourself, be sure to follow
all the instructions here, or you could
get a false reading on the dipstick.
Too much or too little fluid can
damage
your transaxle. Too much
can mean that some of the fluid
could come out and fall
on hot
engine parts, starting a fire. Be
sure to get an accurate reading
if
you check your transaxle fluid. Wait
at least 30 minutes before checking
the transaxle fluid level if you have been
driving:
When outside temperatures are above
At high speed for quite a while.
In heavy traffic-especially in hot
To get the right reading, the fluid should
be at normal operating temperature,
which is 180°F to 200°F (82°C to
93" C).
Get the vehicle warmed up by driving
about 15 miles (24
km) when outside
temperatures are above
50°F (10OC). If
it's colder than 50" F (10" C), you may
have to drive longer.
90°F (32°C).
weather.
21 I
Page 214 of 308
Downloaded from www.Manualslib.com manuals search engine Service & Appearance Care
Automatic Transaxle Fluid (CONT.)
To Check the Fluid Level:
Park your vehicle on a level place.
Place the shift lever in P (Park) with
With your foot on the brake pedal,
the
parking brake applied.
move the shift lever through each gear
range, pausing for about three seconds
in each range. Then, position the shift
lever in
P (Park).
Then, Without Shutting Off the
Engine,
Follow These Steps:
1. Pull out the dipstick and wipe it with
a clean rag or paper towel.
2. Push it back in all the way, wait three
seconds and then pull it back out
again.
3. Check both sides of the dipstick, and
read the lower level. The fluid level
must be in the cross-hatched area.
4. If the fluid level is where it should
be, push the dipstick back in all the
way.
2.2L L4: Checking Automatic
Transaxle Fluid
3.1L V6: Checking Automatic
Transaxle Fluid
Page 215 of 308

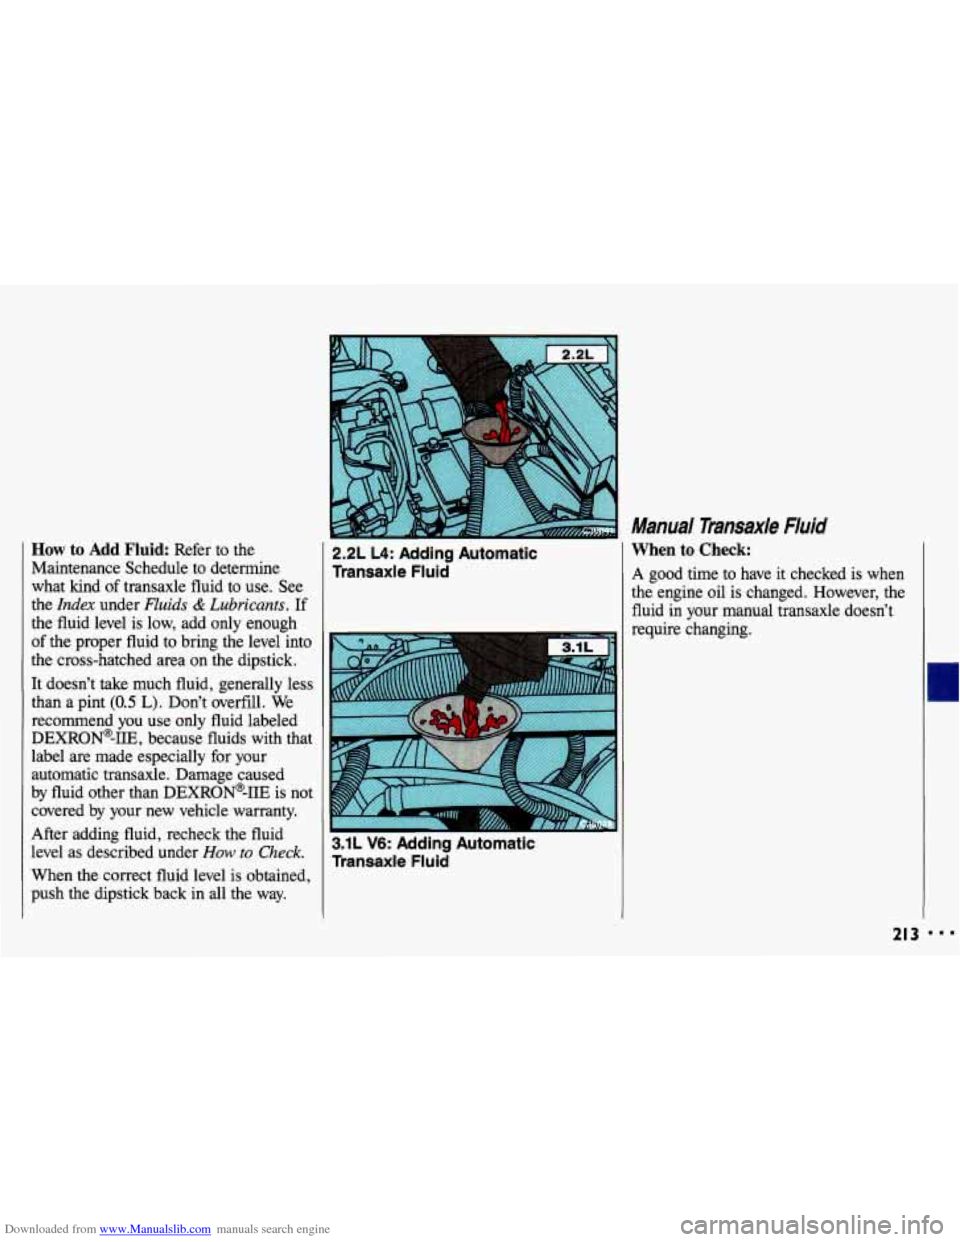
Downloaded from www.Manualslib.com manuals search engine How to Add Fluid: Refer to the
Maintenance Schedule to determine
what kind of transaxle fluid to use. See
the
Index under Fluids & Lubricants. If
the fluid level is low, add only enough
of the proper fluid to bring the level into
the cross-hatched area on the dipstick.
It doesn't take much fluid, generally less
than a pint
(0.5 L). Don't overfill. We
recommend you use only fluid labeled
DEXRON@-IIE, because fluids with that
label are made especially for your
automatic transaxle. Damage caused
by fluid other than DEXRON@-IIE is not
covered by your new vehicle warranty.
After adding fluid, recheck the fluid
level as described under
How to Check.
When the correct fluid level is obtained,
push the dipstick back in all the way.
2.2L L4: Adding Automatic
Transaxle Fluid
3.1L V6: Adding Automatic
Transaxle Fluid
Manual Transaxle Fluid
When to Check:
A good time to have it checked is when
the engine oil is changed. However, the
fluid in your manual transaxle doesn't
require changing.
213
Page 216 of 308
Downloaded from www.Manualslib.com manuals search engine Service & Appearance Care
Manual Transax/e Fluid (CONT.)
How to Check: Because this operation
can be a little difficult, you may choose
to have this done at a Chevrolet
dealership Service Department.
If you do it yourself, be sure to follow
all the instructions here, or you could
get a false reading on the dipstick.
Too much or too little fluid can
damage your transaxle.
Too much
can mean that some
of the fluid
could come out and fall on hot
engine parts, starting a fire. Be
sure to get an accurate reading if
you check your transaxle fluid. The manual transaxle dipstick is located
on the driver’s side near the
rear
of the
transaxle case.
Check the fluid level only
when your
engine is off, the vehicle is parked on a
level place and the transaxle is cool
enough for you to rest your fingers
on
the transaxle case.
Then, Follow These Steps:
1. Pull out the dipstick and clean it with
a rag or paper towel.
Page 217 of 308

Downloaded from www.Manualslib.com manuals search engine 2. Push it back in all the way and
remove it.
3. Check both sides of the dipstick and
read the lower level. The fluid level
must be between the
ADD and
FULL marks. (Note: Fluid may
appear at the bottom of the dipstick
even when the fluid level
is several
pints low.)
4. If the fluid level is where it should
be, push the dipstick back
in all the
way.
How to Add Fluid:
Here’s how to add fluid. Refer to the
Maintenance Schedule to determine
what kind
of fluid to use. See the Index
under Fluids & Lubricants.
Remove the dipstick.
Add fluid at the dipstick hole.
Add only enough fluid to bring the fluid
level up to the
FULL mark on the
dipstick.
Push the dipstick back in all the way.
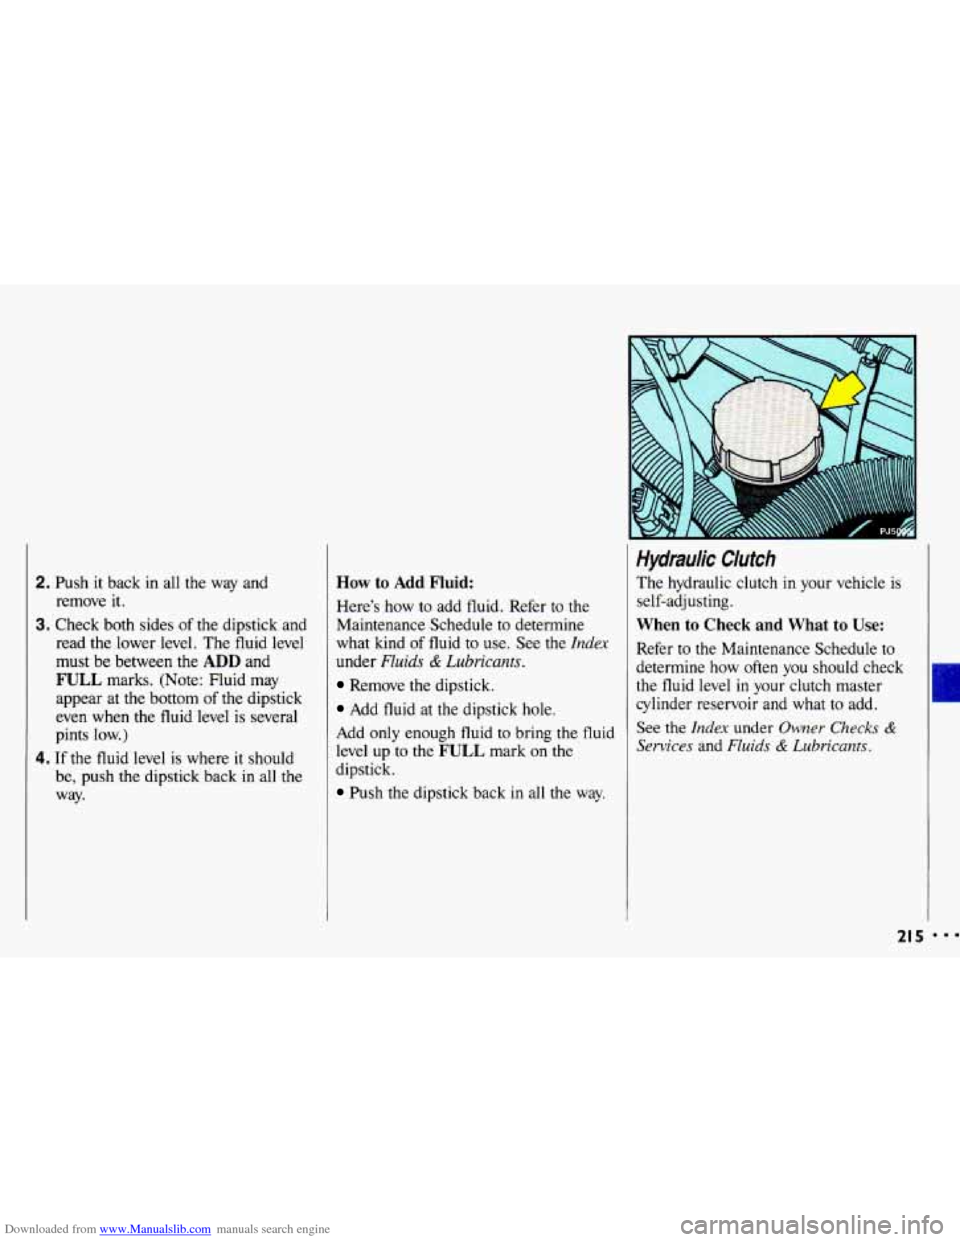
Hydraulic Clutch
The hydraulic clutch in your vehicle is
self-adjusting.
When to Check and What to Use:
Refer to the Maintenance Schedule to
determine how often you should check
the fluid level
in your clutch master
cylinder reservoir and what
to add.
See the
Index under Owner Checks &
Services and Fluids & Lubricants.
I
21 5 ...