1993 CHEVROLET CAVALIER tow
[x] Cancel search: towPage 16 of 308
Downloaded from www.Manualslib.com manuals search engine ...
Seats & Safety Belts
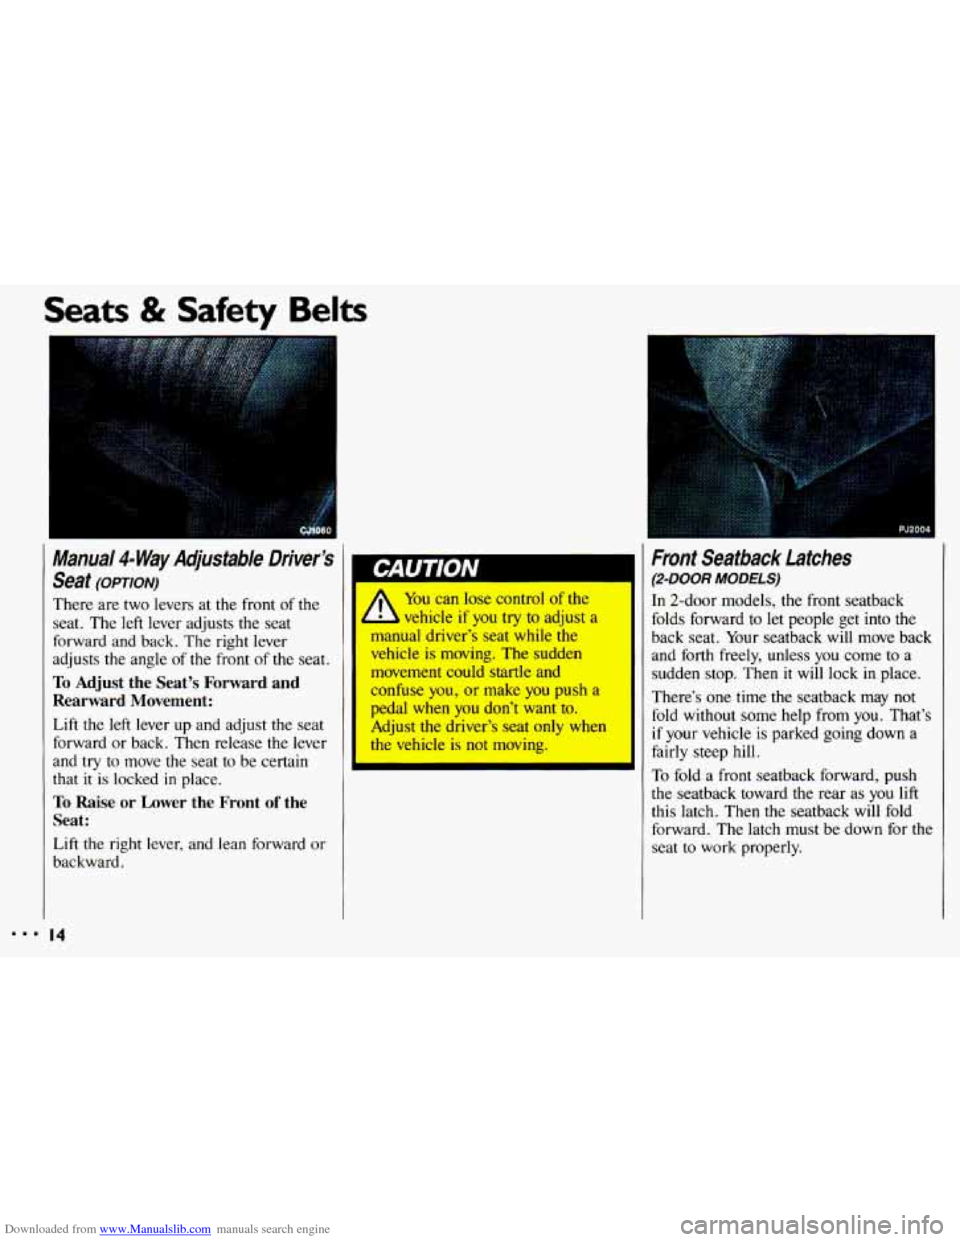
Mama/ 4- Way Adjustab/e Driver’s
Seat
(OPTION)
There are two levers at the front of the
seat. The left lever adjusts the seat
forward and back. The right lever
adjusts
the angle of the front of the seat.
To Adjust the Seat’s Forward and
Rearward Movement:
Lift the left lever up and adjust the seat
forward or back. Then release the lever
and
try to move the seat to be certain
that
it is locked in place.
To Raise or Lower the Front of the
Seat:
Lift the right lever, and lean forward or
backward.
14
You can lose control of the
b vehicle if you try to adjust a
manual driver’s seat while the
vehicle
is moving. The sudden
movement could startle and
confuse you, or make you push a
pedal when you don’t want to.
Adjust the driver’s seat only when
the vehicle is not moving.
I
I
I Front Seatback Latches
(2-DOOR MODELS)
In 2-door models, the front seatback
folds forward
to let people get into the
back seat. Your seatback will move back
and
forth freely, unless you come to a
sudden stop. Then it will lock
in place.
There’s one time the seatback may
not
fold without some help from you. That’s
if your vehicle is parked going down a
fairly steep hill.
To fold a front seatback forward, push
the seatback toward the rear as you
lift
this latch. Then the seatback will fold
forward. The latch must be down for the
seat
to work properly.
Page 46 of 308
Downloaded from www.Manualslib.com manuals search engine Seats & Safety Belts
larger Children (CONT.)
Q: What if a child is wearing a lap-
shoulder belt, but the child is
so
small that the shoulder belt is very
close to the child’s face or
neck?
A: Move the child toward the center of
the vehicle, but be sure that the shoulder belt still is on the child’s
shoulder,
so that in a crash the
child‘s upper body would have the
restraint that belts provide.
If the child is
so small that the
shoulder belt is still very close to the
child’s face or neck, you might want
to place the child in the center seat
position, the one that has only a lap
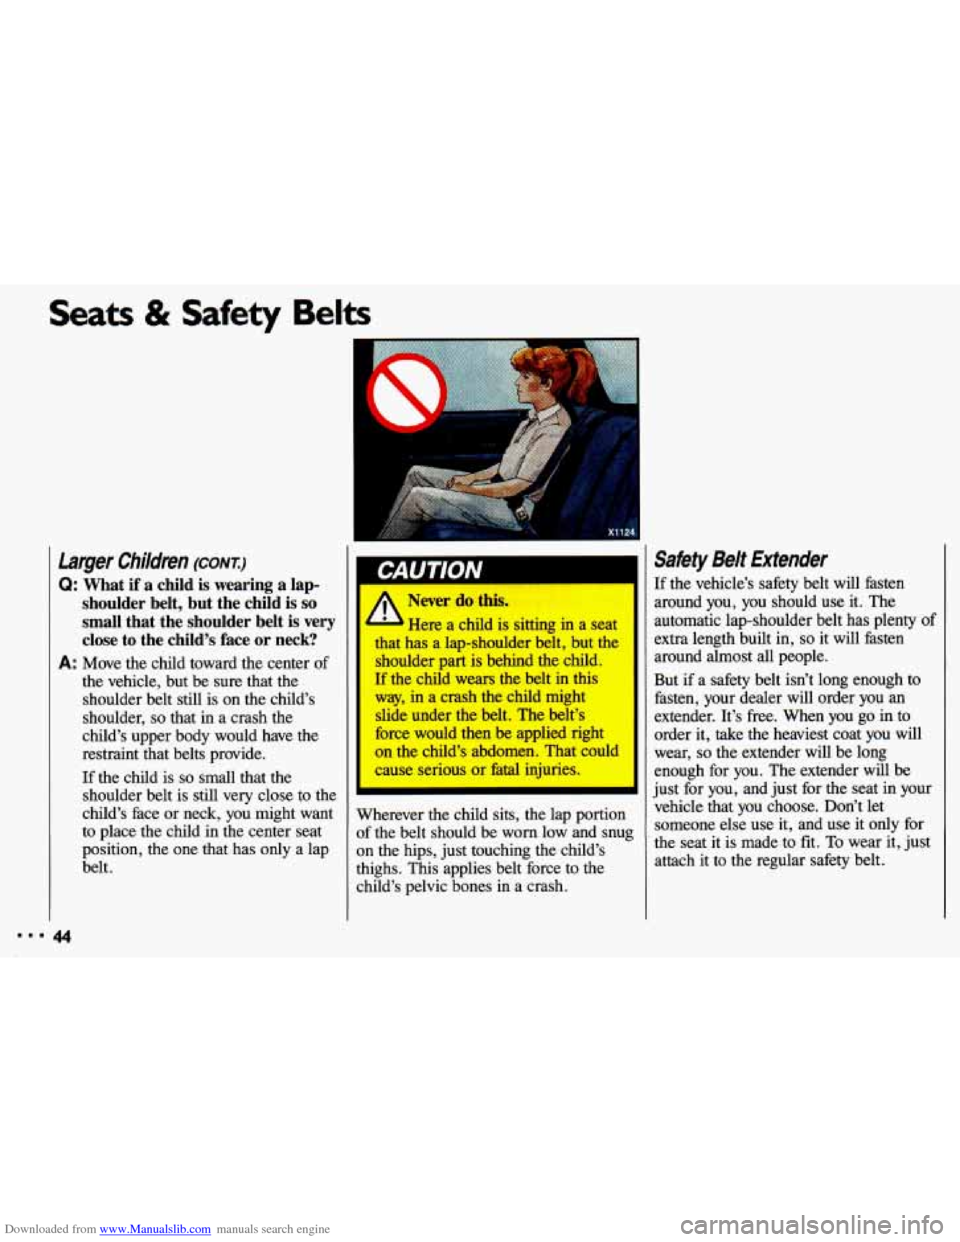
belt. Here
a child is sitting in a seat
that has a lap-shoulder belt, but the
shoulder part is behind the child.
If the child wears the belt in this
way, in a crash the child might
slide under the belt. The belt’s
force would then be applied right
on the child’s abdomen. That could
cause serious or fatal injuries.
Wherever the child sits, the lap portion
of the belt should be worn low and snug
on the hips, just touching the child’s
thighs. This applies belt force to the child’s pelvic bones in a crash.
Safety Belt Extender
If the vehicle’s safety belt will fasten
around you, you should use it. The
automatic lap-shoulder belt has plenty of
extra length built in,
so it will fasten
around almost all people.
But if a safety belt isn’t long enough to
fasten, your dealer will order you
an
extender. It’s free. When you go in to
order it, take the heaviest coat you will
wear,
so the extender will be long
enough for you. The extender will be
just for you, and just for the seat in your
vehicle that you choose. Don’t let
someone else use it, and use it only for
the seat it is made to fit. To wear it, just
attach it to the regular safety belt.
Page 57 of 308
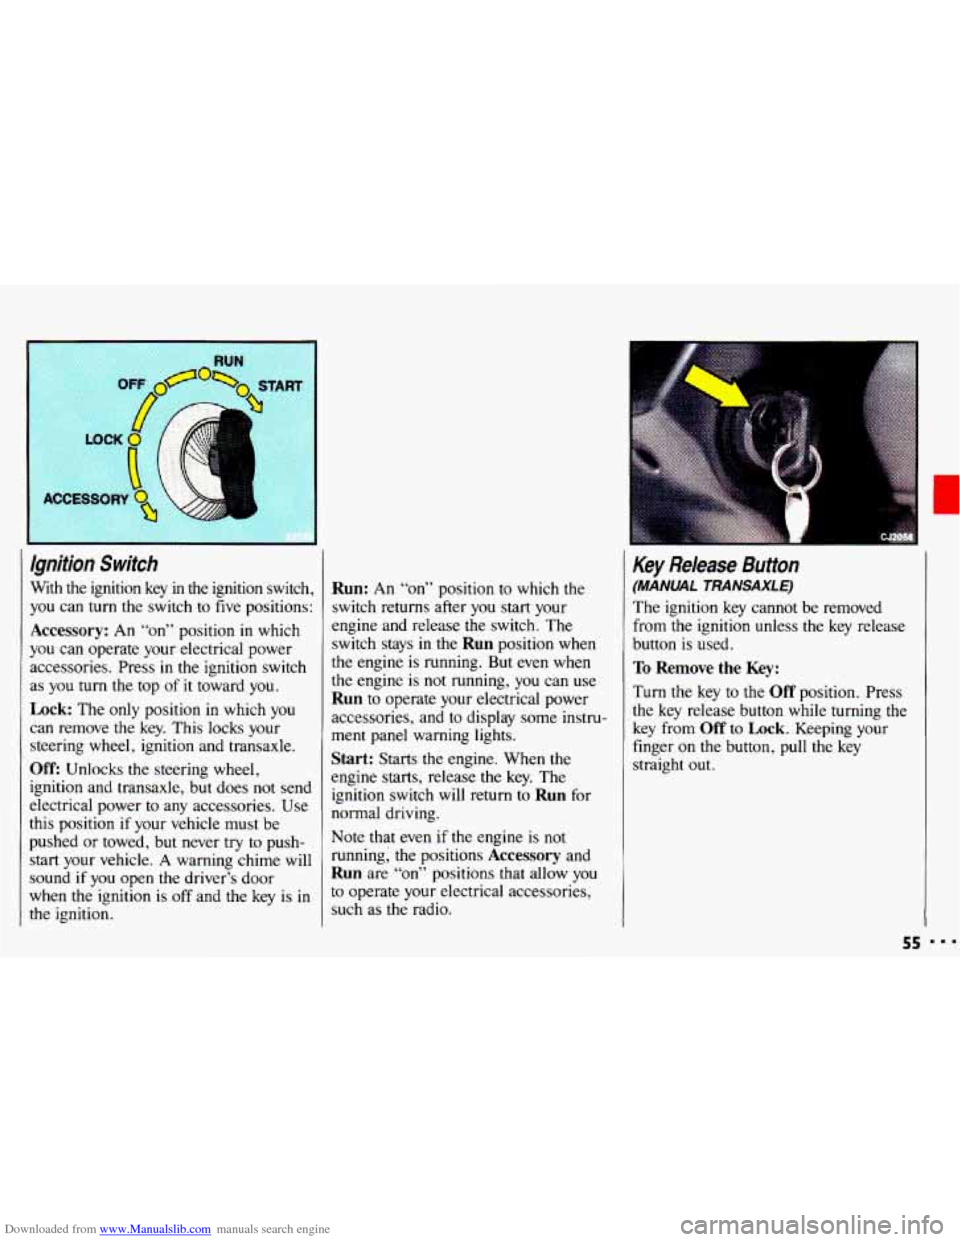
Downloaded from www.Manualslib.com manuals search engine Ignition Switch
With the ignition key in the ignition switch,
you can
turn the switch to five positions:
Accessory: An “on” position in which
you can operate your electrical power
accessories. Press in the ignition switch
as
you turn the top of it toward you.
Lock: The only position in which you
can remove the key. This locks your
steering wheel, ignition and transaxle.
Off: Unlocks the steering wheel,
ignition and transaxle, but does not send
electrical power
to any accessories. Use
this position
if your vehicle must be
pushed
or towed, but never try to push-
start your vehicle.
A warning chime will
sound
if you open the driver’s door
when the ignition is
off and the key is in
the ignition.
Run: An “on” position to which the
switch returns after
you start your
engine and release the switch. The
switch stays in
the Run position when
the engine is running. But even when
the engine is not running, you can use
Run to operate your electrical power
accessories, and to display some instru-
ment panel warning lights.
Start: Starts the engine. When the
engine starts, release the key. The
ignition switch will return to
Run for
normal driving.
Note that even
if the engine is not
running; the positions
Accessory and
Run are “on” positions that allow you
to operate your electrical accessories,
such as the radio.
Key Release Button
(MANUAL TRANSAXLE)
The ignition key cannot be removed
from
the ignition unless the key release
button is used.
To Remove the Key:
Turn the key to the Off position. Press
the key release button while turning the
key from
Off to Lock. Keeping your
finger
on the button, pull the key
straight
out.
55
Page 60 of 308

Downloaded from www.Manualslib.com manuals search engine Features & Controls
60th Transaxles (CONI)
4. If your engine won’t start (or starts
but then stops), it could be flooded
with too much gasoline.
Try pushing
your accelerator pedal all the way to
the floor and holding it there as you
hold the key
in Start for about three
seconds. If the vehicle starts briefly
but then stops again, do the same
thing, but this time keep the pedal
down for five or six seconds. This
clears the extra gasoline from the
engine. Your
engine is designed to work
with the electronics in your
vehicle. If you add electrical parts
or accessories, you could change
the way the fuel injection system
operates. Before adding electrical
equipment, check with your dealer.
If you don’t, your engine might not
perform properly.
If you ever have to have your
vehicle towed, see the part
of this
manual that tells how
to do it
without damaging your vehicle.
See the
Index under Towing Your
Chevrolet.
kiving Through Deep Standing
Vater
IA!
If you drive too quickly through
deep puddles
or standing water,
water can come in through your
engine’s air intake and badly
damage your engine.
If you can’t
avoid deep puddles or standing
Page 63 of 308

Downloaded from www.Manualslib.com manuals search engine Ensure the shift lever is fully in P (Park)
range before starting the engine. Your
Chevrolet has a brake-transaxle shift
interlock. You have to fully
apply your
regular brakes
before you can shift fiom
P (Park) when the ignition key is in the
Run position. If you cannot shift out of
P (Park), ease pressure on the shift
lever-push the shift lever
all the way
into
P (Park) and also release the shift
lever button as you maintain brake
application. Then move the shift lever
into
the gear you wish. See the Index
under Shifting Out of P (Park),
U
Reverse
R (Reverse): Use this gear to back up.
Shifting to
R (Reverse) while your
vehicle
is moving forward could
damage your transaxle. Shift
to R
only after your vehicle has
Stopped-
Neutmi
N (Neutral): In this position, your
engine doesn’t connect with the wheels.
To restart when you’re already moving,
use
N (Neutral) only. Also, use N when
your vehicle
is being towed.
To rock your vehicle back and forth to
get out of snow, ice or sand without
damaging your transaxle, see the
Index
under If You ’re Stuck: In Sand, Mud,
Ice or Snow.
61
Page 70 of 308
Downloaded from www.Manualslib.com manuals search engine Features & Controls
Shifting Into P (Park) (CONTI
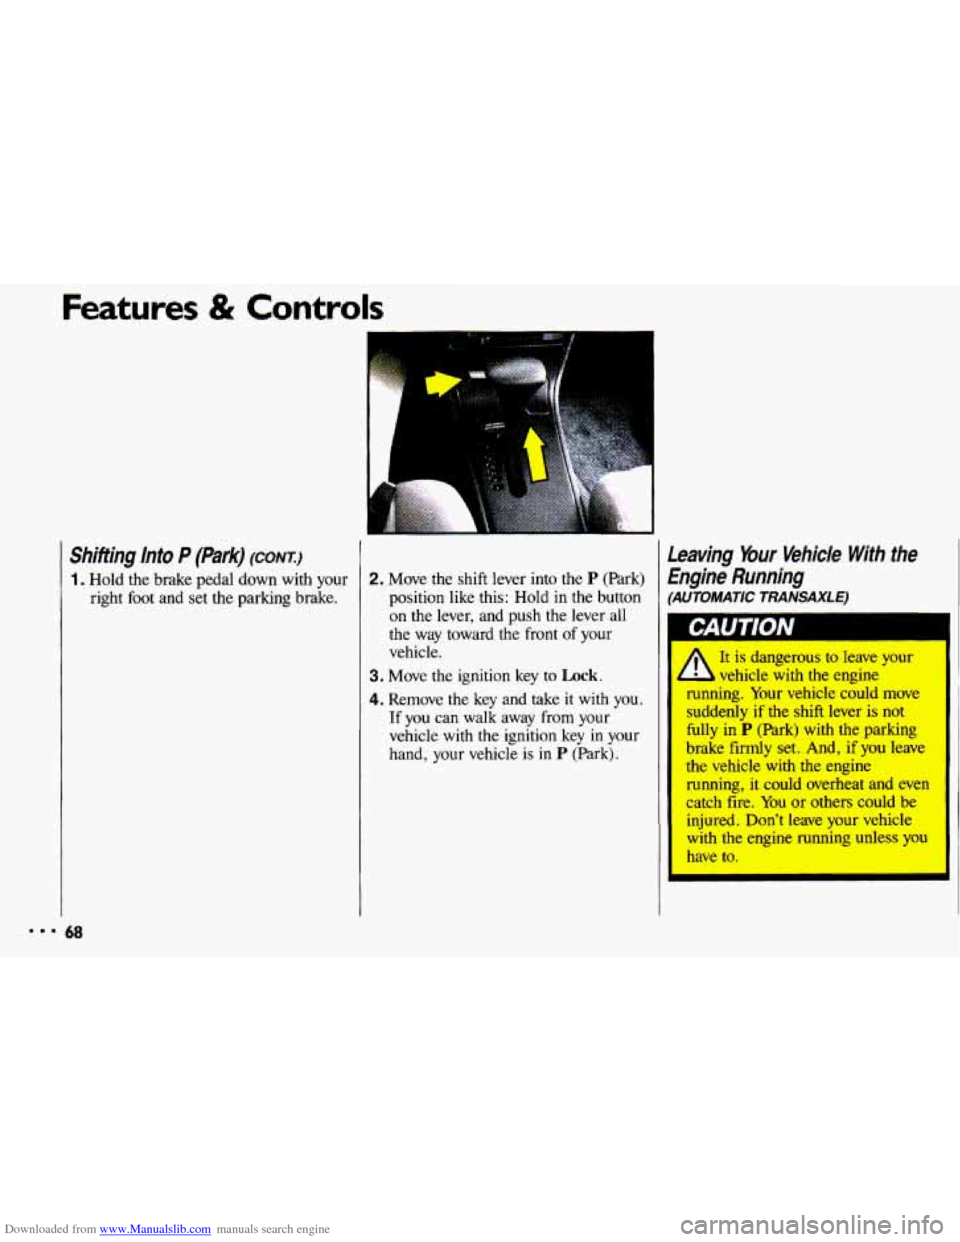
1. Hold the brake pedal down with your right foot and set the parking brake.
A
2. Move the shift lever into the P (Park)
position like this: Hold in the button on the lever, and push the lever all
the way toward the front of your
vehicle.
3. Move the ignition key to Lock.
4. Remove the key and take it with you.
If you can walk away
from your
vehicle with the ignition key
in your
hand, your vehicle is in
P (Park).
Leaving Your Vehicle With the
Engine Running
(AUTOMATIC TRANSAXLE)
It is dangerous to leave your
running. Your vehicle could move
suddenly
if the shift lever is not
fully in
P (Park) with the parking
brake
firmly set. And, if you leave
the vehicle
with the engine
running, it could overheat and even
catch fire. You
or others could be
injured. Don't leave your vehicle
with the engine running unless you
have to.
I I L vehicle with the engine
Page 83 of 308

Downloaded from www.Manualslib.com manuals search engine ?;. I
I ..q
Headlight High-Low Beam Changer
To change the headlights from low beam
to high or high to low, pull the
turn
signal lever all the way toward you.
Then release it. When the high beams
are
on, a blue light on the instrument
panel also
will be on.
Flash-to-Pass (EXCEPT CANADA)
Flash-to-Pass lets you use your high
beam headlights
to signal a driver in
front of you that you want to pass.
To use it, pull the turn signal lever
toward you.
If Your Headlights are Off:
Your high beam headlights will turn on.
They'll
stay on as long as you hold the
lever there. Release the lever to turn
them
off.
If Your Headlights are On:
Flash-to-Pass does not operate when
your headlights are on. Use the lever to
change between high and low beams.
I
Instrument Panel Intensity Control
You can brighten or dim the instrument
panel lights
by moving the control. lever
up or down.
81
Page 86 of 308
Downloaded from www.Manualslib.com manuals search engine Features & Controls
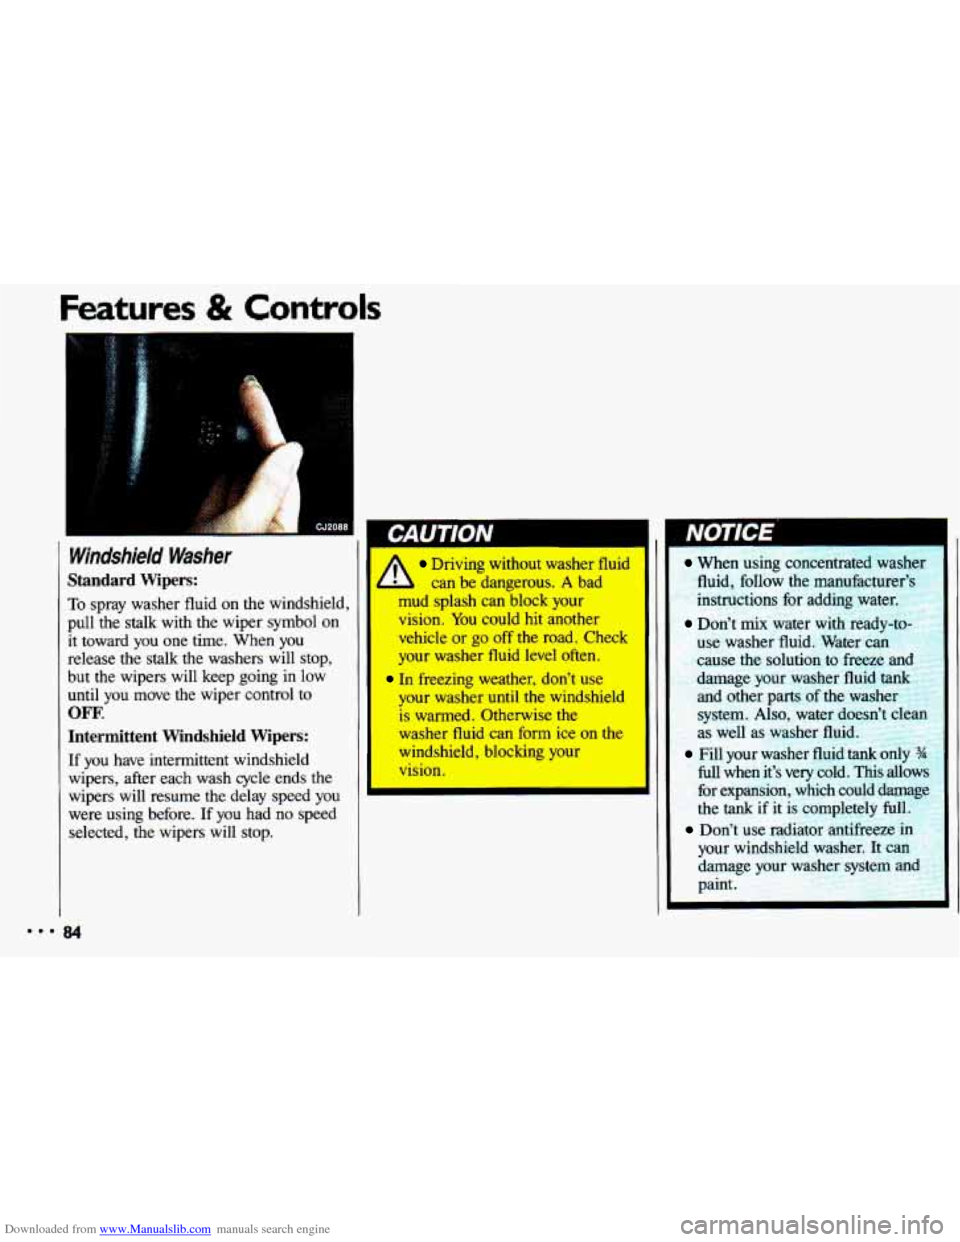
Windshield Washer
Standard Wipers:
To spray washer fluid on the windshield,
pull the stalk with the wiper symbol on
it toward you one time. When you
release the stalk the washers will stop,
but the wipers will keep going in low
until you move the wiper control to
OFF.
Intermittent Windshield Wipers:
If you have intermittent windshield
wipers, after each wash cycle ends the
wipers will resume the delay speed you were using before. If you had
no speed
selected, the wipers will stop.
I
Driving without washer fluid
A can be dangerous. A bad
mud splash can block your
vision.
You could hit another
vehicle
or go off the road. Check
your washer fluid level often.
In freezing weather, don’t use
your washer until the windshield is warmed. Otherwise the
washer fluid can form ice on the
windshield, blocking your
vision.
When using concentrated washer fluid, follow the manufacture]
instructions for adding
wa
Don’t mix water with readv-
use washer fluid. Water c;
cause the solution
to freeze E
damage your washer fluid tank
and other parts of the washer
system.
Also, water doesn’t cle:
as well as washer fluid.
Fill your washer fluid tank omy
hll when it’s very cold, This allows
for expansion, which could damage
the
tank if it is completely full.
Don’t use radiator antifreeze in
your windshield washer. It can
damage your washer systt
paint.