1993 CHEVROLET CAVALIER clock
[x] Cancel search: clockPage 6 of 308
Downloaded from www.Manualslib.com manuals search engine :re; dl
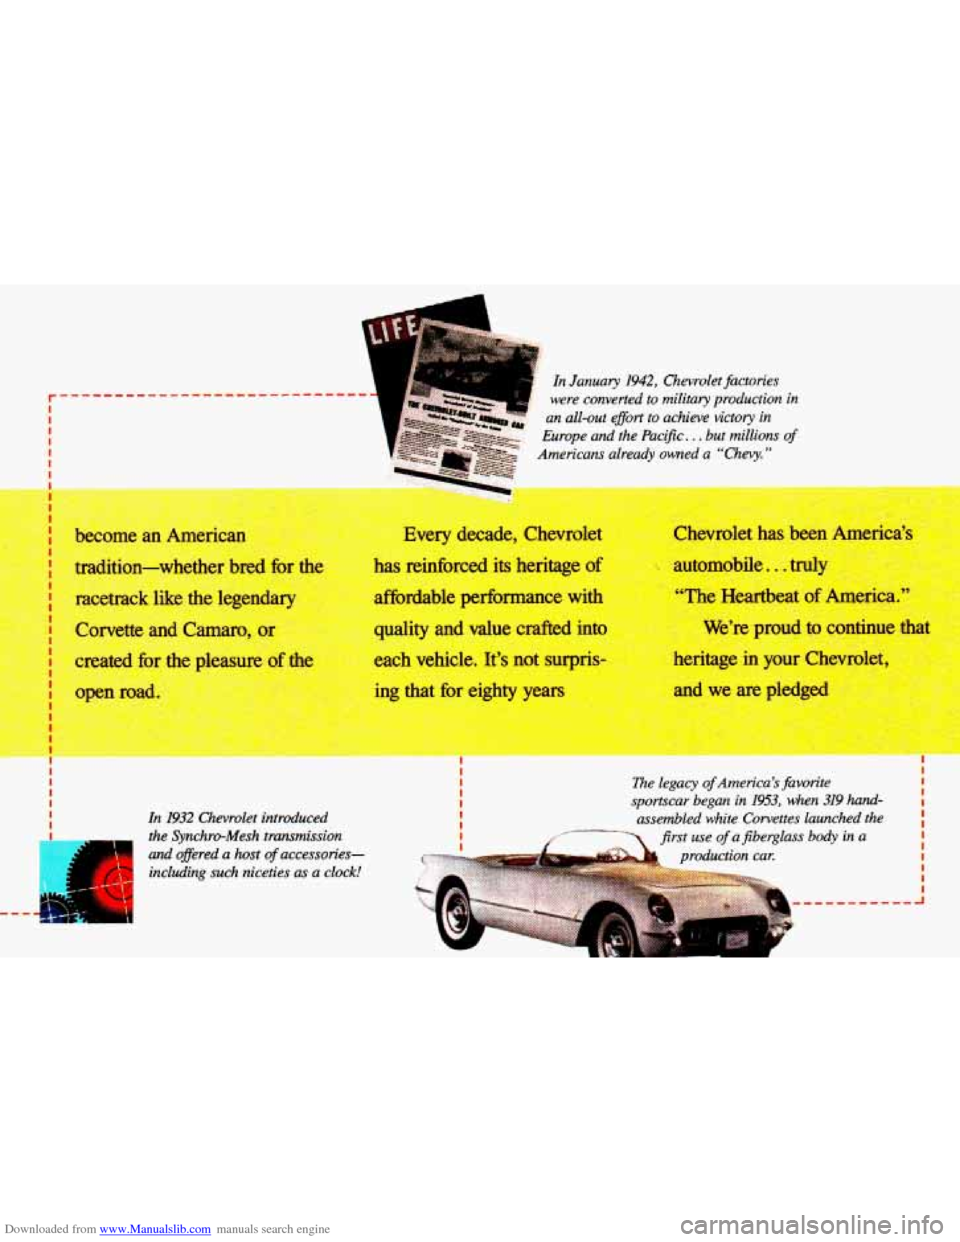
In Januu y 1942, Chevrolet fictorics
k were convirted to militaty production in
an all-out
@ort to achieve victory in
Europe and the Pacific.
. . but millions of
Americans already owned a “Chevy.”
I I I I
In 1932 Chevrolet introduced
the Synchro-Mesh transmission
I and oflered a host of accessories-
including such niceties
as a clock!
i
The legacy of America’s favorite
sportscar began in
1953, when 319 hand-
assembled white Corvettes launched the
, ,,-+--- d 7 first use of aJiberglass body in a
Page 54 of 308
Downloaded from www.Manualslib.com manuals search engine Features & Controls
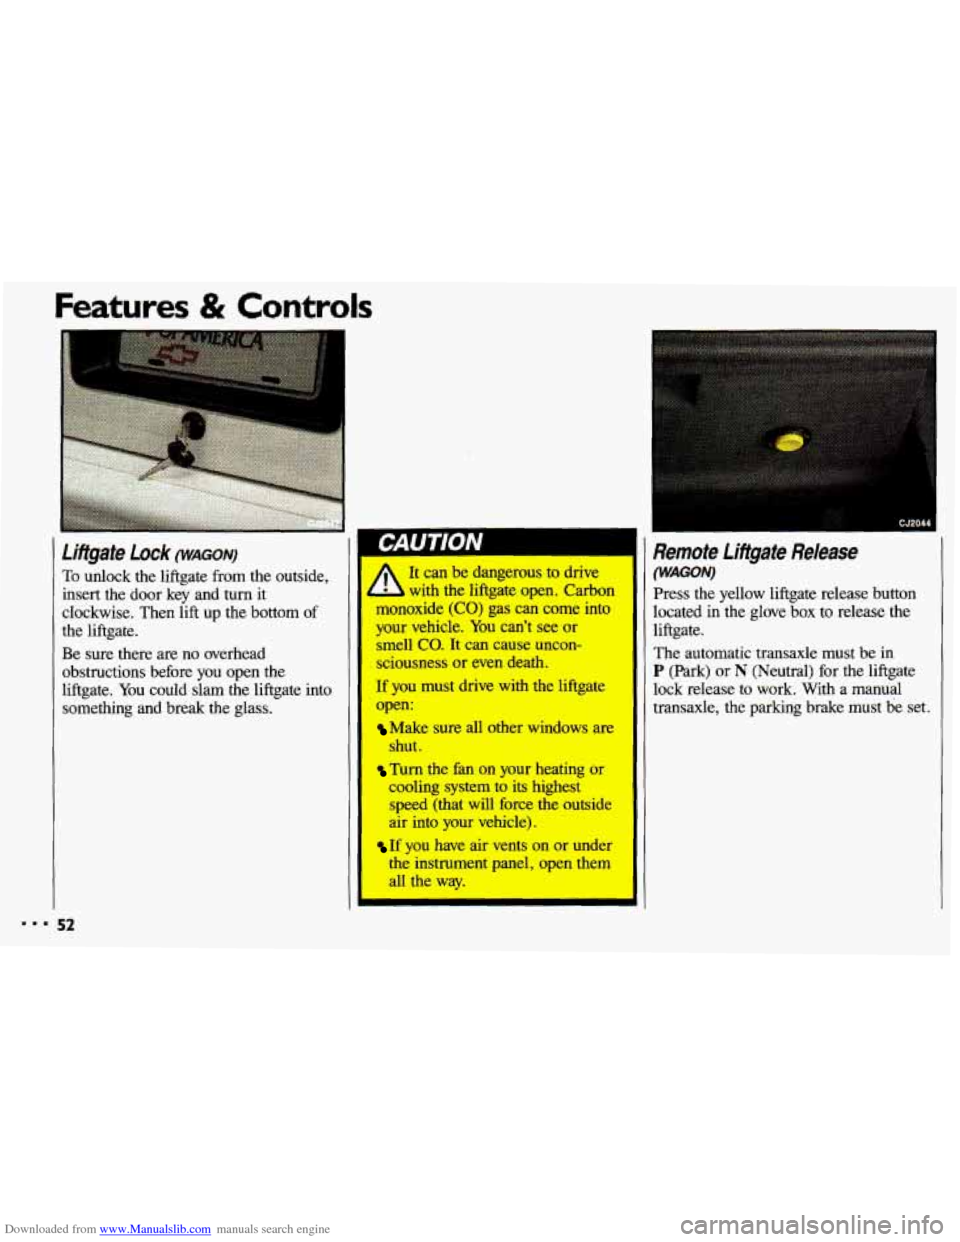
To &dock the liftgate from the outside,
insert the door key and turn it
clockwise. Then
lift up the bottom of
the liftgate.
Be sure there are no overhead
obstructions before you open the
liftgate. You could slam the liftgate into
something and break the glass.
I CJ2044
Remote Lifigate Release
(WAGON) It can be dangerous to drive
L with the liftgate open. Carbon
monoxide
(CO) gas can come into
your vehicle.
You can’t see or I smell co. It can cause uncon-
sciousness or even death.
If you must drive with the liftgate lock release to work. With a manual
open: transaxle, the parking brake must be set.
I
The automatic transaxle must be in
P (Park) or N (Neutral) for the liftgate
Make sure all other windows are
shut.
Turn the fan on your heating or
cooling system to its highest
speed (that will force the outside
air into your vehicle).
If you have air vents on or under
the instrument panel, open them
all the way. Press the
yellow liftgate release button
located in the glove box to release the
liftgate.
Page 107 of 308
Downloaded from www.Manualslib.com manuals search engine Part 3
In this part you’ll find out how to
operate the comfort control systems
and audio systems offered with your
Chevrolet
. Be sure to read about the
particular system supplied with your
vehicle
.
Comfort Controls &
Audio Systems
Climate Control System ............................................ 106
Air Conditioning System ........................................... 107
Rear Window Defogger
............................................ 109
Setting the Clock .................................................. 111
AM/FM Stereo Radio
.............................................. 112
AM/FM Stereo Radio with Cassette Tape Player ......................... 113
AM/FM Stereo
Radio with Compact Disc Player ......................... 116
Understanding Radio Reception
...................................... 121
Care
of Your Cassette Tape Player .................................... 121
Care
of Your Compact Discs ........................................ 122
Fixed Mast Antenna
............................................... 122
I05
Page 113 of 308
Downloaded from www.Manualslib.com manuals search engine I Audio Systems
The following pages describe the audio systems available for your Chevrolet, and
how to get the best performance from them. Please read about the system in your
vehicle.
IOU. equip:
I A Hearing damage from loud noise is almost undetectable until it is too
late. Your hearing can adapt to higher volumes
of sound. Sound that
seems normal can be loud and harmful to your hearing. Take precautions by
I
hearing adapts to it.
To help avoid hearing loss or damage:
1. Adjust the volume control to the lowest setting.
I adjusting the volume control on your radio to a safe sound level before your
[ I 2. Increase volume slowly until you hear comfortably and clearly.
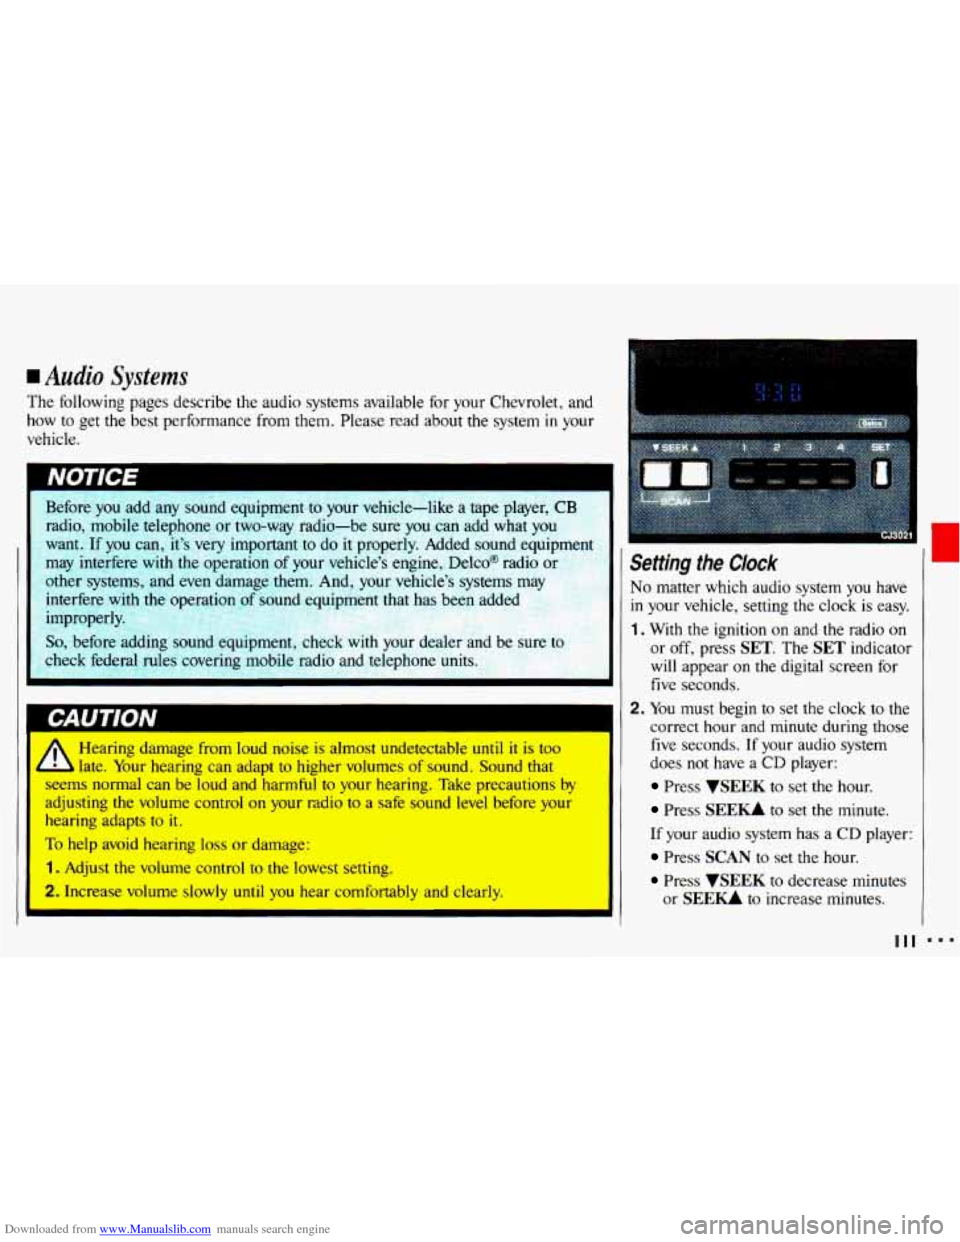
Setting the Clock
No matter which audio system you have
in your vehicle, setting the clock is easy.
1. With the ignition on and the radio on
or off, press SET. The SET indicator
will appear on the digital screen for
five seconds.
2. You must begin to set the clock to the
correct hour and minute during those
five seconds. If your audio system
does
not have a CD player:
Press VSEEK to set the hour.
Press SEE- to set the minute.
If your audio system has a CD player:
Press SCAN to set the hour.
Press WEEK to decrease minutes
or
SEE- to increase minutes.
I
111
Page 114 of 308
Downloaded from www.Manualslib.com manuals search engine ...
Comfort Controls & Audio Systems
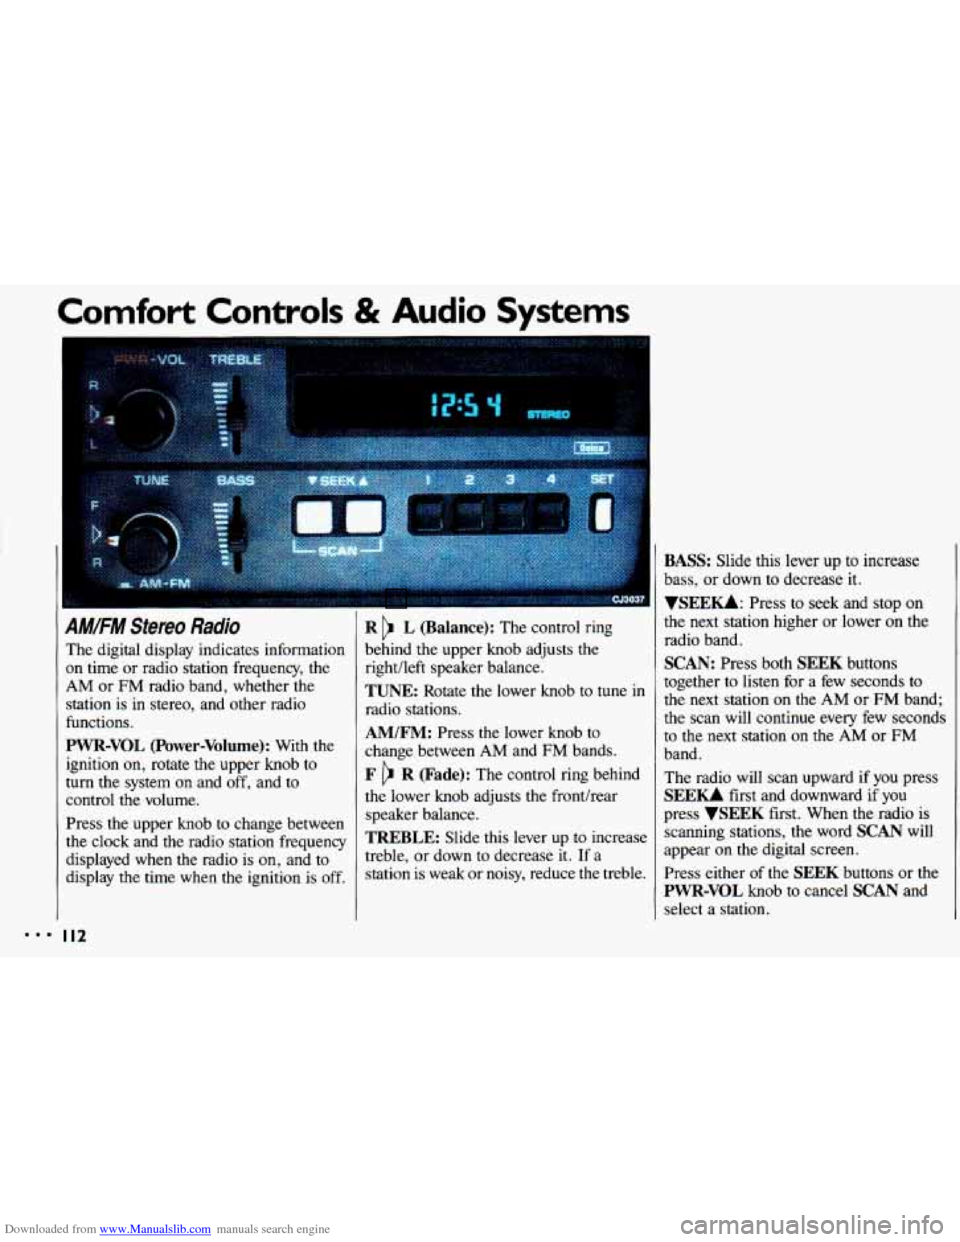
AM/FM Stereo Radio
The digital display indicates information
on time or radio station frequency, the
AM or FM radio band, whether the
station is
in stereo, and other radio
functions.
PWR-VOL (Power-Volume): With the
ignition on, rotate the upper knob to
turn the system
on and off, and to
control the volume.
Press the upper knob to change between
the clock and the radio station frequency
displayed when the radio is
on, and to
display
the time when the ignition is off.
I I2
R L (Balance): The control ring
behind the upper knob adjusts the
right/left speaker balance,
TUNE: Rotate the lower knob to tune in
radio stations.
AM/FM: Press the lower knob to
change between AM and FM bands.
F R (Fade): The control ring behind
the lower knob adjusts the fronthear
speaker balance.
TREBLE: Slide this lever up to increase
treble, or down
to decrease it. If a
station is weak or noisy, reduce the treble.
BASS: Slide this lever up to increase
bass, or down to decrease it.
YSEEKk Press to seek and stop on
the next station higher
or lower on the
radio band.
SCAN: Press both SEEK buttons
together to listen for a few seconds to
the next station
on the AM or FM band;
the scan will continue every few seconds
to the next station
on the AM or FM
band.
The radio will scan upward if you press
SEEU first and downward if you
press
VSEEK first. When the radio is
scanning stations,
the word SCAN will
appear on the digital screen.
Press either of the
SEEK buttons or the
PWR-VOL knob to cancel SCAN and
select a station.
Page 115 of 308
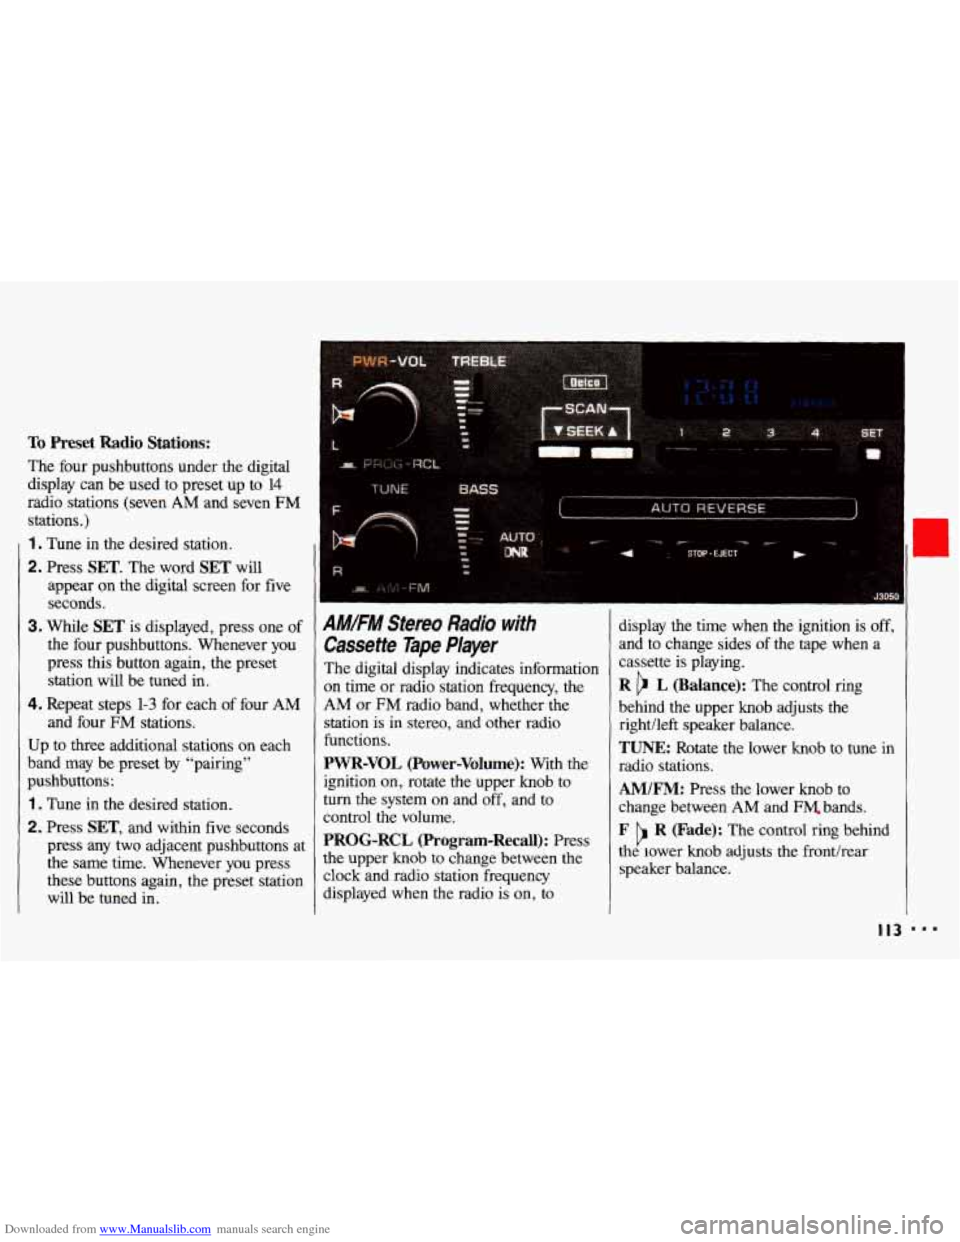
Downloaded from www.Manualslib.com manuals search engine To Preset Radio Stations:
The four pushbuttons under the digital
display can be
used to preset up to 14
radio stations (seven AM and seven FM
stations.)
1 . Tune in the desired station.
2. Press SET. The word SET will
appear on the digital screen for five
seconds,
3. While SET is displayed, press one of
the four pushbuttons. Whenever you
press this button again, the preset
station will be tuned in.
4. Repeat steps 1-3 for each of four AM
and four FM stations.
Up
to three additional stations on each
band may be preset by “pairing”
pushbuttons:
1 . Tune in the desired station.
2. Press SET, and within five seconds
press any
two adjacent pushbuttons at
the same time. Whenever you press
these buttons again, the preset station
will be tuned in.
AMIFM Stereo Radio with
Cassette Tape Player
The digital display indicates information
on time or radio station frequency, the
AM or FM radio band, whether the
station
is in stereo, and other radio
functions.
PWR-VOL (Power-Volume): With the display
the time when the ignition is off,
and
to change sides of the tape when a
cassette
is playing.
R b L (Balance): The control ring
behind the upper knob adjusts the
rightlleft speaker balance.
TUNE: Rotate the lower knob to tune in
radio stations.
ignition on, rotate the upper knob to
turn the system on and off, and to
control the volume.
PROG-RCL (Program-Recall): Press
the upper knob to change between the
clock and radio station freauencv
AM/FM: Press the lower knob to
change between
AM and FM. bands.
F R (Fade): The control ring behind
the lower knob adjusts the fronthear
speaker balance. b
displayed when the radio is’ on, io
I I3 ...
Page 118 of 308
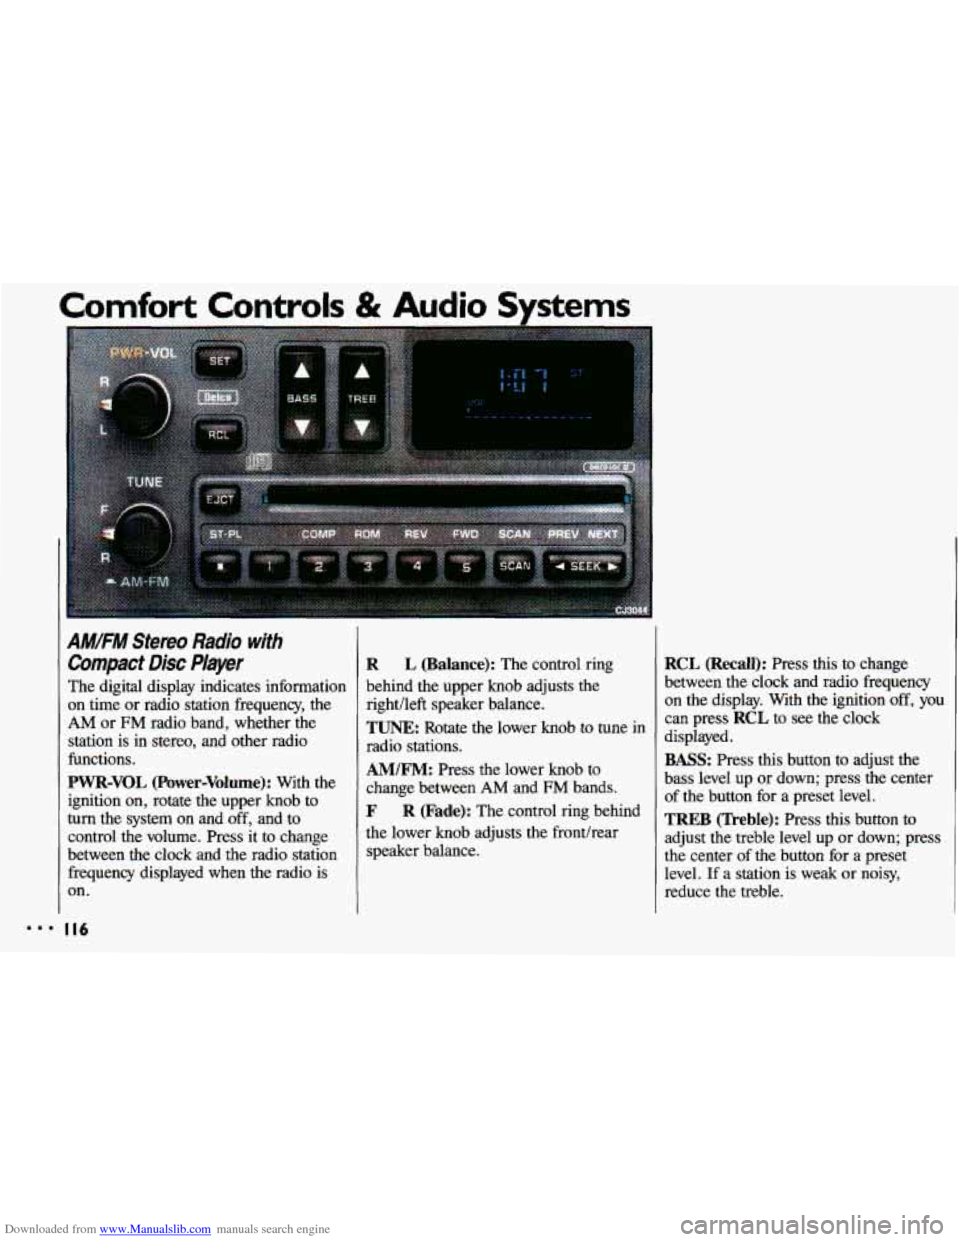
Downloaded from www.Manualslib.com manuals search engine AM/FM Stereo Radio with
Compact Disc Player
The digital display indicates information
on time or radio station frequency, the
AM or FM radio band, whether the
station is in stereo, and other radio
functions.
PWR-VOL (Power-Volume): With the
ignition on, rotate the upper knob to
turn the system on and off, and to
control the volume. Press it to change
between the clock and the radio station frequency displayed
when the radio is
on.
R L (Balance): The control ring
behind the upper knob adjusts the
right/left speaker balance.
TUNE: Rotate the lower knob to tune in
radio stations.
AM/FM: Press the lower knob to
change between
AM and FM bands.
F R (Fade): The control ring behind
the lower knob adjusts the fronthear
speaker balance.
RCL (Recall): Press this to change
between the clock and radio frequency
on the display. With the ignition
off, you
can press RCL to see the clock
displayed.
BASS: Press this button to adjust the
bass level up or down; press the center
of the button for a preset level.
TREB (Treble): Press this button to
adjust the treble level
up or down; press
the center of the button for a preset
level.
If a station is weak or noisy,
reduce the treble.
Page 120 of 308
Downloaded from www.Manualslib.com manuals search engine Comfort Controls & Audio Systems
I
AM.FM Stereo Radio with
Compact Disc Player (CONT.)
If the disc comes back out and/or Err
appears on the display:
The disc may be upside down.
The disc may be dirty, scratched or
wet.
There may be too much moisture in
the air (wait about one hour and try
again).
The player may be too hot, or the road
may be too rough for the disc to play.
As soon as things get back to normal,
the disc should play.
While a disc is playing, the
CD
indicator is displayed on the digital
screen, as is
the clock.
I I8
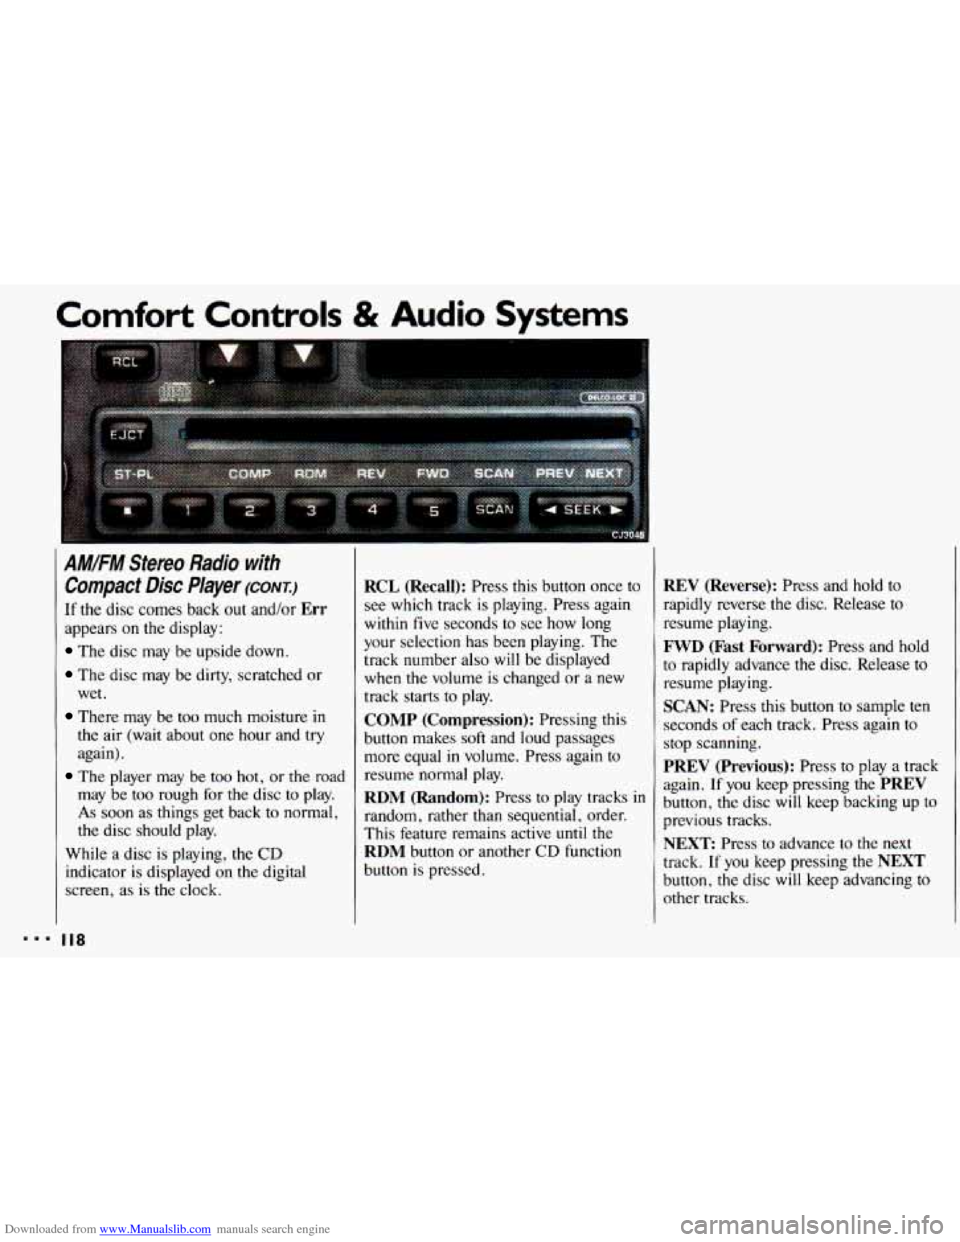
RCL (Recall): Press this button once to
see which track is playing. Press again
within five seconds to see how long
your selection has been playing. The
track number also
will be displayed
when
the volume is changed or a new
track starts to play.
COMP (Compression): Pressing this
button makes
soft and loud passages
more equal
in volume. Press again to
resume normal play.
RDM (Random): Press to play tracks in
random, rather than sequential, order.
This feature remains active
until the
RDM button or another CD function
button is pressed.
REV (Reverse): Press and hold to
rapidly reverse the disc. Release
to
resume playing.
FWD (Fast Forward): Press and hold
to rapidly advance
the disc. Release to
resume playing.
SCAN: Press this button to sample ten
seconds
of each track. Press again to
stop scanning.
PREV (Previous): Press to play a track
again.
If you keep pressing the PREV
button, the disc will keep backing up to
previous tracks.
NEXT: Press to advance to the next
track.
If you keep pressing the NEXT
button, the disc will keep advancing to
other tracks.