1993 CHEVROLET ASTRO PASSENGER instrument panel
[x] Cancel search: instrument panelPage 132 of 345

Downloaded from www.Manualslib.com manuals search engine Comfort Contmls & Audio Systems
Rear Air Conditioning
You may have rear air conditioning. The rear air conditioning switch is loca\
ted
above the radio at the top of the instrument panel. Slide the lever toward
HI
for cooler air in the rear area. Slide the lever to OFF to turn the system off.
If your vehicle has rear air conditioning, setting it on LOW may enhance front
NC performance by allowing trapped refrigerant in rear lines to circulate.
The system
will only send cooled air if the front system is on. It can still be
used
to recirculate air, even if the front system is off.
Before using the rear air conditioning, open the windows to cl\
ear the vehicle
of hot air. Close the windows when using the system.
Rear Window Defogger
HATCH REL REAR DEFOG
If your vehicle has this option the rear window will have lines \
running across
the glass. These lines heat your window.
For best results, clear the window of as much snow and ice as possible
before using the rear window defogger.
To turn on the rear window defogger, find the switch marked
Rear Defog on
your instrument panel to the left of the steering column. Press the top of the
switch until the light in the switch comes on, then release it. The rear window
defogger will only work when the ignition is in the
RUN position.
You can turn the defogger
off at any time by pressing the bottom of the
switch. The defogger will shut itself
off after several minutes so that the glass
3-8
Page 202 of 345
Downloaded from www.Manualslib.com manuals search engine Your Driving and the Road
Following Distance
Stay at least twice as far behind the vehicle ahead as you w\
ould when
driving your vehicle without a trailer. This can help you avoi\
d situations that require heavy braking and sudden turns.
Passing
You’ll need more passing distance up ahead when you’re to\
wing a trailer.
And, because you’re a good deal longer, you’ll need
to go much farther
beyond the passed vehicle before you can return
to your lane.
Backing Up
Hold the bottom of the steering wheel with one hand. Then, to move the
trailer to the left, just move your hand to the left.
To move the trailer to the
right, move your hand to the right. Always back up slowly and\
, if possible,
have someone guide you.
Making Turns
When you’re turning with a trailer, make wider turns than n\
ormal. Do this so
your trailer wheels won’t strike soft shoulders, curbs, road \
signs, trees, or
other objects. Avoid jerky or sudden maneuvers. Signal well in advance.
Turn Signals When Towing a Trailer
When you tow a trailer, your vehicle has to have a different turn signal
flasher and extra wiring. The green arrows on your instrument \
panel will flash
whenever you signal a turn or lane change. Properly hooked up,\
the trailer lights will also flash, telling other drivers you’re about to turn, change lanes,
or stop.
When towing a trailer, the green arrows on your instrument pan\
el will flash for
turns even
if the bulbs on the trailer are burned out. Thus, you may think \
drivers behind you are seeing your signal when they are not. \
It’s important to
check occasionally
to be sure the trailer bulbs are still working.
Driving on Grades
Reduce speed and shift to a lower gear before you start down a long or
steep downgrade. If you don’t shift down, you might have to use your brakes
so much that they would get hot and no longer work well.
On a long uphill grade, shift down and reduce your speed to \
around
45 mph
(70 km/h) to reduce the possibility of engine and transmission overheating.
You should use
D (or as you need to, a lower gear) when towing a trailer.
Operating your vehicle in
D when towing a trailer will minimize heat buildup
and extend the life
of your transmission.
4-48
Page 212 of 345
Downloaded from www.Manualslib.com manuals search engine Don’t have your vehicle towed with the wheels in contact with the ground if
it has all-wheel drive. If a vehicle with all-wheel drive must be towed with
sling-type
or wheel lift equipment, then either the front or rear wheels must
be supported on a dolly.
If your vehicle has rear-wheel drive, don’t have it towed on t\
he rear wheels
unless you must.
If a vehicle with rear-wheel drive must be towed on the rear
wheels, don’t go more than
35 mph (56 kmlh) or farther than 50 miles
(80 km) or your transmission will be damaged. If these limits must be
exceeded, then the rear wheels have to be supported on a doll\
y.
1 CAUTION
L A vehicle can fall from a car carrier if it isn’t properly secured. This
b can cause a collision, serious personal injury and vehicle dama\
ge.
The vehicle should be tightly secured with chains or steel cab\
les
before it is transported.
Don’t use substitutes (ropes, leather straps, canvas webbing,\
etc.)
that can be
cut by sharp edges underneath the towed vehicle.
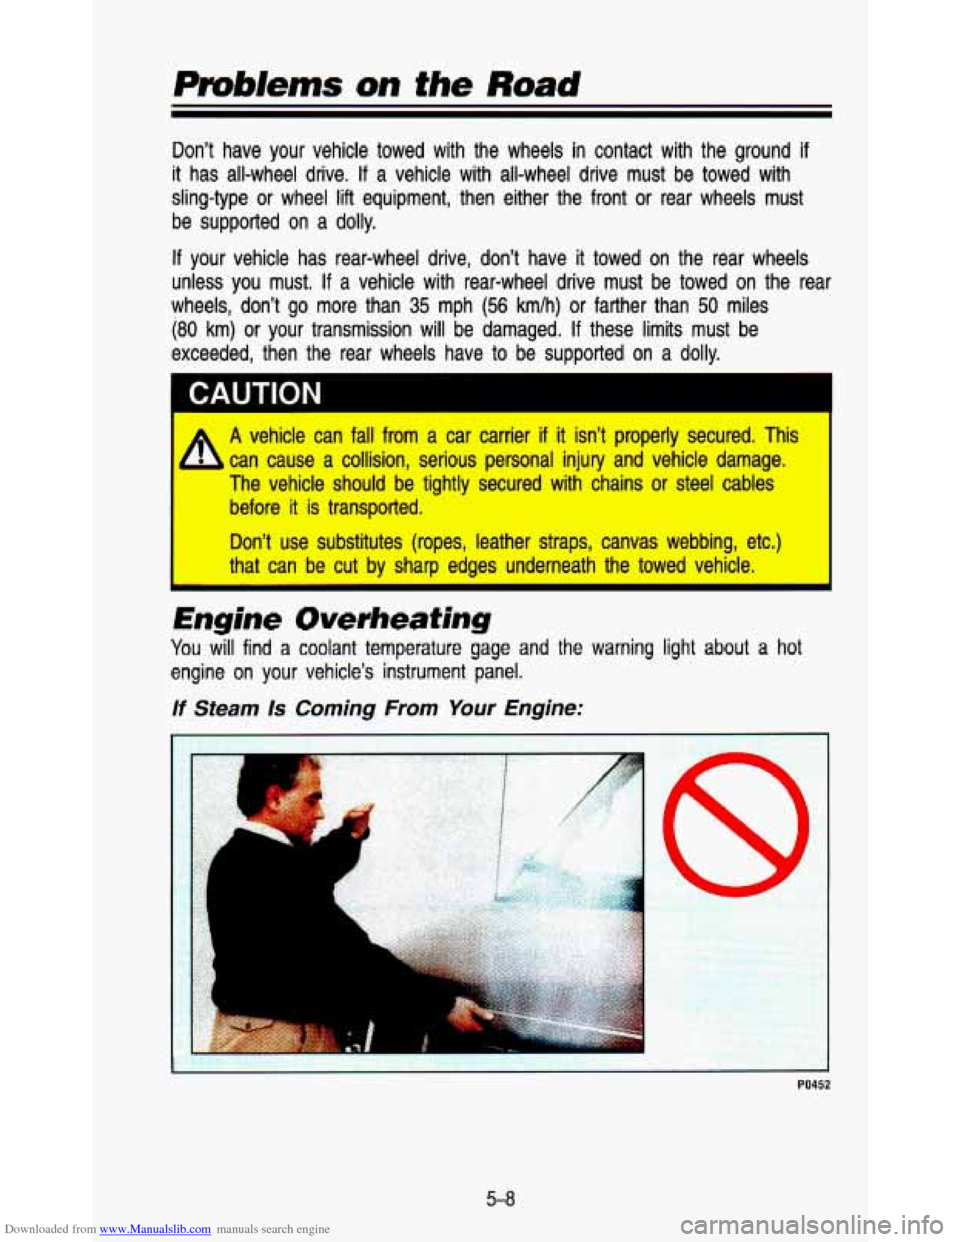
Engine Overheating
You will find a coolant temperature gage and the warning light about a hot
engine on your vehicle’s instrument panel.
If Steam Is Coming From Your Engine:
PO452
5-8
Page 240 of 345
Downloaded from www.Manualslib.com manuals search engine Service & Appearance Care
NOTICE I-
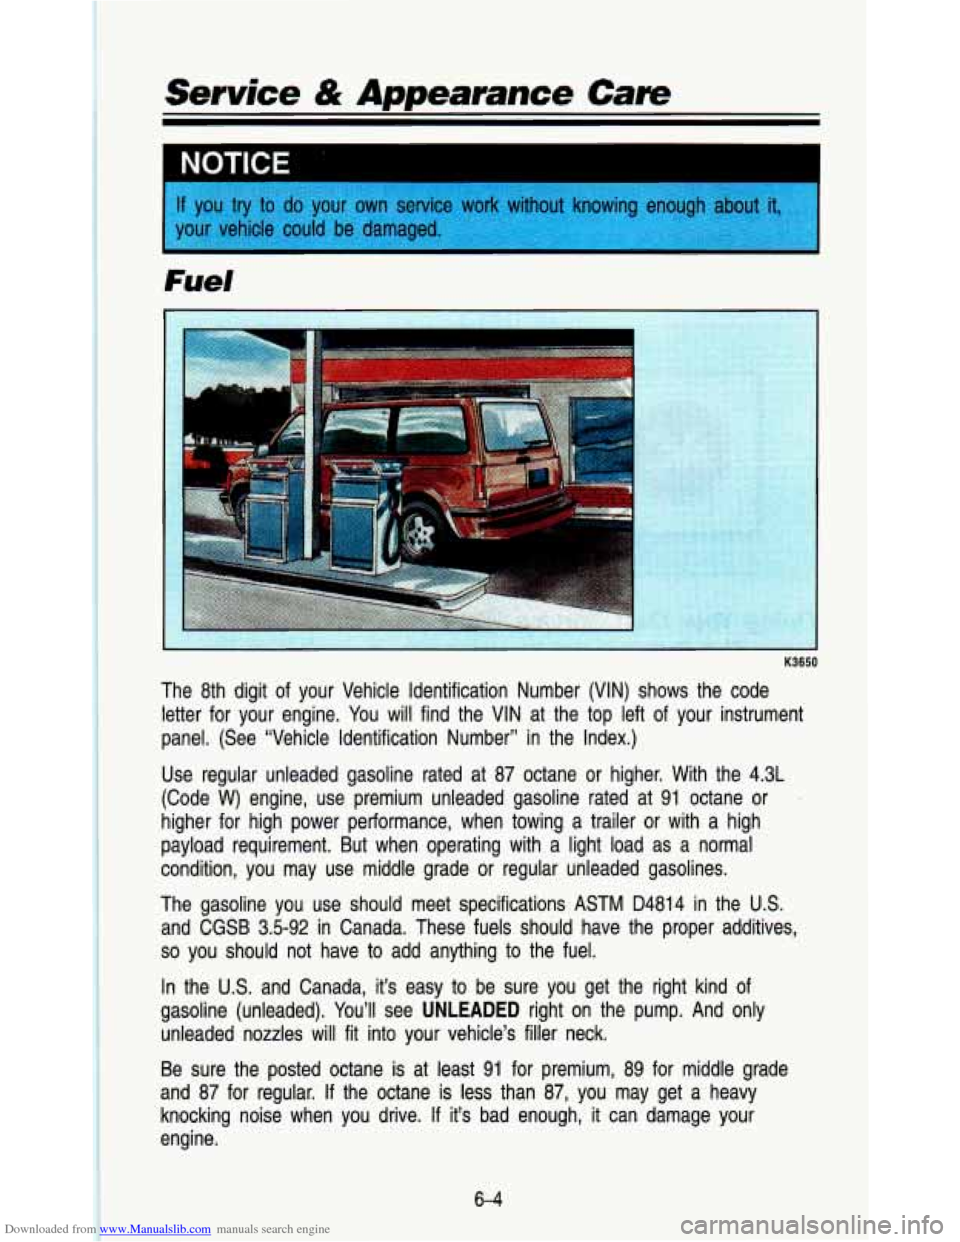
Fuel
The 8th digit of your Vehicle Identification Number (VIN) sho\
ws the code letter for your engine. You will find the VIN at the top left of your instrument
panel. (See “Vehicle Identification Number” in the Index.)\
Use regular unleaded gasoline rated at 87 octane or higher. Wi\
th the 4.3L
(Code
W) engine, use premium unleaded gasoline rated at 91 octane or .
higher for high power performance, when towing a trailer or wi\
th a high
payload requirement. But when operating with a light load as a\
normal
condition, you may use middle grade or regular unleaded gasolin\
es.
The gasoline you use should meet specifications ASTM D4814 in the U.S.
and CGSB 3.5-92 in Canada. These fuels should have the proper \
additives,
so you should not have to add anything to the fuel.
In the
U.S. and Canada, it’s easy to be sure you get the right kind o\
f
gasoline (unleaded). You’ll see
UNLEADED right on the pump. And only
unleaded nozzles
will fit into your vehicle’s filler neck.
Be sure the posted octane
is at least 91 for premium, 89 for middle grade
and
87 for regular. If the octane is less than 87, you may get a heavy
knocking noise when you drive. If it’s bad enough,
it can damage your
engine.
6-4
Page 251 of 345
Downloaded from www.Manualslib.com manuals search engine What to Do with Used Uii:
I
Used engine oil contains things that have caused skin cancer in
laboratory animals. Don’t let used oil stay on your skin for very long.
Clean your skin and nails with soap and water,
or a good hand
used engine oil.
I cleaner. Wash or properly throw away clothing or rags containing
m -m
Used oil can be a real threat to the environment. If you change your own oil,
be sure
to drain all free-flowing oil from the filter before disposal. Don’t ever
dispose
of it by putting it in the trash, pouring it on the ground, into sewers,
or into streams
or bodies of water. Instead, recycle it by taking it to a place
that collects used oil.
If you have a problem properly disposing of your used
oil, ask your dealer, a service station or a local recycling center\
for help,
Engine Cover
In order to replace your air cleaner filter, you will have to re\
move your engine
cover.
It is inside your vehicle behind the instrument panel extension.
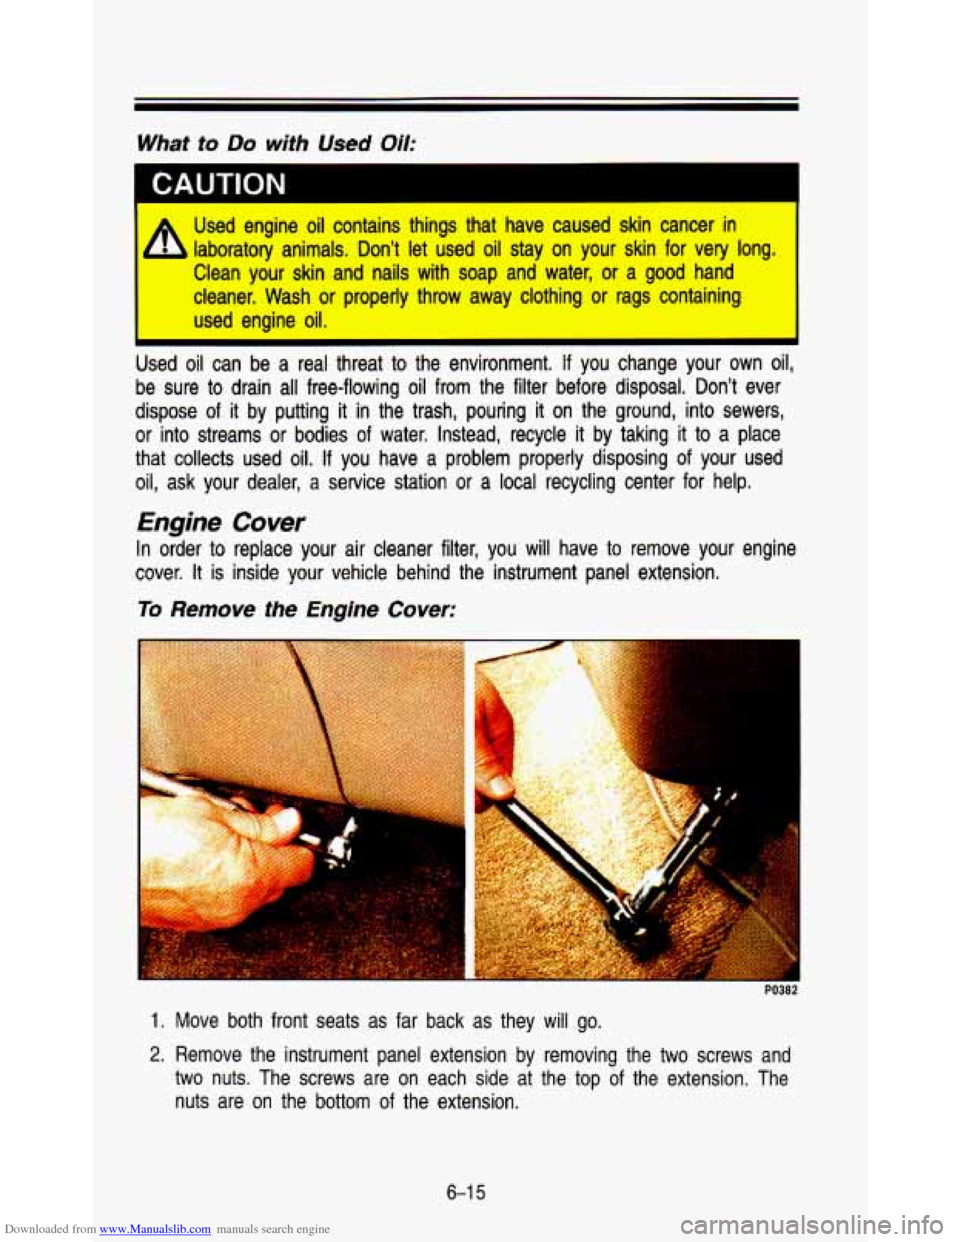
To Remove the Engine Cover:
1. Move both front seats as far back as they will go.
2. Remove the instrument panel extension by removing the two screw\
s and
two nuts. The screws are on each side at the top of the extension. The
nuts are on the
bottom of the extension.
6-1 5
Page 254 of 345
Downloaded from www.Manualslib.com manuals search engine Senrice & Appearance Cam
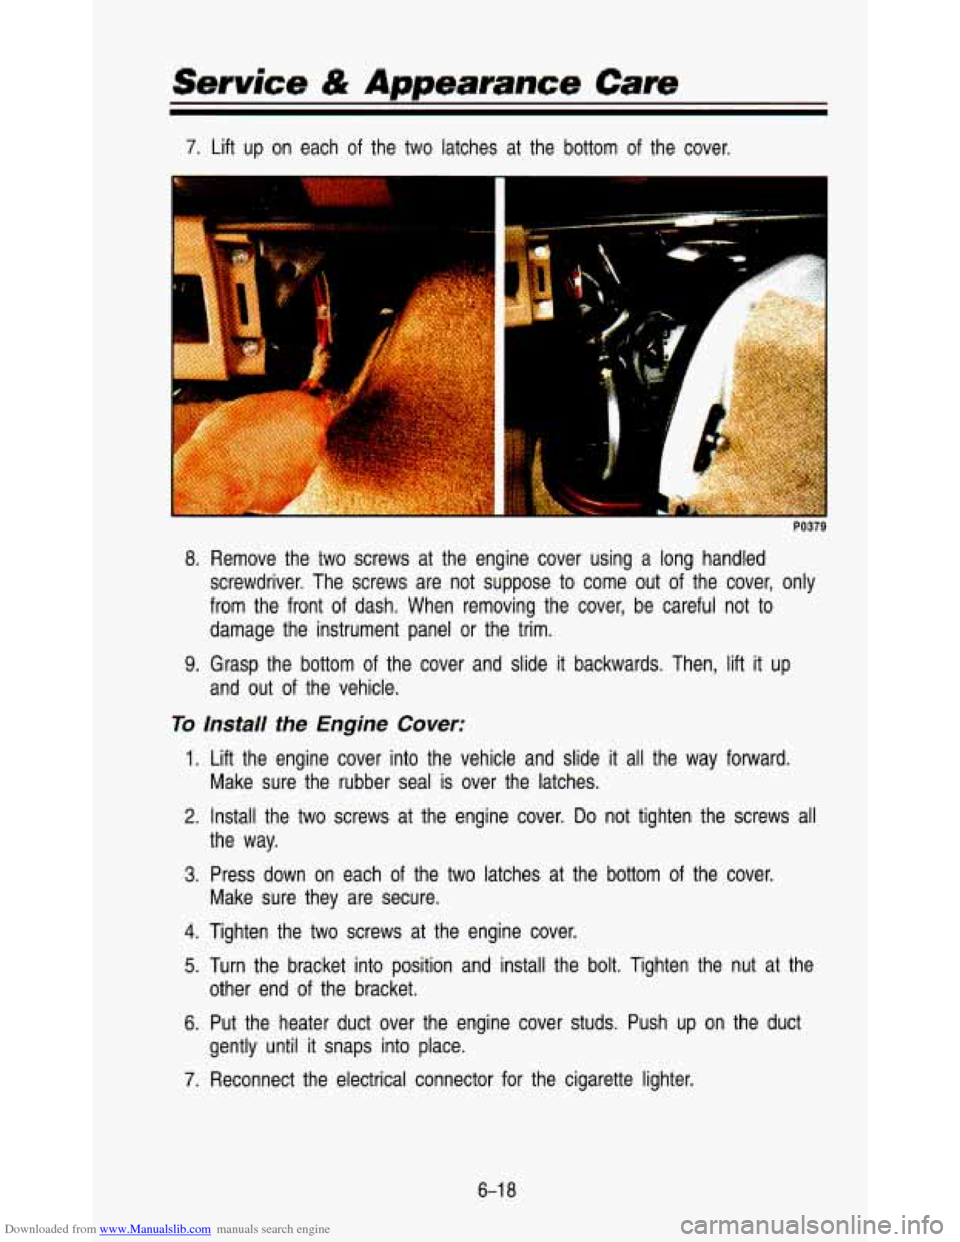
7. Lift up on each of the two latches at the bottom of the cover.
-
8. Remove the two screws at the engine cover using a long handle\
d
screwdriver. The screws are not suppose to come out of the co\
ver, only
from the front of dash. When removing the cover, be careful n\
ot to
damage the instrument panel or the trim.
9. Grasp the bottom of the cover and slide it backwards. Then, lift it up
and out of the vehicle.
To Install the Engine Cover:
1. Lift the engine cover into the vehicle and slide it all the way forward.
Make sure the rubber seal is over the latches.
2. Install the two screws at the engine cover. Do not tighten the screws all
3. Press down on each of the two latches at the bottom of the cover.
the way.
Make sure they are secure.
4. Tighten the two screws at the engine cover.
5. Turn the bracket into position and install the bolt. Tighten t\
he nut at the
6. Put the heater duct over the engine cover studs. Push up on \
the duct
other end
of the bracket.
gently until
it snaps into place.
7. Reconnect the electrical connector for the cigarette lighter.
6-1 8
Page 255 of 345
Downloaded from www.Manualslib.com manuals search engine 8. Grasp the bottom of the instrument panel extension and install the top
9. Install the two nuts and two screws on the extension.
into the groove first. Then, push the bottom
of the extension into place.
Air Cleaner
To Remove the Air CIeaner Filter:
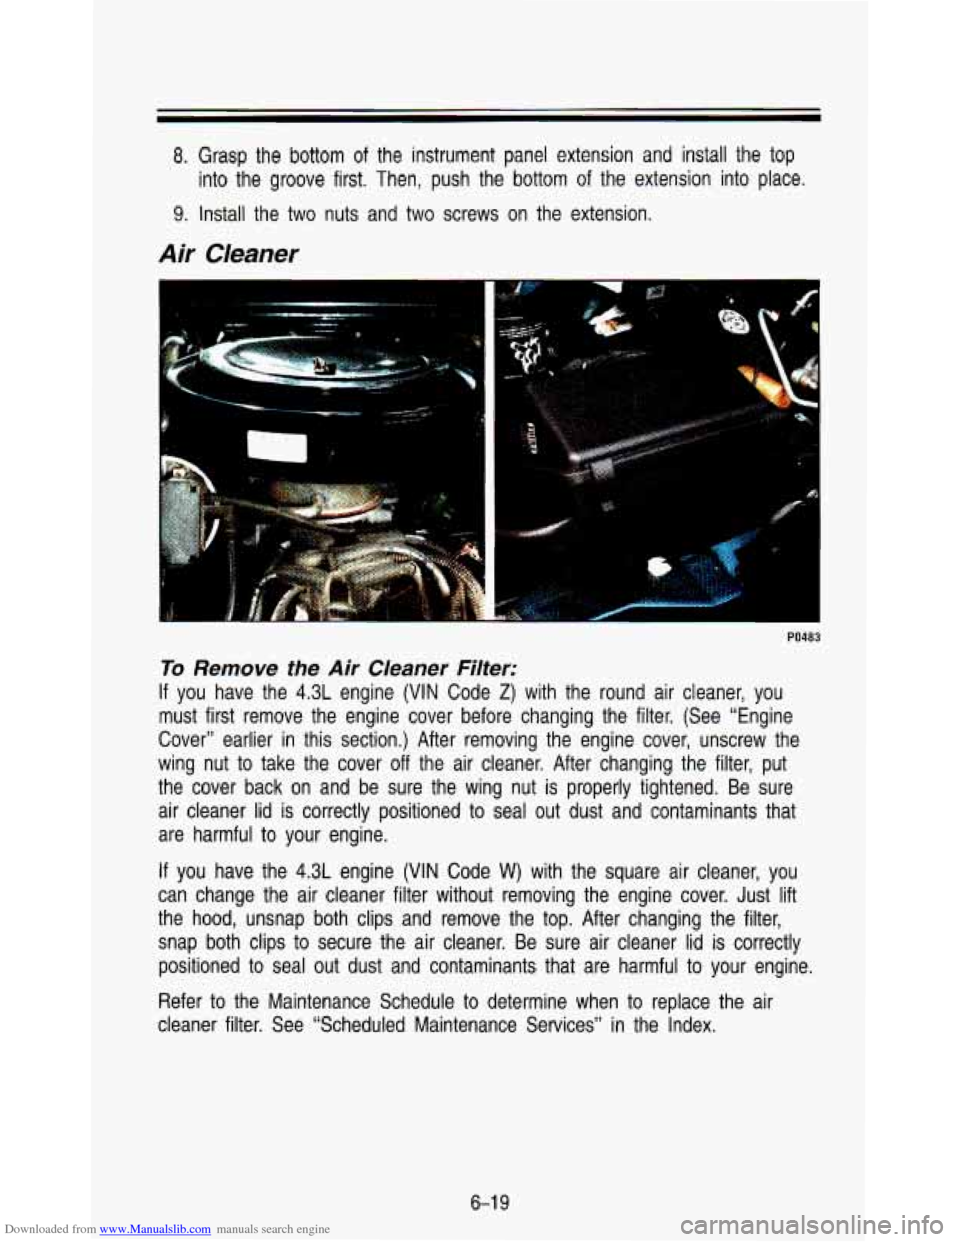
If you have the 4.3L engine (VIN Code Z) with the round air cleaner, you
must first remove the engine cover before changing the filter. \
(See “Engine
Cover” earlier in this section.) After removing the engine cover, unscrew the
wing nut to take the cover off the air cleaner. After changing the filter,\
put
the cover back on and be sure the wing nut is properly tight\
ened. Be sure air cleaner lid is correctly positioned to seal out dust and contaminants that
are harmful to your engine.
If you have the
4.3L engine (VIN Code W) with the square air cleaner, you
can change the air cleaner filter without removing the engine cover. Just lift
the hood, unsnap both clips and remove the top. After changing the filter,
snap both clips to secure the air cleaner. Be sure air cleaner lid
is correctly
positioned to seal out dust and contaminants that are harmful to your engine.
Refer to the Maintenance Schedule to determine when to replace the air
cleaner filter. See “Scheduled Maintenance Services” in the Index.
6-1 9
Page 277 of 345

Downloaded from www.Manualslib.com manuals search engine The Maintenance Schedule will tell you how often to lubricate these items.
See “Recommended Fluids and Lubricants” in the Index for the proper
lubricant to use.
Lock Cylinders
To be sure your locks operate properly, they must be lubricated. \
The
Maintenance Schedule will tell you how often to lubricate them. See
“Recommended Fluids and Lubricants” in the Index for the \
proper lubricant to use.
You should not use penetrating oils because they could wash out th\
e factory
installed lubricant and cause the lock to bind. De-icers which \
contain alcohol
could also wash away the lubricant,
so be sure to lubricate the lock after
using a de-icer
of this type.
Exhaust System
To help prevent damage to your exhaust system, do not continue to drive
your vehicle
if you notice:
Engine misfiring
Loss of performance
Other unusual operating conditions
Have your engine and exhaust system serviced regularly.
Three- Way Catalytic Converter
Your vehicle’s three-way catalytic converter is designed to reduce the
pollutants in your vehicle’s exhaust. Use only unleaded fuel in your vehicle.
If
you use leaded fuel, you could damage your three-way catalytic \
converter,
and other emission control components.
Malfunction Indicator Lamp (SERVICE ENGINE SOON light)
The Malfunction Indicator Lamp (SERVICE ENGINE SOONlight) on y\
our instrument panel lets you know when your emission system needs \
service.
The light will come on briefly when you start your engine to let you know
that the system is working.
If it does not come on when you start your
engine, or
if it comes on and stays on while you’re driving, your system \
may
need service. Your vehicle should still be driveable, but you should have your
system serviced right away.
6-41