1993 CHEVROLET ASTRO PASSENGER reset
[x] Cancel search: resetPage 148 of 345

Downloaded from www.Manualslib.com manuals search engine It enables you to alternate between AM and FM stations by pressing the
BAND knob. Your selection will be briefly displayed.
RighVFront Speaker Control
The control behind the lower knob fades the sound between your\
front and
rear speakers. Fade levels will be briefly displayed.
SEEK
Pressing the SEEK b button will cause the receiver to seek the next higher
station and stop.
Pressing the
4 SEEK button will cause the receiver to seek the next lower
station and stop.
SCAN
When you press SCAN, the radio will go to the next station and pause, and
will keep scanning until you press
SCAN again. SC will be displayed when
using this control.
Pushbuttons
The five pushbuttons let you return to favorite stations. They are also used
when you play
a disc. (See “To Play A Compact Disc”.)
To set the pushbuttons for up to ten favorite stations
(5 AM and 5 FM):
Tune in the desired station.
Push the SET button. (SET is displayed briefly.)
Within 5 seconds, push one of the five pushbuttons to store the station.
Whenever you press that button, the preset station will return.\
Clock
To set the clock, just:
Press the SET pushbutton. The radio may be on or off.
Within 5 seconds, press and hold either SEEK b increase the minutes
or
4 SEEK to decrease the minutes until the correct minute appears on
the display.
Press and hold SCAN until the correct hour appears pn the display.
RCL
Press the RCL button to alternate between time and radio station on the
display.
RCL may be pressed when the ignition is off to see the time.
3-24
Page 149 of 345

Downloaded from www.Manualslib.com manuals search engine BASS
Press the BASS A to increase bass tones and V BASS to decrease bass
tones. Press the center of the control for a preset
BASS position. The bass
level will be displayed briefly when using this control.
TREBLE
Press the TREB A to increase the treble tones and V TREB to decrease
the treble tones. Press the center of the control for a preset
TREB position.
The treble level will be displayed briefly when using this con\
trol.
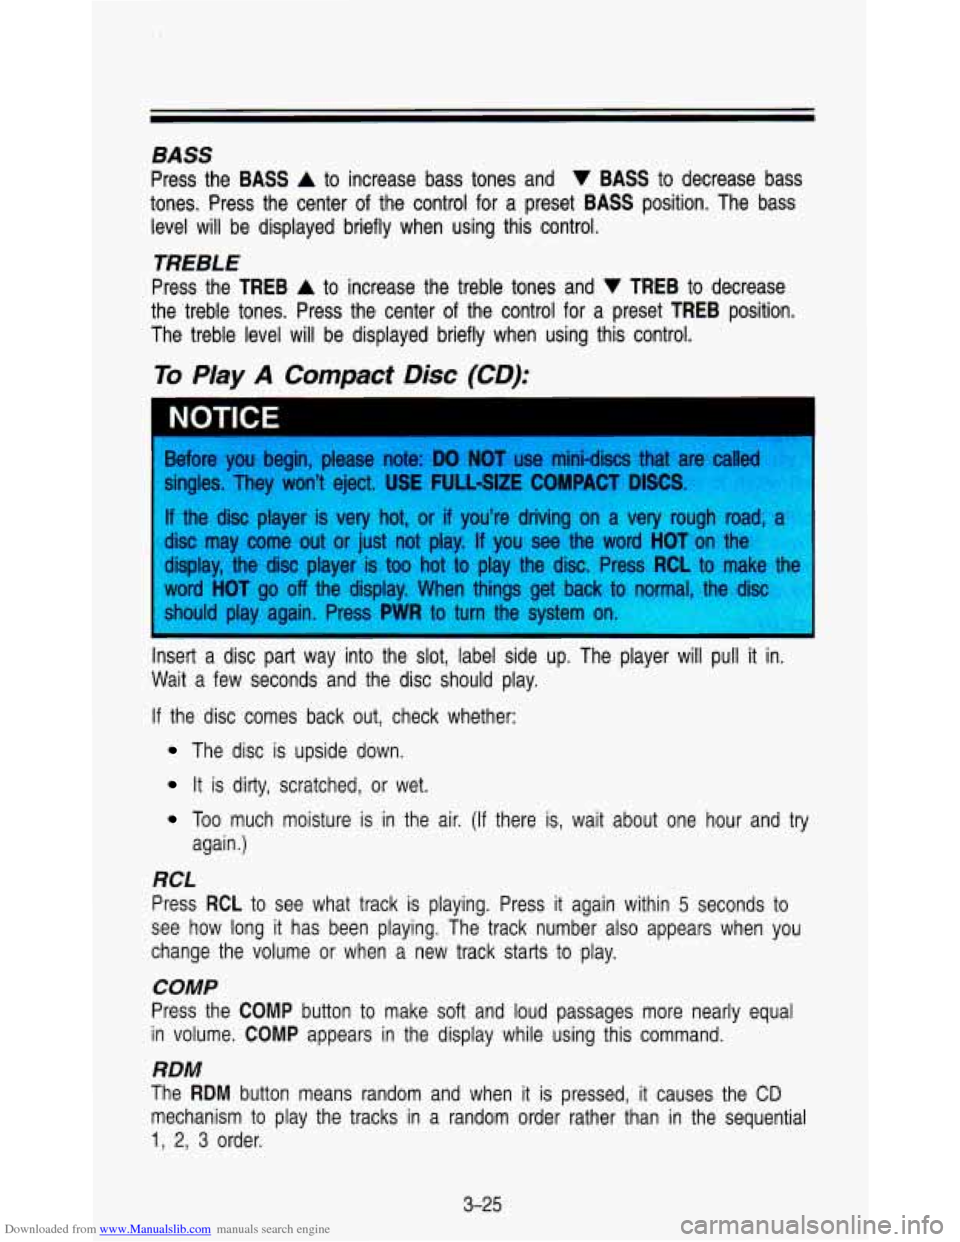
To Play A Compact Disc (CD):
NOTICE
Before you begin, please note: DO NOT use mini-discs that are called
singles. They won’t eject.
USE FULL-SIZE COMPACT DISCS
If the disc player is very hot, or if you’re driving on a very rough roakp:d
disc may come out or just not play.
If you see the word HOT on the $i$
display, the disc player is too hot to play the disc. Press RCL to ma&iL,,G
word
HOT go off the display. When things get back to normal, the disc
should play again. Press
PWR to turn the system on.
Insert a disc part way into the slot, label side up. The player will pull it in.
Wait a few seconds and the disc should play.
If the disc comes back out, check whether:
The disc is upside down.
It is dirty, scratched, or wet.
Too much moisture is in the air. (If there is, wait about one hour and try
again.)
RCL
Press RCL to see what track is playing. Press it again within 5 seconds to
see how long
it has been playing. The track number also appears when you
change the volume or when a new track starts to play.
COMP
Press the COMP button to make soft and loud passages more nearly equal
in volume.
COMP appears in the display while using this command.
RDM
The RDM button means random and when it is pressed, it causes the CD
mechanism to play the tracks in a random order rather than in the sequential
1, 2, 3 order.
3-25
Page 151 of 345

Downloaded from www.Manualslib.com manuals search engine 4. Press the 1 and 4 buttons together. Hold them down until “- - -” shows
on the display.
You are now ready
to enter your secret code. Don’t wait more than 15
seconds between steps.
5. Press SET and 000 will appear on the display.
6. Press the SEEK b button to make the first number appear.
7. Rotate the TUNE knob right or left to make the last two numbers agree
with your code.
8. Press BAND and 000 will appear again. Now you are ready to enter the
last three digits of your code.
9. Repeat steps 6 and 7 for the last three digits of your code.
10. Press BAND and rEP will appear for 5 seconds and then 000 will
11. Repeat steps 6 through IO. This time SEC will appear-indicating that
appear.
the radio is secure.
To Unlock The System After A Power Loss
When battery power is reapplied to a secured radio, the radio won’t turn on
and
LOC will appear on the display.
Enter your secret code
as follows: pause no more than 15 seconds between
steps.
1. Turn the ignition on. (Radio off.)
2. Depress the SET button. The display will show 000.
3. Enter the six digits of the code following steps 6-9 above. The display
4. Depress the BAND knob and the time appears-indicating that the
will show the numbers as entered.
disabling sequence
was successful.
If the display indicates SEC, the
numbers did not match and the unit is still secured.
Disabling The Theft System
1. Depress presets 1 and 4 for 5 seconds with ignition on and radio power
off. The display will show SEC, indicating the unit is in the secure mode.
2. Depress the SET button. The display will show 000.
3. Enter the first three digits of the code following steps 6 and 7 of the
preceding paragraphs. The display will show the numbers as entered.
3-27
Page 265 of 345

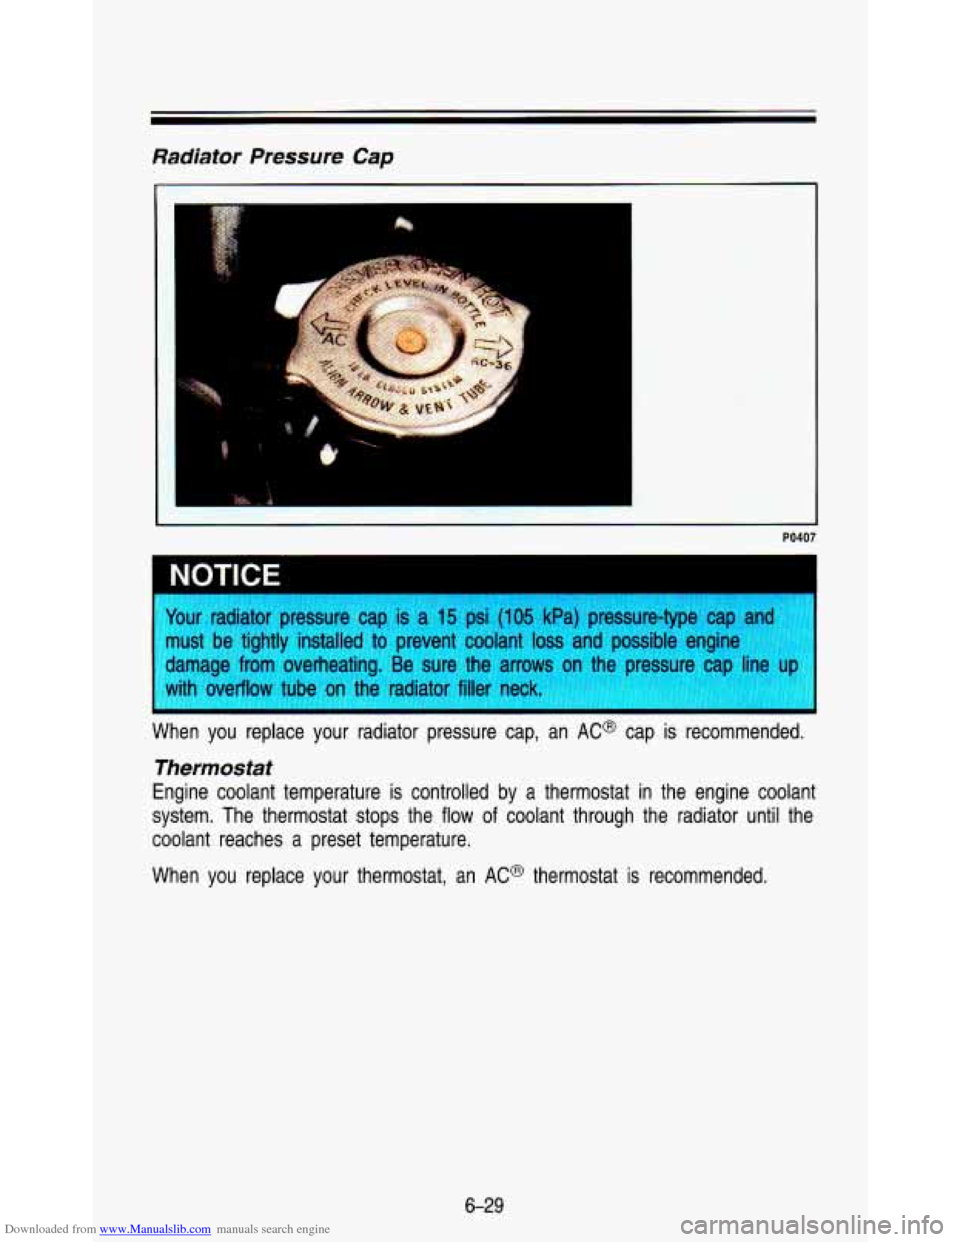
Downloaded from www.Manualslib.com manuals search engine Radiator Pressure Cap
PO407
"wr radiator pressure cap is a 15 psi (1 05 kPa) pressure-type cap and
wst be tightly installed to prevent coolant
loss and possible engine
damage from overheating. Be sure the arrows on the pressure cap
lir
with overflow tube on the radiator filler neck.
I
I
When you replace your radiator pressure cap, ul~ AC@ cap is IGdommendGu.
Thermostat
Engine coolant temperature is controlled by a thermostat in the\
engine coolant
system. The thermostat stops the flow
of coolant through the radiator until the
coolant reaches a preset temperature.
When you replace your thermostat, an AC@ thermostat is recommended.
6-29
Page 286 of 345

Downloaded from www.Manualslib.com manuals search engine failure. The grade C corresponds to a level of performance which all
passenger car tires must meet under the Federal Motor Vehicle \
Safety
Standard
No. 109. Grades B and A represent higher levels of performance on
the laboratory test wheel than the minimum required by law.
Warning: The temperature grade for this tire is established for\
a tire that is
properly inflated and not overloaded. Excessive speed, underinfla\
tion,
or
excessive loading, either separately or in combination, can cause heat buildup
and possible tire failure.
These grades are molded on the sidewalls of passenger car tire\
s.
While the tires available as standard
or optional equipment on General Motors
vehicles may vary with respect to these grades, all such tires meet General
Motors performance standards and have been approved for use on \
General
Motors vehicles.
All passenger type (P Metric) tires must conform to Federal
safety requirements in addition to these grades.
Wheel Alignment and lire Balance
The wheels on your vehicle were aligned and balanced carefully \
at the
factory to give you the longest tire life and best overall pe\
rformance.
In most cases, you will not need
to have your wheels aligned again.
However,
if you notice unusual tire wear or your vehicle pulling one way or
the other, the alignment may need to be reset. If you notice your vehicle
vibrating when driving on a smooth road, your wheels may need \
to be
rebalanced.
Wheel Replacement
Replace any wheel that is bent, cracked or badly rusted. If wheel nuts keep
coming loose the wheel, wheel
bolts, and wheel nuts should be replaced. If
the wheel leaks air out, replace it (except some aluminum whe\
els, which can
sometimes be repaired). See your GM dealer if any of these c\
onditions exist.
Your dealer will know the kind of wheel you need.
Each new wheel should have the same load carrying capacity dia\
meter, width,
offset, and be mounted the same way as the one
it replaces.
If you need to replace any of your wheels, wheel bolts, or wheel nuts,
replace them only with new GM original equipment parts. This way, you will
be sure you have the right wheel, wheel bolts, and wheel nuts\
for your
vehicle.
6-50