Page 88 of 324

L
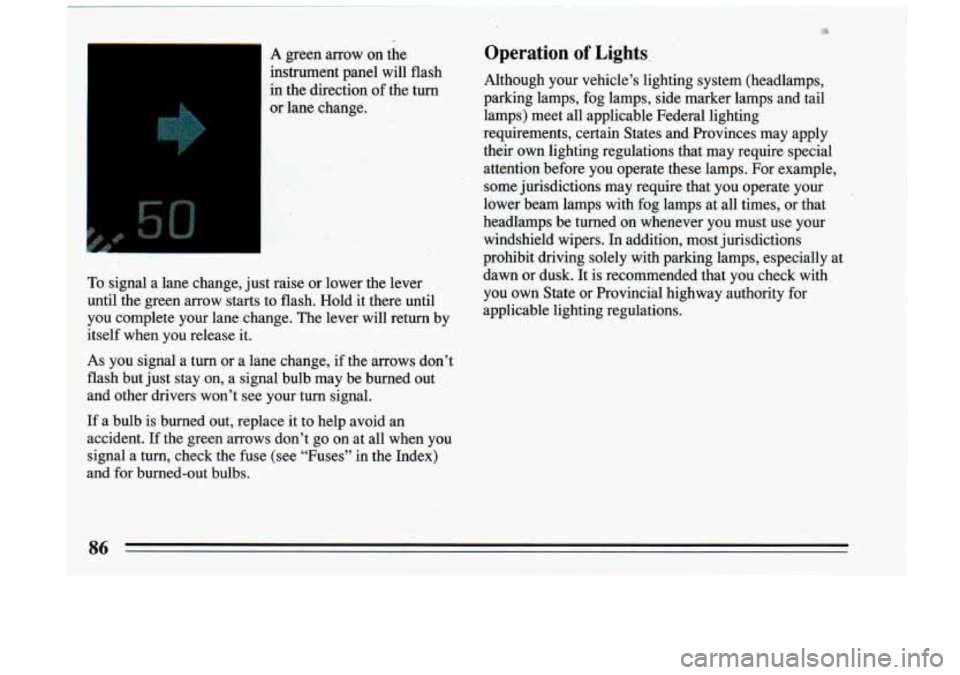
in the direciion of the turn
or lane change.
To signal a lane change, just raise or lower
the lever
until the green arrow starts to flash. Hold it there until
you complete your lane change. The lever will return by
itself when you release it.
As you signal a turn or a lane change, if the arrows don’t
flash but just stay on, a signal bulb may be burned out
‘and other drivers won’t see your turn signal.
Operation of Lights.
Although your vehicle’s lighting system (headlamps,
parking lamps, fog lamps, side marker lamps and tail
lamps) meet all applicable Federal lighting
requirements, certain States and Rovinces may apply
their
own lighting regulations that may require special
attention before you operate these lamps. For example,
some jurisdictions may require that you operate your
lower beam lamps with fog lamps at all times, or that
headlamps be turned on whenever you must use your
windshield wipers. In addition, most jurisdictions
prohibit driving solely with parking lamps, especially at
dawn or dusk. It is recommended that you check with you own State or Provincial highway authority
for
applicable lighting regulations.
1
If a bulb is burned out, replace it to help avoid an
accident.
If the green arrows don’t go on at all when you
signal a turn, check the fuse (see “Fuses” in the Index)
hnd-fQr bumed-Qvt bulbs. i
3
Page 108 of 324
Press and hold the Test
button with your car in Park
or Neutral. This test makes
sure all your bulbs and bar
graph segments are
working.
If any are not
working, have the bulbs
replaced.
Display Selection Test
By pushing the E/M
(Englishmetric) button, the
digital display can be
changed to read English
(miles) or metric
(kilometers).
Push the speed select button to change the digital and
graphical speed display to a graphical speed display
only. Push it again, and only the digital speed is
displayed. Push
it a third time and you will be back to i i the original display.
106
I
Page 117 of 324
Hazard Warning Flasher Service A/C
- This light
on your
instrument panel lets you
know when you have the
hazard warning flashers
on.
When the hazard flashers are on, your turn signals will
not work.
If you apply the brakes, the flashing will stop
until’you release the brake pedal. See “Hazard Warning
Flashers” in the Index for more information.
If this light stays on 60
seconds or more, your air
conditioning system needs service. It comes
on as a
bulb cheek, whenever you
turn the ignition to “Run”.
Page 240 of 324
Vehicle Storage Halogen Bulbs
If you’re not going to drive your vehicle for 25 days or
-more, take
off the black, negative (-) cable from the
.battery. This will help keep your battery from running
:down.
I
A CAUTION:;
Batteries have acid that can burn you and gas
that can explode. You can be badly hurt if you
aren’t careful. See “Jump Starting’’
in the Index
for tips on working around a battery without
getting hurt. I
Contact your dealer to learn how to prepare your vehicle
:for longer storage periods.
I
A CAUTION:
t
Halogen bulbs have pressurized gas inside and
can burst
if you drop or scratch the bulb. You or
others could be injured. Take special care when
handling and disposing of halogen bulbs.
I
Headlamp Bulb Replacement
1 access cover and turn each
’ of the access cover retainers
1/4 turn and lift the cover
Off.
238
Page 241 of 324
The bulb socket can De accessed, turn the bulb socket
1/4 turn counter-clockwise, while pressing it firmly. Remove the wire
connector
from the bulb
by lifting the
lock tab and
pulling it away from the
plastic base.
239
Page 242 of 324
To reassemble: Attach the wire connector (A) to the
$astic base making sure the lock tab
(B) is over the lock
(C). Install the bulb by putting the small tab (D) in the
small notch in the lamp (E). Turn the bulb socket 114
turn clockwise to lock into place. Replace the access
cover.
240
Page 243 of 324
r
Using a Phillips@
screwdriver remove the
long screws.
d,T&* g&@ 1 * *'.
.-
Remove the bulb socket by squeezing the plastic lock
and turning
it counterclockwise.
i
Carefully pull the lamp away from the vehicle.
241
Page 244 of 324

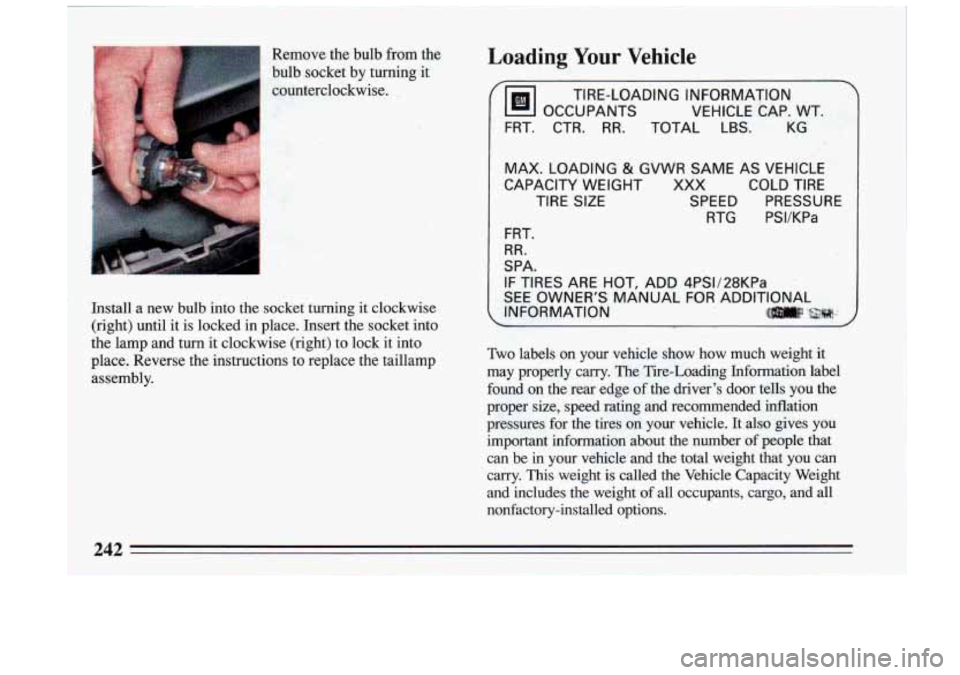
Remove the bulb from the Loading Your Vehicle
bulb socket by turning it
counterclockwise.
%I OCCUPANTS VEHICLE CAP. WT.
I
TIRE-LOADING INFORMATION,
FRT. CTR. RR. TOTAL
LBS. KG
MAX. LOADING & GVWR SAME AS VEHICLE
CAPACITY WEIGHT XXX COLD
TIRE
TIRE SIZE SPEED PRESSURE
RTG PSI/KPa
FRT.
RR.
SPA.
IF TIRES ARE HOT, ADD 4PS1128KPa
SEE OWNER'S MANUAL FOR ADDITIONAL
1 Install a new bulb into the socket turning it clockwise INFORMATION 111-p ?j$##..:,
(right) until it is locked in place. Insert the socket into \
the lamp and turn it clockwise (right) to lock it into
place. Reverse the instructions to replace the taillamp assembly.
Two labels on your vehicle show how much weight it
may properly carry. The Tire-Loading Information label
found on the rear edge of the driver's door tells you the
proper size, speed rating and recommended inflation
pressures for the tires on your vehicle. It also gives you
important information about the number of people that can be in your vehicle and the total weight that you can
carry. This weight is called the Vehicle Capacity Weight
and includes the weight
of all occupants, cargo, and all
nonfactory-installed options.
242