Page 78 of 308
Move the lever up as far as it will go.
3. Move the ignition key to “Lock.”
4. Remove the key and take it with you. If you can
walk away from your vehicle with the ignition key in
your hand, your vehicle is in “P” (Park).
Console Shift Lever
1. Hold the brake pedal down with your right foot and
set the parking brake.
2. Move the shift lever into “P’ (Park) position like
this:
Hold in the button on the lever, and push the
lever all the way toward the front
of your vehicle.
-II
3. Move the ignition key to “Lock.”
4. Remove the key and take it with you. If you can
walk away from your vehicle with the ignition key
in
your hand, your vehicle is in “P’ (Park).
76
ProCarManuals.com
Page 102 of 308

the numbers, probably someone has tried to turn it back.
The numbers may not be true.
You may wonder what happens if a car has to have a
new odometer installed. If possible, the new one has to
be set to the same reading the old one had. If it can’t be,
then it’s set at zero, but
a label on the driver’s door must
show the old reading and when the new one was
installed.
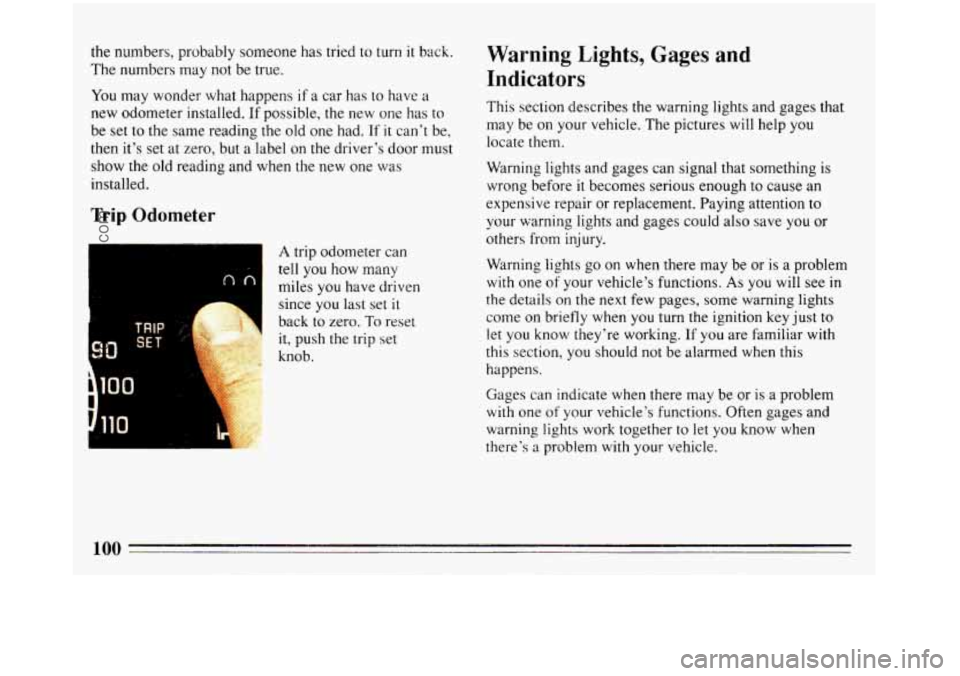
Trip Odometer
TRIP
SET 90
A trip odometer can
tell
you how many
miles you have driven
since you last set
it
back to zero. To reset
it, push the trip set
knob.
Warning Lights, Gages and
Indicators
This section describes the warning lights and gages that
may be on your vehicle. The pictures will help you
locate them.
Wdrning lights and gages can signal that something
is
wrong before it becomes serious enough to cause an
expensive re,pair or replacement. Paying attention to
your warning lights and gages could also save you or
others from injury.
Warning lights go on when there may be or
is a problem
with one of your vehicle’s functions. As you will see in
the details on the next few pages, some warning lights
come on briefly when you turn
the ignition key just to
let you know they’re working.
If you are familiar with
this section, you should not be alarmed when this
happens.
Gages
can indicate when there may be or is a problem
with one of your vehicle’s functions. Often gages and
warning lights work together
to let you know when
there’s a problem with your vehicle.
100
ProCarManuals.com
Page 105 of 308

Anti-Lock Brake System Warning Light
(Option) anti-lock brakes. If the regular brake system warning
light is also on, see “Brake System Warning Light”
earlier
in this part.
With anti-lock, this light will go on unless you start your
engine and it will stay
on for three seconds. If the light
doesn’t come on, have it fixed
so it will be ready to
warn you
if there is a problem.
If the light stays on or comes on when you’re driving,
stop
as soon as possible and turn the key off. Then start
the engine to reset the system. If the light still stays on,
or comes
on again while you’re driving, your Buick
needs service. Unless the regular brake system warning
light is also
on, you will still have brakes, but not If
the anti-lock brake system warning light ever flashes,
your anti-lock brake system is still working but needs
.service as soon as possible.
Engine Coolant Temperature Gage
TEMP
This gage shows the engine
coolant temperature. If the
gage pointer moves into the
red area, your engine is too
hot
!
It means that your engine coolant has overheated. If you
have been operating your vehicle under normal driving
conditions, you should pull
off the road, stop your
vehicle and turn off the engine as soon as possible.
103
ProCarManuals.com
Page 120 of 308

RCL STOP
Press RCL to see what track is playing. Press it again
within
5 seconds to see how long the CD has been
playing that track.
The track number also appears when you change the
volume or when a new track starts to play.
NEXT
Press NEXT to hear the next track now (instead of
waiting until the present track is finished.) If you hold
this button, or press
it more than once, the disc will
advance further.
PREV
If you press and hold the PREV button, or press it more
than once, the disc will return to previous tracks.
SCAN
Press SCAN to hear the first ten seconds of each track.
Press
it again to stop scanning. By
pressing STOP, the compact disc
will stop playing
and the radio will play.
PLAY
Pressing PLAY will cause the radio to stop and the
compact disc will play,
if there is one inserted.
COMP
Pressing the COMP button makes soft and loud passages
more equal
in volume.
E JCT
By pressing EJECT, the disc will eject and the radio will
play. The disc will start at track one when you reinsert it.
Press the OFF-VOL knob or turn the ignition key off to
stop the disc player. The disc stays
in the player and will
resume playing at the point where
it stopped.
118
ProCarManuals.com
Page 138 of 308

Police records show that half of all motor
vehicle-related deaths involve alcohol
- a driver, a
passenger or someone else, such as
a pedestrian, had
been drinking. In most cases, these deaths are the result
of someone who was drinking and driving. Over 25,000
motor vehicle-related deaths occur each year because of
alcohol, and thousands of people are injured.
Just how much alcohol is too much if
a person plans to
drive? Ideally, no one should drink alcohol and then
drive. But if one does, then what’s “too much”? It can be
a lot less than many might think. Although
it depends on
each person and situation, here
is some general
information
on the problem.
The Blood Alcohol Content (BAC) of someone who is
drinking depends upon four things:
How much alcohol is in the drink.
0 The drinker’s body weight.
0 The amount of food that is consumed before and
during drinking.
0 The length of time it has taken the drinker to
consume
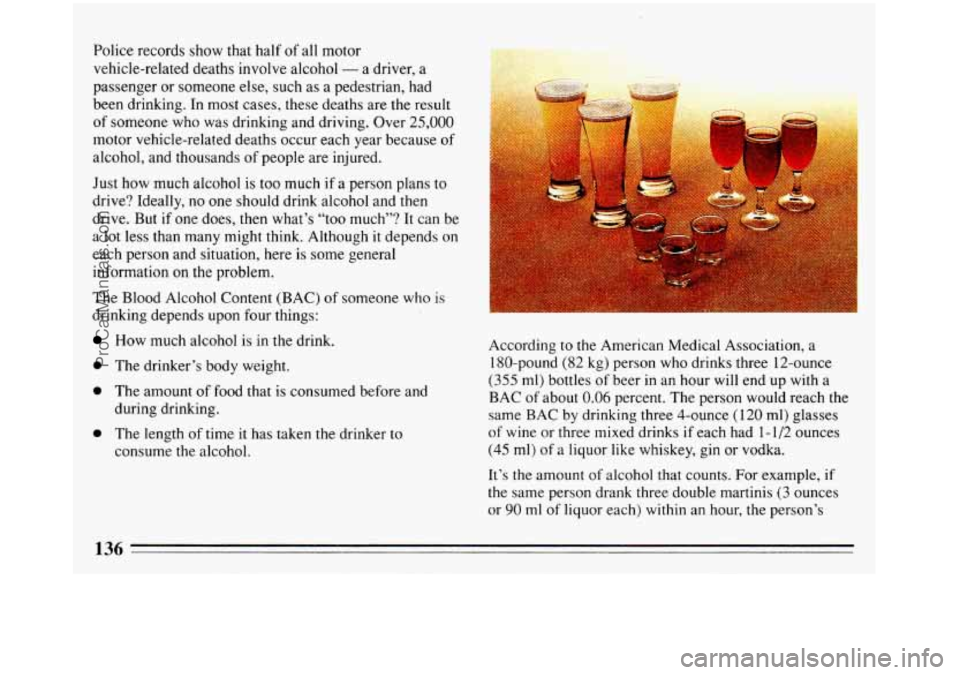
the alcohol. According
to the American Medical Association, a
180-pound
(82 kg) person who drinks three 12-ounce
(355 ml) bottles of beer in an hour will end up with a
BAC of about 0.06 percent. The person would reach the
same BAC by drinking three 4-ounce (120 ml) glasses
of wine or three mixed drinks if each had 1-1/2 ounces
(45 ml) of a liquor like whiskey, gin or vodka.
It’s the amount
of alcohol that counts. For example, if
the same person drank three double martinis (3 ounces
or
90 ml of liquor each) within an hour, the person’s
136
ProCarManuals.com
Page 181 of 308
Slide the switch up to make your front and rear turn
signal lights flash
on and off.
Your hazard warning flashers work no matter what
position your key is in, and even
if the key isn’t in.
1
To turn off the flashers, slide the switch down. When the
hazard warning flashers are on, your turn signals won’t
work.
Other Warning Devices
If you carry reflective triangles, you can set one up at
the side
of the road about 300 feet (100 m) behind your
vehicle.
179
ProCarManuals.com
Page 188 of 308

0
0
0
0 0
0
'AA"TT
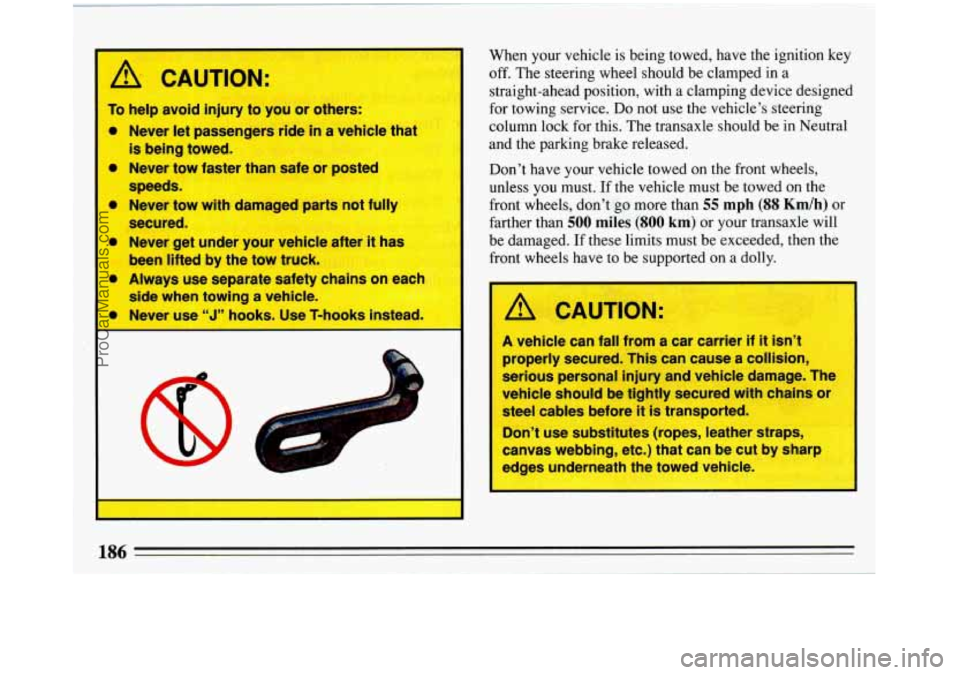
To help avoid injury to you or others:
Never let passengers ride
in a vehicle that
is being towed.
Never tow faster than safe or posted
speeds.
Never tow with damaged parts not fully
secured.
Never get under your vehicle after
it has
been lifted by the tow truck.
Always use separate safetv chains on each
side when towing
a vehic ~
Never use "J" hnnks- Use T-hanks i
When your vehicle is being towed, have the ignition key
off. The steering wheel should be clamped in a
straight-ahead position, with a clamping device designed
for towing service.
Do not use the vehicle's steering
column lock for this. The transaxle should be in Neutral
and the parking brake released.
Don't have your vehicle towed on the front wheels,
unless
you must. If the vehicle must be towed on the
front wheels, don't
go more than 55 mph (88 Km/h) or
farther than
500 miles (800 km) or your transaxle will
be damaged.
If these limits must be exceeded, then the
front wheels have to be supported
on a dolly.
/1 CAUTION:
A vehicle can fall from a car carrier if it isn't
properly secured. This can cause a collision,
serious personal injury and vehicle damage. The
vehicle should be tightly secured with chains or
steel cables before
it is transported.
Don't use substitutes (ropes, leather straps,
canvas webbing, etc.) that can be cut by sharp
edges underneath the towed vehicle.
186
ProCarManuals.com
Page 279 of 308

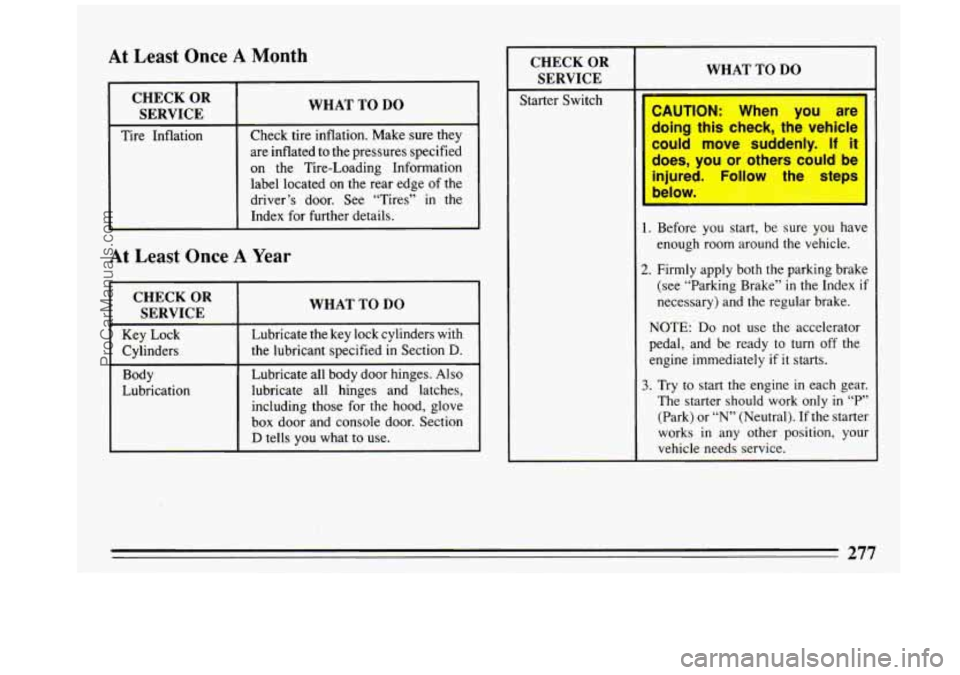
At Least Once A Month
CHECK OR
SERVICE
Tire Inflation
WHAT TO DO
Check tire inflation. Make sure they
are inflated
to the pressures specified
on the Tire-Loading Information
label located on the rear edge of
the
driver’s door. See “Tires” in the
Index for further details.
c!%&lkY 1 --“-+
Starter Switch
At Least Once A Year
I CHECKOR
SERVICE
I WHAT TO DO
Key Lock
the lubricant specified in Section
D. Cylinders Lubricate the
key lock cylinders with
Body
Lubrication Lubricate all
body door hinges.
Also
lubricate all hinges and latches,
including those for the hood, glove
box door and console door. Section
D tells you what to use.
1. Before you start, be sure you have
enough room around the vehicle.
2. Firmly apply both the parking brake
(see “Parking Brake”
in the Index if
necessary) and the regular brake.
NOTE:
Do not use the accelerator
pedal, and
be ready to turn off the
engine immediately if
it starts.
3. Try to start the engine in each gear.
The starter should work only in “P”
(Park) or
“N” (Neutral). If the starter
works
in any other position, your
vehicle needs service.
277
ProCarManuals.com