1993 BUICK PARK AVENUE ABS
[x] Cancel search: ABSPage 113 of 340
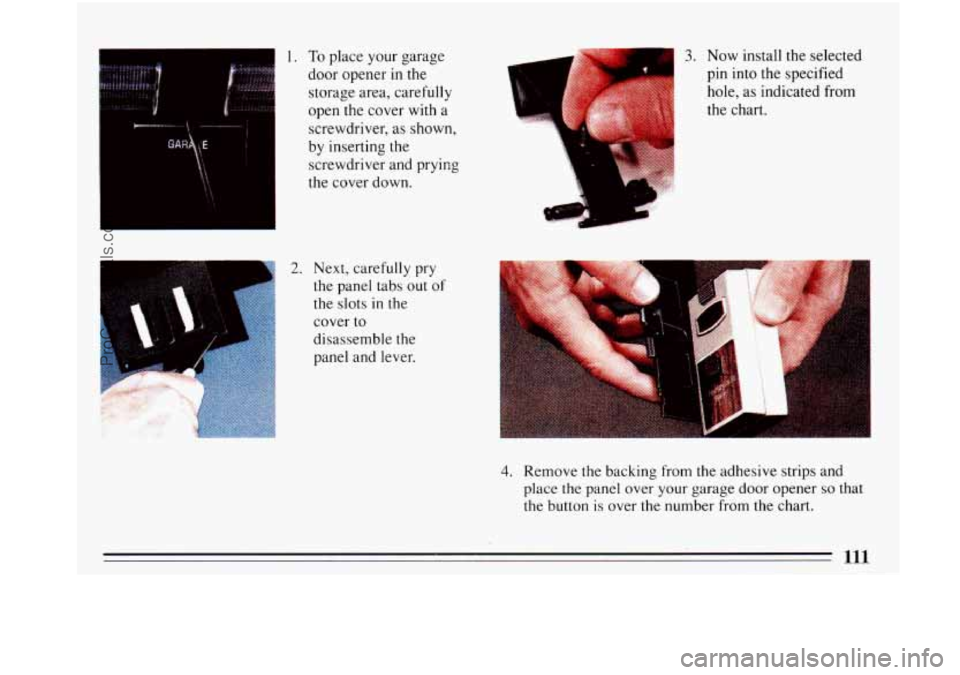
1. To place your garage
door opener in the
storage area, carefully
open the cover with a
c
screwdriver, as shown,
by inserting the
screwdriver and prykg
the cover down.
2. Next, carefully pry
the panel tabs out of
the slots in the
cover to
disassemble the
3. Now install the selected
pin into the specified
hole, as indicated from
the chart.
panel and lever.
4. Remove the backing from the adhesive strips and
place the panel over your garage
door opener so that
the button
is over the number from the chart.
ProCarManuals.com
Page 174 of 340
---
1 A CAUTION:
“Riding” your brakes can cause them to overheat
to the point
that they won’t work well. You might
not be able to stop your vehicle
in time to avoid
an accident.
If you “ride” your brakes, they will I
get so hot they will require a lot of pedal force to
slow you down. Avoid “riding” the brakes.
‘I
E:
e brakes weafs them out much faster
You would need costly brake replacement much
sooner than normal, and
it also reduces fuel
If you keep pace with the traffic and allow realistic
following distances,
you will eliminate a lot of
unnecessary braking. That means better braking and
longer brake life.
If your engine ever stops while you’re driving, brake
normally but don’t pump your brakes. If
you do, the pedal
may get harder to push down.
If your engine
stops,
you will still have some power brake assist.
But you will use it when you brake. Once the power
assist is used up, it may take longer to stop and the
brake pedal will be harder to push.
Anti-Lock Brakes (ABS)
Your Buick has an advanced electronic braking system
that will help prevent skidding.
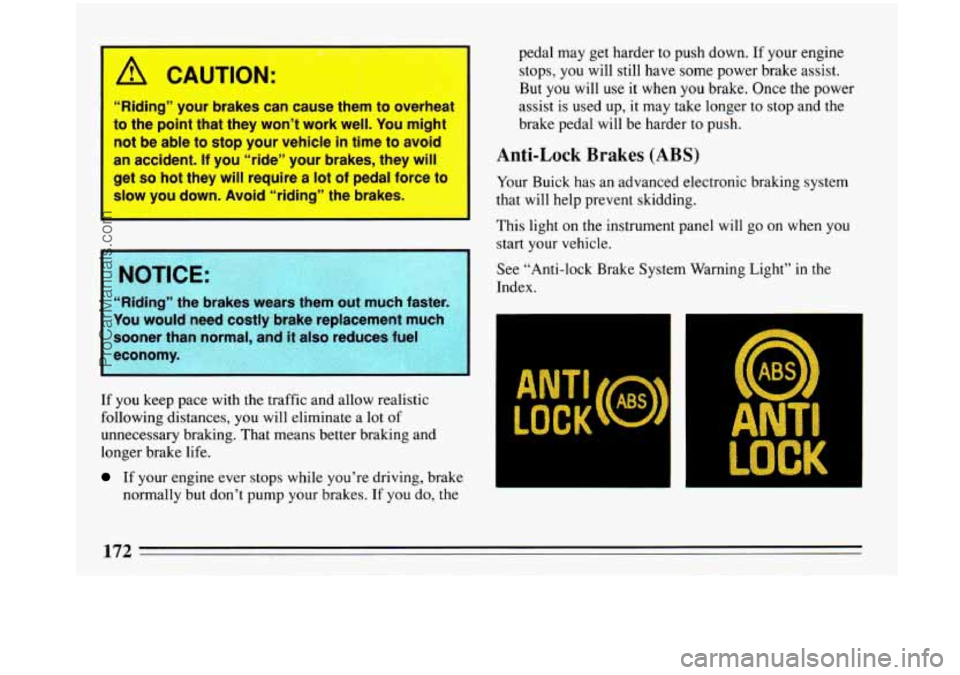
This light on the instrument panel will
go on when you
start your vehicle.
See “Anti-lock Brake System Warning Light” in the
Index.
ANTI
LOCK ANTI
LOCK
ProCarManuals.com
Page 175 of 340
KK
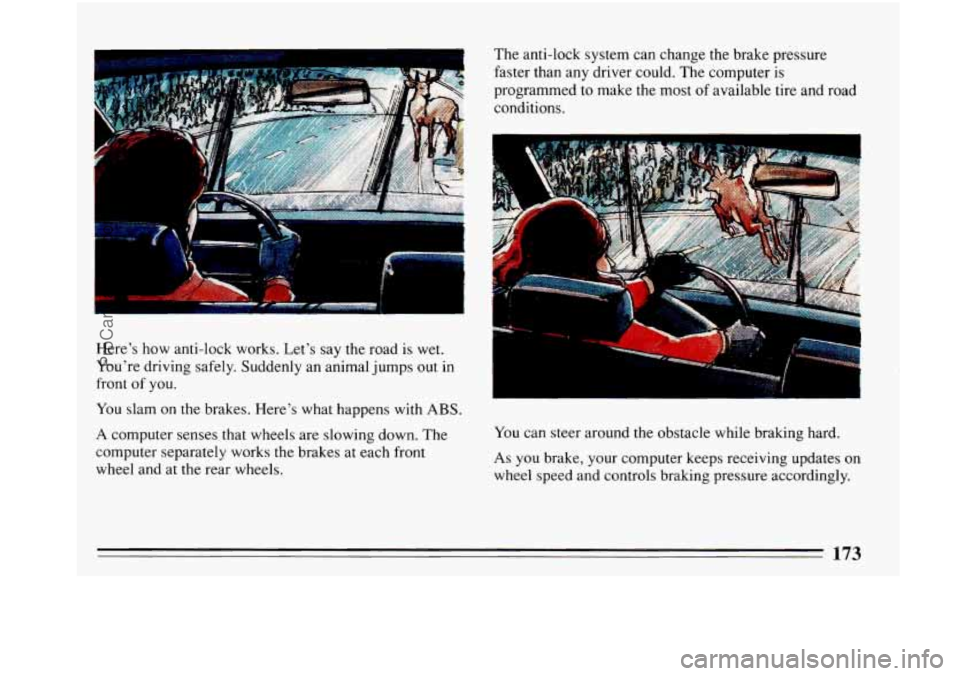
Here’s how anti-lock works. Let’s say the road is wet.
You’re driving safely. Suddenly an animal jumps out in
front of you.
You slam
on the brakes. Here’s what happens with ABS.
A computer senses that wheels are slowing down. The
computer separately works the brakes at each front
wheel and at the rear wheels. You
can steer around the obstacle while braking hard. As you brake, your computer keeps receiving updates on
wheel speed and controls braking pressure accordingly.
ProCarManuals.com
Page 176 of 340
I CAUTION:
Anti-lock doesn’t change the time you need to
get your foot
up to the brake pedal. If you get too
close to the vehicle in front of you, you won’t
have time to
apply your brakes ifethat vehicle
suddenly
stows or stops. Always leave enough
room up ahead to stop, even though you have
antblock brakes.
To Use Anti-Lock:
Don’t pump the brakes. Just hold the brake pedal down
and let anti-lock work for
you.
When you start your vehicle and begin to drive away,
you may hear a momentary motor or clicking noise. And
you may even notice that your brake pedal moves a little
while this is going on. This is the ABS system testing
itself. You may also hear this during a hard stop.
Traction Control System (Option)
Your vehicle may have a traction control system that
limits wheel spin. This is especially useful
in slippery
road conditions. The traction control system works at
low speeds only, such as when you accelerate from a stop. It
applies brake pressure
to an individual wheel
that the system senses is about to spin.
You may feel the system working, or you may notice
some noise, but this is normal.
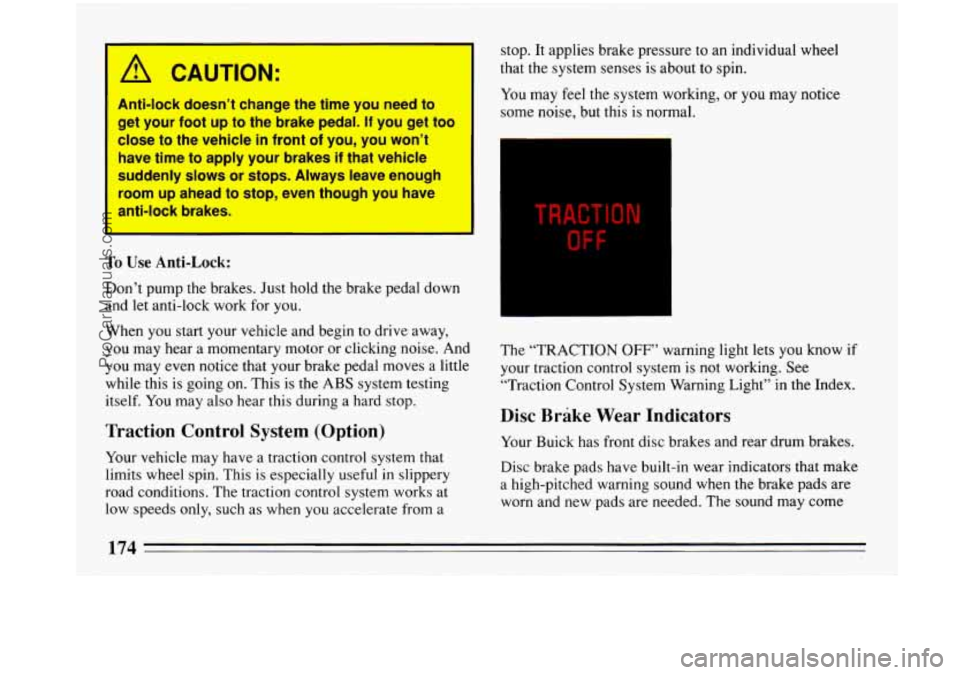
TRACTION
OFF
The “TRACTION OFF” warning light lets you know if
your traction control system is not working. See
“Traction Control System Warning Light” in the Index.
Disc Brake Wear Indicators
Your Buick has front disc brakes and rear drum brakes.
Disc brake pads have built-in wear indicators that make
a high-pitched warning sound when the brake pads are
worn and new pads are needed. The sound may come
174
ProCarManuals.com
Page 183 of 340
vehicle is skidding. Learn to recognize warning clues --
such as enough water, ice or packed snow on the road to
make a “mirrored surface”
-- and slow down when you
have any doubt.
Remember: Any anti-lock braking system (ABS) helps
avoid only the braking skid. Steer the way
you want to
go-
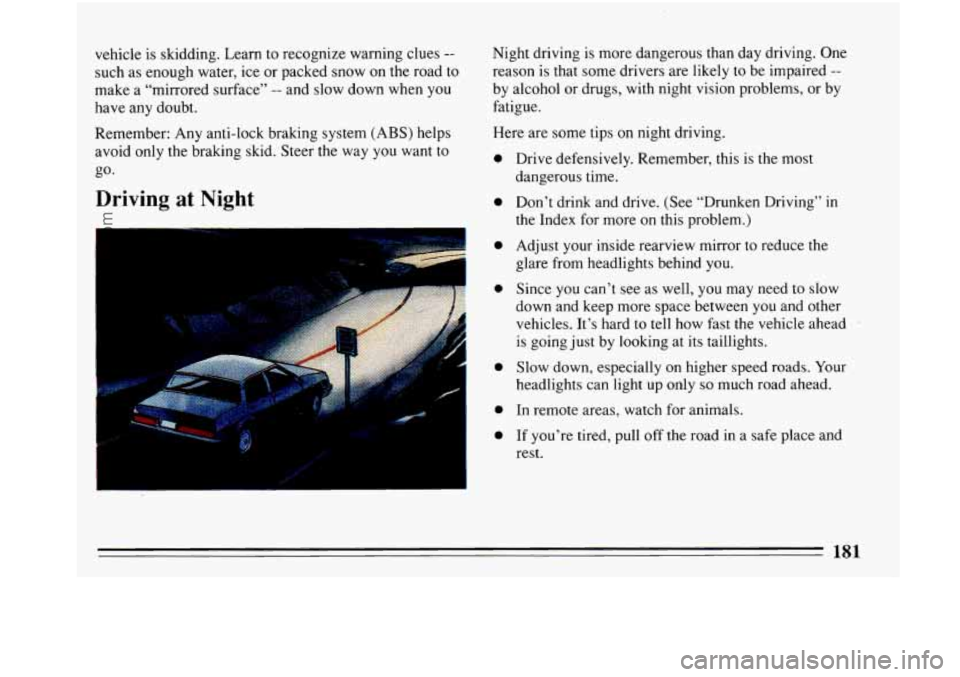
Driving at Night
...,.
.. -
Night driving is more dangerous than day driving. One
reason
is that some drivers are likely to be impaired --
by alcohol or drugs, with night vision problems, or by
fatigue.
Here are some tips on night driving.
0
0
0
c
0
0
0
Drive defensively. Remember, this is the most
dangerous time.
Don’t drink and drive. (See “Drunken Driving” in
the Index for more on this problem.)
Adjust your inside rearview mirror to reduce the
glare from headlights behind you.
Since you can’t see as well, you may need to slow
down and keep more space between you and other
vehicles. It’s hard
to tell how fast the vehicle ahead .
is going just by looking at its taillights.
Slow down, especially on higher speed roads. Your
headlights can light up only
so much road ahead.
In remote areas, watch for animals.
If you’re tired, pull off the road in a safe place and
rest.
ProCarManuals.com
Page 208 of 340
the trailer lights will also flash, telling other drivers
you’re about to turn, change lanes or stop.
When towing a trailer, the green arrows
on your
instrument panel will flash for turns even
if the bulbs on
the trailer are burned out. Thus, you may think drivers
behind you are seeing your signal when they are not. It’s
important to check occasionally to be sure the trailer
bulbs are still working.
Your vehicle has bulb warning lights. When you plug
trailer lights into your vehicle’s lighting system, its bulb warning lights may not
let you know if one of your
lights goes
out. So, when you have trailer lights plugged
in, be sure
to check your vehicle and trailer lights from
time to time to be sure they’re-all working. Once
you
disconnect the trailer lights, the bulb warning lights
again can
tell you if one of your vehicle lights is out.
Driving On Grades
Reduce speed and shift to a lower gear before you start
down a long
or steep downgrade. If you don’t shift
down, you might have to use your brakes
so much that
they would get hot and no longer work well. On
a long uphill grade, shift down to
“D or 3” (Drive)
and reduce your speed to around
45 mph (70 km/h) to
reduce the possibility of engine and transaxle
overheating.
Parking on Hills
You really should not park your vehicle, with a trailer
attached,
on a hill. If something goes wrong, your rig
could start to move. People can be injured, and both
your vehicle and the trailer can be damaged.
But
if you ever have to park your rig on a hill, here’s
how to do it:
1. Apply your regular brakes, but don’t shift into “F’”
(Park) yet.
2. Have someone place chocks under the trailer wheels.
3. When the wheel chocks are in place, release the
regular brakes until the chocks absorb the load.
4. Reapply the regular brakes. Then apply your parking
brake, and
then shift to “P’ (Park).
5. Release the regular brakes.
ProCarManuals.com
Page 270 of 340
1
Loading Your Vehicle
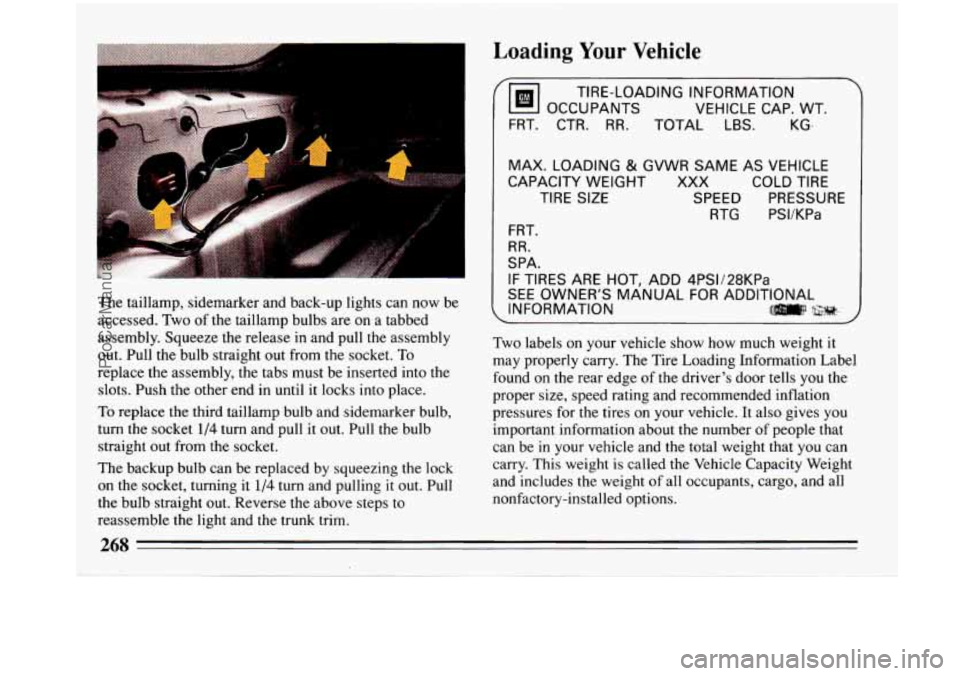
The taillamp, sidemarker and back-up lights can now be
accessed. Two of the taillamp bulbs are on a tabbed
assembly. Squeeze the release in and pull the assembly
out. Pull the bulb straight out from the socket. To
replace the assembly, the tabs must be inserted into the
slots. Push the other end in until it locks into place.
To replace the third taillamp bulb and sidemarker bulb,
turn the socket
1/4 turn and pull it out. Pull the bulb
straight out from the socket.
The backup bulb can be replaced by squeezing the lock
on the socket, turning it
l/4 turn and pulling it out. Pull
the bulb straight out. Reverse the above steps
to
reassemble the light and the trunk trim.
Tm OCCUPANTS
VEHICLE CAP. WT.
TIRE-LOADING INFORMATION
FRT. CTR.
RR. TOTAL LBS.
.~ ~~ . . ~
KG-
MAX. LOADING
& GVWR SAME AS VEHICLE
CAPACITY WEIGHT XXX COLD TIRE
TIRE SIZE SPEED PRESSURE RTG PSVKPa
FRT.
RR.
SPA.
IF TIRES ARE HOT, ADD 4PSV28KPa
SEE OWNER'S MANUAL FOR ADDITIONAL
INFORMATION
ll]m\:l .$$;;r#, : M
Two labels on your vehicle show how much weight it
may properly carry. The Tire Loading Information Label
found on the rear edge of the driver's door tells you the
proper size, speed rating and recommended inflation
pressures for the tires
on your vehicle. It also gives you
important information about the number
of people that
can be in your vehicle and the total weight that you can
carry. This weight
is called the Vehicle Capacity Weight
and includes the weight of all occupants, cargo, and all
nonfactory-installed options.
268
ProCarManuals.com
Page 289 of 340
Fuses and Circuit Breakers
The wiring circuits in your car are protected from short
circuits by a combination of fuses and circuit breakers.
This greatly reduces the chance of fires caused by
electrical problems.
If you ever have a problem on the road and don’t have a
spare fuse, you can “borrow” one of the correct value.
Just pick some feature
of your car that you can get along
without
-- like the radio or cigarette lighter -- and use its
fuse,
if it is of the value you need. Replace it as soon as
you can.
tl R
towards you. It will come down so the fuses can be
accessed.
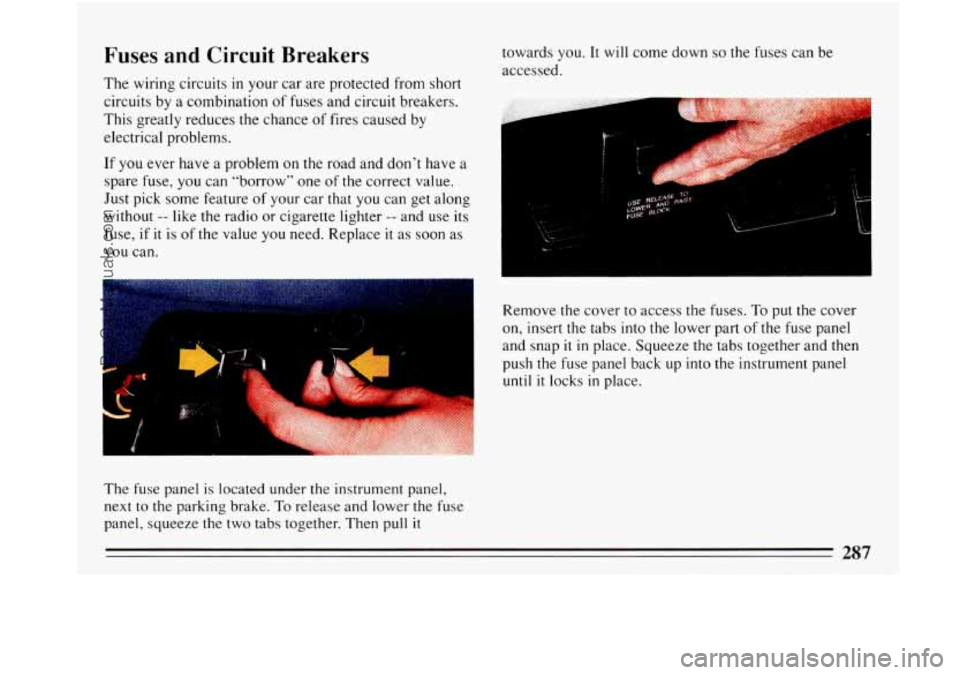
Remove the cover to access the fuses.
To put the cover
on, insert the tabs into the lower part of the fuse panel
and snap
it in place. Squeeze the tabs together and then
push the fuse panel back up into the instrument panel
until it locks in place.
The fuse panel
is located under the instrument panel,
next to the parking brake.
To release and lower the fuse
panel, squeeze
the two tabs together. Then pull it
287
ProCarManuals.com