1993 BUICK LESABRE maintenance
[x] Cancel search: maintenancePage 11 of 324
How to Use this Manual ................................................................
This part tells you how to use your manual and includes safety and vehicle damage warnings & symbols.
SeatsandSafetyBelts ..................................................................
This part tells you how to use your seats and safety belts properly.
Featuresandcontrols ..................................................................
This part explains how to start and operate your Buick.
Comfort Controls and Audio Systems .....................................................
This part tells you how to adjust the ventilation & comfort controls and how to operate your sound system.
YourDrivingandtheRoad ..............................................................
Here you’ll find helpful information and tips about the road and how to drive under different conditions.
ProblemsontheRoad ..................................................................
This part tells you what to do if you have a problem while driving, such as a flat tire or engine overheating.
ServiceandAppearanceCare ............................................................
Here the manual tells you how to keep your Buick running properly and looking good.
Maintenanceschedule ..................................................................
This part tells you when to perform vehicle maintenance and what fluids and lubricants to use.
Customer Assistance Information ........................................................
This part tells you how to contact Buick for assistance and how to get service publications. It also gives
you information on “Reporting Safety Defects.”
Index ........................................................................\
........
Here’s an alphabetical listing of almost every subject in this manual. You can use it to quickly find
something you want
to read.
(@ Table of Contents
9
10
13
57
117
145
195
229
277
297
305
Page 38 of 324

nitrogen gas used to inflate the air bag will have vented
into the passenger compartment, and the bag will be
deflated within seconds after
the collision. Nitrogen
makes up about
80% of the air we breathe and is not
hazardous.
As the nitrogen vents from the bag, small
particles are also vented into the passenger
compartment.
A CAUTION:
’
0
I’
Don’t attach anything to the steering wheel
pad.
It might injure the driver if the air bag
inflates.
The air bag
is designed to inflate only once.
After
it inflates, you’ll need some new parts
for your air bag system. If you don’t get
them, the air bag system won’t
be there to
help protect you
in another crash. A new
system will include the air bag module and
possibly other parts. The service manual
has information about the need to replace
other
parts.
Let only qualified technicians work on your
air-bag system. Improper service can mean
I
.‘that your air bag system won’t work
properly.
See your dealer fgr service.
Servicing Your Buick with the Air Bag
System
Please tell or remind anyone who works on your Buick
that
it has the air bag system. There are parts of the air
bag system
in several places around your vehicle. You
don’t want the system to inflate while someone is
working on your vehicle. The air bag system does not
need regular maintenance, Your Buick dealer and the
1993 LeSabre Service Manual have information about
the air bag system, including repair or disposal.
A CAUTION:
For up t0.2 minutes after the ignitlon key is
turned off and the battery disconnected, an air
bag can
still inflate during improper service. You
can be injured if you are close to an air bag when
it inflates. Be sure
to follow the proper service
procedures.
When electrical work is done under the hood or inside
your vehicle, the ignition should be
in “Lock” if
possible.
36
Page 149 of 324
I I
RAILROAD ADVANCE
CROSSING
A
BRIDGE
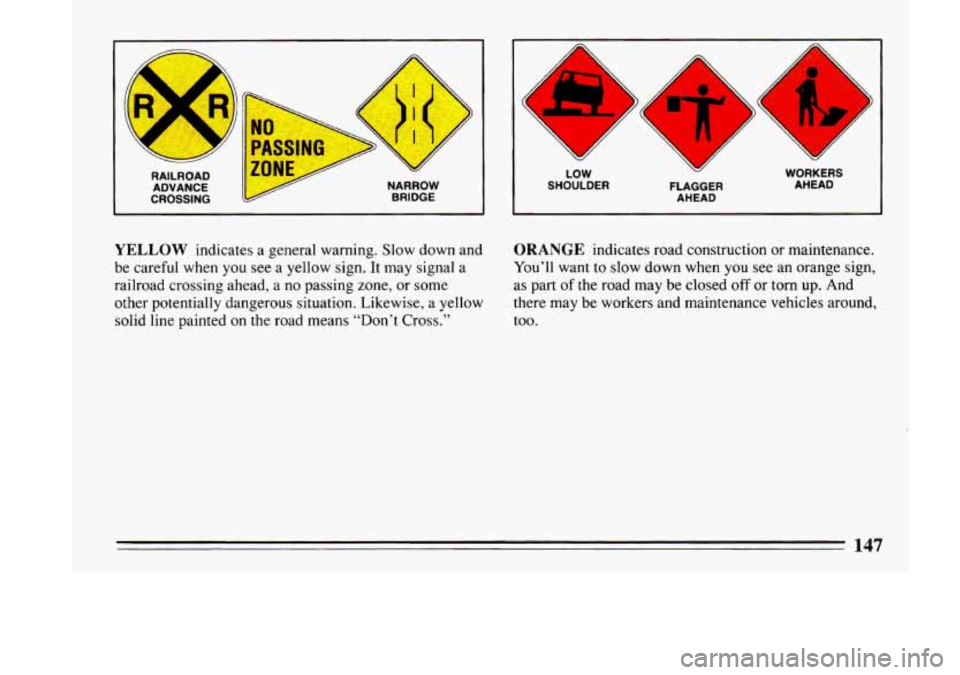
YELLOW indicates a general warning. Slow down and
be careful when you see a yellow sign. It may signal
a
railroad crossing ahead, a no passing zone, or some
other potentially dangerous situation. Likewise, a yellow
solid line painted on
the road means “Don’t Cross.”
L
u
LOW SHOULDER
WORKERS
AHEAD
FLAGGER
AHEAD
ORANGE indicates road construction or maintenance.
You’ll want to slow down when you see an orange sign,
as part
of the road may be closed off or torn up. And
there may be workers and maintenance vehicles around,
too.
147
Page 196 of 324

Parking on Hills
You really should not park your vehicle, with a trailer
attached, on a hill. If something goes wrong, your rig
could start to move. People can be injured, and both
your vehicle and the trailer can be damaged.
But if you
ever have to park your rig on a hill, here’s
how to do it:
1. Apply your regular brakes, but don’t shift into “P7’
(Park) yet.
2. Have someone place chocks under the trailer wheels.
3. When the wheel chocks are in place, release the
regular brakes until the chocks absorb the load.
4. Reapply the regular brakes. Then apply your parking
brake, and then shift to
“P” (Park).
5. Release the regular brakes.
When You Are Ready to Leave After
Parking
on a Hill
1. Apply your regular brakes and hold the pedal down
while you:
Start your engine;
Shift into a gear; and
0 Release the parking brake.
2. Let up on the brake pedal.
3. Drive slowly until the trailer is clear of the chocks.
4. Stop and have someone pick up and store the chocks.
Maintenance When Trailer Towing
Your vehicle will need service more often when you’re
pulling a trailer. See the Maintenance Schedule for more
on this. Things that are especially important in trailer
operation are automatic transaxle fluid (don’t overfill),
engine oil, belts, cooling system, and brake adjustment.
Each of these is covered
in this manual, and the Index
will help you find them quickly. If you’re trailering, it’s
a good idea to review these sections before you
start
your trip.
Check periodically to see that all hitch nuts and bolts are
tight.
194
Page 232 of 324
Service
Your Buick dealer knows your vehicle best and wants
you to be happy with it. We hope you’ll go to your
dealer for all your service needs. You’ll get genuine
GM
parts and GM-trained and supported service people.
We hope you’ll want to keep your
GM vehicle all GM.
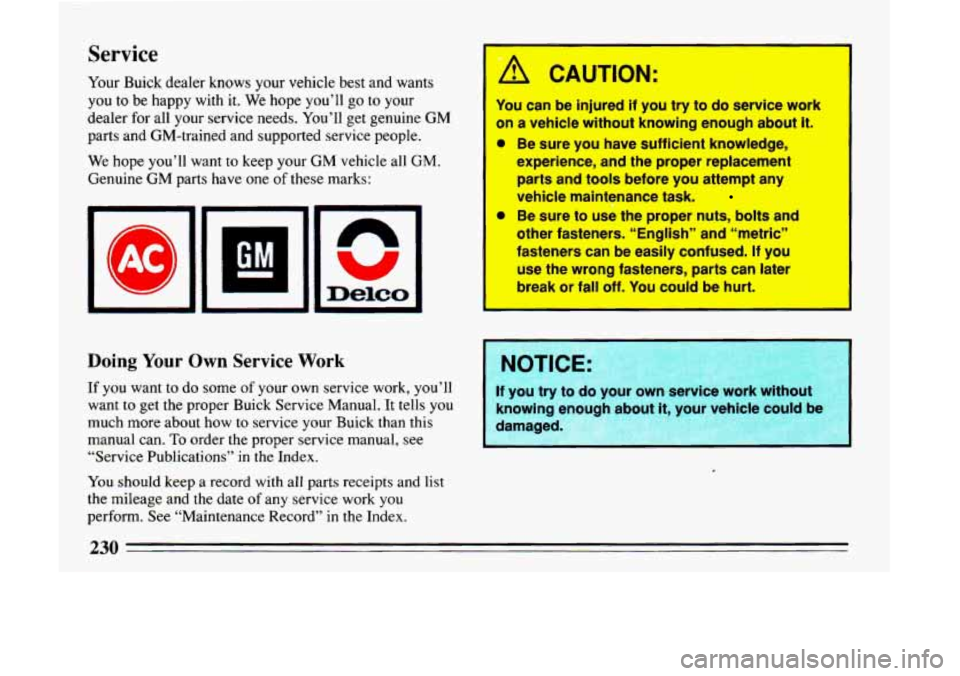
Genuine GM parts have one of these marks:
Doing Your Own Service Work
If you want to do some of your own service work, you’ll
want
to get the proper Buick Service Manual. It tells you
much more about how to service your Buick than this
manual can.
To order the proper service manual, see
“Service Publications” in
the Index.
You should keep
a record with all parts receipts and list
the mileage and the date
of any service work you
perform. See “Maintenance Record” in the Index.
A CAUTION:
You can be fnjured if you try to do service work
“I a vehicle without knowing enough about it.
Be sure you have sufficient knowledge,
expefience, and
the proper replacement
parts and tools before you attempt any
vehicle maintenance task.
Be sure to u& the proper nuts, t -ts and
other fasteners. “English” and “metric’#
fasteners can be easily confused. If you
use the wrong fastener%, parts can later
brea- lr fall off. You could be hurt.
1 NOTICE:
I
If you try to t your own service worK )U t
knowing enough about it, your vehicle could be
damaged.
._.
-
230
Page 243 of 324
Refer to the Maintenance Schedule to determine when
to replace the air filter.
See “Scheduled Maintenance Services” in the Index.
A CAUTION:
Operating the engine with the air cleaner off can
cause you or others
to be burned. The air cleaner
not only cleans the air, it stops flame if the
engine backfires.
If it isn’t there, and the engine
backfires, you could be burned. Don’t drive with
it off, and be careful working on the engine with
the
air cleaner off.
I
NOTICE:
If the air cleaner is off, a backfire can cause a
damaging engine fire. And, dirt can easily gel
into your engine, which wiil damage
it. Always
have the air cleaner
in place when you’re driving.
Automatic Transaxle Fluid
When to Check and Change:
A good time to check your automatic transaxle fluid
level
is when the engine oil is changed. Refer to the
Maintenance Schedule to determine when to change
your fluid. See “Scheduled Maintenance Services”
in
the Index.
How to Check:
Because this operation can be a little difficult, you may
choose to have this done at a Buick dealership Service
Department.
If you do it yourself, be sure to follow all the
instructions here,
or you could get a false reading on the
dipstick.
241
Page 245 of 324
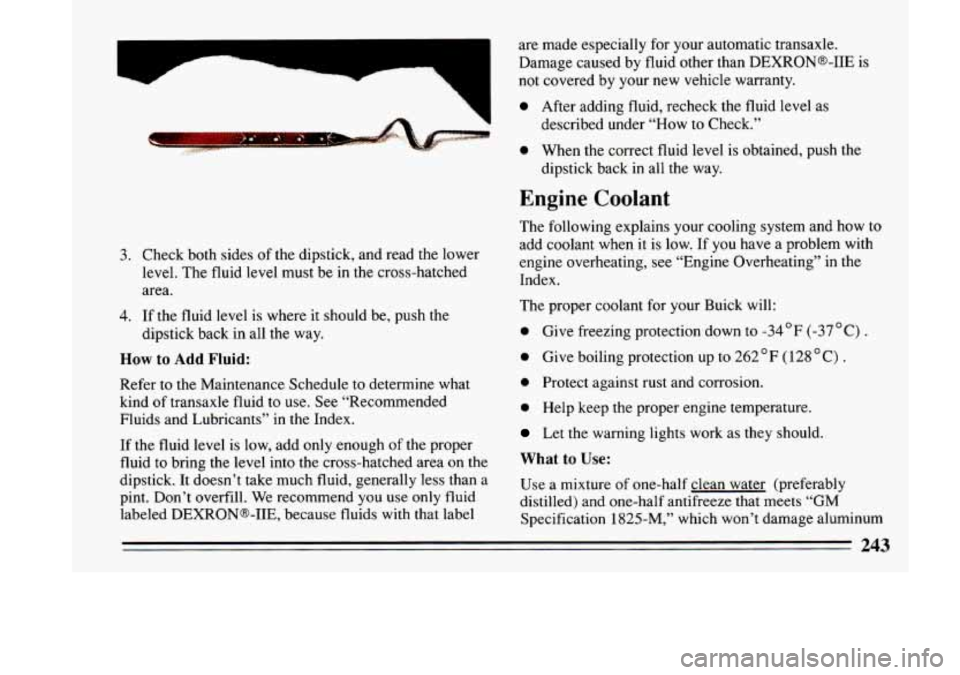
3.
4.
Check both sides of the dipstick, and read the lower
level. The fluid level must be in the cross-hatched
area.
If the fluid level is where it should be, push the
dipstick back in all the way.
How to Add Fluid:
Refer to the Maintenance Schedule to determine what
kind
of transaxle fluid to use. See “Recommended
Fluids and Lubricants” in the Index.
If the fluid level
is low, add only enough of the proper
fluid to bring the level into the cross-hatched area on the
dipstick. It doesn’t take much fluid, generally less than a
pint. Don’t overfill. We recommend you use only fluid
labeled DEXRONa-IIE, because fluids with that label are made especially for your automatic transaxle.
Damage caused by fluid other than DEXRONs-IIE
is
not covered by your new vehicle warranty.
0 After adding fluid, recheck the fluid level as
described under “How to Check.”
0 When the correct fluid level is obtained, push the
dipstick back in all the way.
Engine Coolant
The following explains your cooling system and how to
add coolant when it is low. If you have a problem with
engine overheating, see “Engine Overheating” in the
Index.
The proper coolant for your Buick will:
0 Give freezing protection down to -34OF (-37OC) .
0 Give boiling protection up to 262°F (128 “C) .
0 Protect against rust and corrosion.
0 Help keep the proper engine temperature.
Let the warning lights work as they should.
What to Use:
Use a mixture of one-half clean water (preferably
distilled) and one-half antifreeze that meets
“GM
Specification 1825-M,” which won’t damage aluminum
243
Page 248 of 324
Thermostat
Engine coolant temperature is controlled by a thermostat
in the engine coolant system. The thermostat stops the
flow of coolant through the radiator until the coolant
reaches a preset temperature.
When
you replace your thermostat, an ACS thermostat
is recommended.
Power Steering Fluid
:i
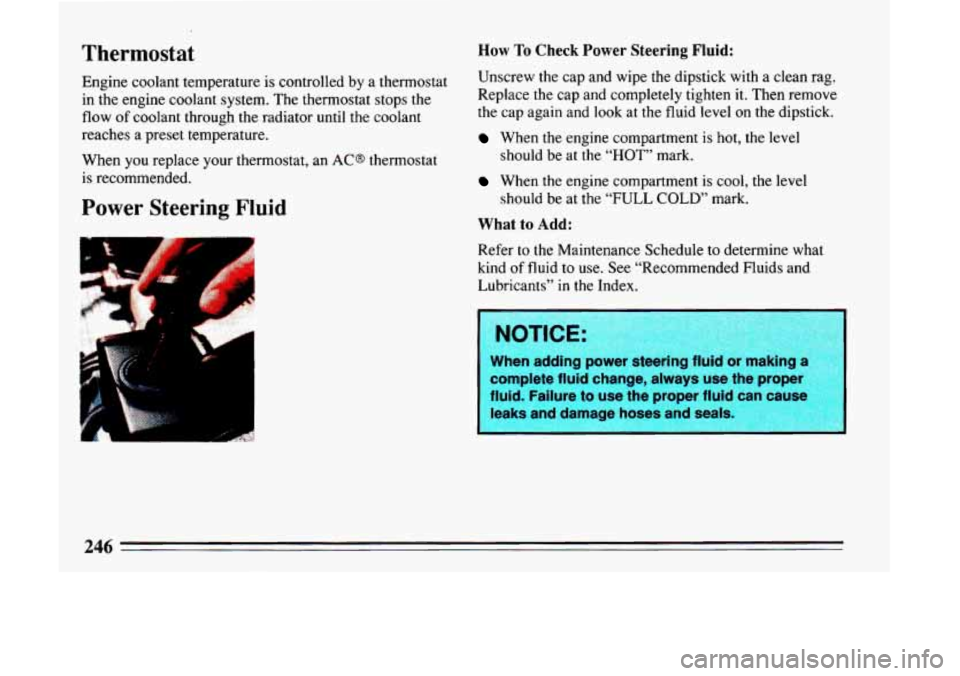
How To Check Power Steering Fluid:
Unscrew the cap and wipe the dipstick with a clean rag.
Replace the cap and completely tighten it. Then remove
the cap again and look at the fluid level on the dipstick.
When the engine compartment is hot, the level
When the engine compartment is cool, the level
What to Add:
Refer to the Maintenance Schedule to determine what
kind
of fluid to use. See “Recommended Fluids and
Lubricants” in the Index.
should be
at the
“HOT” mark.
should be at the
“FULL COLD” mark.
When adding power steering fli or making a
complete fluid change, always use the proper
fluid. Failure
to use the proper fluid can cause
leaks and damage hoses and seals.