1993 BUICK LESABRE bulb
[x] Cancel search: bulbPage 88 of 324
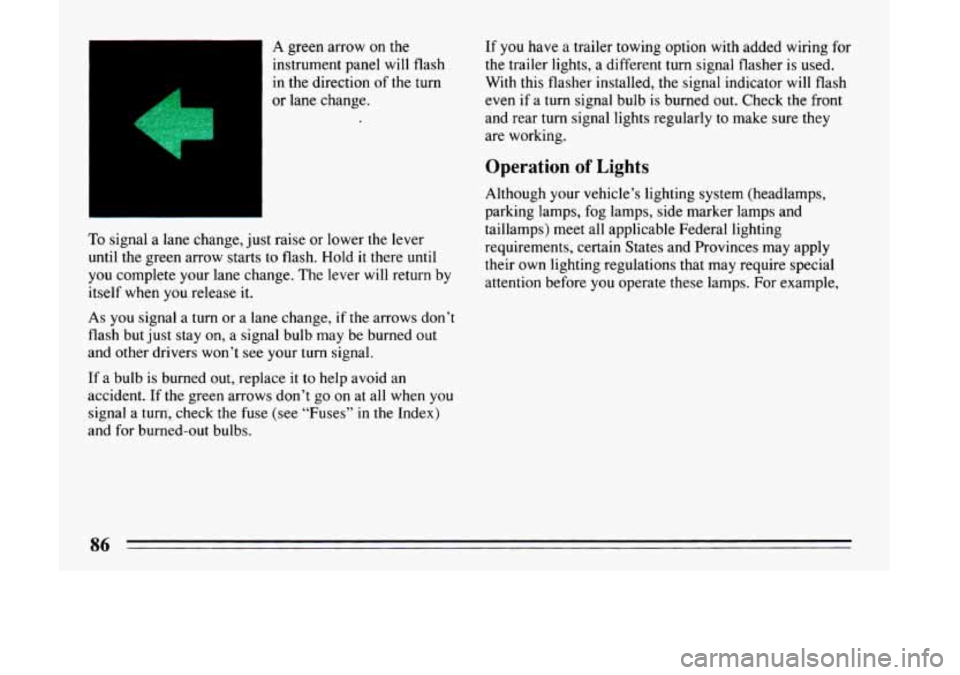
A green arrow on the
instrument panel will flash
in the direction
of the turn
or lane change. If
you have
a trailer towing option with added wiring for
the trailer lights, a different turn signal flasher is used.
With this flasher installed, the signal indicator will flash
even if a turn signal bulb is burned out. Check the front
and rear
turn signal lights regularly to make sure they
are working.
Operation of Lights
To signal a lane change, just raise or lower the lever
until the green arrow starts to flash. Hold
it there until
you complete your lane change. The lever will return by
itself when you release it.
As you signal a turn or a lane change, if the arrows don’t
flash
but just stay on, a signal bulb may be burned out
and other drivers won’t see your turn signal.
If a bulb is burned out, replace it
to help avoid an
accident. If the green arrows don’t
go on at all when you
signal a turn; check the fuse (see “Fuses” in the Index)
and for burned-out bulbs. Although your vehicle’s lighting system
(headlamps,
parking lamps, fog lamps, side marker lamps and
taillamps) meet all applicable Federal lighting
requirements, certain States and Provinces may apply
their own lighting regulations that may require special
attention before you operate
these lamps. For example,
Page 115 of 324
2. If you’re “idling” at a stop sign, the light may blink
3. If you make a hard stop, the light may come on for a
on and then off.
moment.
But, when this light comes
on and stays on, it means
oil isn’t going through your engine properly.
You could
be low on oil, or you might have some other oil
problem.
I
A CAUTION:
Don’t keep driving if the 001 pressure is low. If
you do, your engine can become so hot that it
catches fire. You or others could be burned.
Check your oil
as soon as possible and have
your vehicle serviced.
I
I
problems can ed
your warranty. I
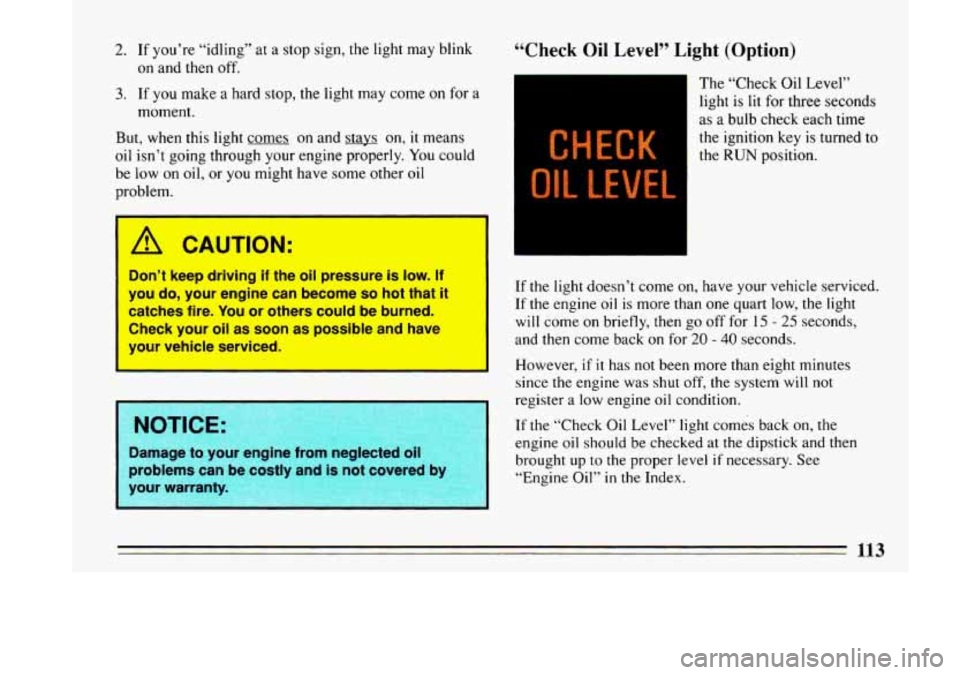
‘‘Check Oil Level” Light (Option)
CHECK
OIL LEVEL.,
The “Check Oil Level”
light is lit for three seconds
as a bulb check each time
the ignition key is turned to
the RUN position.
If
the light doesn’t come on, have your vehicle serviced.
If the engine
oil is more than one quart low, the light
will come
on briefly, then go off for 15 - 25 seconds,
and then come back
on for 20 - 40 seconds.
However,
if it has not been more than eight minutes
since the engine was
shut off, the system will not
register a low engine oil condition.
If the “Check Oil Level” light comes back on, the
engine oil should be checked at the dipstick and then
brought up
to the proper level if necessary. See
“Engine Oil”
in the Index.
Page 116 of 324
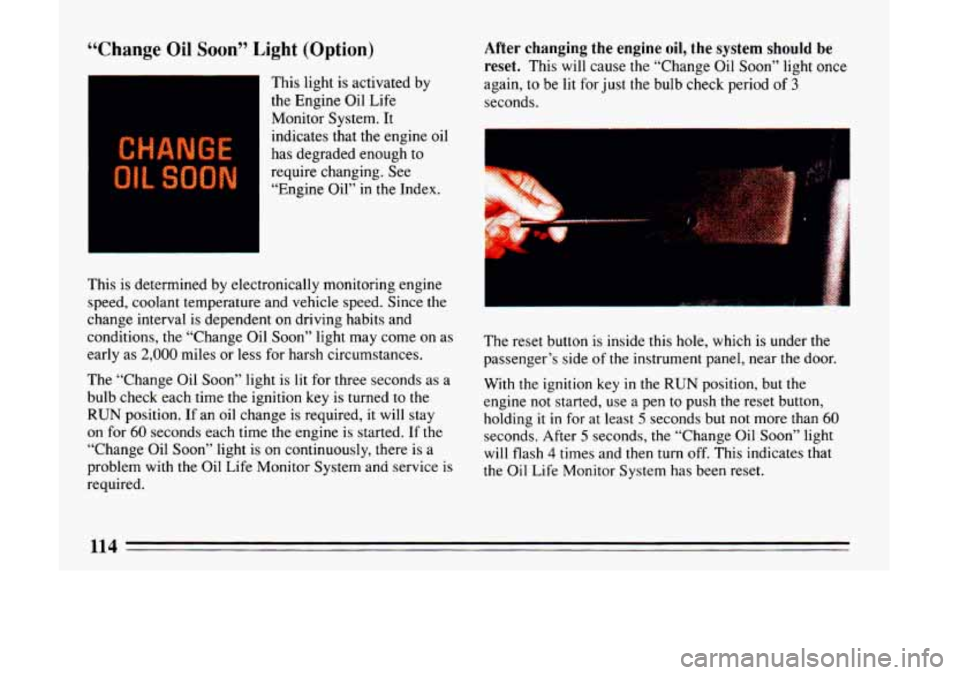
“Change Oil Soon’’ Light (Option)
This light is activated by
the Engine Oil Life
Monitor System. It
indicates that the engine oil
has degraded enough to
require changing. See
“Engine Oil”
in the Index.
After changing the engine oil, the system should be
reset.
This will cause the “Change Oil Soon” light once
again, to be lit for just
the bulb check period of 3
seconds.
This
is determined by electronically monitoring engine
speed, coolant temperature and vehicle speed. Since the
change interval is dependent on driving habits and
conditions, the “Change Oil Soon” light may come on as
early as
2,000 miles or less for harsh circumstances.
The “Change Oil Soon” light is lit for three seconds as a
bulb check each time the ignition key is turned to
the
RUN position. If an oil change is required, it will stay
on for 60 seconds each time the engine is started. If the
“Change Oil Soon” light is on continuously, there is a
problem with the Oil Life Monitor System and service
is
required. The reset button
is inside this hole, which is under the
passenger’s side of the instrument panel, near the door.
With the ignition key in
the RUN position, but the
engine not started, use a pen
to push the reset button,
holding
it in for at least 5 seconds but not more than 60
seconds. After 5 seconds, the “Change Oil Soon” light
will flash
4 times and then turn off. This indicates that
the Oil Life Monitor System has been reset.
1lA
I
Page 195 of 324
Following Distance
Stay at least twice as far behind the vehicle ahead as you
would when driving your vehicle without a trailer. This
can help
you avoid situations that require heavy braking
and sudden turns.
Passing
You’ll need more passing distance up ahead when
you’re towing a trailer. And, because you’re a good deal
longer, you’ll need to go much farther beyond the
passed vehicle before you can return
to your lane.
Backing Up
Hold the bottom of the steering wheel with one hand.
Then,
to move the trailer to the left, just move that hand
to the left. To move the trailer to the right, move your
hand
to the right. Always back up slowly and, if
possible, have someone guide you.
Making nrns
When you’re turning with a trailer, make wider turns
than normal. Do this
so your trailer won’t strike soft
shoulders, curbs, road signs, trees, or other objects.
Avoid jerky or sudden maneuvers. Signal well
in
advance.
Turn Signals When Towing a Trailer
When you tow a trailer, your vehicle has to have a
different turn signal flasher and extra wiring. The green
arrows
on your instrument panel will flash whenever
you signal a turn
or lane change. Properly hooked up,
the trailer lights will also flash, telling other drivers
you’re about to turn, change lanes or stop.
When towing a trailer, the green arrows on your
instrument panel will flash for turns even if the bulbs on
the trailer are burned out.
Thus, you may think drivers
behind you are seeing your signal when they are
not. It’s
important to check occasionally to be sure the trailer
bulbs are still working.
Driving On Grades
Reduce speed and shift to a lower gear before you start
down a long or steep downgrade. If you don’t shift
down,
you might have to use your brakes so much that
they would get hot and no longer work well.
On a long uphill grade, shift down to “D” (Drive) and
reduce your speed to around
45 mph (70 km/h) to
reduce the possibility of engine and transaxle
overheating.
193
Page 231 of 324

@ Part 6 Service & Appearance Lare
Here you will find information about the care of your Buick . This part begins with service and fuel information. and
then it shows how to check important fluid and lubricant level\
s
. There is also technical information about your
vehicle. and a section devoted to its appearance care .
Part 6 includes:
ServiceTips
......................................................................
Fuel ........................................................................\
.....
HoodRelease .....................................................................
Engineoil ....................................................................... \
AirFilter ........................................................................\
.
Automatic Transaxle Fluid ............................................................
Enginecoolant ....................................................................
Power Steering Fluid ...............................................................
Windshield Washer Fluid ............................................................
Brakes ........................................................................\
...
Battery ........................................................................\
..
BulbReplacement .................................................................
Tires ........................................................................\
.....
Appearancecare ..................................................................
Vehicle Identification Number (VIN) ..................................................
FusesandCircuitBreake ............................................................
Capacities and Specifications .........................................................
LoadingYourVehicle ...............................................................
230
231
234
236
240
241
243
246 247
248
249
250
253
255
262
269
270
275
229
Page 252 of 324
A CAUTION:
Batteries have acid that can burn you and gas
that can explode. You can be badly hurt if you
aren’t careful. See
“Jump Starting” in the Index
for tips on working around a battery without
getting hurt.
I
Contact your dealer to learn how to prepare your vehicle
for longer storage periods.
Halogen Bulbs
1 6!& CAUTION:
Halogen bulbs have pressurized gas inside and
can burst if you drop or scratch the bulb. You or
others could be injured. Take special careowhen
handling and disposing of halogen bulbs.
I
Headlamp Bulb Replacement
a,
--.
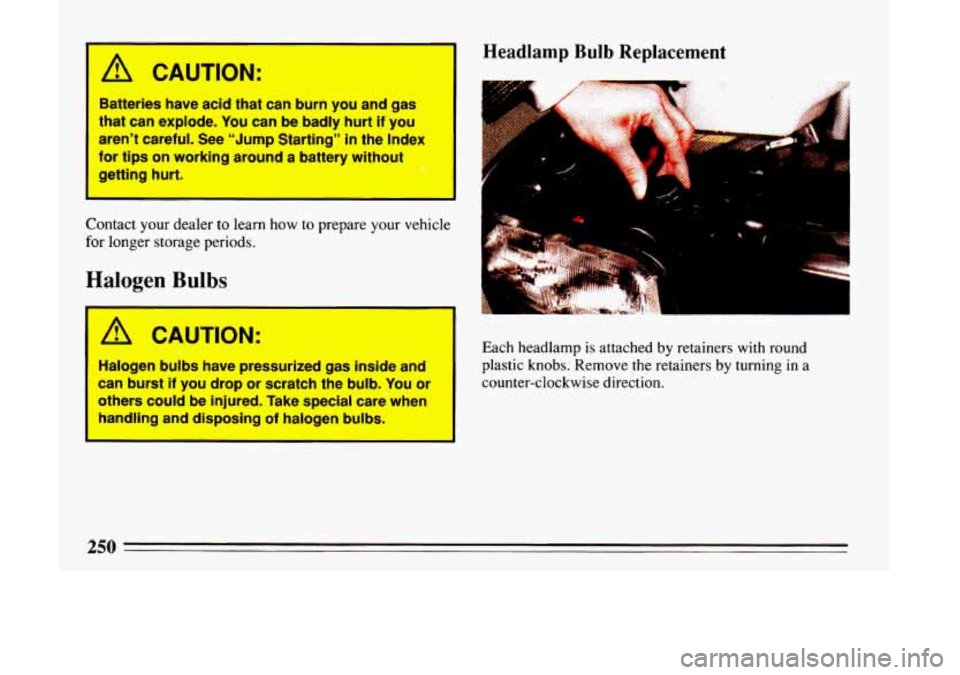
Each headlamp is attached by retainers with round
plastic knobs. Remove the retainers
by turning in a
counter-clockwise direction.
250
Page 253 of 324
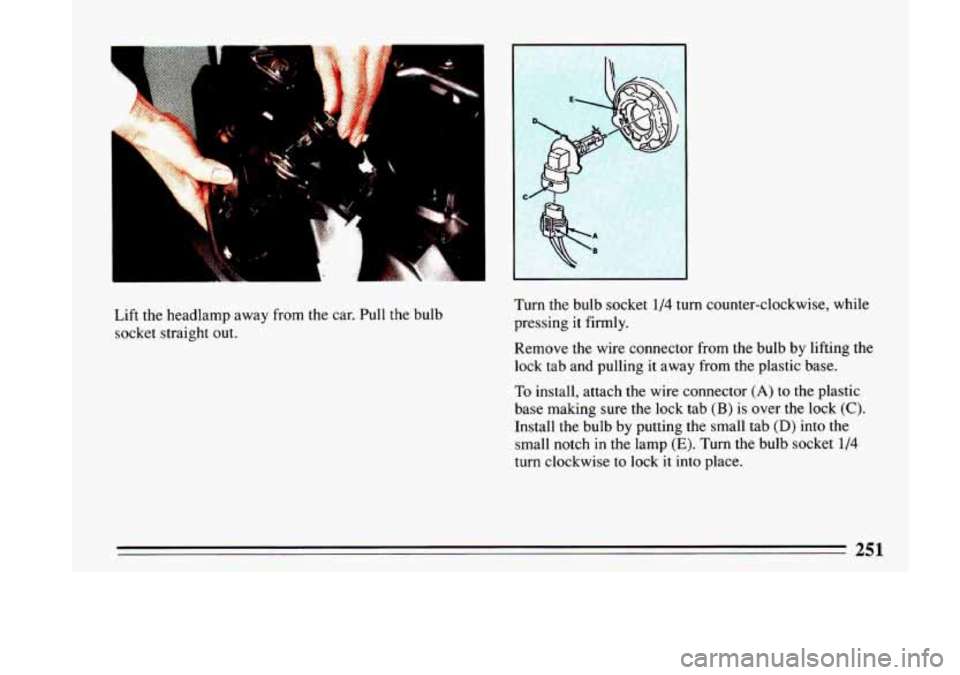
Lift the headlamp away from the car. Pull the bulb
socket straight out. Turn
the bulb socket 1/4 turn counter-clockwise7 while
pressing
it firmly.
Remove
the wire connector from the bulb by lifting the
lock tab and pulling it away from the plastic base.
To install, attach the wire connector (A) to the plastic
base making sure the lock tab
(B) is over the lock (C).
Install the bulb by putting the small tab (D) into the
small notch in the lamp
(E). Turn the bulb socket 1/4
turn clockwise to lock it into place.
251
Page 254 of 324
Taillamp Bulb Replacement
t -- .
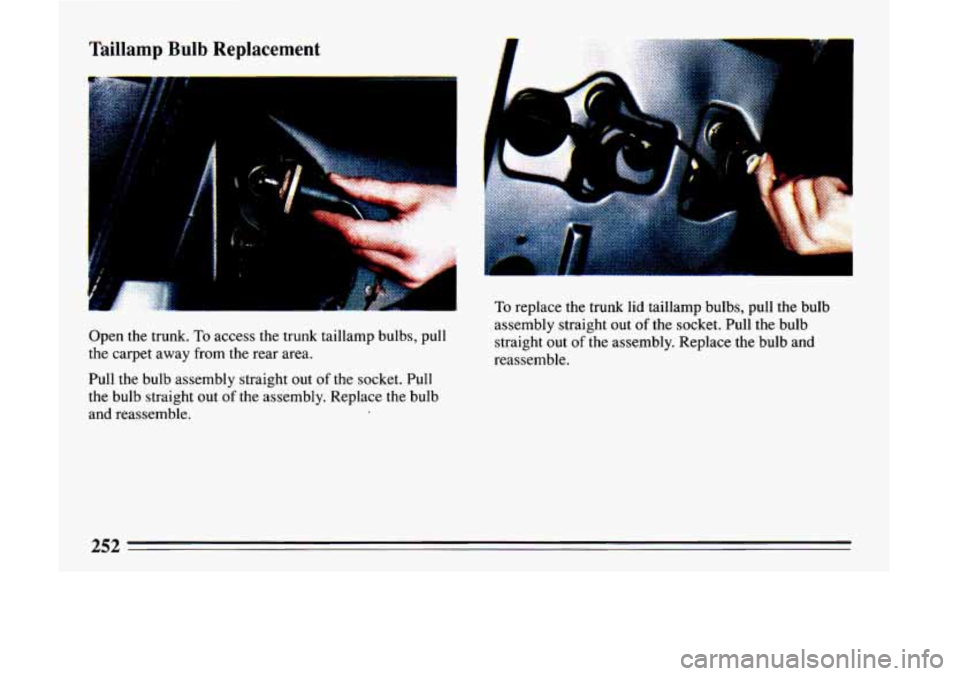
Open the trunk. To access the trunk taillamp bulbs, pull
the carpet away from the rear area.
Pull the bulb assembly straight out
of the socket. Pull
the bulb straight out of the assembly. Replace the bulb
and reassemble.
To replace the trunk lid taillamp bulbs, pull the bulb
assembly straight out
of the socket. Pull the bulb
straight
out of the assembly. Replace the bulb and
reassemble.
3C3