Page 248 of 324
Front Turn and Parking Bulb and/or Side
Marker Bulb Replacement
1. Raise the hood.
2. Insert a screwdriver into the loop of the spring, which
3. Pull the spring to the rear and slightly toward the can be seen just behind
the bulb assembly.
outside
of the car until the detent releases from the
notch in the headlight mounting frame.
4. The bulb assembly is now loose. Pull it forward until
To replace the turn/park bulb:
the bulb assembly can be reached.
1. Unsnap, the wire connector from the bulb assembly.
2. Turn the bulb counterclockwise to remove it.
3. Put -in the
new bulb and turn it clockwise.
4. Snap the wire connector onto the bulb assembly.
246
ProCarManuals.com
Page 249 of 324

To replace the side marker bulb:
1. Remove the socket by turning it counterclockwise and
pulling it straight out.
socket.
2. Remove the bulb by pulling it straight out of the
3. Insert the new bulb by pressing it straight into the
socket.
4. Insert the socket by pressing it straight into the bulb
hole and turning it clockwise.
1
To reinstall the lamp:
1. Guide the latch spring
through the opening
the metal inner panel.
a 2. Engage the twoblades
on the lamp into the slots
on the headlamp while
engaging the
two pins at
the rear
of the lamp
opening into the sockets
on the rear
of the lamp.
The lamp is now in
place.
3. Insert a screwdriver into the loop on the latch spring.
Pull the spring to the rear and slightly center
of the
vehicle until the detent engages into the notch.
Taillight Bulb Replacement (COUP sedan)
For the type of bulb, see the Index under “Replacement
Bulbs
I’
Replacing bulbs in the taillight housing is very difficult,
and we recommend that you
see your dealer when you
need a bulb replaced.
ProCarManuals.com
Page 250 of 324
aillight Bulb Replacement (Wagon)
For the type of bulb, see the Index under “Replacement
Bulbs
r’
1. Open the liftgate.
2. Remove the three Phillips head screws.
3. Pull the taillight housing away from the body of the
vehicle.
4. Press the bulb housing release lever and turn the
housing
yS turn counterclockwise to remove it.
5. To remove the bulb, push in and rotate it
counterclockwise.
6. Reverse all steps to reassemble the taillight.
248
3
ProCarManuals.com
Page 261 of 324

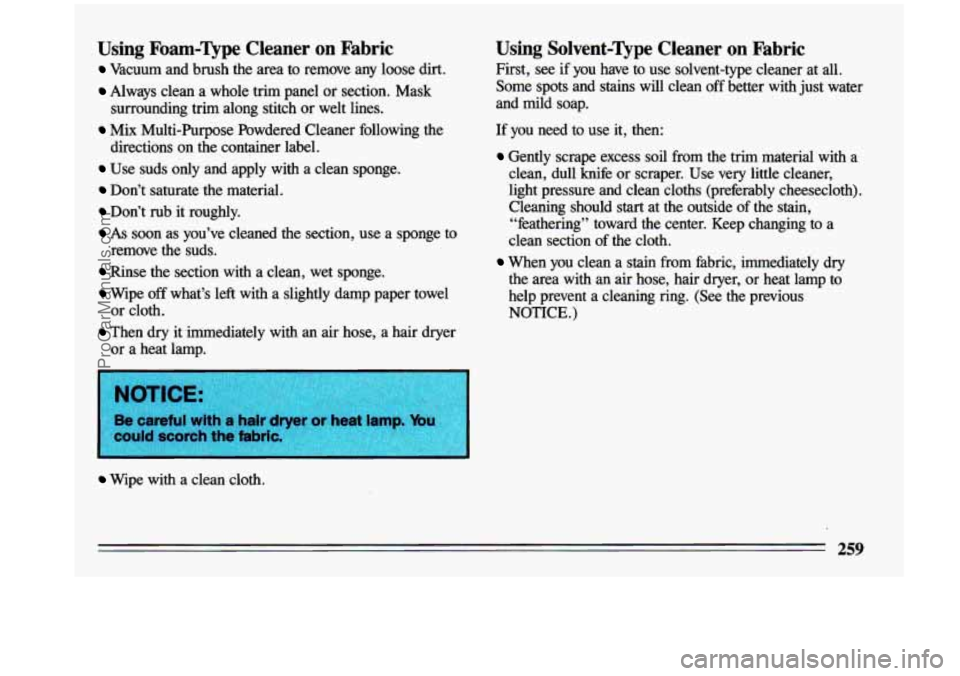
Using Foam-Qpe Cleaner on Fabric
Vacuum and brush the area to remove any loose dirt.
Always clean a whole trim panel or section. Mask
Mix Multi-Purpose Powdered Cleaner following the
Use suds only and apply with a clean sponge.
Don’t saturate the material.
Don’t rub it roughly.
As soon as you’ve cleaned the section, use a sponge to
remove the suds.
Rinse the section with a clean, wet sponge.
Wipe off what’s left with a slightly damp paper towel
Then dry it immediately with an air hose, a hair dryer
surrounding
trim along stitch or welt lines.
directions on the container label.
or cloth.
or a heat lamp.
Wipe with a clean cloth.
Using Solvent=Qpe Cleaner on Fabric
First, see if you have to use solvent-type cleaner at all.
Some
spots and stains will clean off better with just water
and mild soap.
If you need to use it, then:
Gently scrape excess soil from the trim material with a
clean, dull knife or scraper. Use very little cleaner,
light pressure and clean cloths (preferably cheesecloth).
Cleaning should start at the outside
of the stain,
“feathering” toward the center. Keep changing to a
clean section of the cloth.
When you clean a stain from fabric, immediately dry
the area with an air hose, hair dryer, or heat lamp to
help prevent a cleaning ring. (See the previous
NOTICE.)
259
ProCarManuals.com
Page 262 of 324

Special Cleaning Problems
Greasy or Oily Stains: Like grease, oil, butter,
margarine, shoe polish, coffke with cream, chewing gum, cosmetic creams, vegetable
oils, wax crayon, tar
and asphalt.
Carefully scrape off excess stain.
Then follow the solvent-type instructions above.
Shoe polish, wax crayon, tar and asphalt will stain if
left on
a vehicle seat fabric. They should be removed as
soon as possible. Be careful, because the cleaner will
dissolve them and may cause them to bleed.
Non-Greasy Stains: Like catsup, coffee (black), egg,
fruit, fruit juice,
milk, soft drinks, wine, vomit, urine
and
blood.
Carefully scrape off excess stain, then sponge the soiled
area with cool water.
If a stain remains, follow the foam-type instructions
above.
If an odor lingers after cleaning vomit or urine, treat
the area
with a watedbaking soda solution: 1 teaspoon
(5 ml) of baking soda to 1 cup (250 ml) of lukewarm
water.
Finally, if needed, clean lightly with solvent-type
cleaner.
Combination Stains: Like candy, ice cream,
mayonnaise, chili sauce and unknown
stains.
Carefully scrape off excess stain, then clean with cool
If a stain remains, clean it with solvent-type cleaner.
Cleaning Vinyl
Just use warm water and a clean cloth. water and allow to dry.
Rub with a
clean, damp cloth to remove dirt. You may
have to do it more than once.
Things like tar, asphalt and shoe polish will stain if you
don't get them
off quickly. Use a clean cloth and
solvent-type vinyl/leather cleaner.
Cleaning the Top of the Instrument Panel
Use only mild soap and water to' clean the top surfaces of
the instrument panel. Sprays containing silicones or
waxes may cause annoying reflections
in the windshield
and even make it difficult to see through the windshield
under certain conditions.
260
ProCarManuals.com
Page 268 of 324

2
Fuses & Circuit Breakers
The wiring circuits in your vehicle are protected from
short circuits by a combination
of fuses, circuit breakers,
and fusible thermal links
in the wiring itself. This greatly
reduces the chance
of fires caused by electrical problems.
The fuse panel is located inside the glove box, on the left side.
To change a fuse, open the glove box. Pull down on the
fuse panel latch and open
the door. Pull the fuse straight
out.
To identify and check fuses, refer to the Fuse Usage chart.
GOOD
FUSE
7
GM PART NO. - ' RATING ' '2 COLOR I
12004003 ................... 3 AMP VIOLET
12004005
................... 5 AMP TAN
12004006
... ..... 7.5 AMP BROWN
12004007
... , ..... 10 AMP RED
12004008 ... ... 15 AMP LIGHT BLUE
12004009
... ... 20 AMP YELLOW
12004010
... ... 25 AMP WHITE
12004011
... ... 30 AMP LIGHT GREEN I
Look at the silver-colored band inside the fuse. If the
band is broken or melted, replace the fuse. Be sure you replace a bad fuse with a new one
of the identical size
and rating.
266
ProCarManuals.com
Page 269 of 324

Fuse Usage
I
I
Fuse Rating
(AMPS)
A
B
C
D E
15
20
10
10
15
ECM; MAF Sensor (3300 Engine only)
ECM Injectors/Coil
Eng. A/C Relay; EGR Solenoid; Canister Purge Solenoid
Fan/Elect; Generator; DRL Module
Turn Signal Flasher; Back-up Lights;
TruWLiftgate Release
Fuse
F
G
H
I
J
K
L
M
Rating
(AMPS)
10
20
20
10
20
20
30"
5
Circuitry N
0
P
Q
10
30"
25
20
15
15
15
Circuitry
Supplemental Inflatable Restraint (Air Bagj
Tail; Park; Side Marker; License Plate; Stop/Turn Signal
Heater/Air Conditioner
Gages; Warning Indicators; Torque Convert
Clutch; Audible Warning System; Computer Command Control; Trunk Release; Brake
Warning Indicator; Rear Defog Switch;
Speedometer
Stop Lights; Hazard Flashers
Interior, Underhood, Courtesy, I/P, Trunk Lights; Door
Locks; Horn Relay, Passive Restraint
System, Deck Lid Release, Power Antenna
Liftgate Release; Power Windows
Illumination for: I/P, Radio,
Pod Lights,
Ashtray, Console Light, Heater-A/C Control,
Defog Switch, Headlight Switch
Radio, Cruise Control
Seats, Door
Locks, Rear Defog
Windshield Wipe/Wash
Cigarette Lighter
Safety Belt/Chirne (ICAM) Module (Located
behind the fuse block, above the hush panel.)
Remote Lock Control (Located behind the fuse
block, above the hush panel.) Fuel Pump, ECM (Located under the hood.)
*Circuit Breaker
267
ProCarManuals.com
Page 270 of 324
Headlights
The headlight wiring is protected by a circuit breaker in
the light switch. An electrical overload will cause the
lights
to go 'on and off or, in some cases, to remain off. If
this happens, have your headlight system checked right
away.
Windshield Wipers
The windshield wiper motor is protected by a circuit
breaker and a fuse.
If the motor overheats due to heavy
snow, etc., the wiper will
stop until the motor cools. If
the overload is caused by some electrical problem, have it
fixed.
Power Windows and Other Power Options
Circuit breakers in the.fuse panel protect the power
windows and other power accessories. When the current
load is
too heavy, the circuit breaker opens and closes,
protecting the ,circuit until the problem
is fixed.
Cigarette Lighter Fuse and Safety Belt Fuse
These fuses are located behind the glove box. The fuse
holders are
taped together with gray tape.
268
ProCarManuals.com