1992 VOLKSWAGEN TRANSPORTER steering wheel
[x] Cancel search: steering wheelPage 5 of 164

Downloaded from www.Manualslib.com manuals search engine
CONTENTS
DASHBOARD AND
CONTROLS
Layout
4
i\='-:ng
lamps 6
CONTROLS
AND
EQUIPMENT
•
e.s. Central locking system 7, 8
I:cs, Tailgate 9, 10
I'I
~g doors 11
..
-^ows, Mirrors 12, 13
Sea: belts 15 5re:y for children 18
-ead restraints 19
Seats
20 _:ariing/sleeping surface 26
__ggage
compartment cover 27 __cgage compartment/load surface ... 28
-edals, Brakes 29 Vanual gearbox 31
--tomatic gearbox 32
gnition
lock 36
Starting / Stopping the engine .... 37, 38 "struments 40
.'.
arning lamps 47
Switches 50
~yn signal and dip lever 52
3'uise
control system 53 .'.'indscreen wiper 54
-eating and ventilation 55
Air
conditioner 57
Recirculating air switch 61
Auxiliary heater 63
Additional
water heater 67
Sun roof, Sliding/tilting roof 70, 71
nterior lights, Sun visors 72, 73
Ashtray, Cigarette lighter 73
-oof
rack 75
DRIVING
TIPS
The first 1500 km - and afterwards ... 76 Driving safely 78
Driving economically and
ecologically
79
Trailer towing 81
GENERAL
MAINTENANCE
Filling the tank, Fuel 85, 86
Care of car, Maintenance 88, 93 Bonnet, Engine compartment 94, 95
Engine oil, Gearbox oil 96, 99
Air
cleaner 100 Power assisted steering 100
Cooling
system 101
Brake fluid 104
Battery 106
Windscreen washer system 108
Wheels 110
Arduous operating conditions 115
Winter driving 116
Accessories, modifications and
renewal of parts 117
Mobile
telephones and two way
radios 117
DO-IT-YOURSELF
First
aid kit, Warning triangle 118
Vehicle tools 118 Spare wheel/changing wheel ... 119, 120
Fuses
122
Changing
bulbs 124
Adjusting/masking headlights .. 128,129
Headlights 129
Installing radio 129
Emergency starting 130
Tow starting/towing 132
Lifting vehicle 134
TECHNICAL
DESCRIPTION
Engine 136
Emission control system 137
Activated charcoal filter '38 Power flow '39
Steering, Axles 139 Brakes, Body -139,
1
AC
Environment compatibility 140
TECHNICAL
DATA
Engine 141
Performance 142
Fuel consumption 143
Spark plugs 145
V-belts 145
Wheels,
Tyre
pressures 146, 147
Weights,
Trailer weights 148, 151 Dimensions 152
Capacities 153
Vehicle identification data 154
SPECIAL
INFORMATION
Adjusting the brake pressure regulator 155
ALPHABETICAL
INDEX
Alphabetical index 156
CHECKS
WHEN
FILLING
THE TANK
Overview 160
3
www.vwT4camper.info - a useful website for owners and enthusiasts of VW T4 Transporter Campervans
Page 22 of 164
Downloaded from www.Manualslib.com manuals search engine
CONTROLS AND
EQUIPMENT
Seats
in cab
The correct adjustment
of the
seats
is im
portant
for:
- reaching
the
controls safely and quickly
- relaxed low-fatigue body position
- maximum protection from the seat belts. The
front
seats should
be
adjusted before
putting
on the
seat belt.
After every fore and
aft
adjustment
of the
seat
check,
by
jerking
with
the
body,
that
the retainers are properly engaged.
[B70-160J
Driver and front passenger
seats
To
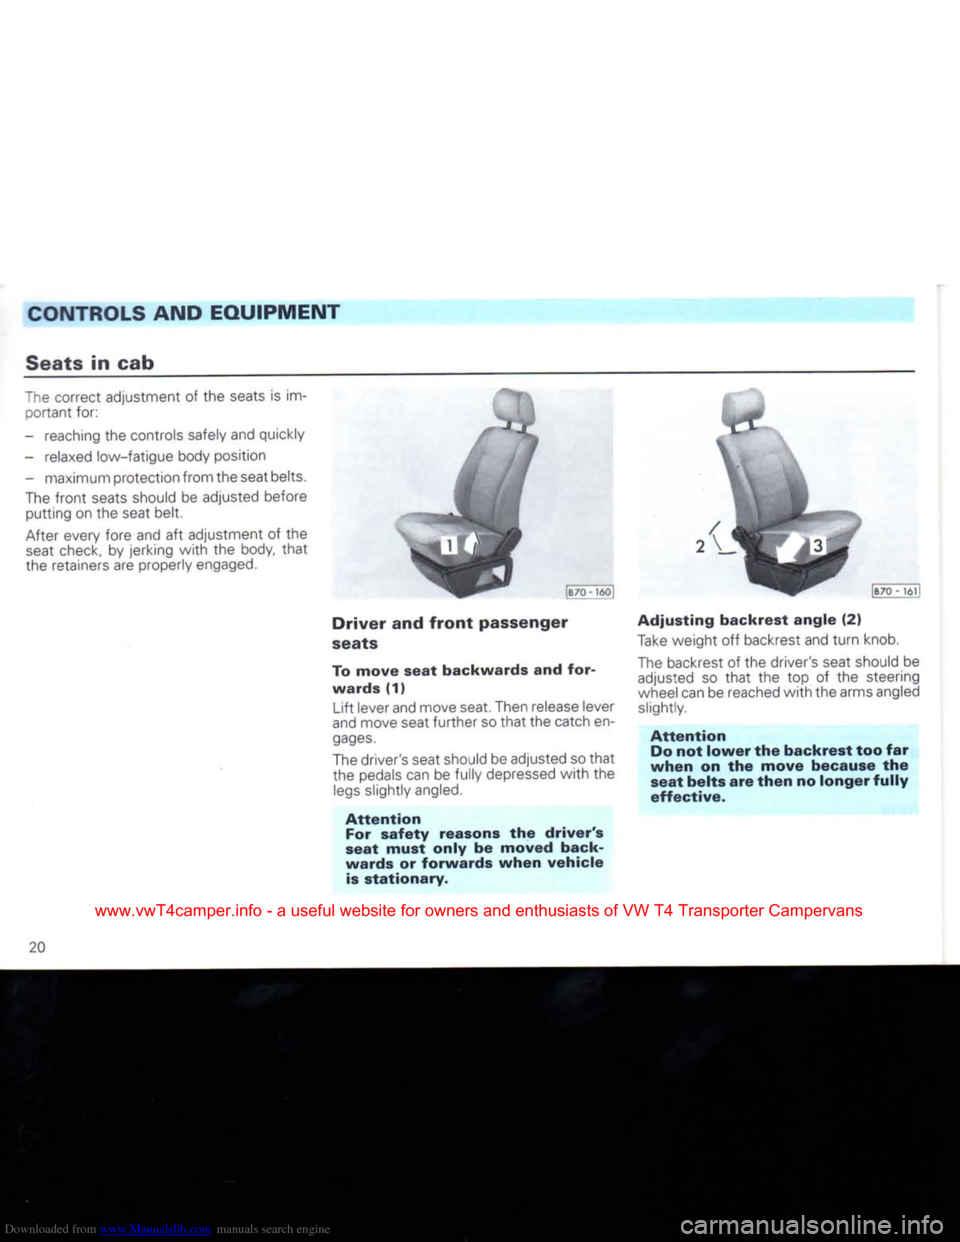
move seat backwards and for wards (1)
Lift
lever and move seat. Then release lever
and move seat
further
so
that
the catch en
gages.
The driver's seat should be adjusted so
that
the pedals can
be
fully depressed
with
the
legs
slightly angled.
Attention
For
safety reasons the driver's
seat must only be moved back
wards or forwards when vehicle
is
stationary.
Adjusting
backrest angle (2)
Take
weight
off
backrest and
turn
knob.
The backrest
of
the driver's seat should
be
adjusted
so
that
the top of the
steering
wheel can be reached
with
the arms angled slightly.
Attention
Do
not lower the backrest too far
when on the move because the seat belts are
then
no longer fully
effective.
20
www.vwT4camper.info - a useful website for owners and enthusiasts of VW T4 Transporter Campervans
Page 38 of 164
Downloaded from www.Manualslib.com manuals search engine
CONTROLS
AND EQUIPMENT
Ignition
lock
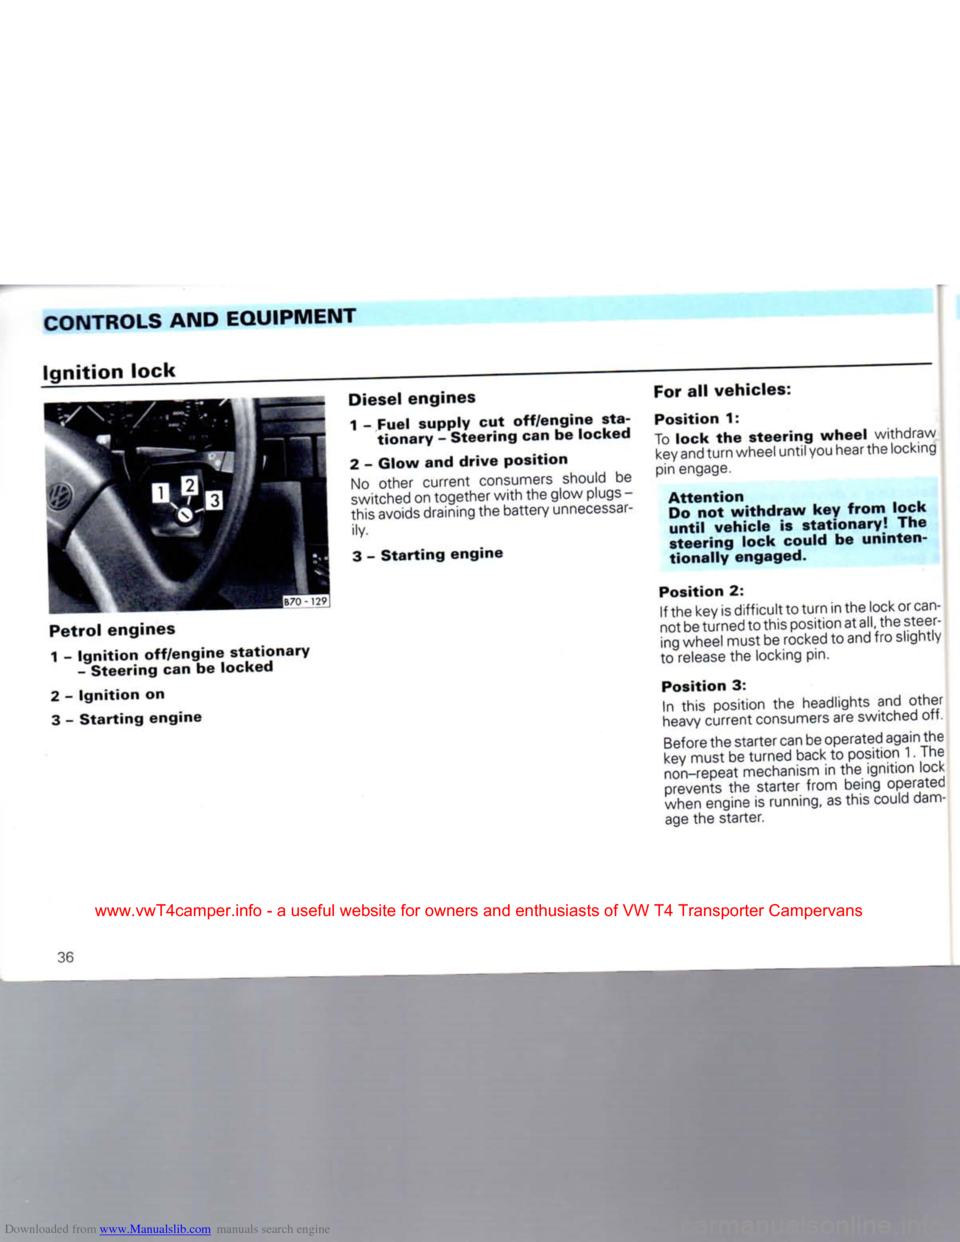
Petrol
engines
1 -
Ignition
off/engine
stationary
-
Steering
can be
locked
2
-
Ignition
on
3
-
Starting
engine
Diesel
engines
1 -
Fuel supply
cut
off/engine
sta
tionary
-
Steering can
be
locked
2
-
Glow
and
drive
position
No
other current consumers should
be
switched
on together with the glow plugs
-
this avoids draining the battery
unnecessar
ily.
3
-
Starting
engine
For
all
vehicles:
Position
1:
To
lock
the
steering
wheel
withdraw
key
and turn wheel until you hear the locking
pin engage.
Attention
Do
not
withdraw
key
from
lock
until
vehicle
is
stationary!
The
steering lock could
be
uninten
tionally
engaged.
Position
2: If
the key is difficult to turn in the lock or
can
not be turned to this position at
all,
the steer
ing wheel must be rocked
to
and fro slightly
to release the locking pin.
Position
3:
In this position
the
headlights
and
other
heavy
current consumers are switched
off.
Before
the starter can be operated again the
key
must be turned back
to
position 1. The
non-repeat
mechanism
in the
ignition lock
prevents
the
starter from being operated
when
engine
is
running, as this could
dam
age
the starter.
36
www.vwT4camper.info - a useful website for owners and enthusiasts of VW T4 Transporter Campervans
Page 54 of 164
Downloaded from www.Manualslib.com manuals search engine
CONTROLS
AND EQUIPMENT
Turn signal and dip
lever
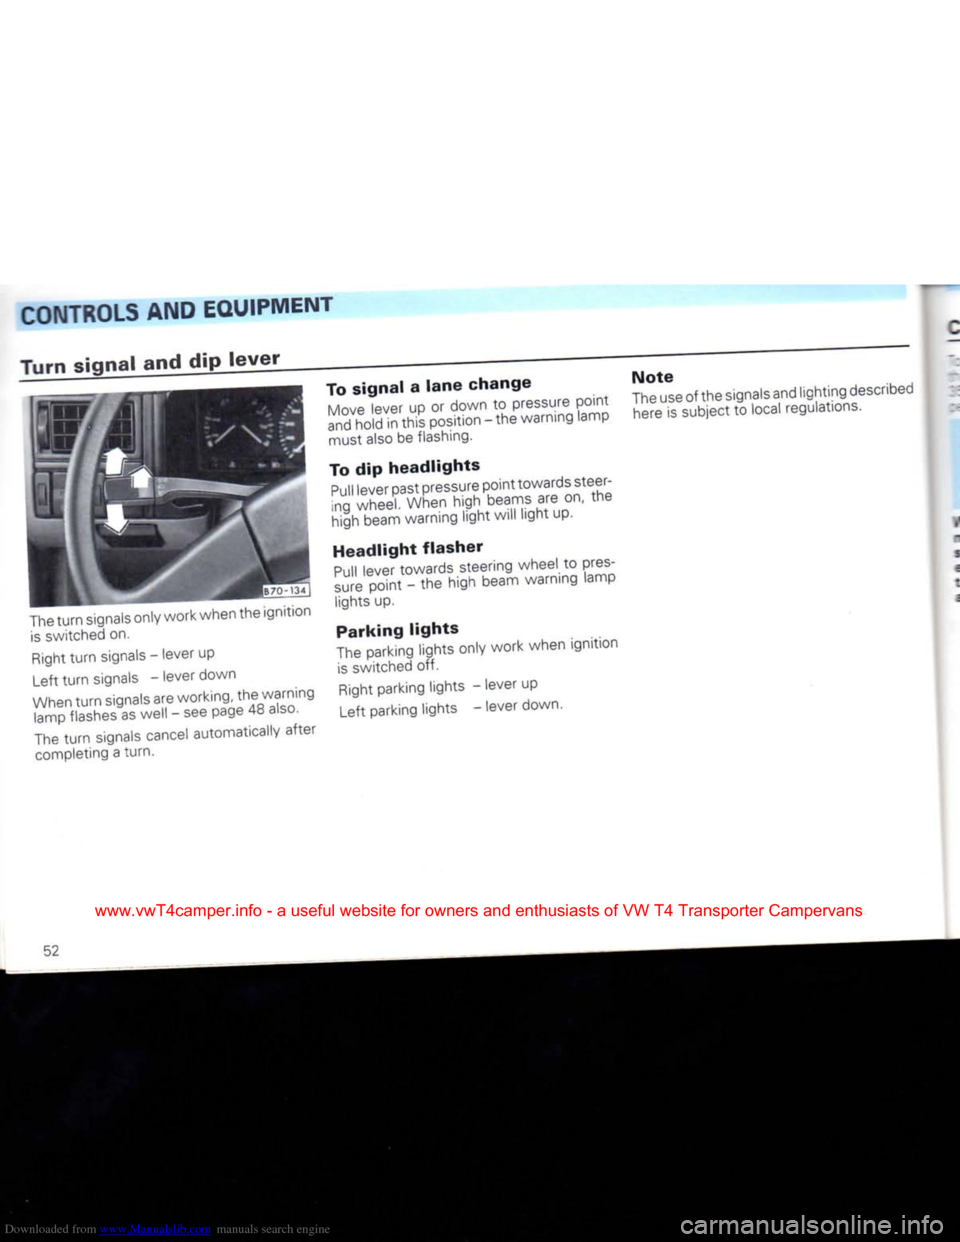
The
turn
signals only work when the ignition
is
switched on.
Right
turn
signals - lever up
Left
turn
signals - lever down
When
turn
signals are working, the warning lamp flashes as well - see page 48
also.
The
turn
signals cancel automatically after
completing a turn. To
signal
a
lane
change
Move
lever up or down to pressure point
and
hold in this position - the warning lamp must also be flashing.
To dip
headlights
Pull
lever past pressure point towards steer
ing wheel. When high beams are on, the
high beam warning light will light up.
Headlight
flasher
Pull
lever towards steering wheel to pres
sure
point - the high beam warning lamp lights up.
Parking
lights
The
parking lights only work when ignition
is
switched off.
Right
parking lights - lever up
Left parking lights - lever down. Note
The
use of the signals and lighting described
here
is subject to local regulations.
52
www.vwT4camper.info - a useful website for owners and enthusiasts of VW T4 Transporter Campervans
Page 56 of 164

Downloaded from www.Manualslib.com manuals search engine
CONTROLS AND EQUIPMENT
Windscreen
wiper
and
washer
system
Wipers
and washers only work when igni
tion is switched on.
The
heated
windscreen
washer
jets*
are switched on when the ignition is switched on and the amount of heat is regulated automatically according to the ambi
ent temperature
When
it is freezing, check
that
the wiper
blades
are not frozen to the glass before
switching the wipers on for the
first
time.
Windscreen
• Flick
wipe
Lift lever to pressure point before detent 1.
•
Wiper
slow
Lever
at position 1. •
Wiper
fast
Lever
at position 2.
•
Intermittent
wipe
Lever
at position 3
The
wipers work about every 6
seconds.
With an
infinitely
variable
intermit
tent
wipe*
the wipe delay can be programmed between about 1.5 and 22
sec
onds:
- Switch on
intermittent
wipe
- Switch off
intermittent
wipe and then switch on again after the desired delay.
The
selected delay can be changed as often
as
required. After switching off the ignition
the selected pause reverts back to a six
sec
ond interval.
•
Automatic
wash/wipe
facility
Pull
lever towards steering wheel - wipers
and
washer work.
Release
lever -
The
washer stops and the wipers carry on
for about 4
seconds.
Headlight washer system*
When
the headlights are on, the lenses are
washed
every time the windscreen is
washed.
At regular intervals such as when filling the
tank, caked-on
dirt
and insects should be
removed.
Rear
window
Press
lever away from steering wheel and
release
- the wiper works about every 6
seconds
(intermittent
wipe).
Pressing
and
releasing
lever again switches the wiper off.
Automatic
wash/wipe
Press
lever away from steering wheel, and
hold in this position -
The
wiper and washer work as long as the
lever
is held in this position.
Release
lever -
The
washer stops and the wiper carries on
for about 4
seconds.
Notes
Topping-up washer fluid
- see page 108.
Changing
windscreen wiper blades
- see page 109
54
www.vwT4camper.info - a useful website for owners and enthusiasts of VW T4 Transporter Campervans
Page 103 of 164
Downloaded from www.Manualslib.com manuals search engine
GENERAL
MAINTENANCE
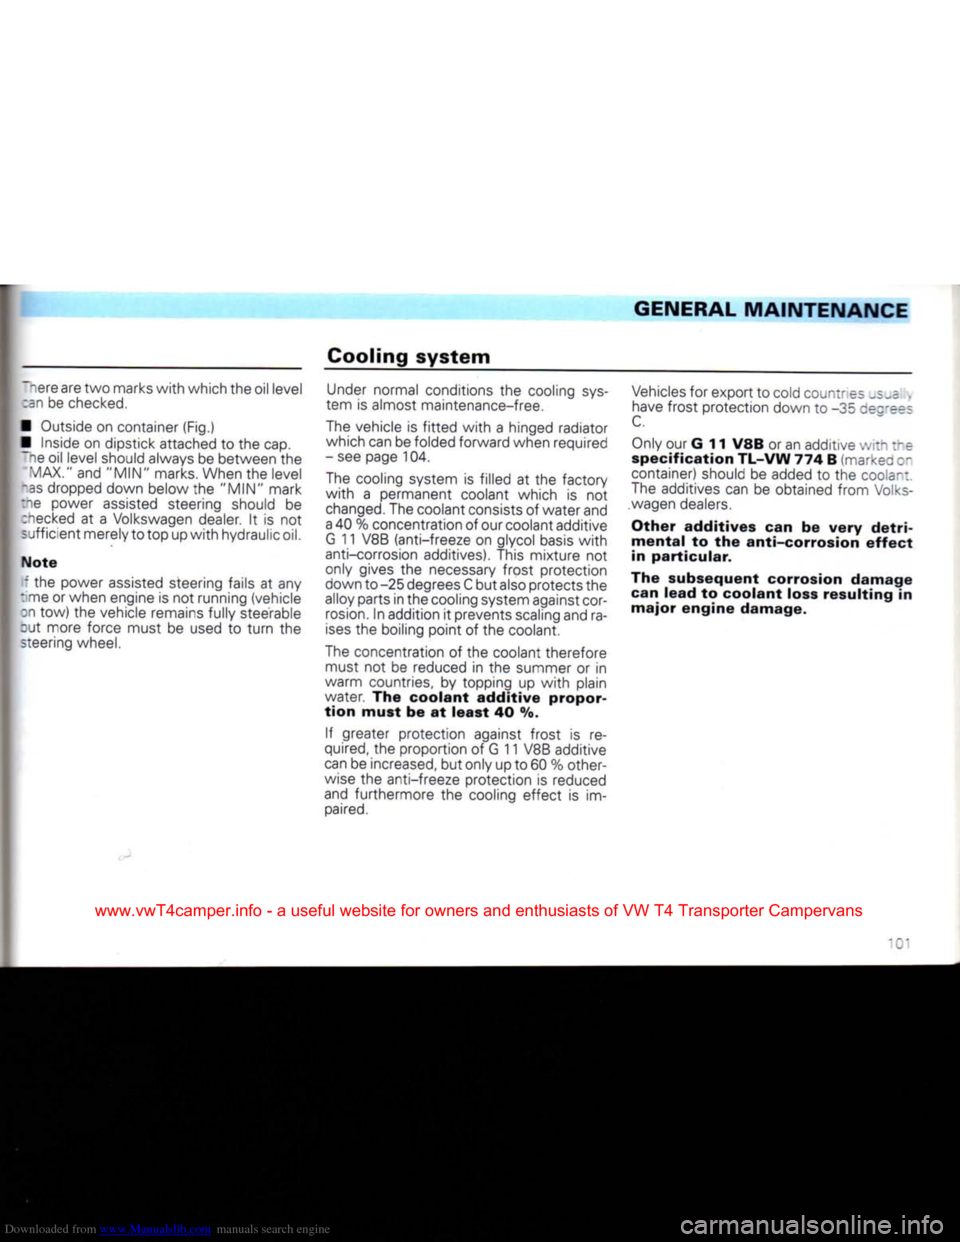
nere are two marks
with
which the oil level
:an be
checked.
• Outside on container (Fig.) • Inside on dipstick attached to the cap. ~he oil level should always be between the
MAX."
and "MIN" marks. When the level
"as
dropped down below the "MIN" mark
:^e
power assisted steering should be
:necked
at a Volkswagen dealer. It is not
sufficient merely to top up
with
hydraulic oil.
Note
f the power assisted steering fails at any
: me or when engine is not running (vehicle on tow) the vehicle remains fully steerable cut more force must be used to
turn
the
steering wheel. Cooling
system
Under
normal conditions the cooling
sys
tem is almost maintenance-free.
The vehicle is
fitted
with
a hinged radiator
which can be folded forward when required
- see page 104.
The cooling system is filled at the factory
with
a permanent coolant which is not
changed.
The coolant consists of water and
a
40 % concentration of our coolant additive
G
11 V8B (anti-freeze on glycol basis
with
anti-corrosion additives). This mixture not
only gives the necessary frost protection
down to -25 degrees C but also protects the
alloy parts in the cooling system against cor
rosion.
In addition it prevents scaling and ra
ises
the boiling point of the coolant.
The concentration of the coolant therefore must not be reduced in the summer or in
warm countries, by topping up
with
plain
water. The
coolant
additive
propor
tion
must
be at
least
40 %.
If greater protection against frost is re
quired, the proportion of G 11 V8B additive
can
be increased, but only up to 60 % other
wise the anti-freeze protection is reduced
and furthermore the cooling effect is im
paired.
Vehicles
for export to cold countries -s~a .
have frost protection down to -35 decrees
C.
Only
our G 11 V8B or an additive v/rs :~e
specification
TL-VW 774 B (markea or
container) should be added to the coolant.
The additives can be obtained from
Volks
wagen dealers.
Other
additives
can be
very
detri
mental
to the
anti-corrosion
effect
in
particular.
The
subsequent
corrosion
damage
can
lead
to
coolant
loss
resulting
in
major
engine
damage.
www.vwT4camper.info - a useful website for owners and enthusiasts of VW T4 Transporter Campervans
Page 113 of 164
Downloaded from www.Manualslib.com manuals search engine
GENERAL MAINTENANCE
Balancing
wheels
iThe wheels on new vehicles are balanced, however when the vehicle is running vari-:
JS
influences can cause the wheels to be
come unbalanced and this causes steering . ibration.
As
imbalance also increases steering,
sus
pension and
tyre
wear the wheels should be
calanced
again. Furthermore a wheel snould always be rebalanced when the
tyre
"as
been repaired or when a new
tyre
has
!been
fitted.
Incorrect
wheel
alignment
"correct wheel alignment not only causes
jexcessive,
usually uneven
tyre
wear but can
also
impair the car's safe handling. If un usual
tyre
wear is noticed, contact a Volks-
jv.agen dealer.
Wear
indicators
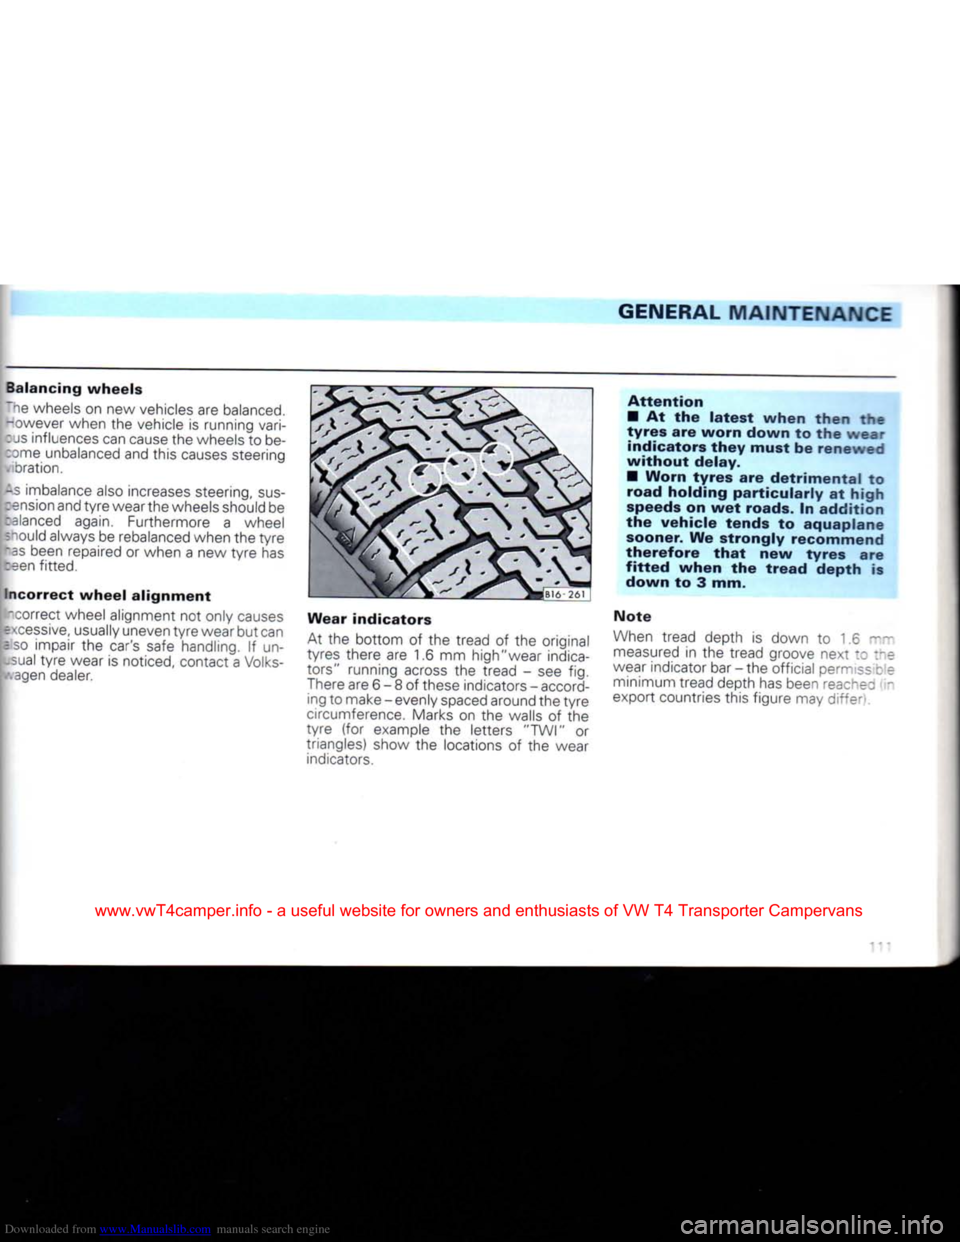
At the
bottom
of the tread of the original
tyres there are 1.6 mm high"wear indica
tors" running across the tread - see fig.
There are 6 - 8 of these indicators - accord
ing to make - evenly spaced around the
tyre
circumference. Marks on the walls of the
tyre
(for example the letters "TWI" or
triangles) show the locations of the wear indicators.
Attention
• At the
latest
when
then
the
tyres
are
worn
down
to the
wear
indicators
they
must
be
renewed
without
delay.
•
Worn
tyres
are
detrimental
to
road
holding
particularly
at
high
speeds on wet roads. In
addition
the
vehicle
tends
to
aquaplane
sooner. We
strongly
recommend
therefore
that
new
tyres
are
fitted
when
the
tread
depth
is
down
to 3 mm.
Note
When tread depth is down to 1.6 ~~ measured in the tread groove next to the
wear indicator bar - the official permiss c e minimum tread depth has been reachec -
export countries this figure may
differ''.
www.vwT4camper.info - a useful website for owners and enthusiasts of VW T4 Transporter Campervans
Page 134 of 164
Downloaded from www.Manualslib.com manuals search engine
DO-IT-YOURSELF
Tow
starting/towing
General
notes
• "owing eyes are provided on the
right
under
front
and rear bumpers.
Tow-ropes
or bars should be attached at
these
points only.
On
vehicles
with
a factory
fitted
towing bracket a towing eye is not fitted. On those
vehicles
the towing bracket can be used for
towing.
• The tow-rope should be slightly elastic to reduce the risk of damage to both ve
hicles.
It is advisable to use synthetic fibre
ropes,
or ropes of similar elastic material. It
is
however
safer
to use a
tow-bar!
Avoid
excessive towing
effort
and do not
jerk.
During towing operations on other than
surfaced
roads there is always the danger
that
the attachment points will be over
loaded
and damaged.
•
Before
trying
to
start
engine
by
towing,
the
battery
from
another
ve
hicle
should be used for
starting
if
possible - see previous page. If the
vehicle
has to be tow
started
or
towed
at any
time,
the
following
must
be noted:
•
Check
whether there are any local traffic regulations concerning the towing of ve
hicles.
• Both drivers must be familiar
with
tow ing procedures. Inexperienced drivers
should
not attempt to tow start or tow.
• When using a tow-rope the driver of the towing vehicle must engage the clutch very gently when moving off and changing gear.
• The driver of the vehicle being towed must ensure
that
the tow-rope is always
taut.
• The emergency lights must be switchec
on on both vehicles - unless local regula
tions differ.
• Turn ignition key to "Drive" position sc
that
the steering wheel is free and the
turr
signals,
horn, and, if necessary, the wind
screen
wiper and washer can be
used.
• As the brake servo only works when the engine is running, considerably more pres
sure
is required on the brake pedal when the
engine is not running.
• On vehicles
with
power assisted steer ing more force is required to
turn
steering
wheel when engine is not running.
• When there is no lubricant in the manua or automatic gearbox, the vehicle may only
be
towed
with
driving wheels lifted.
132
www.vwT4camper.info - a useful website for owners and enthusiasts of VW T4 Transporter Campervans